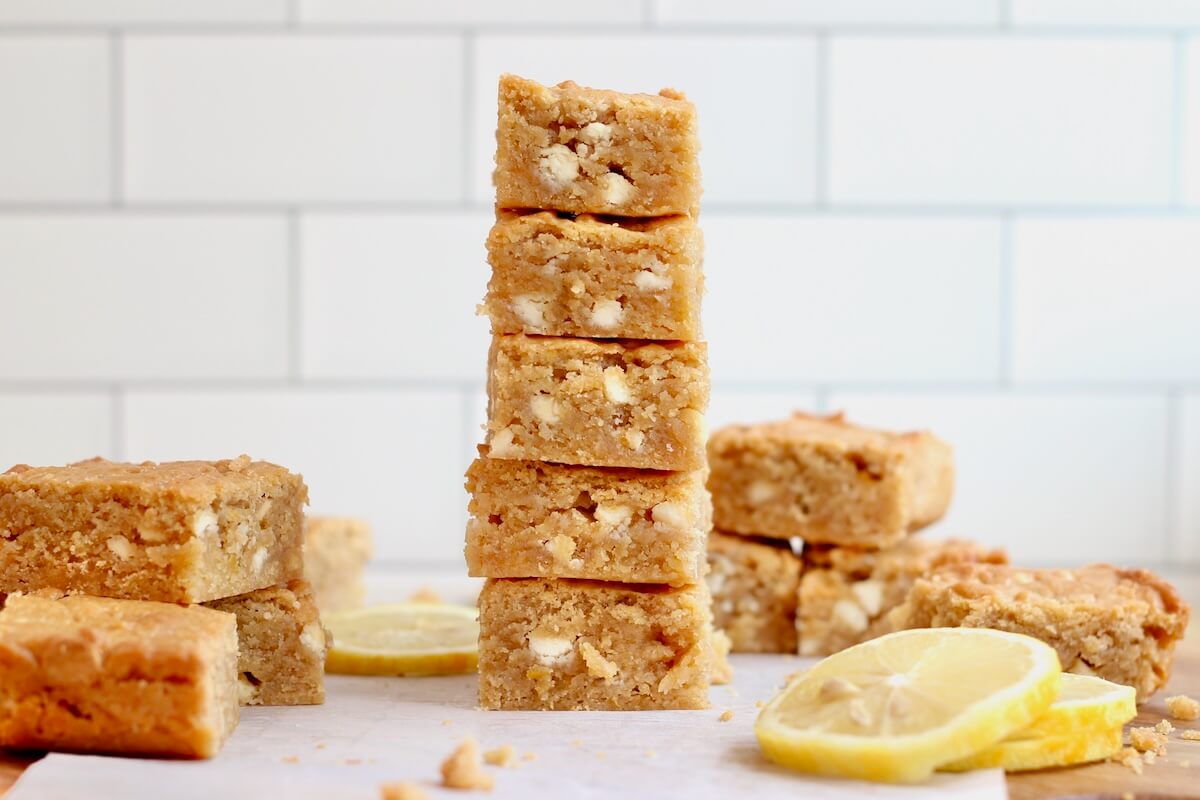
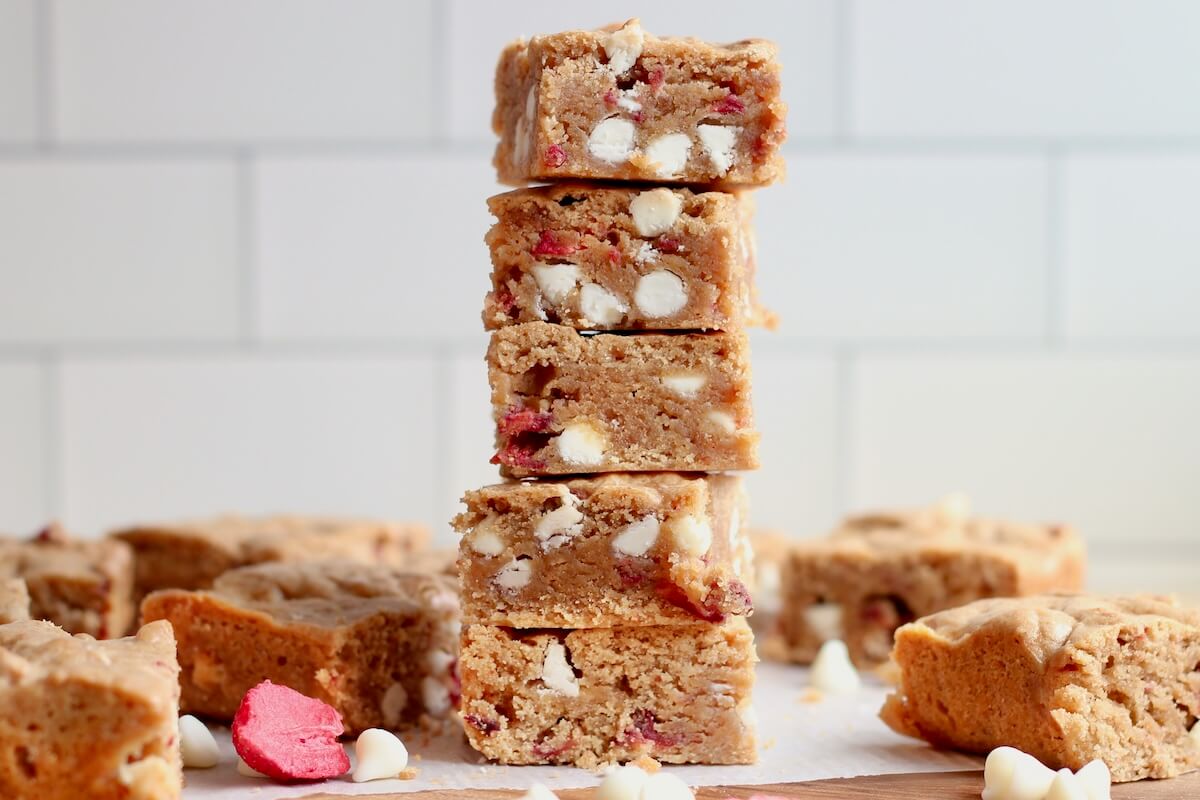
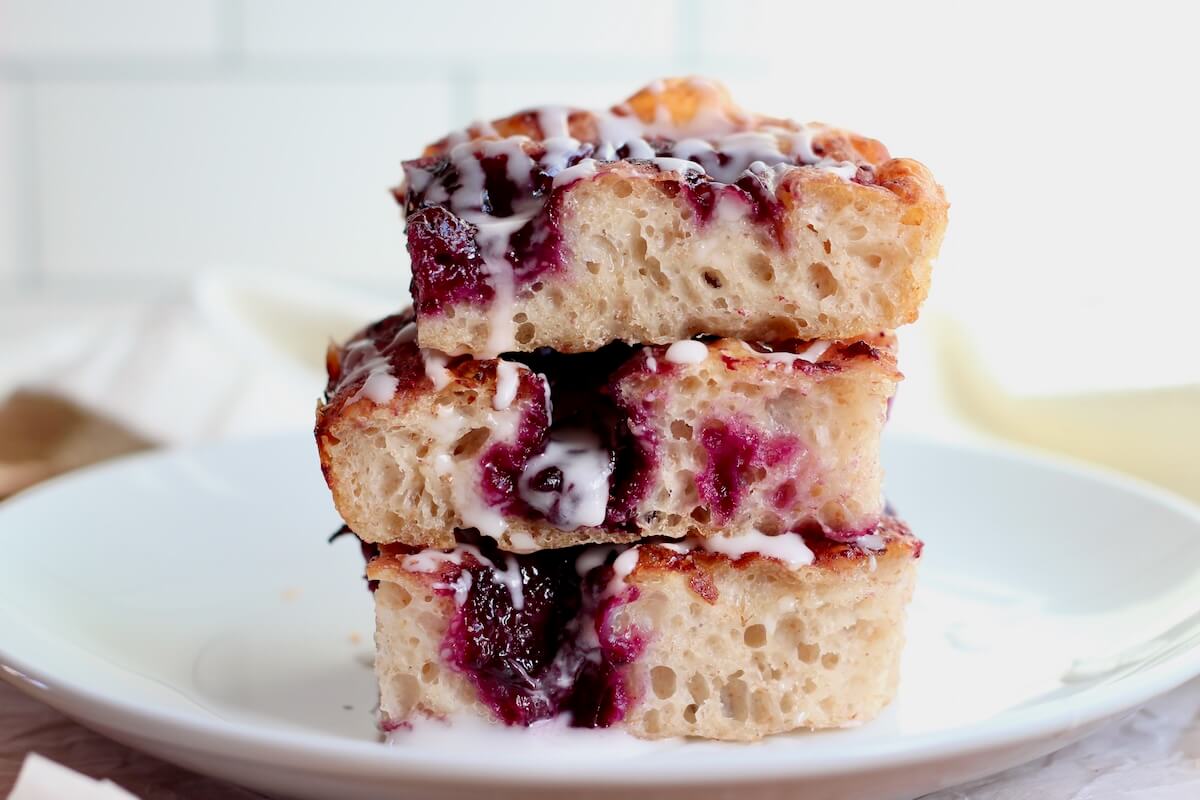
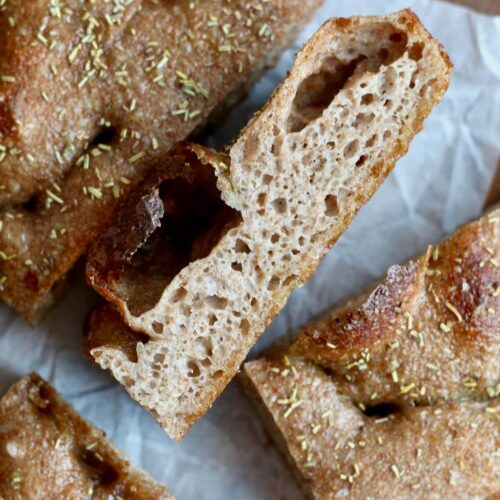
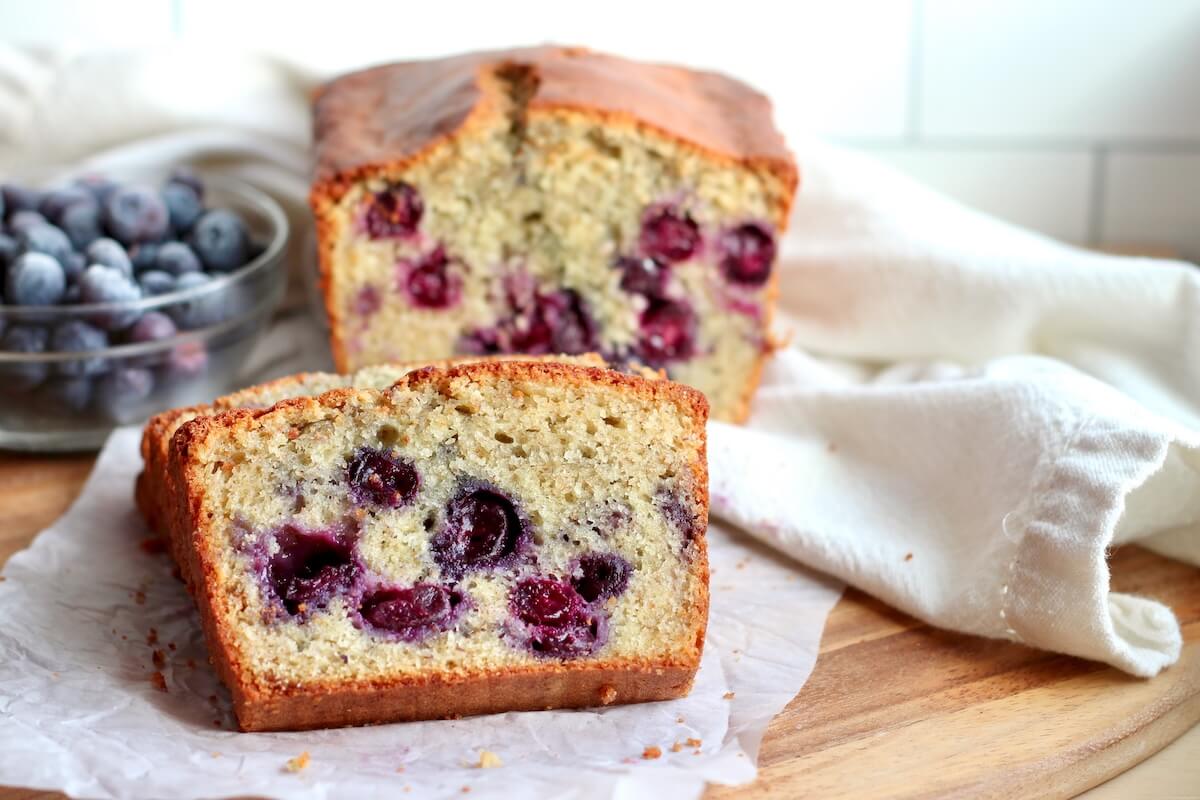
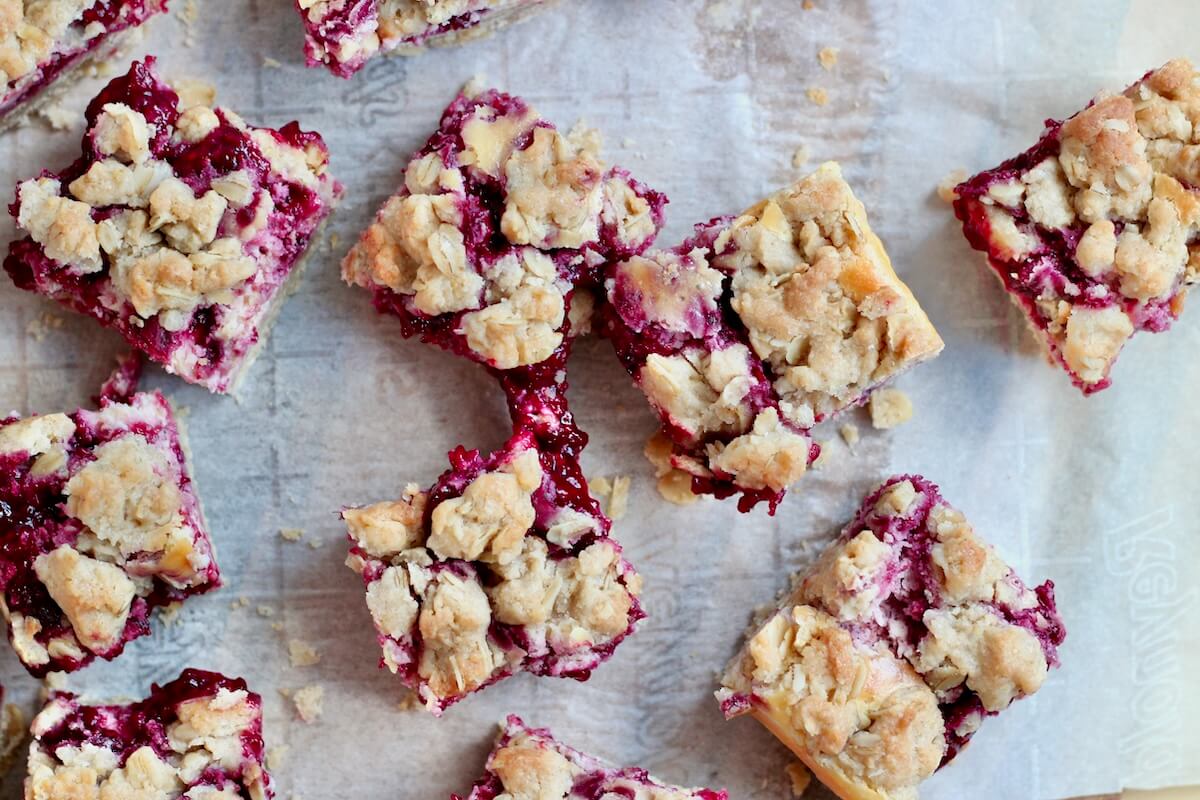
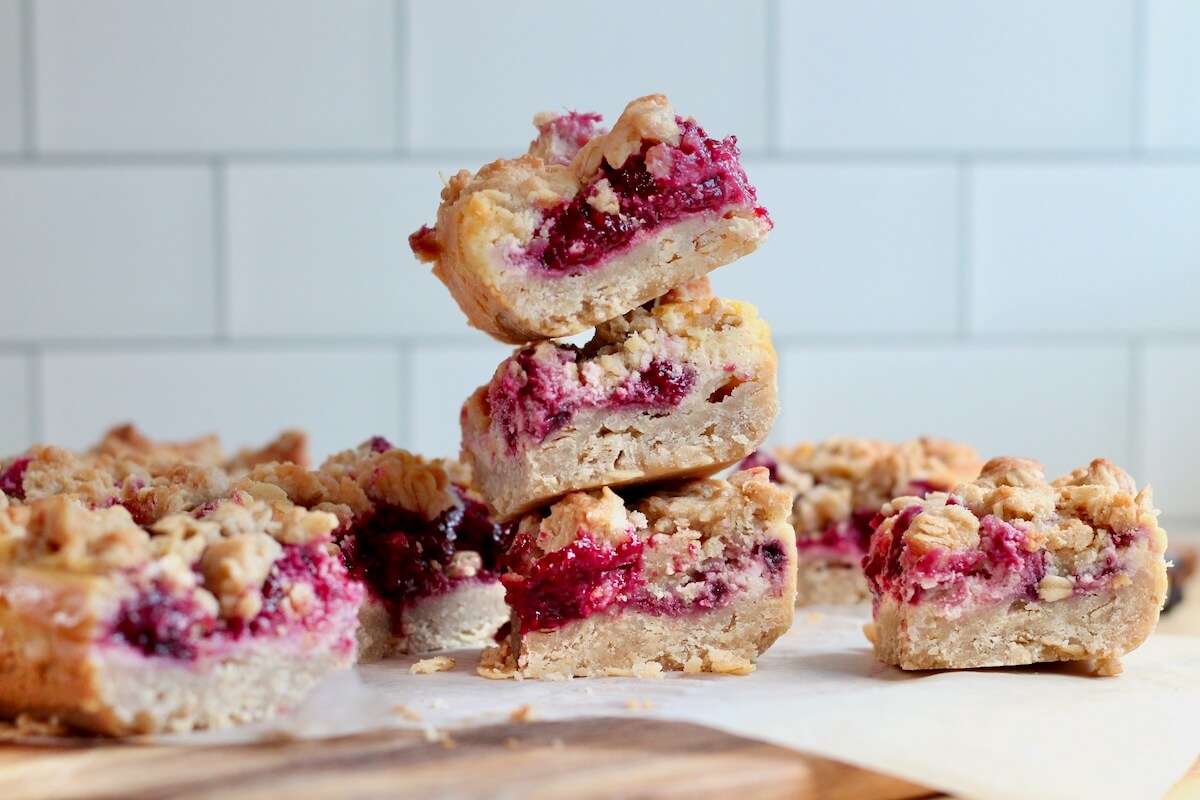
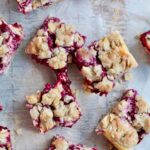
These Sourdough Raspberry Cheesecake Bars are a simple sourdough discard dessert perfect for summer. With a buttery oat base, creamy cheesecake filling, and sweet-tart raspberry swirl, they bake into soft, layered bars bursting with bright berry flavor.
What’s your favorite berry to use in desserts?
For me, it’s raspberries. They’re naturally tart, which helps balance out the sweetness in baked goods. And since I prefer desserts that aren’t overly sweet, they’re basically perfect.
I’ve been wanting to add a raspberry bar recipe to the blog for a while now. And when I was recently planning a family cookout, it finally felt like the right time to test one.
These sourdough raspberry cheesecake bars are my version. A layered dessert with a sourdough discard base, creamy cheesecake filling, homemade raspberry swirl, and a buttery oat crumble on top.
They’re sweet but not too sweet, tangy, rich, and just a little buttery. Exactly the kind of dessert that works for summer gatherings, cookouts, or even the 4th of July.
So if you’re a raspberry lover like I am, I think you’re going to adore these.
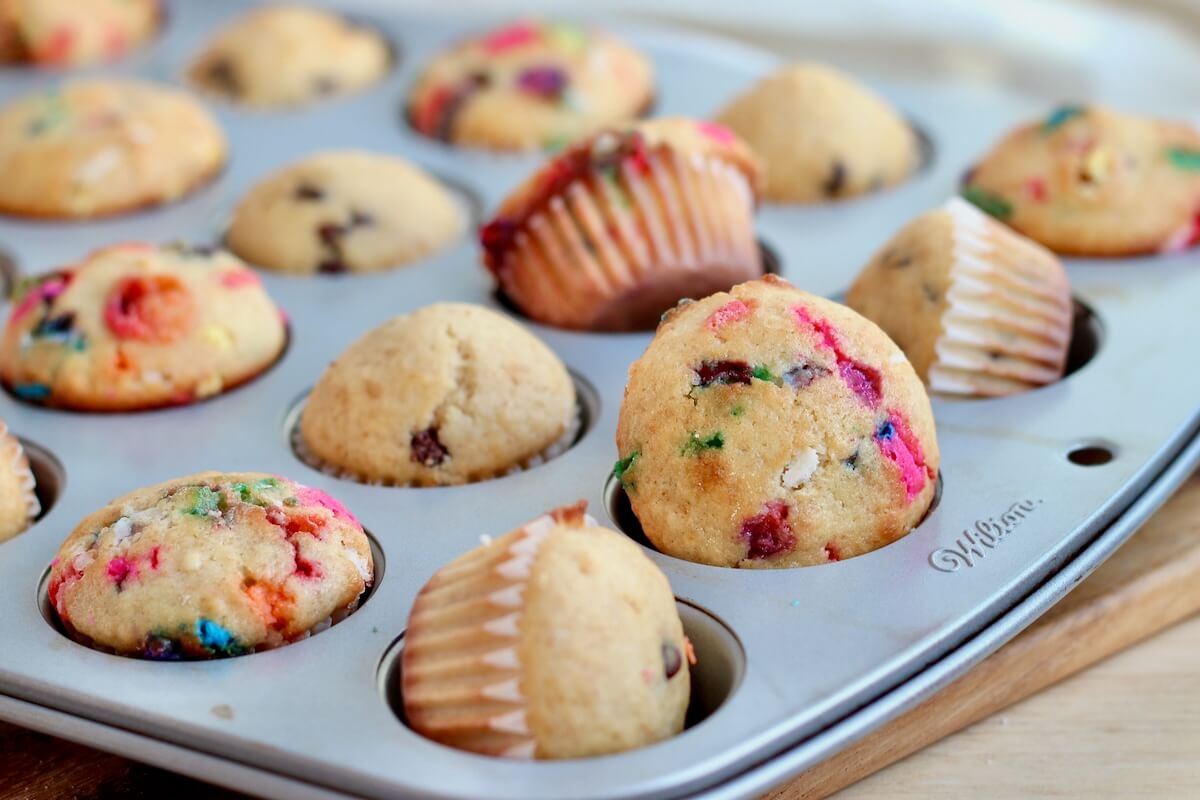
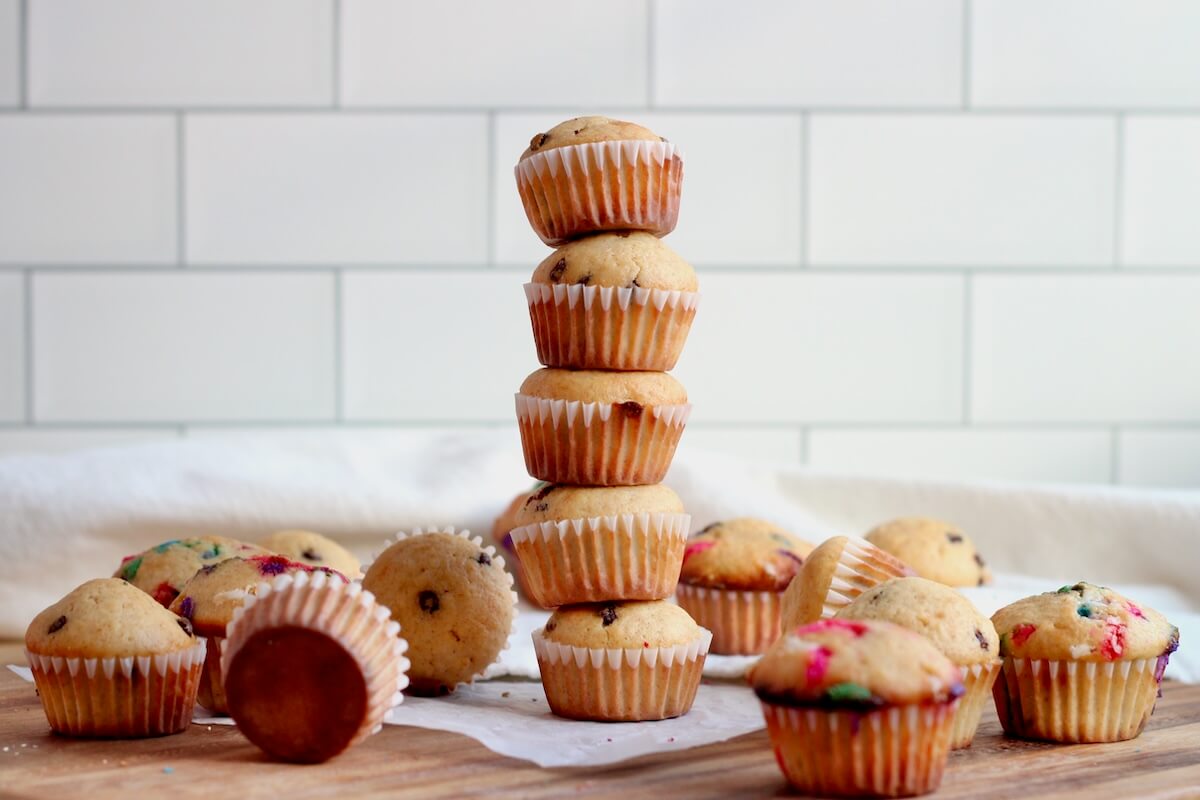
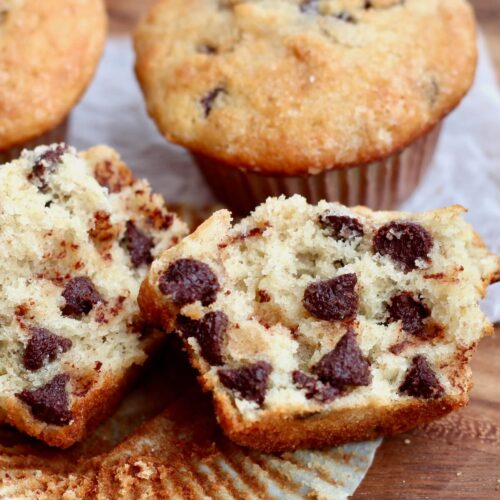
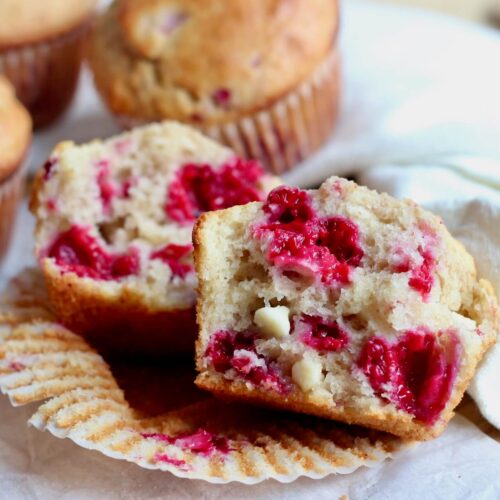
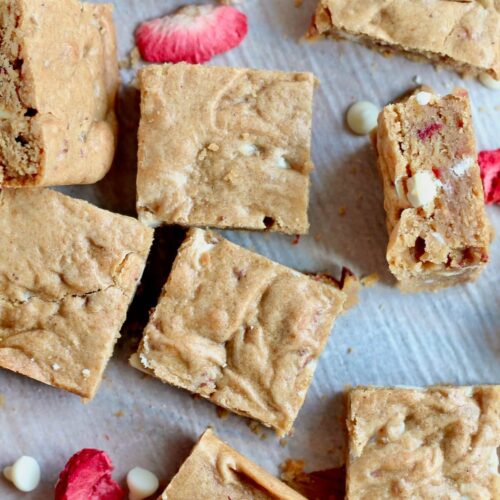
Also, check out my raspberry white chocolate sourdough muffins.
Disclaimer: Some links throughout this post are affiliate links. As an Amazon Associate, I earn from qualifying purchases. You can learn more by visiting my Affiliate Disclosure Page.
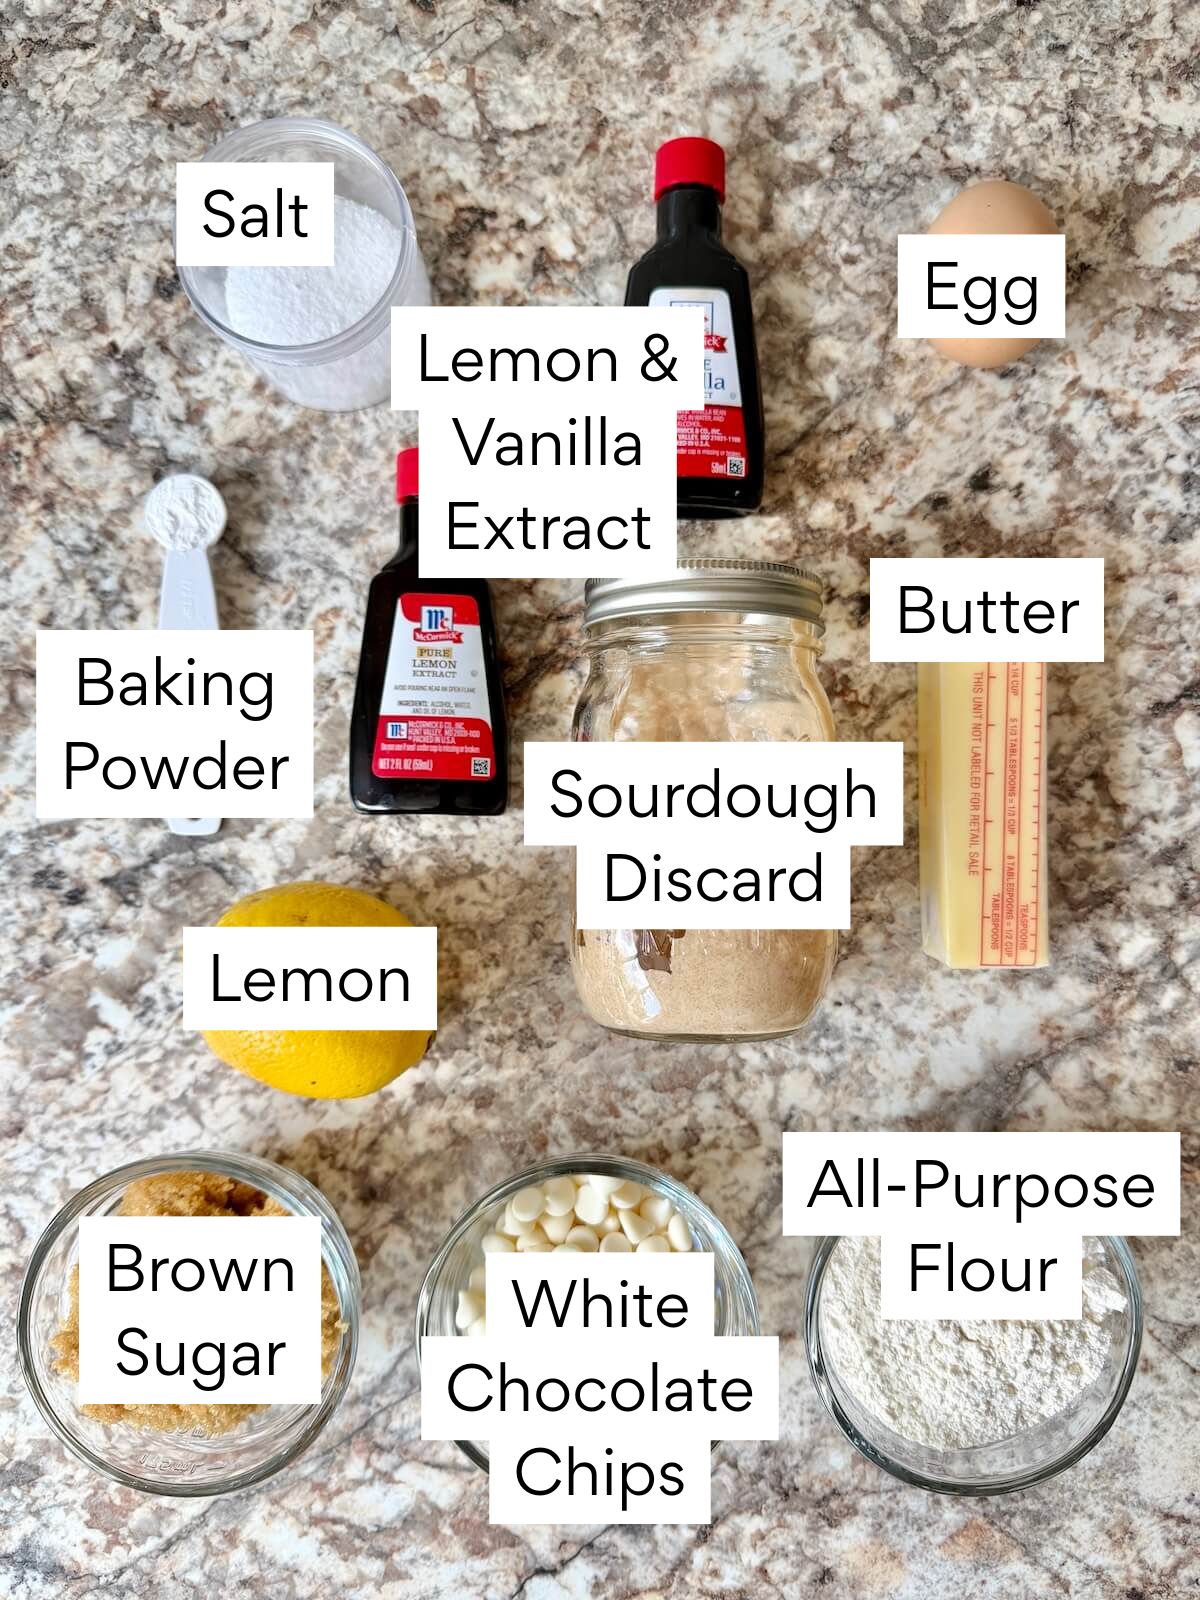
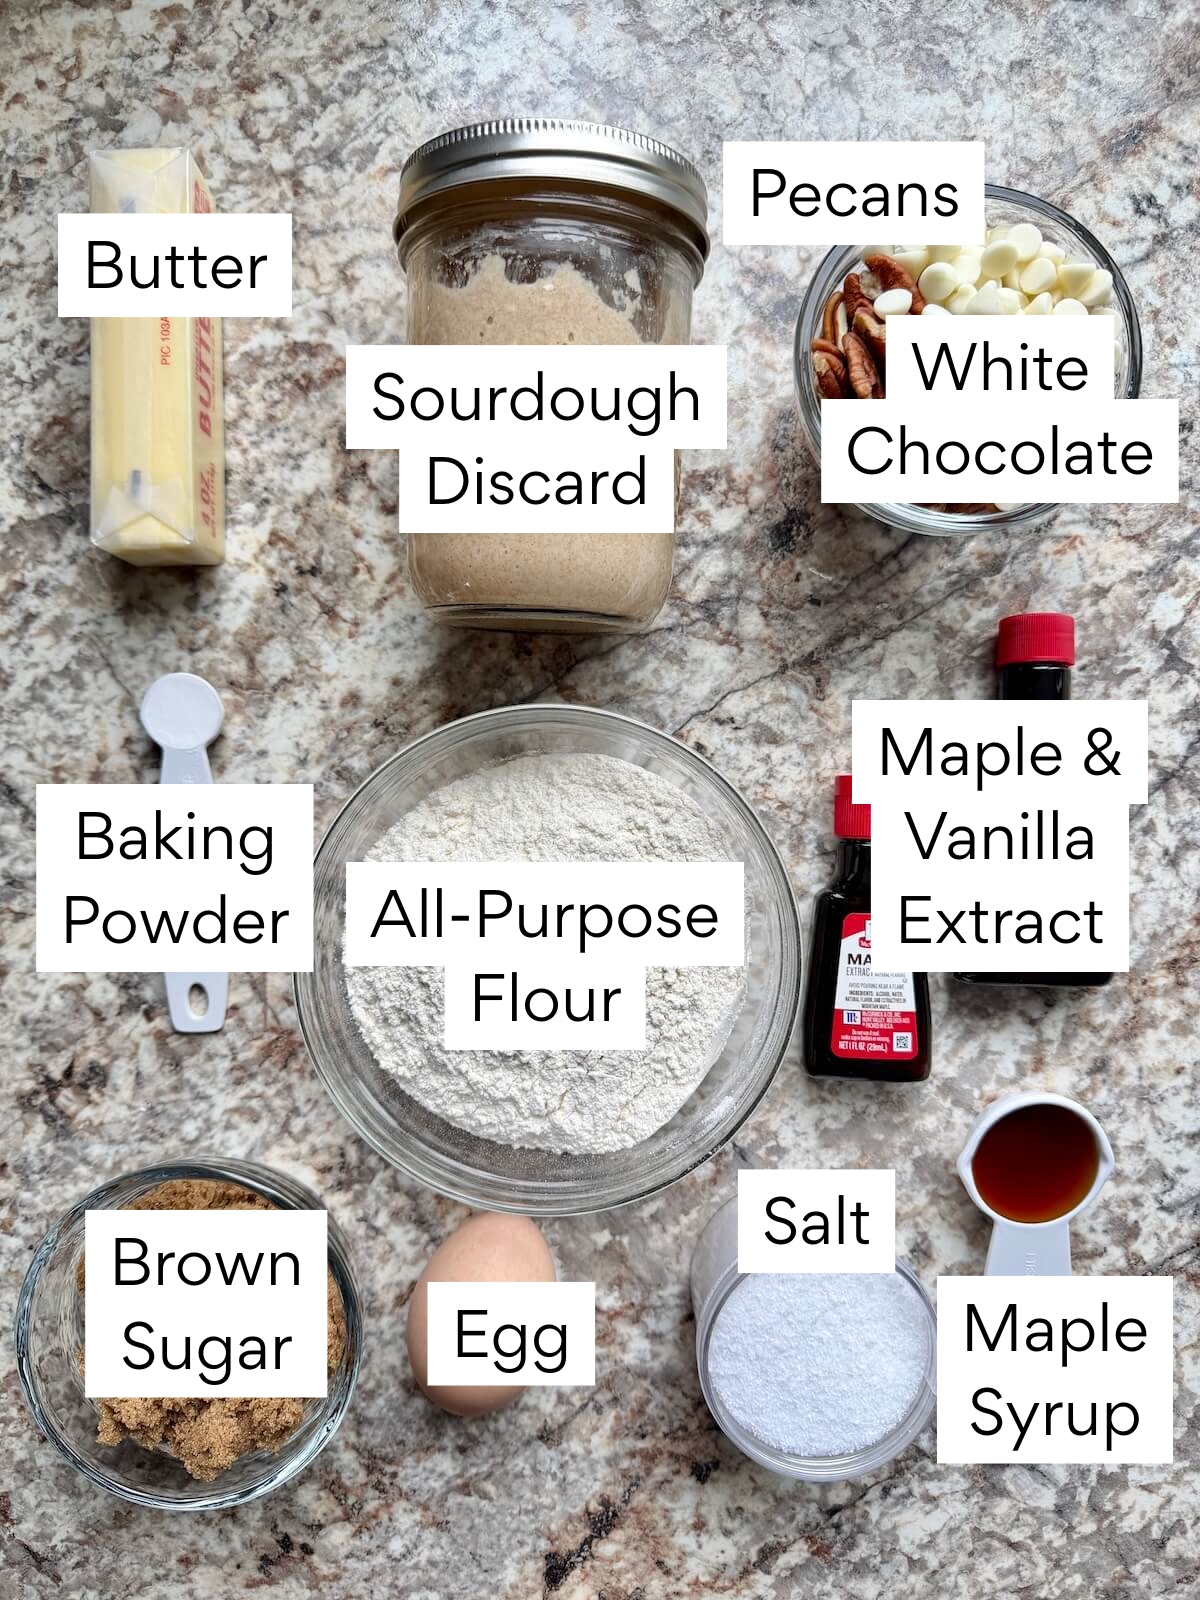
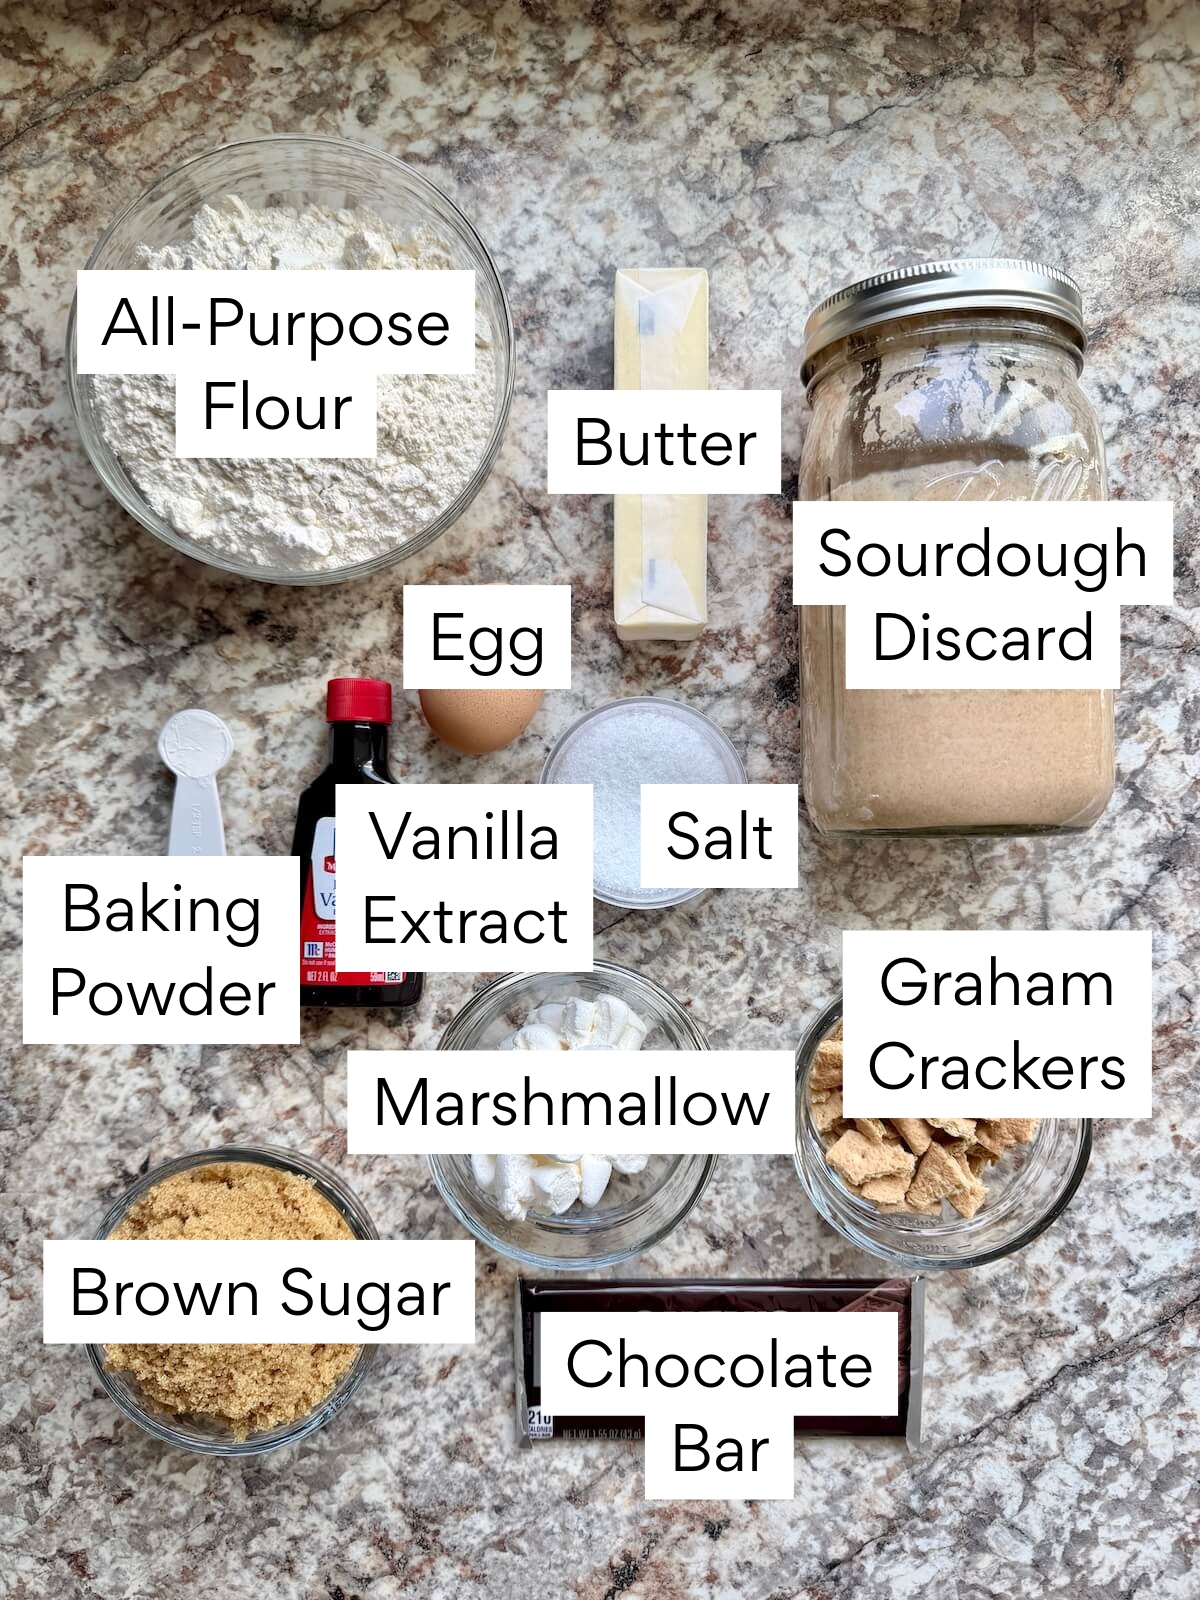
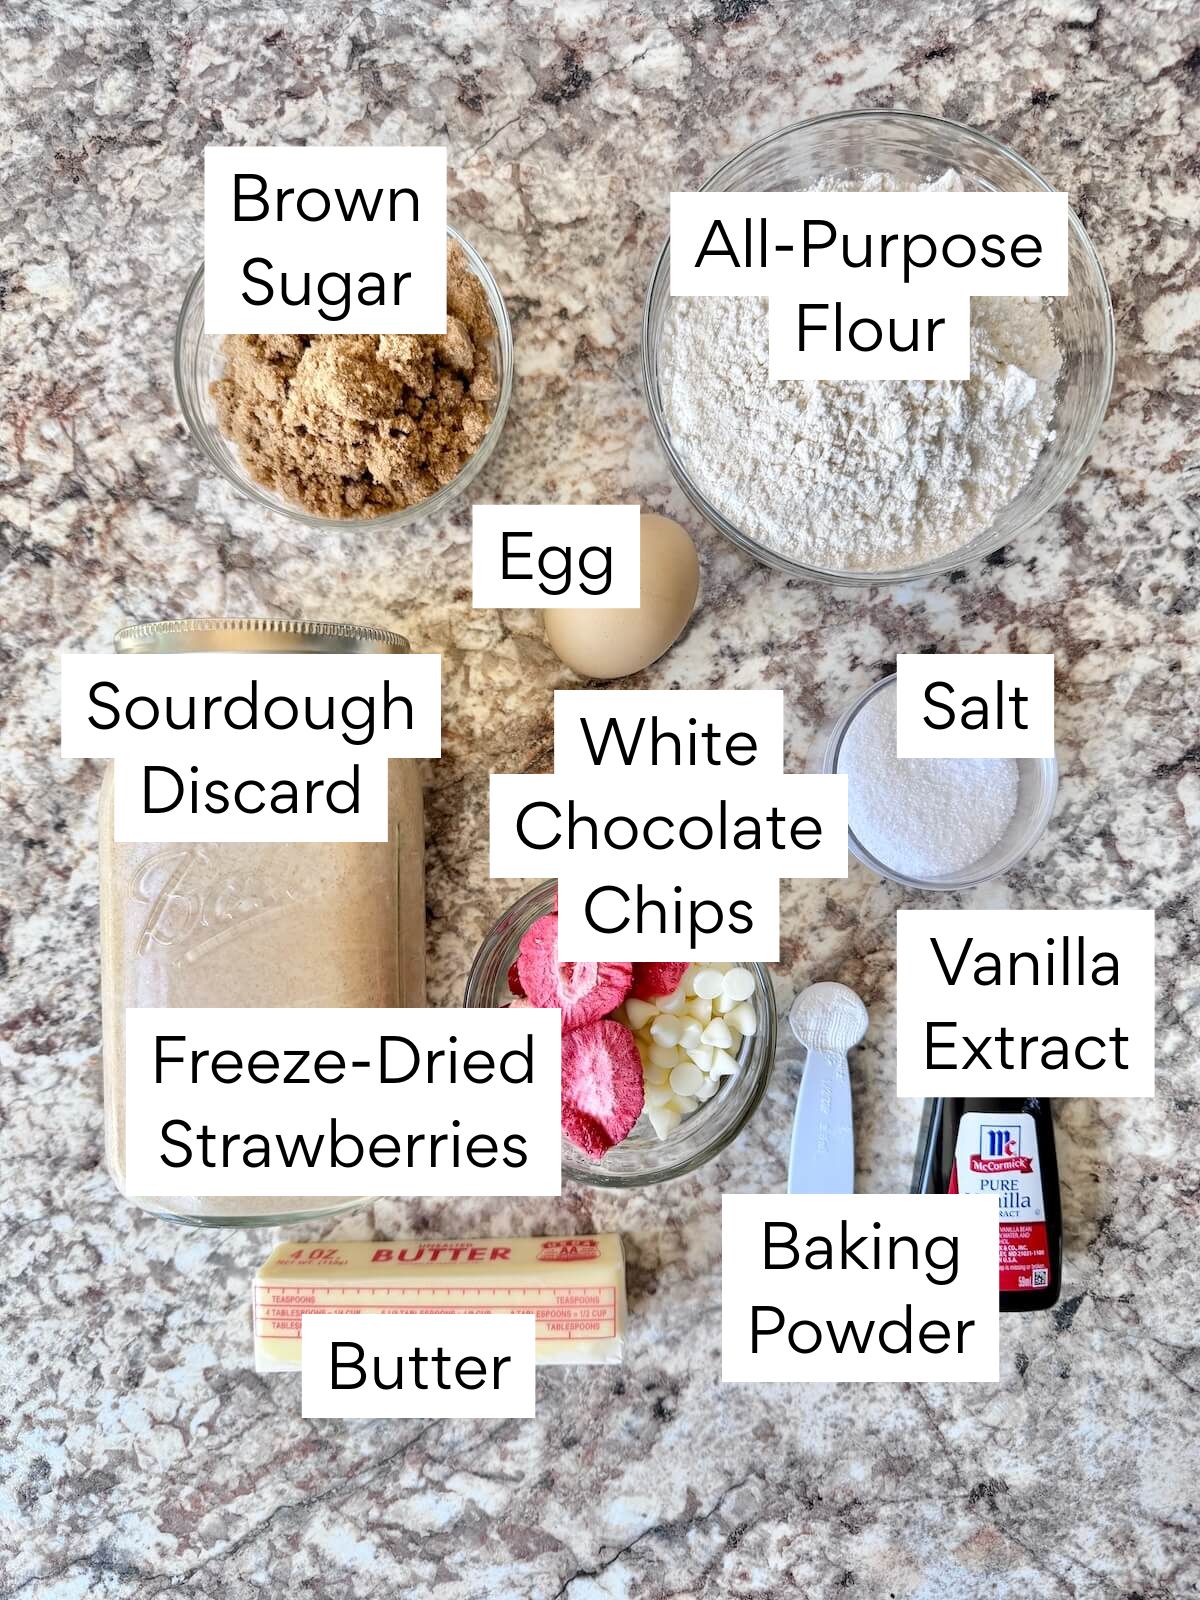
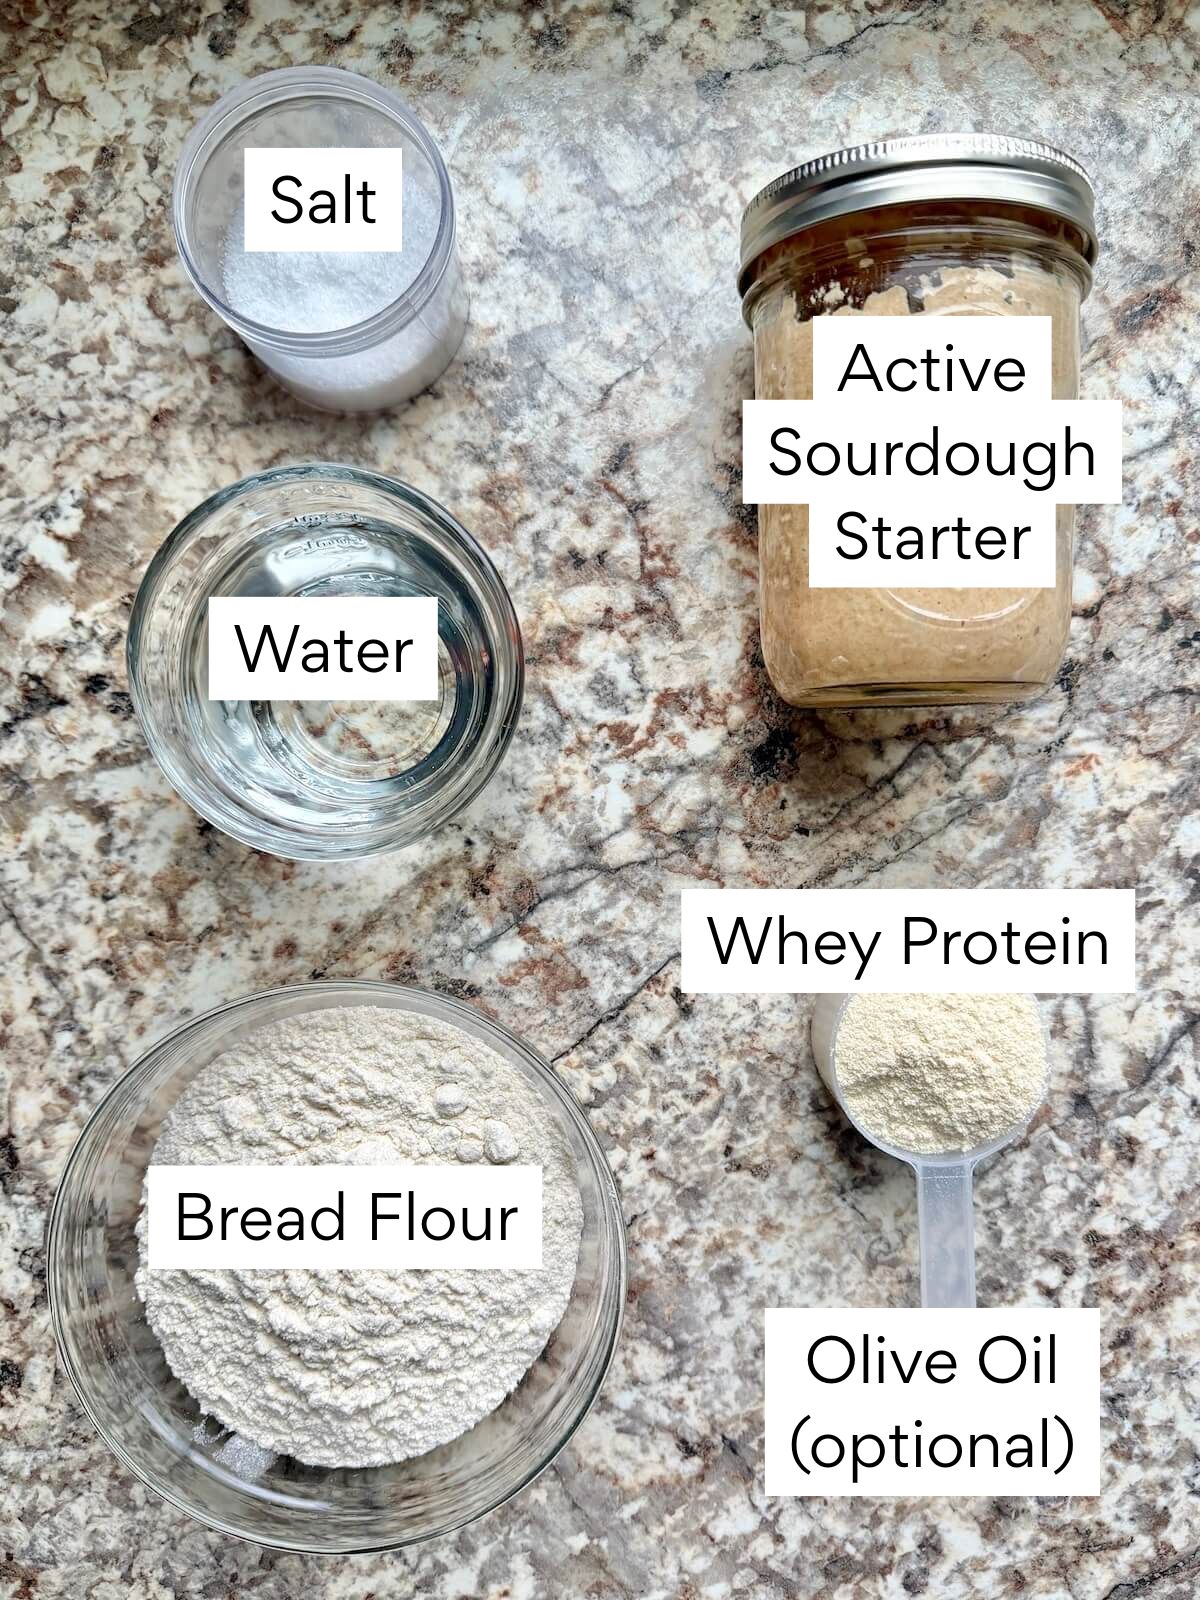
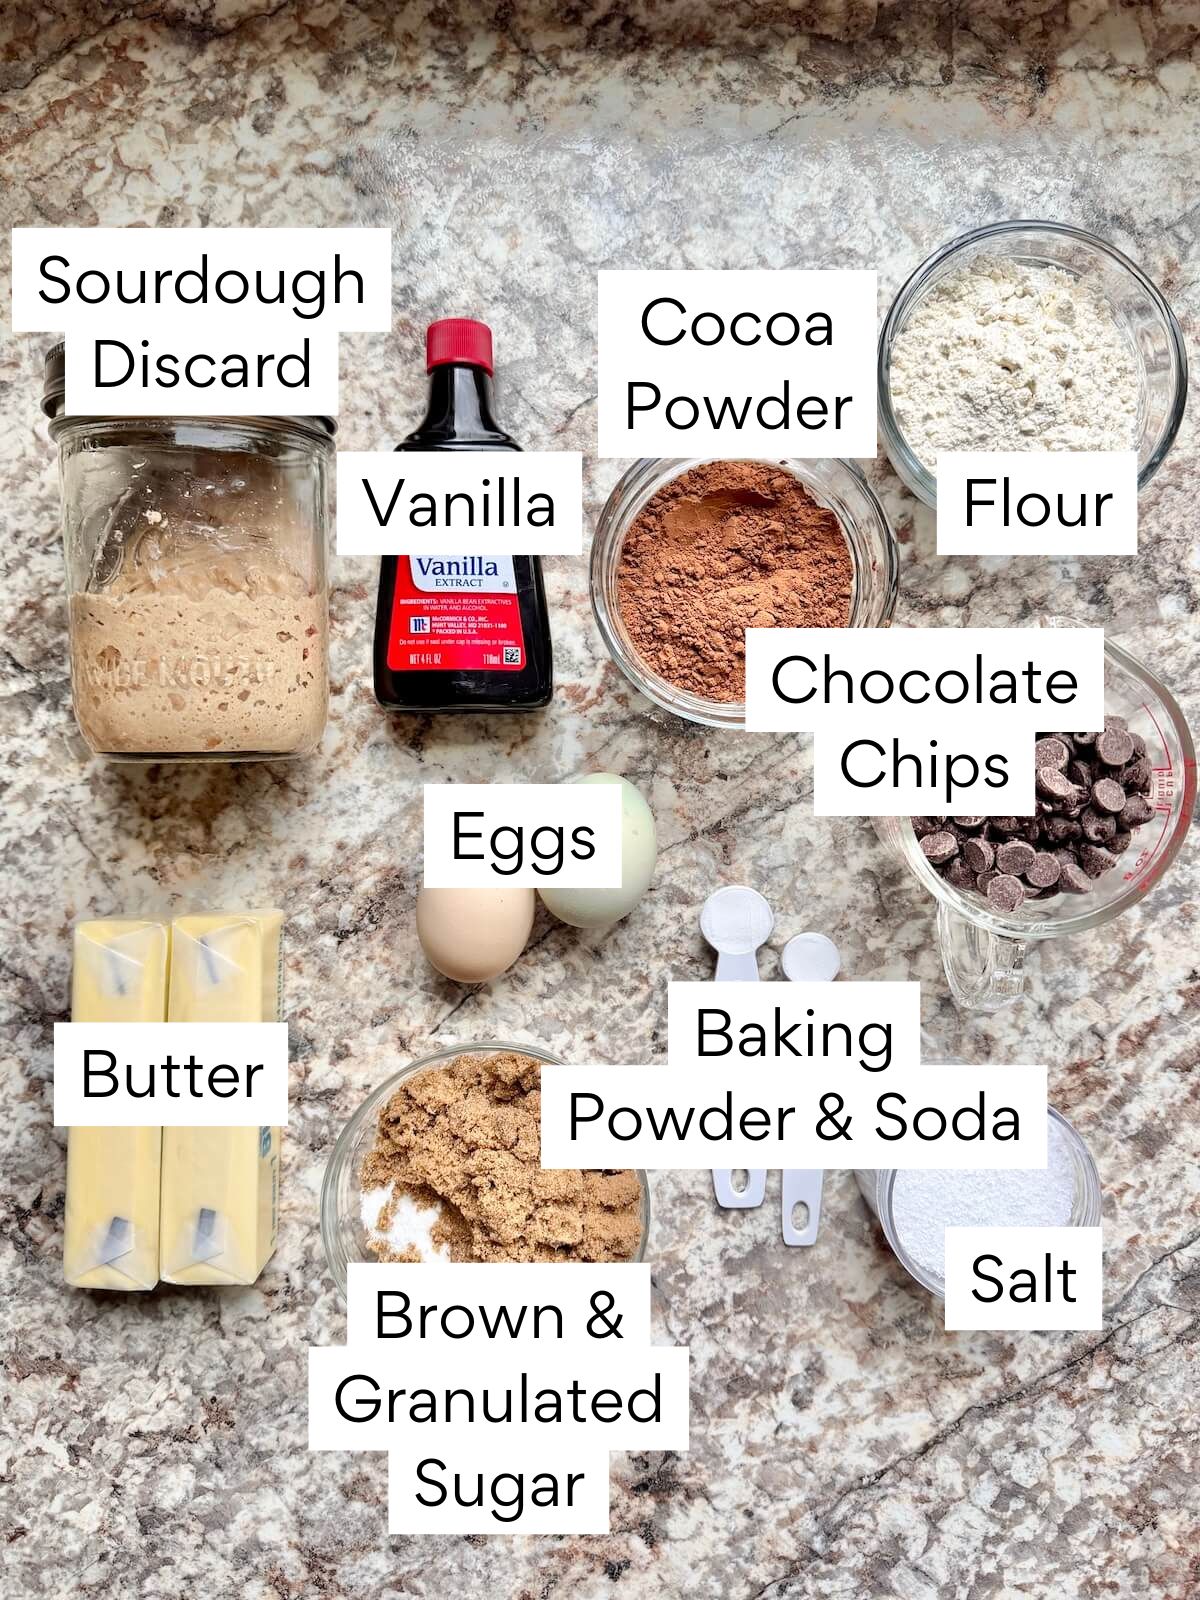
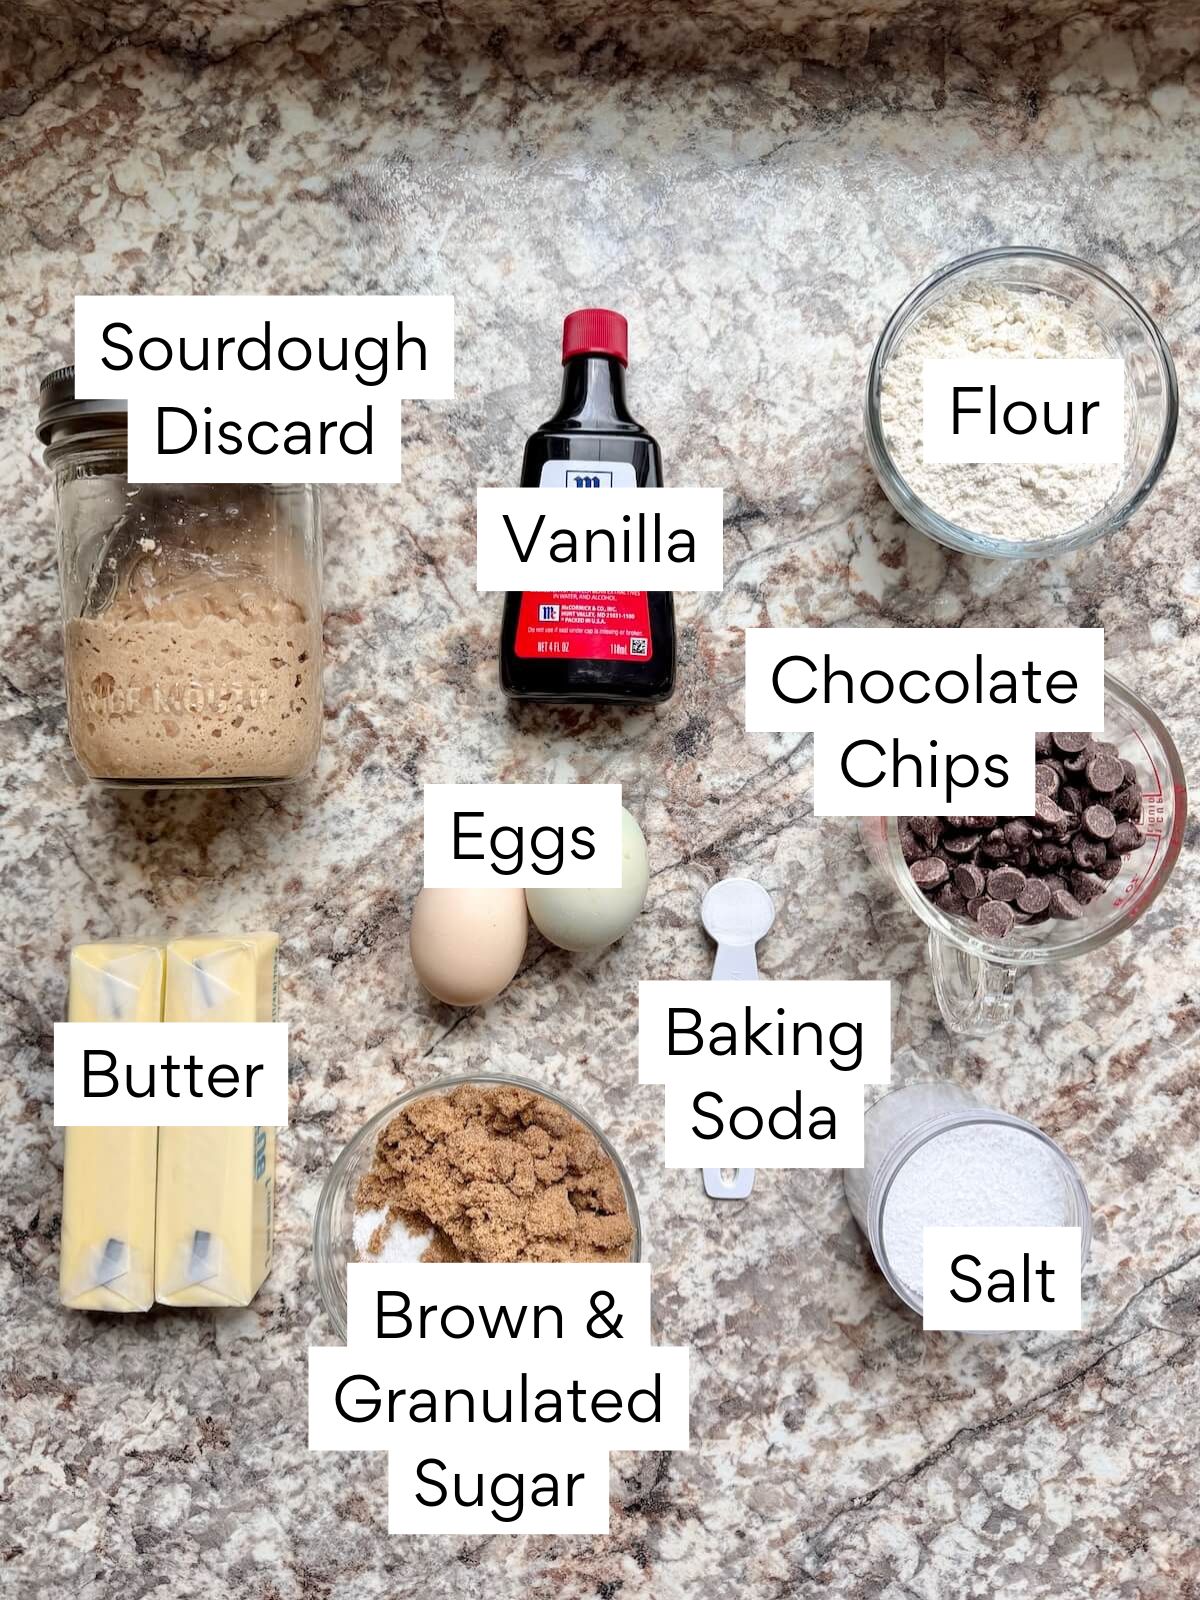
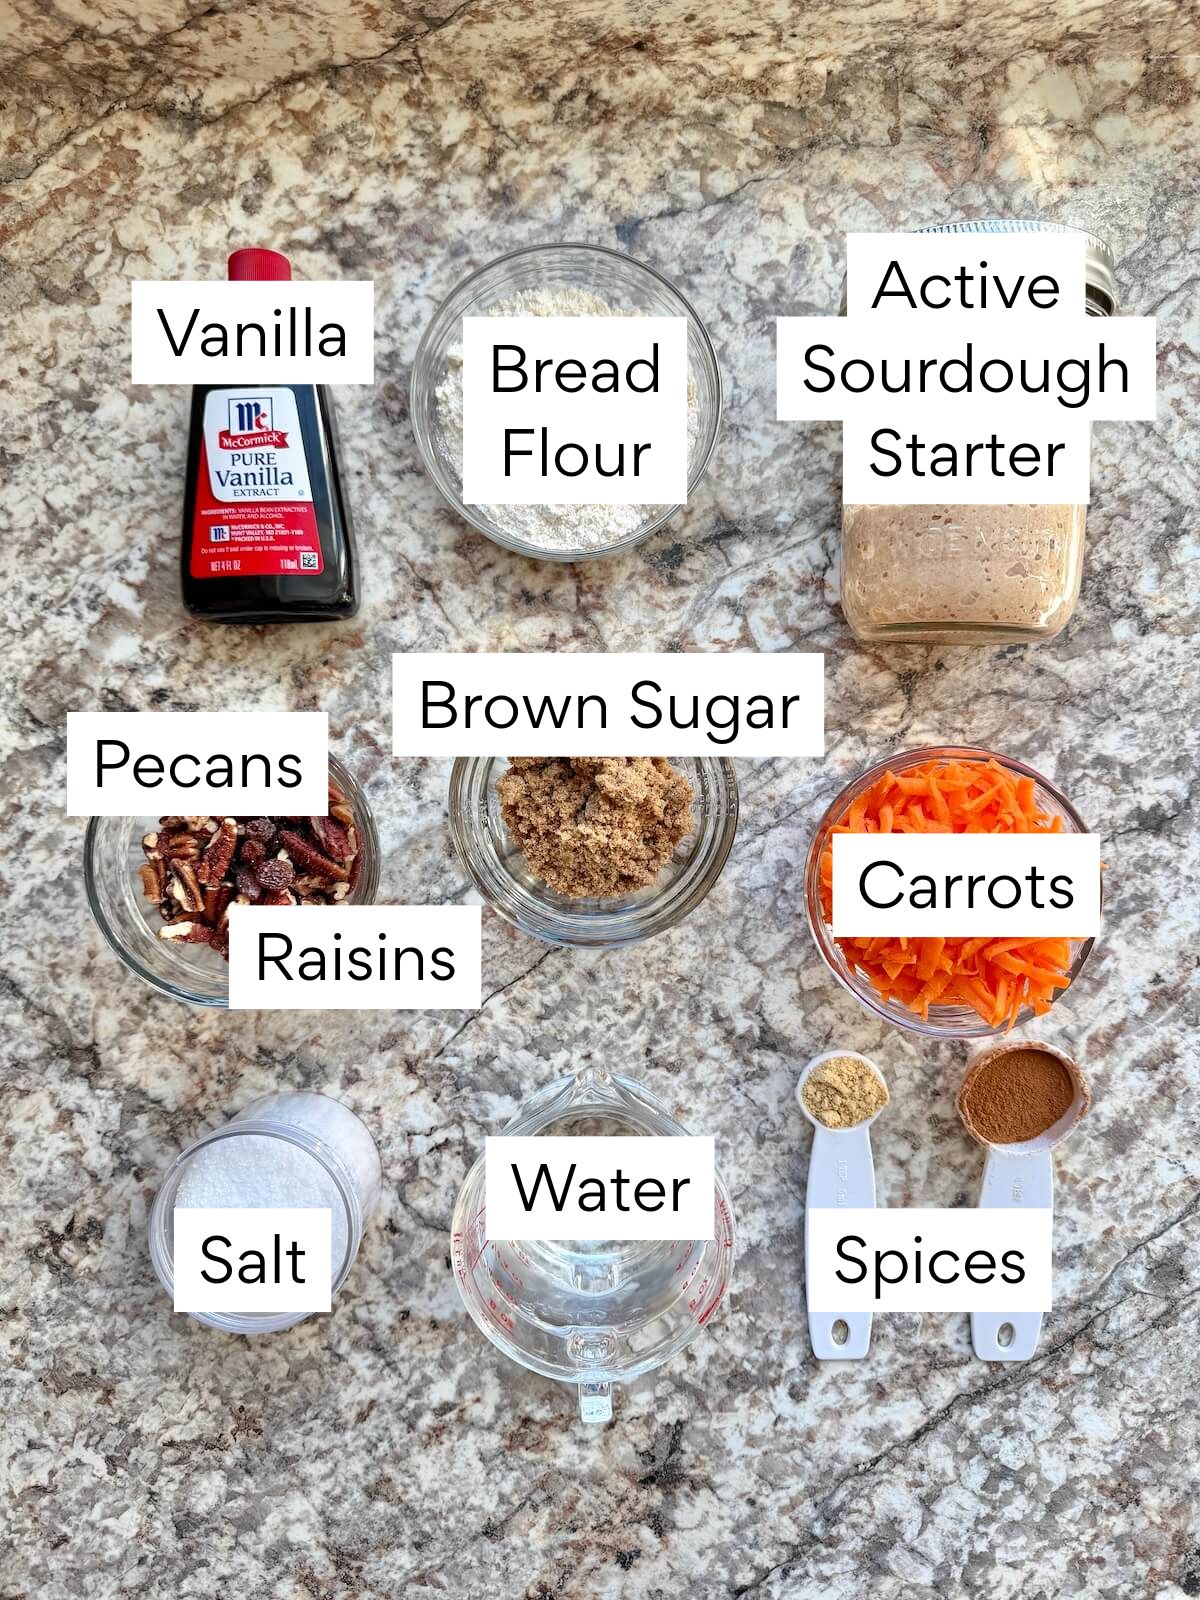
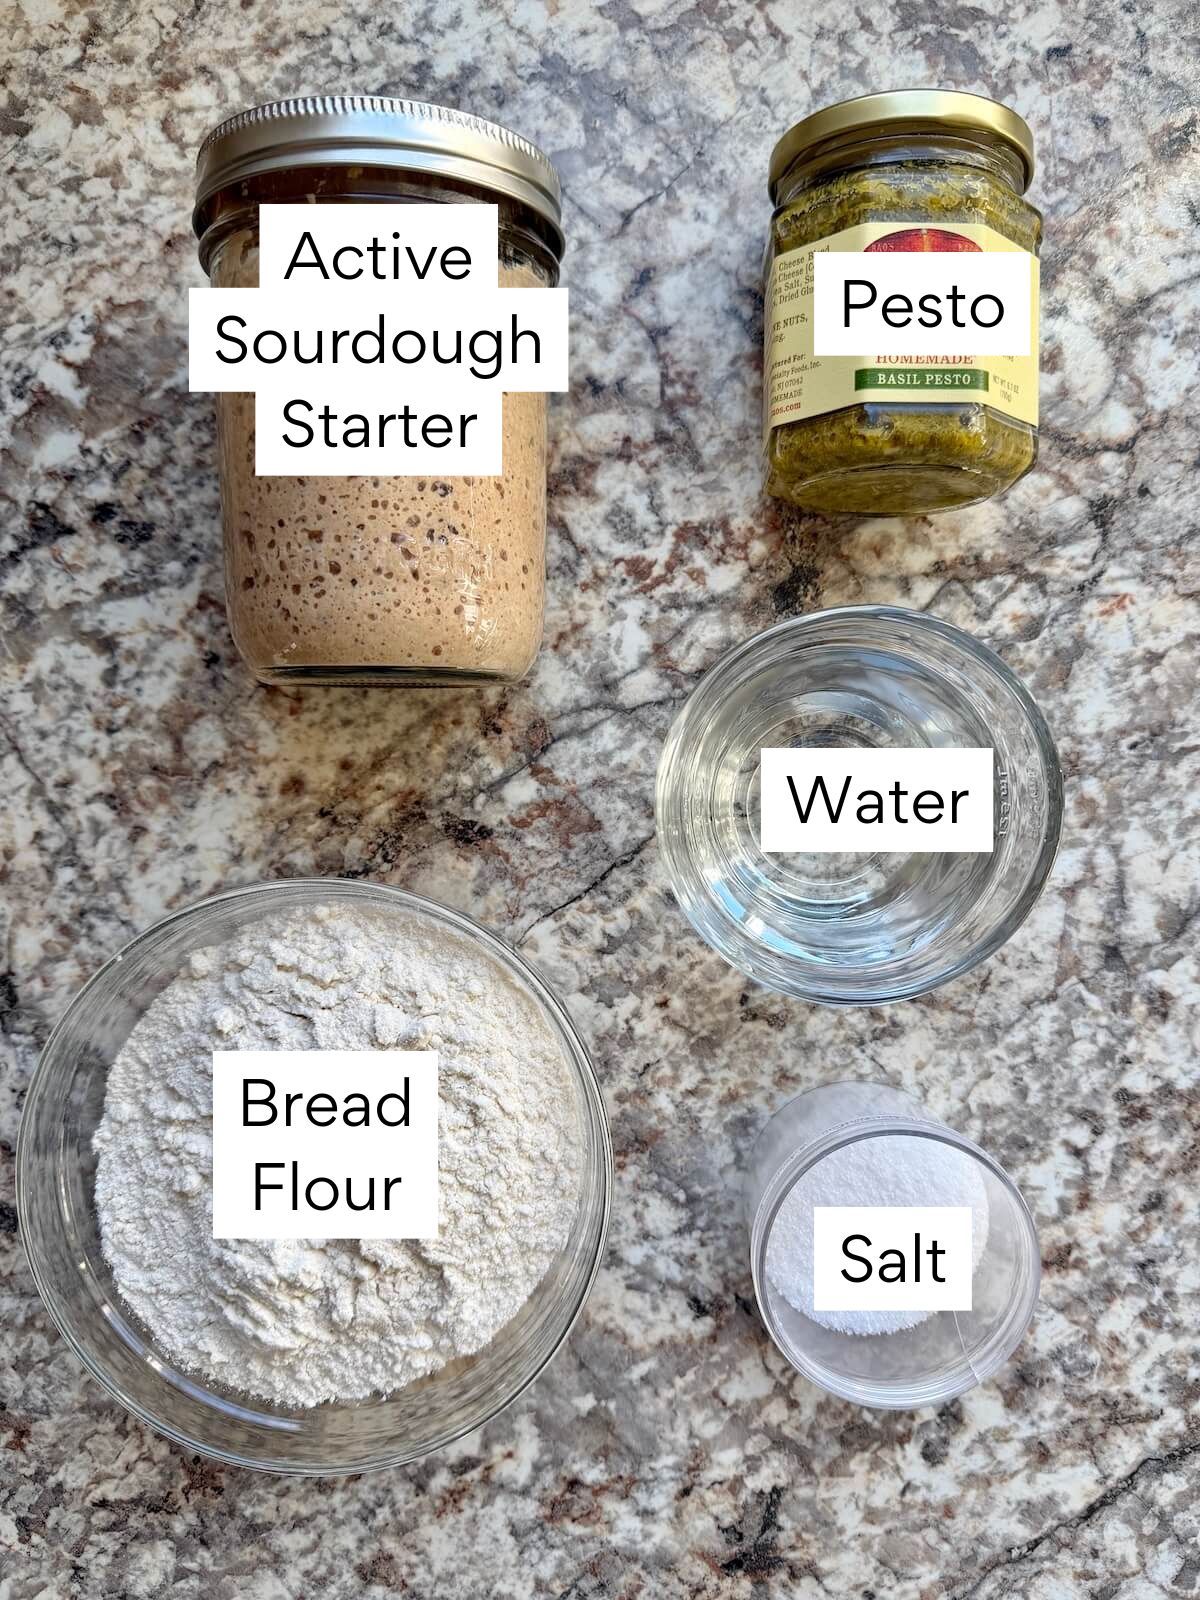
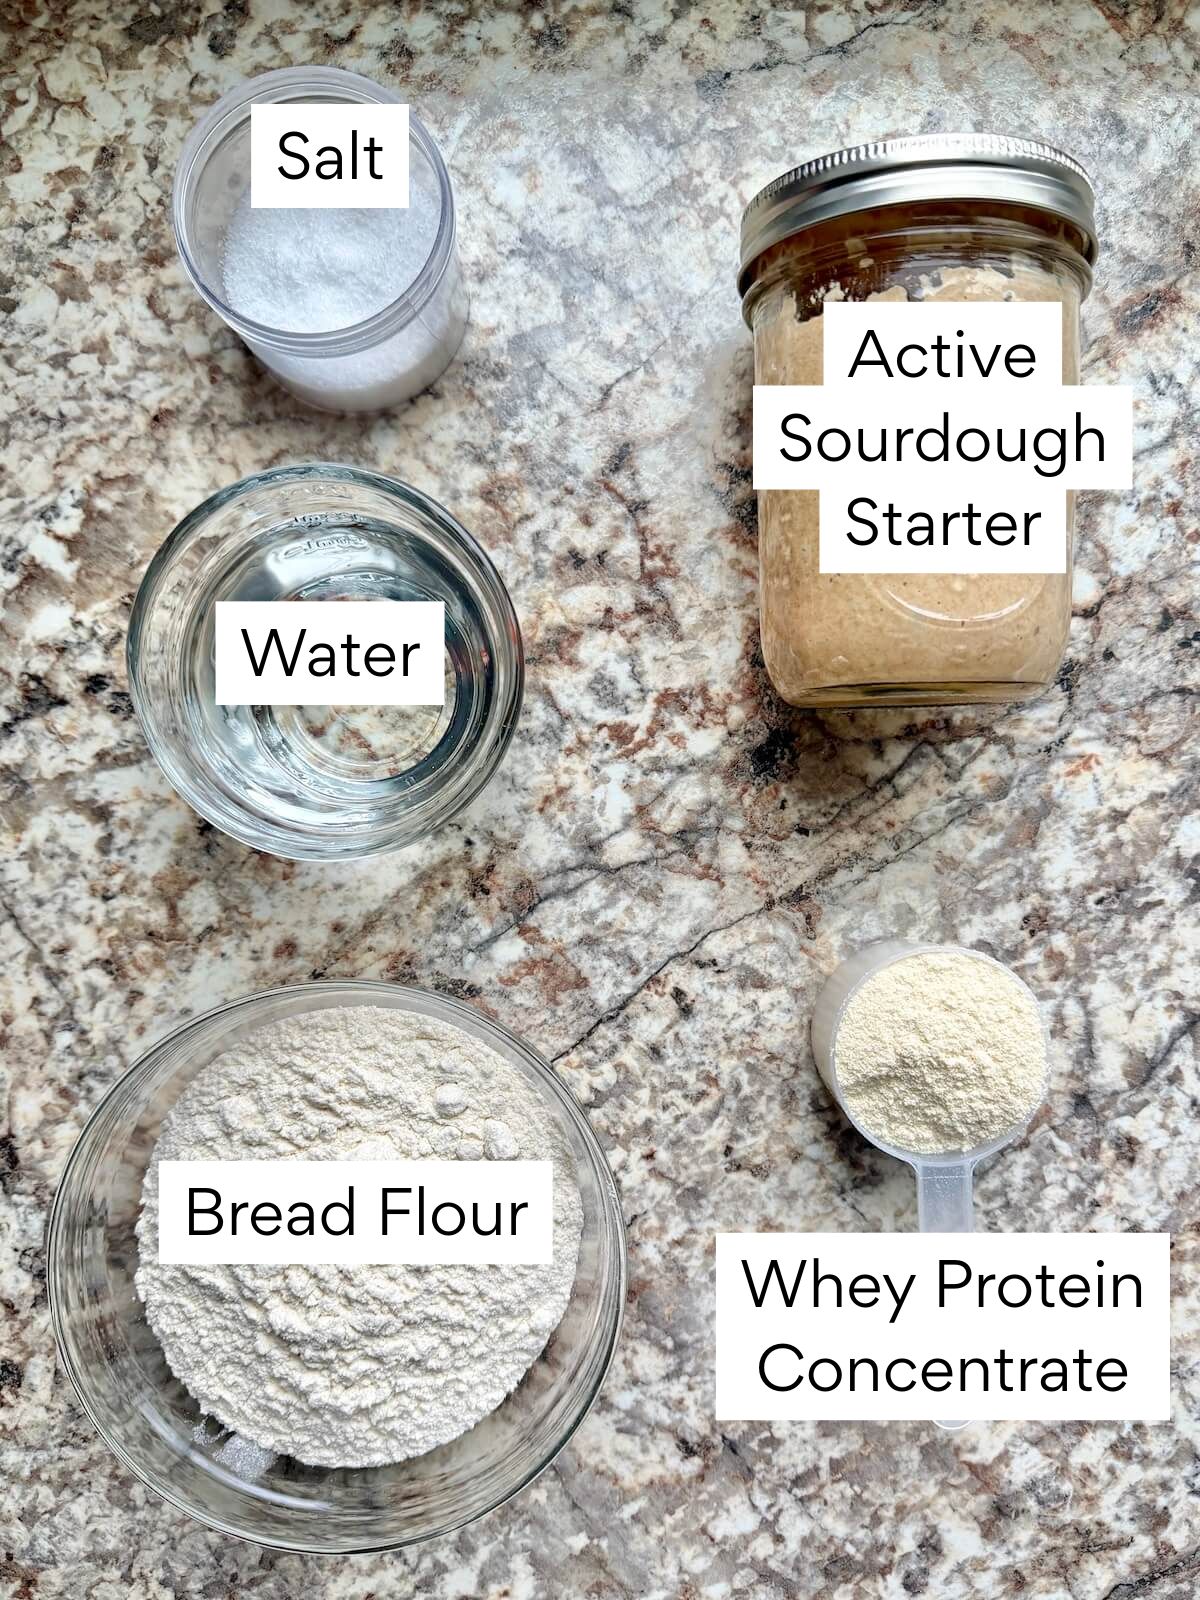
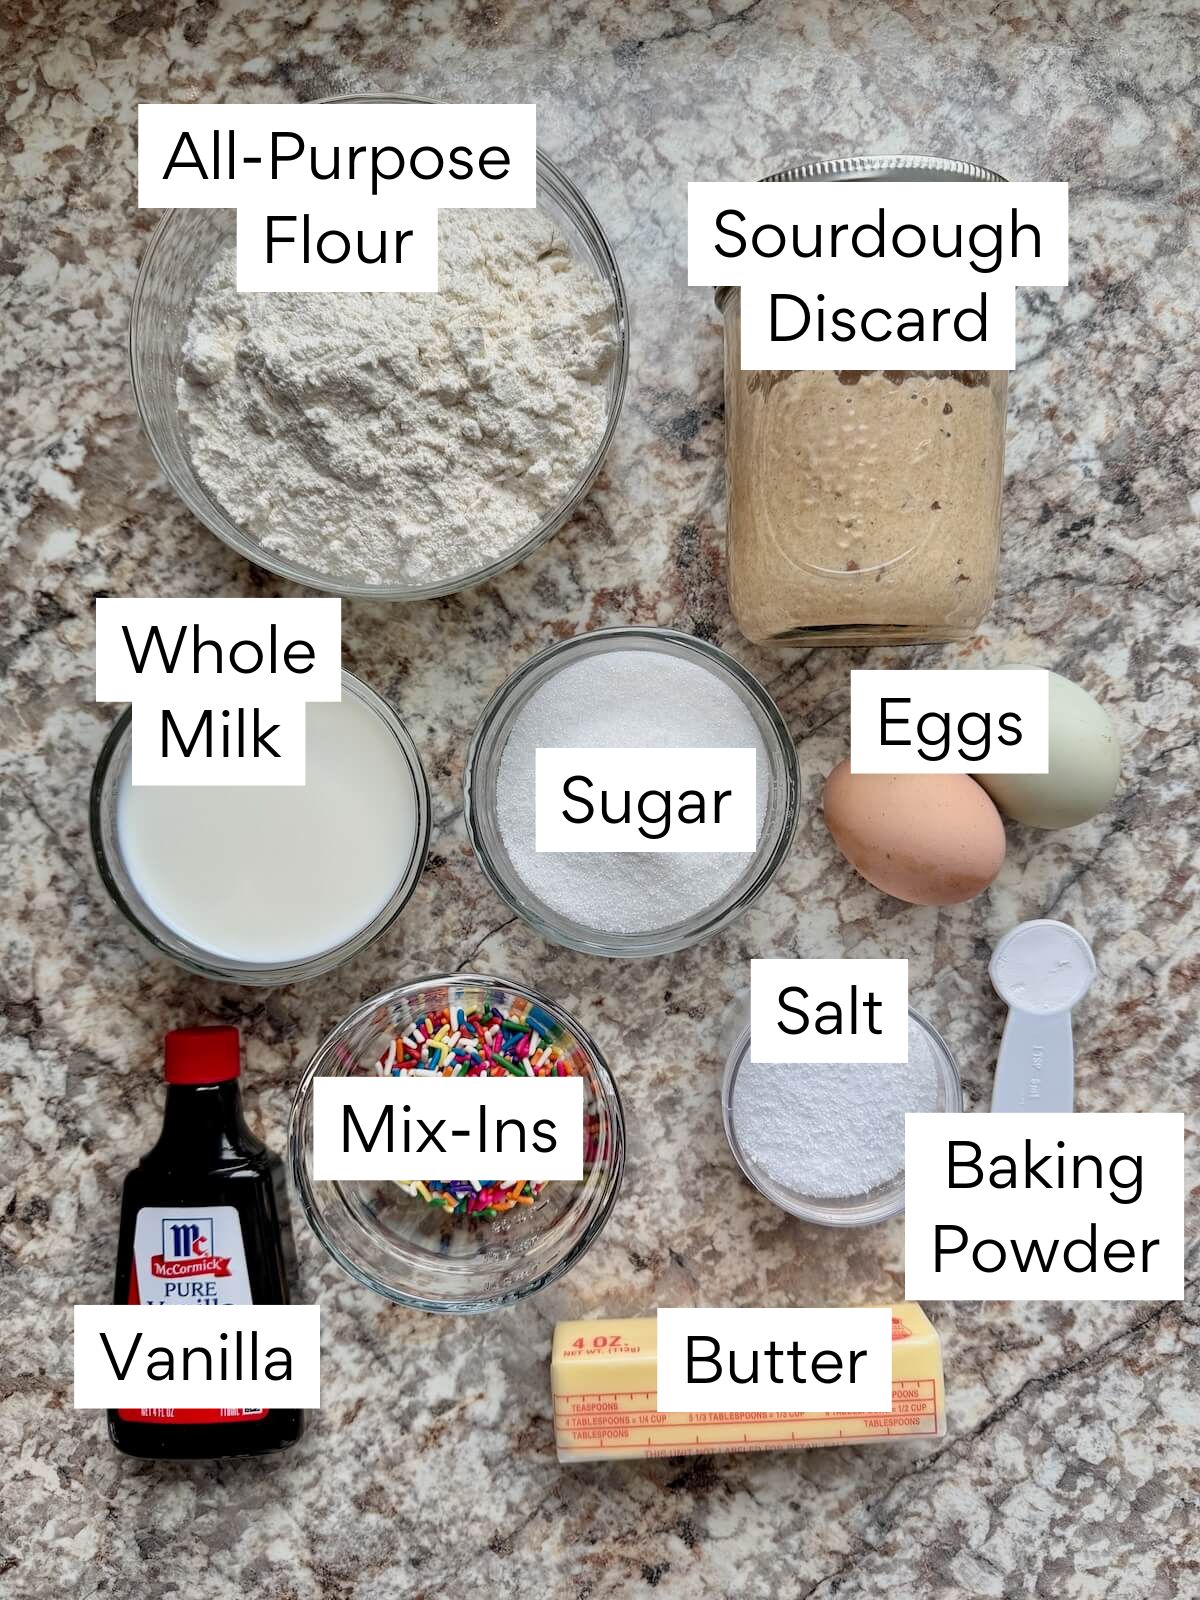
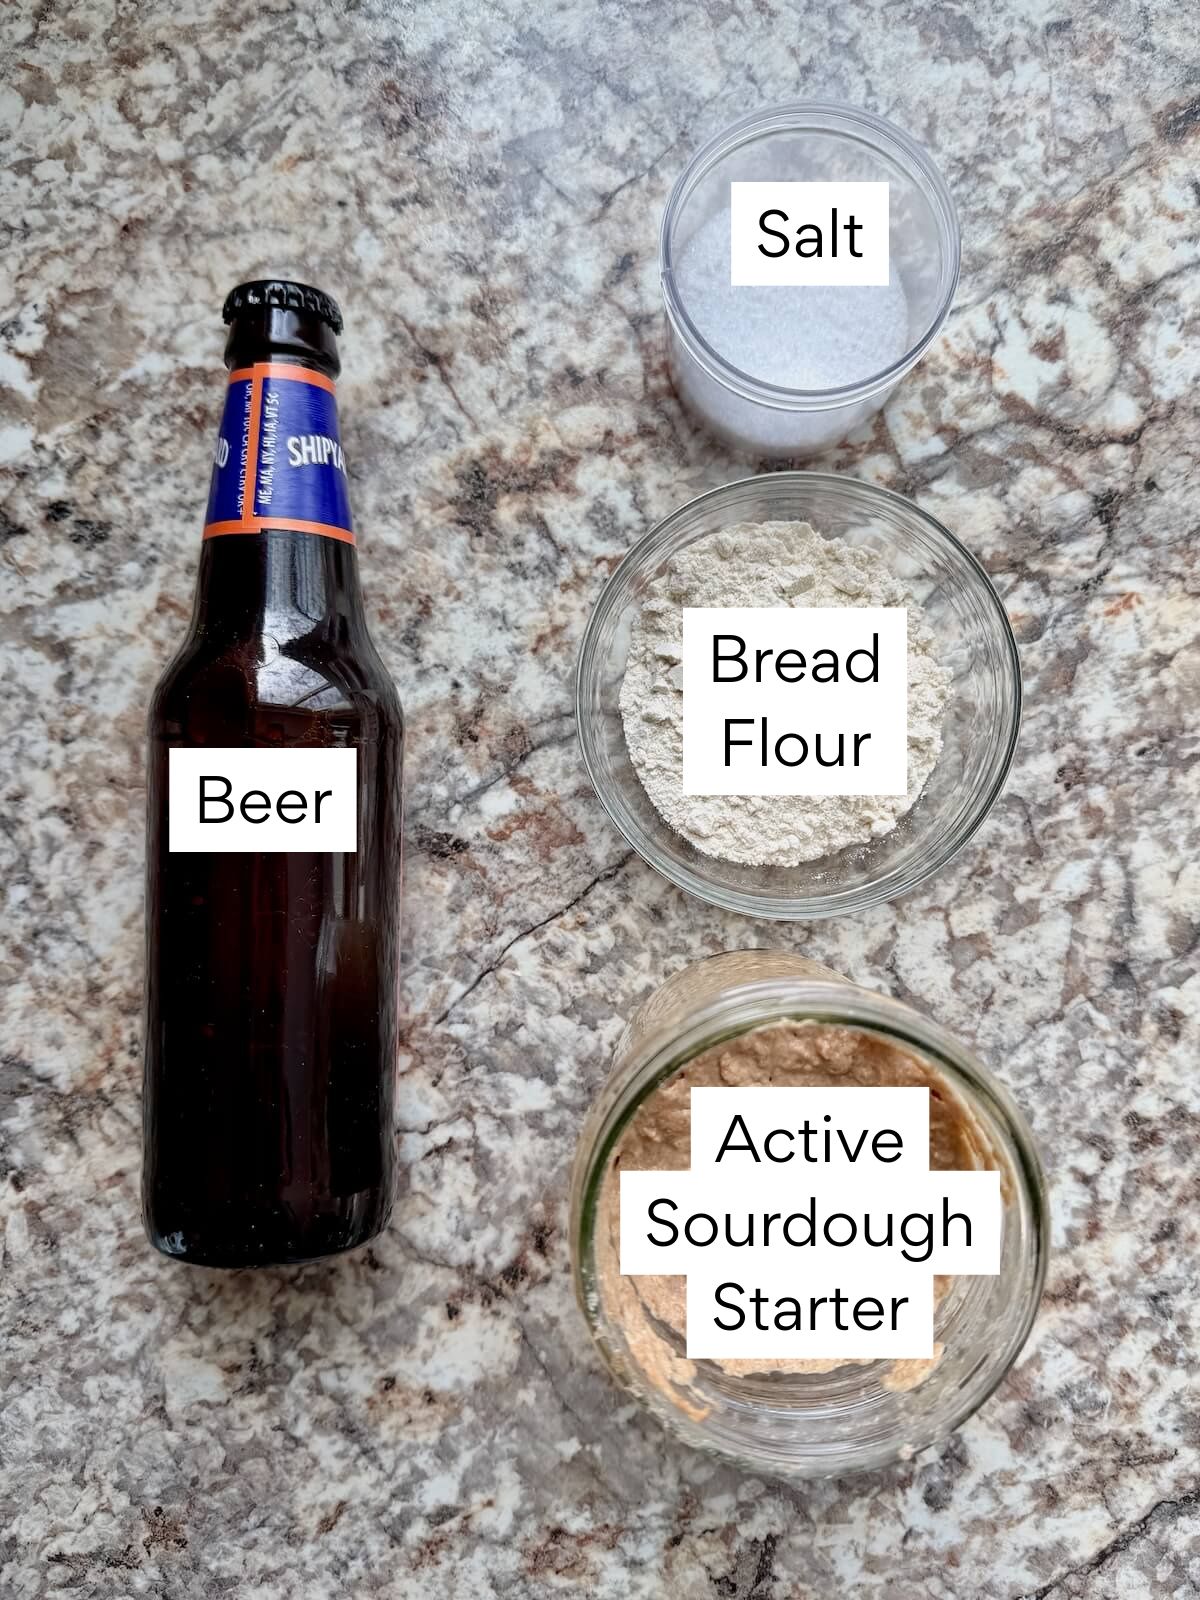
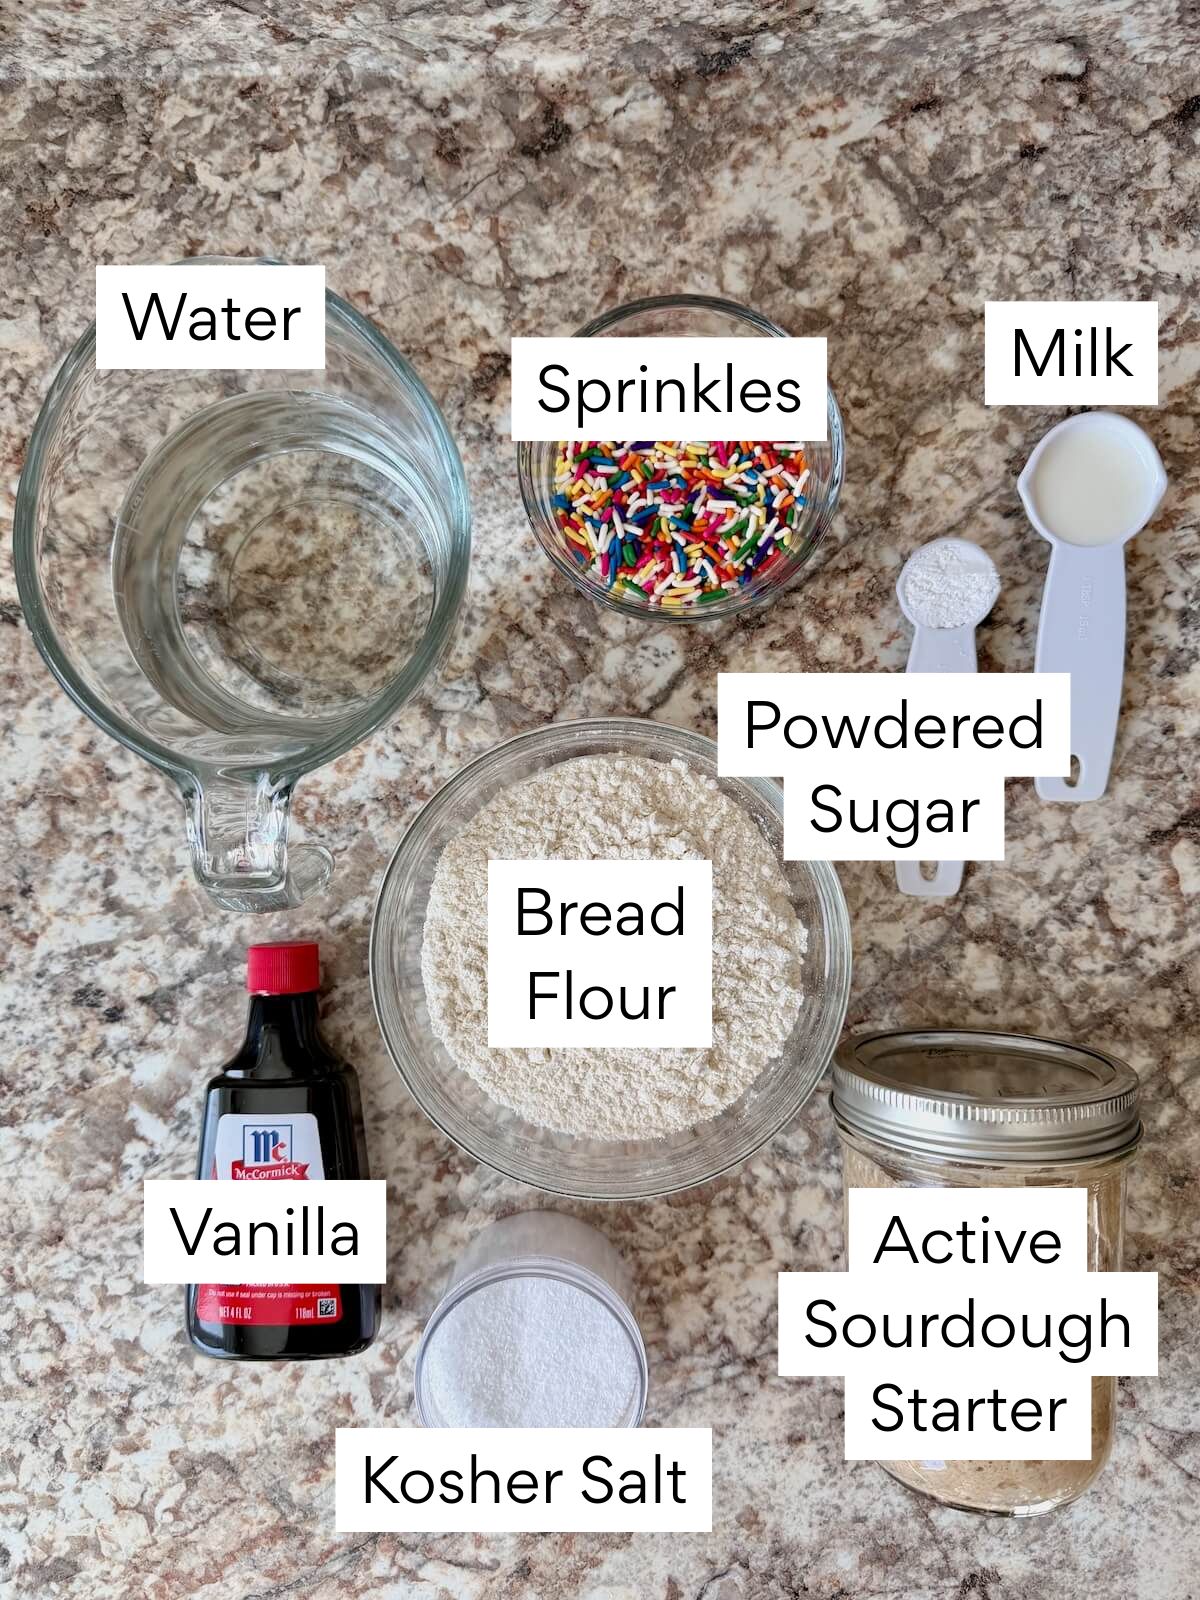
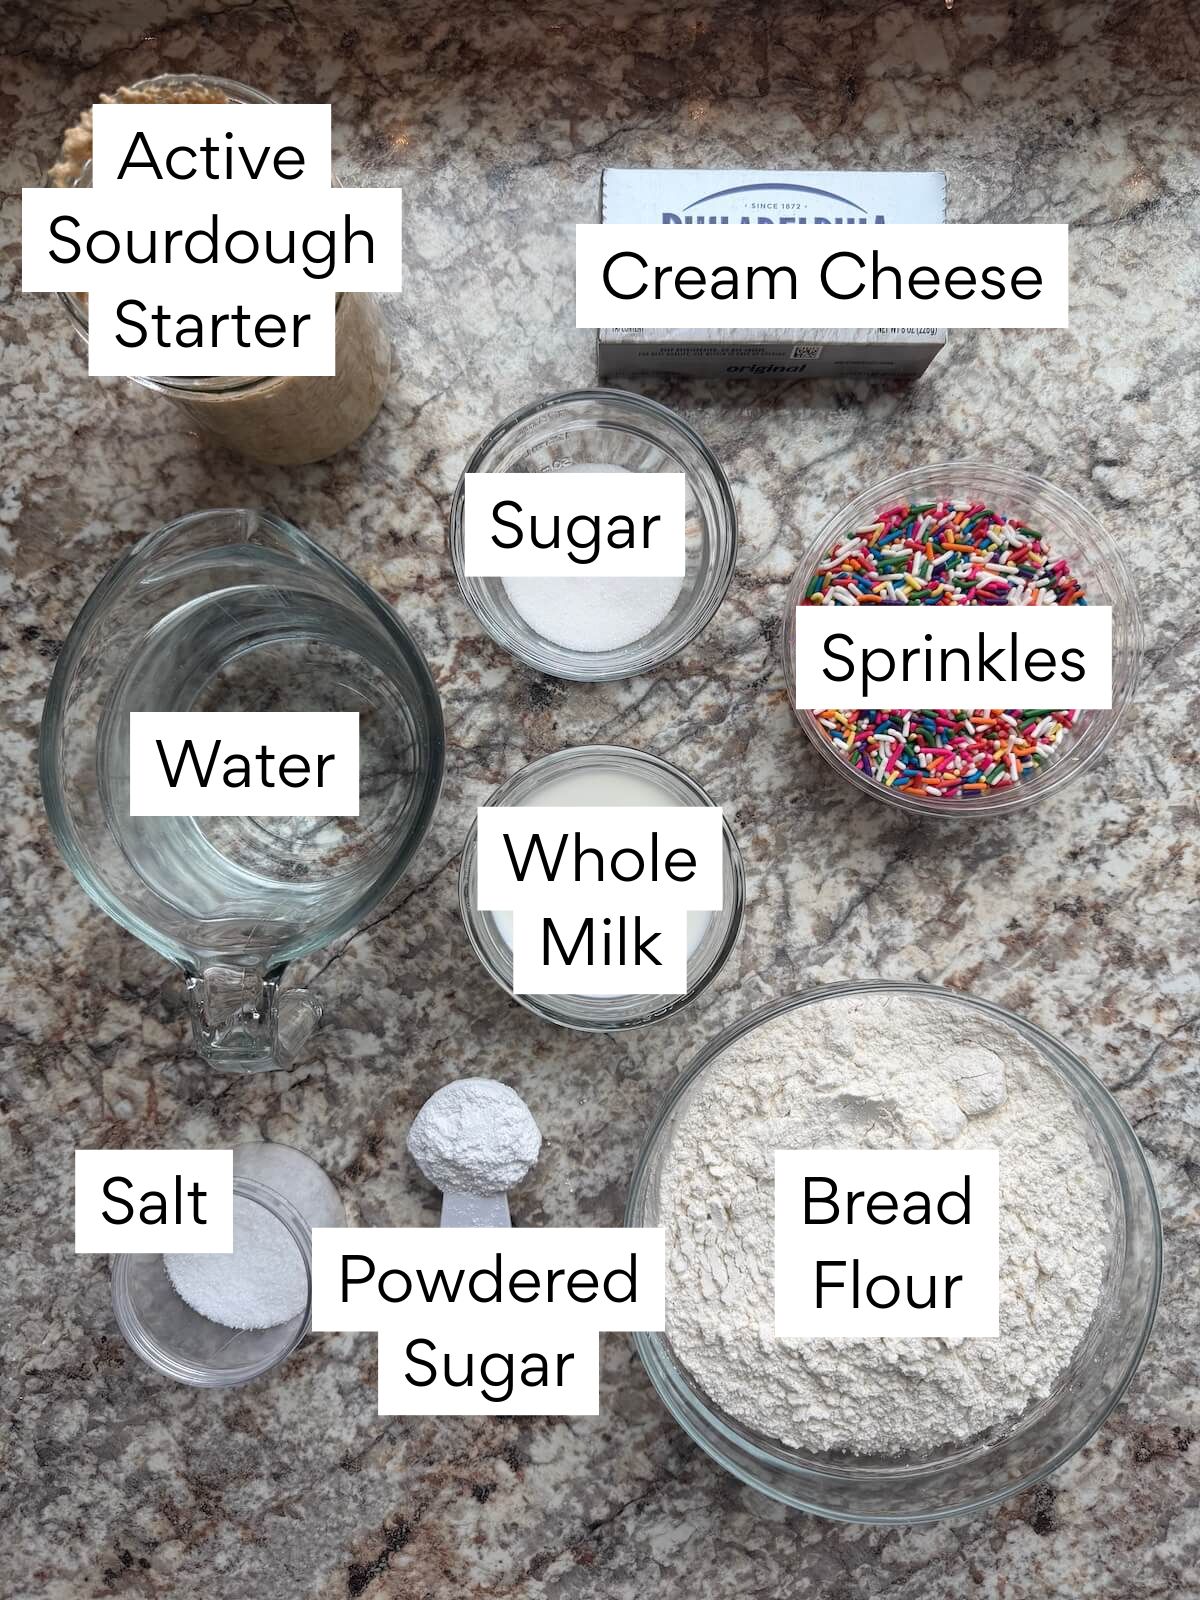
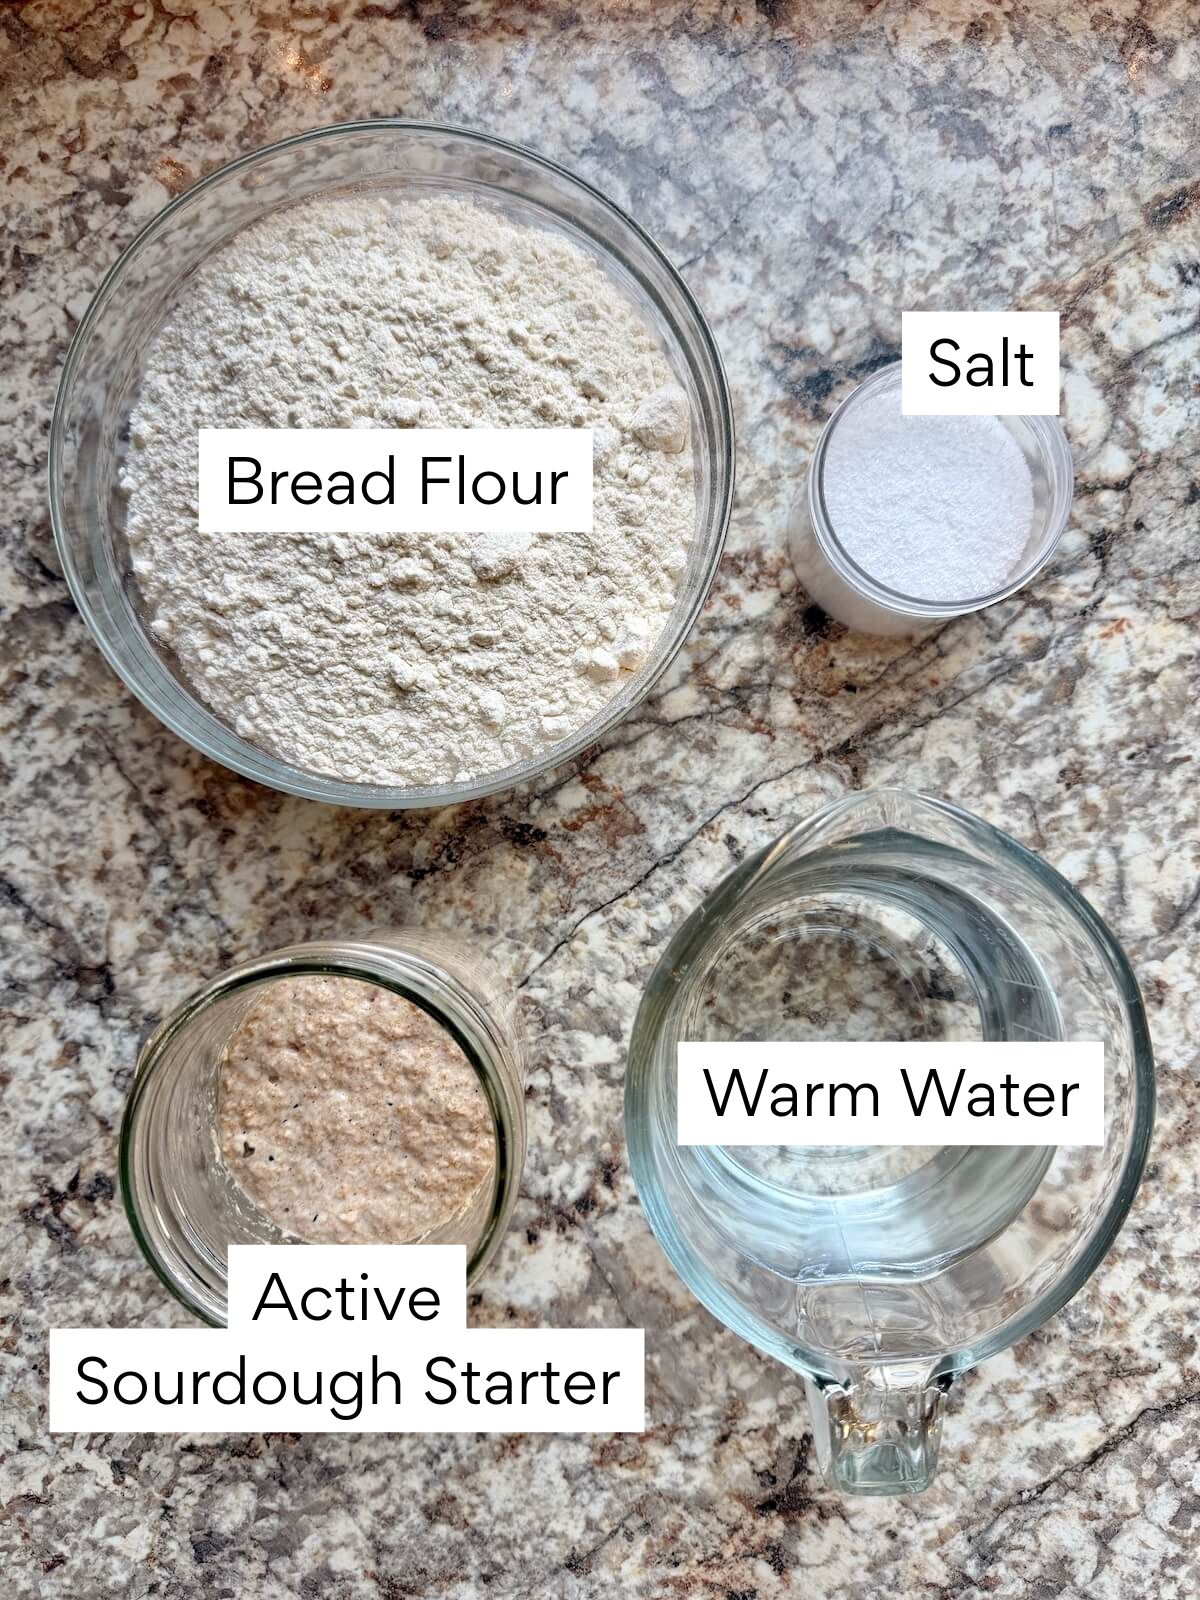
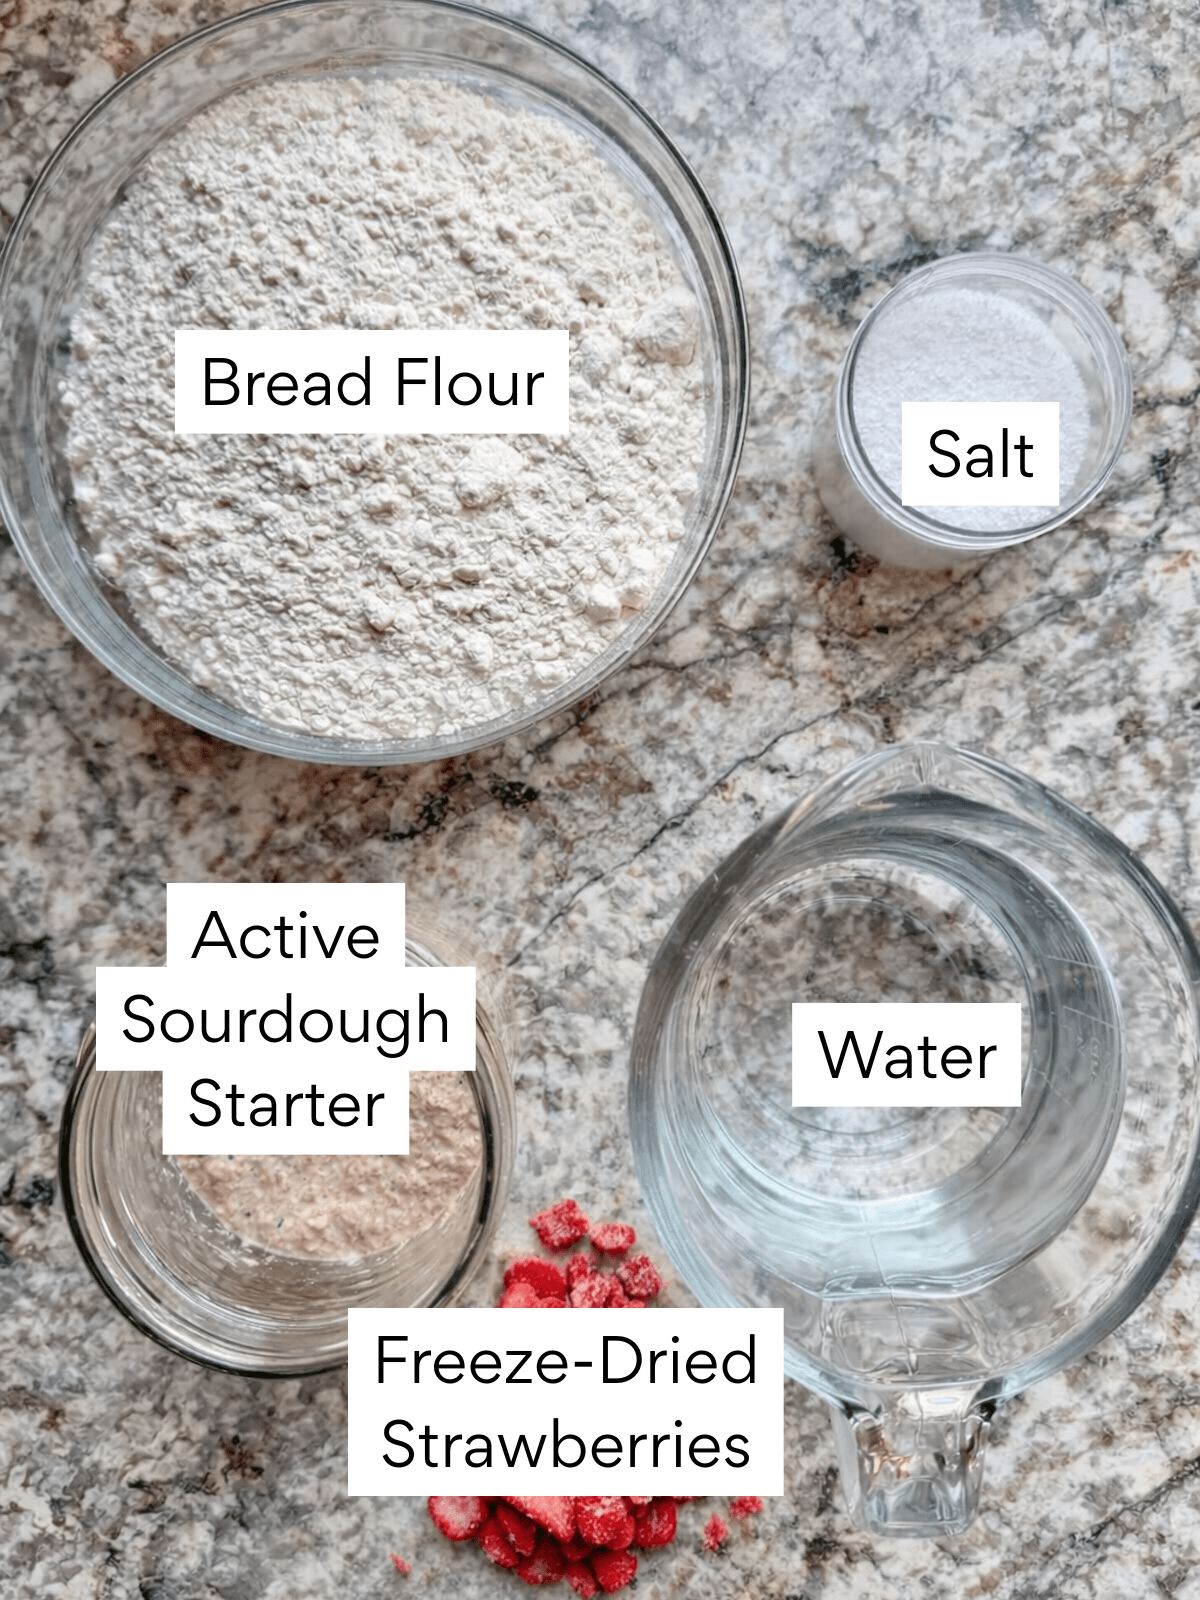
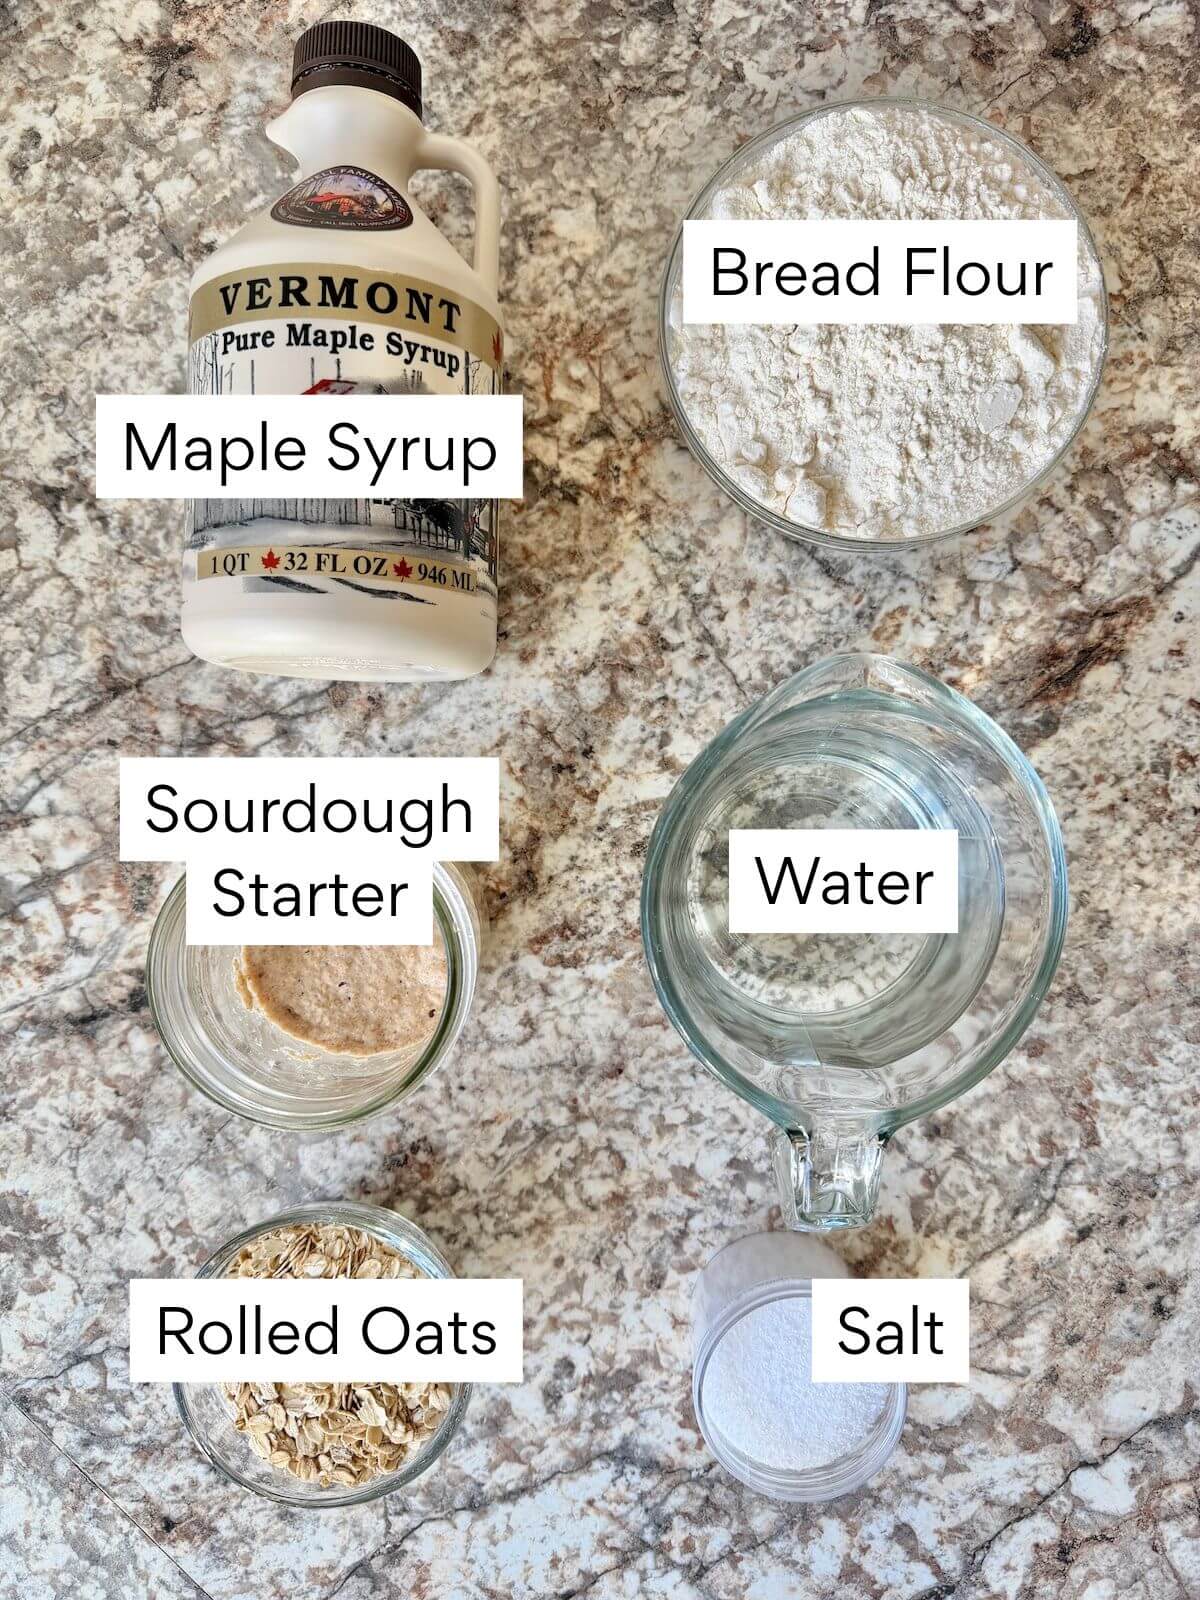
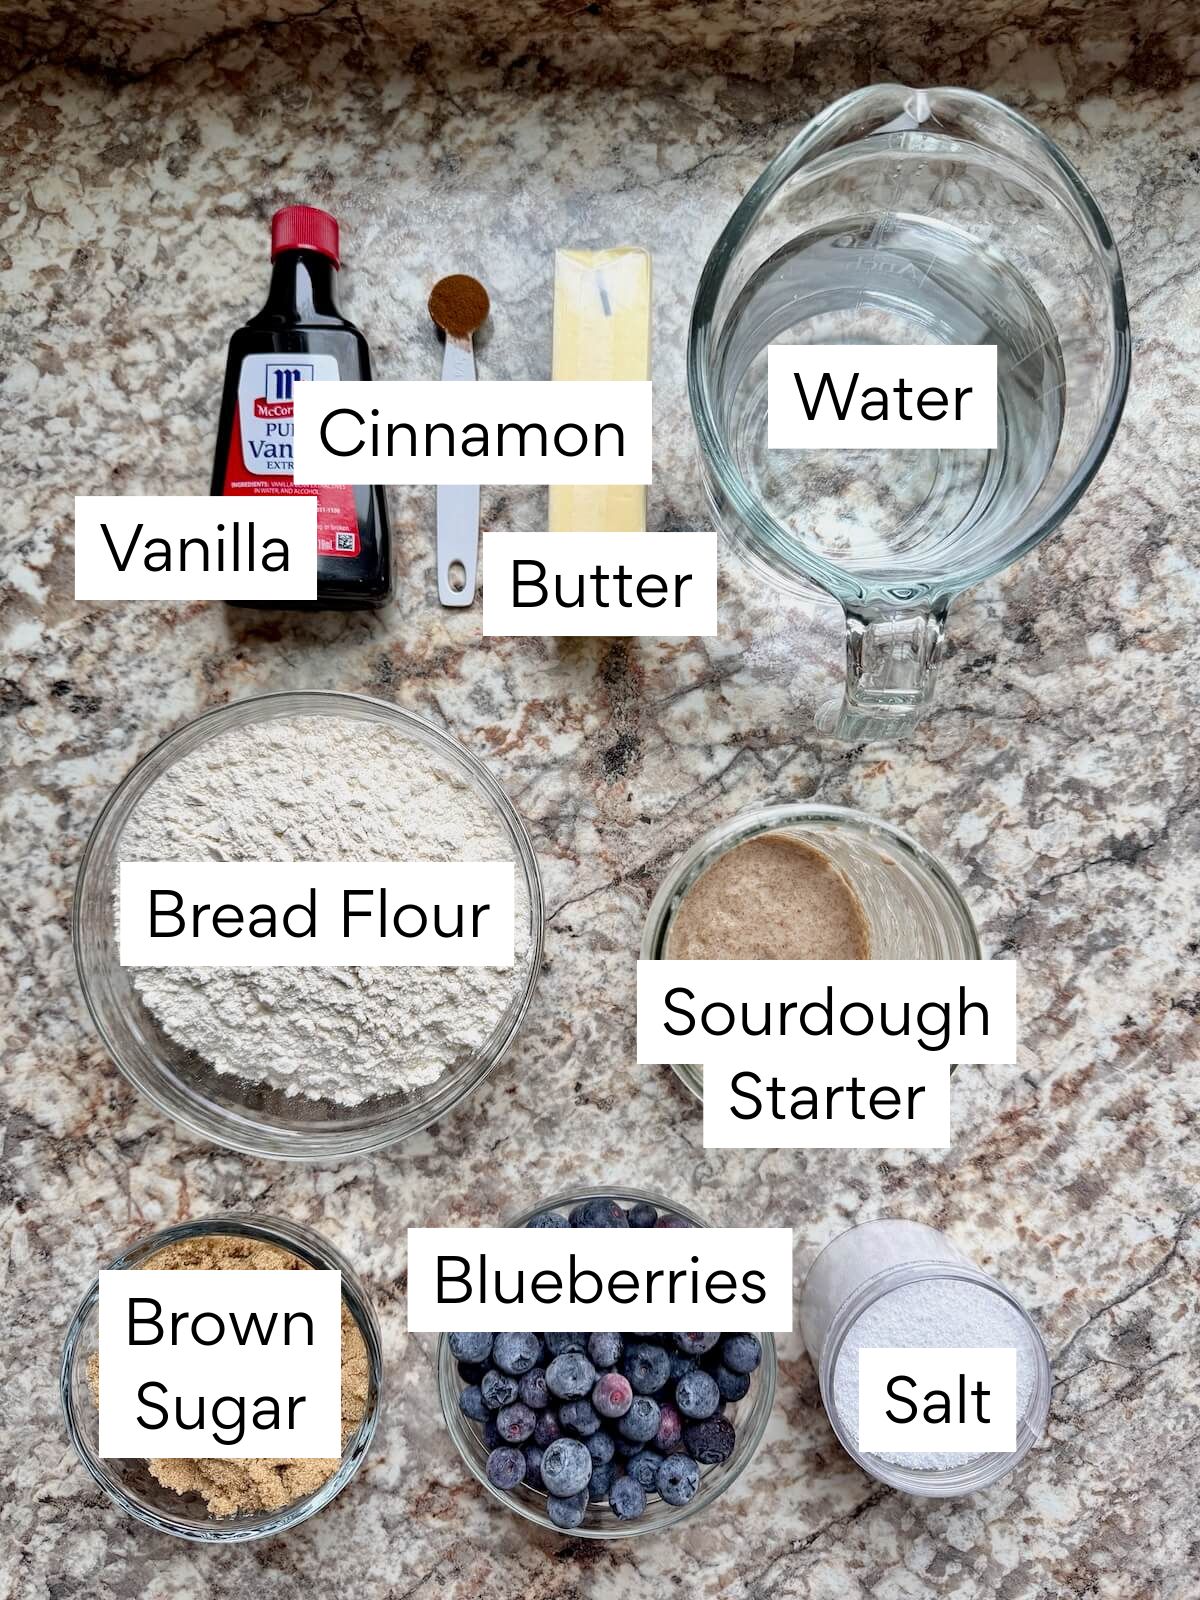
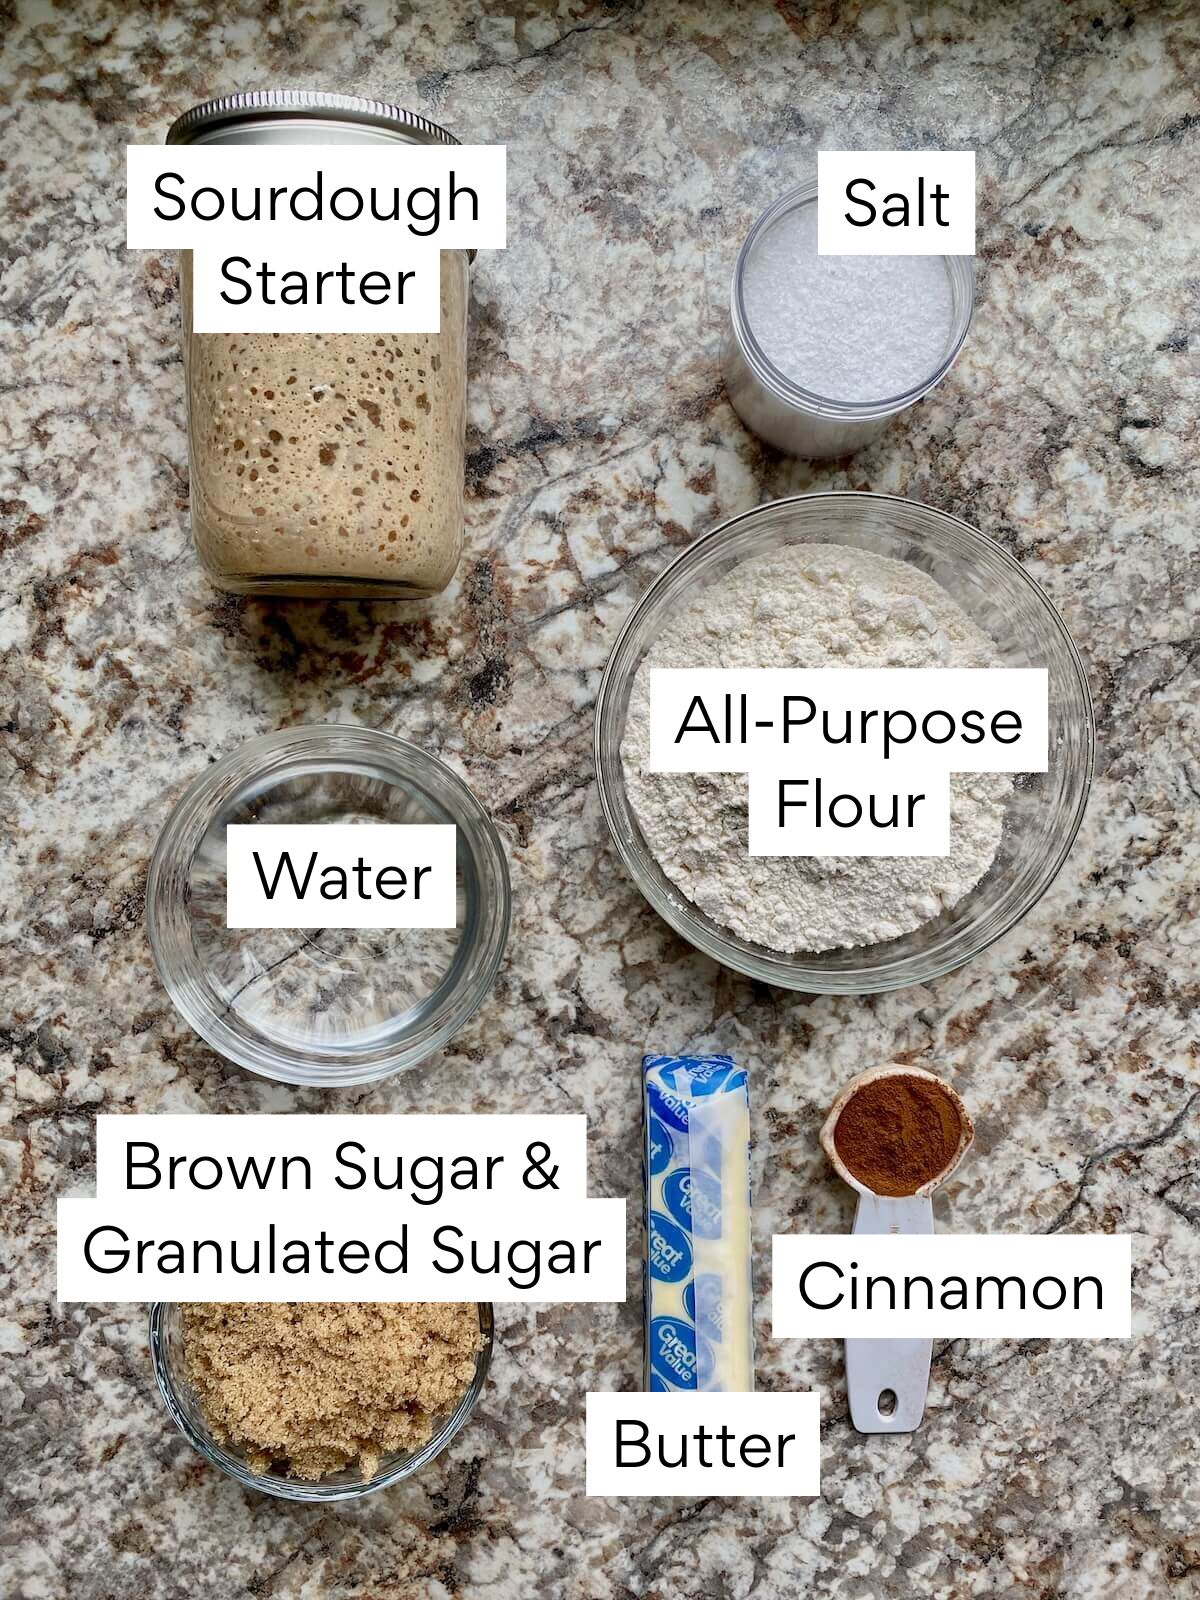
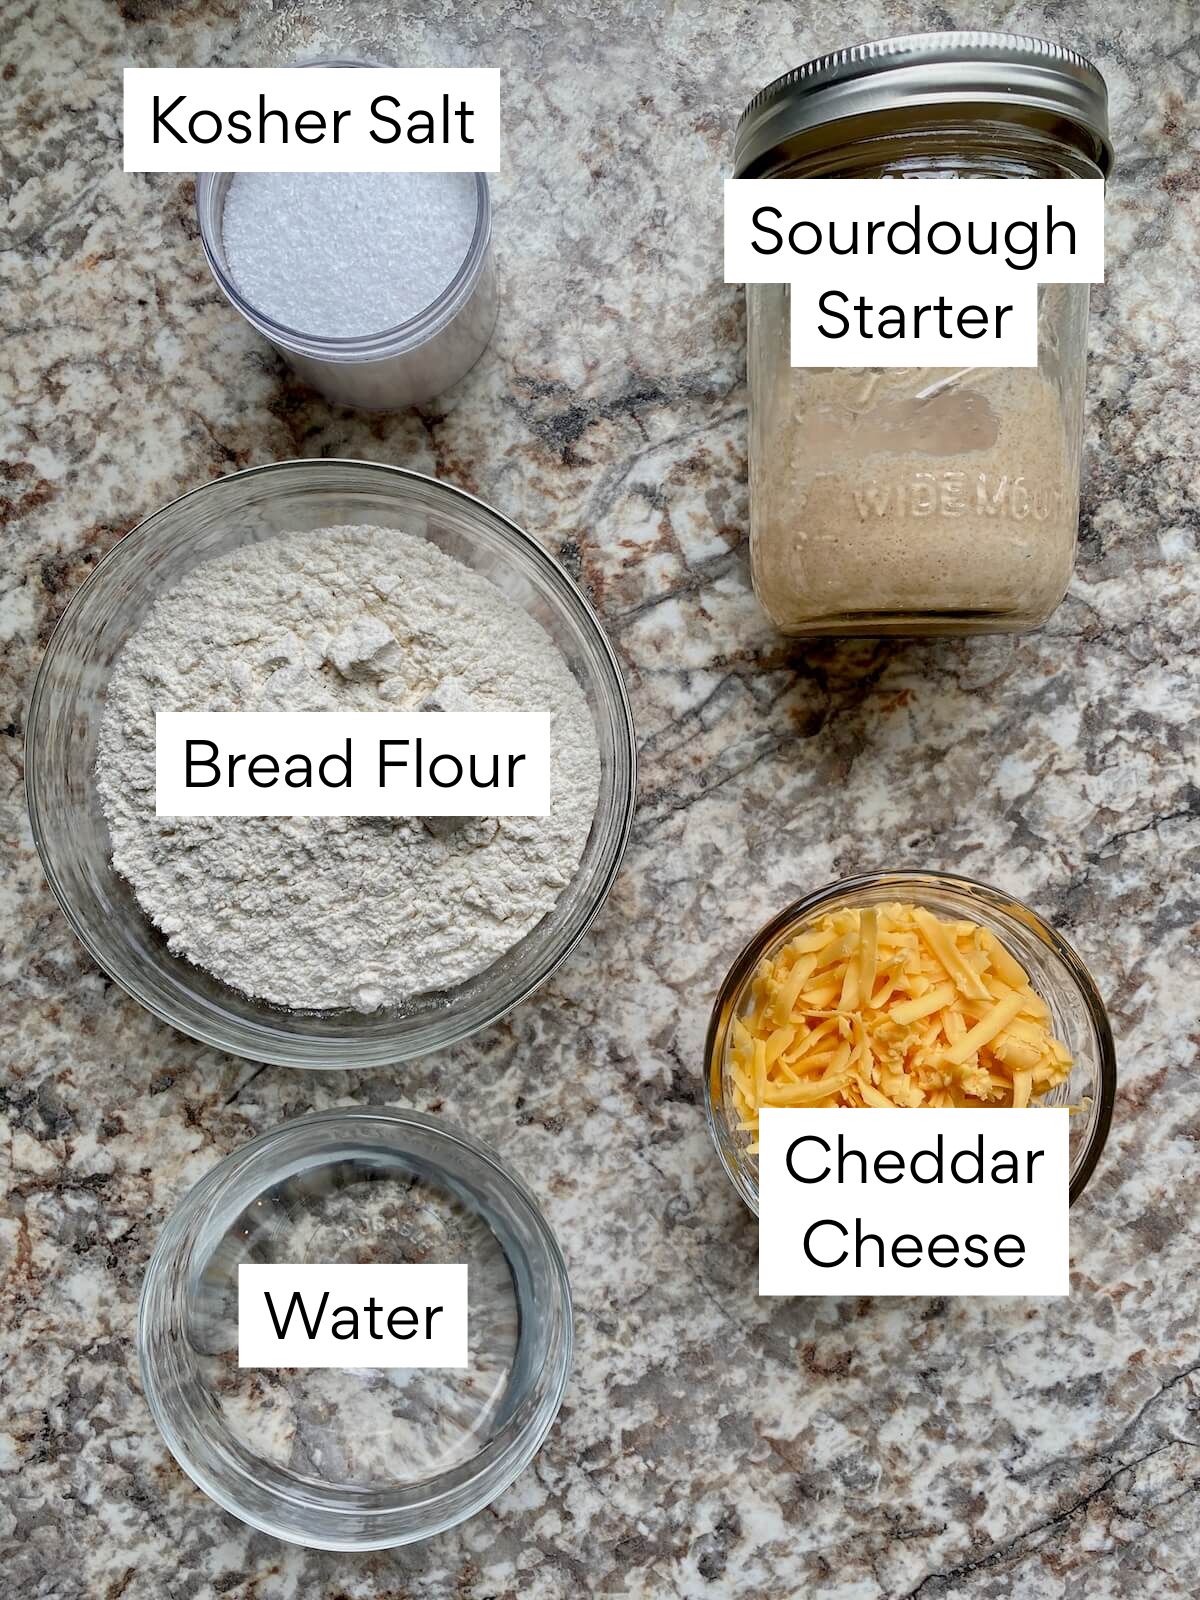
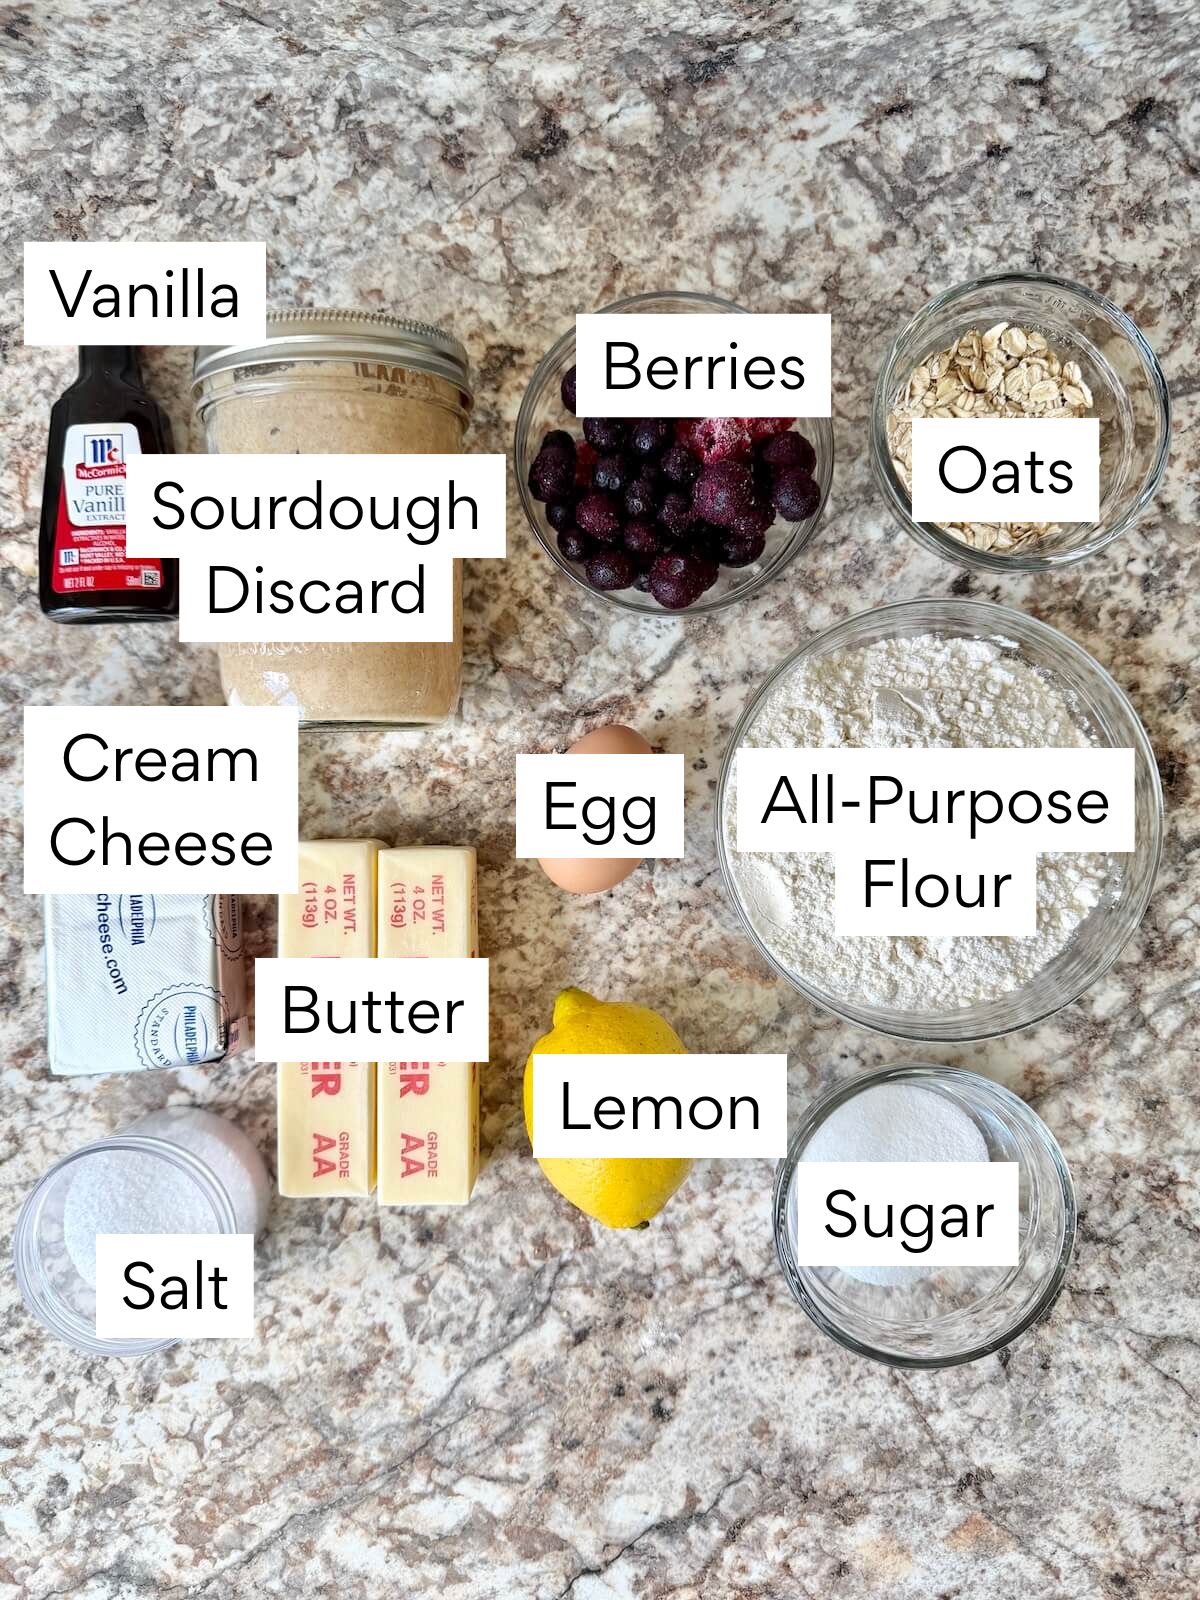
Ingredients & Substitutions
Here are some notes on key ingredients. For a full list of ingredients, check out the recipe card below.
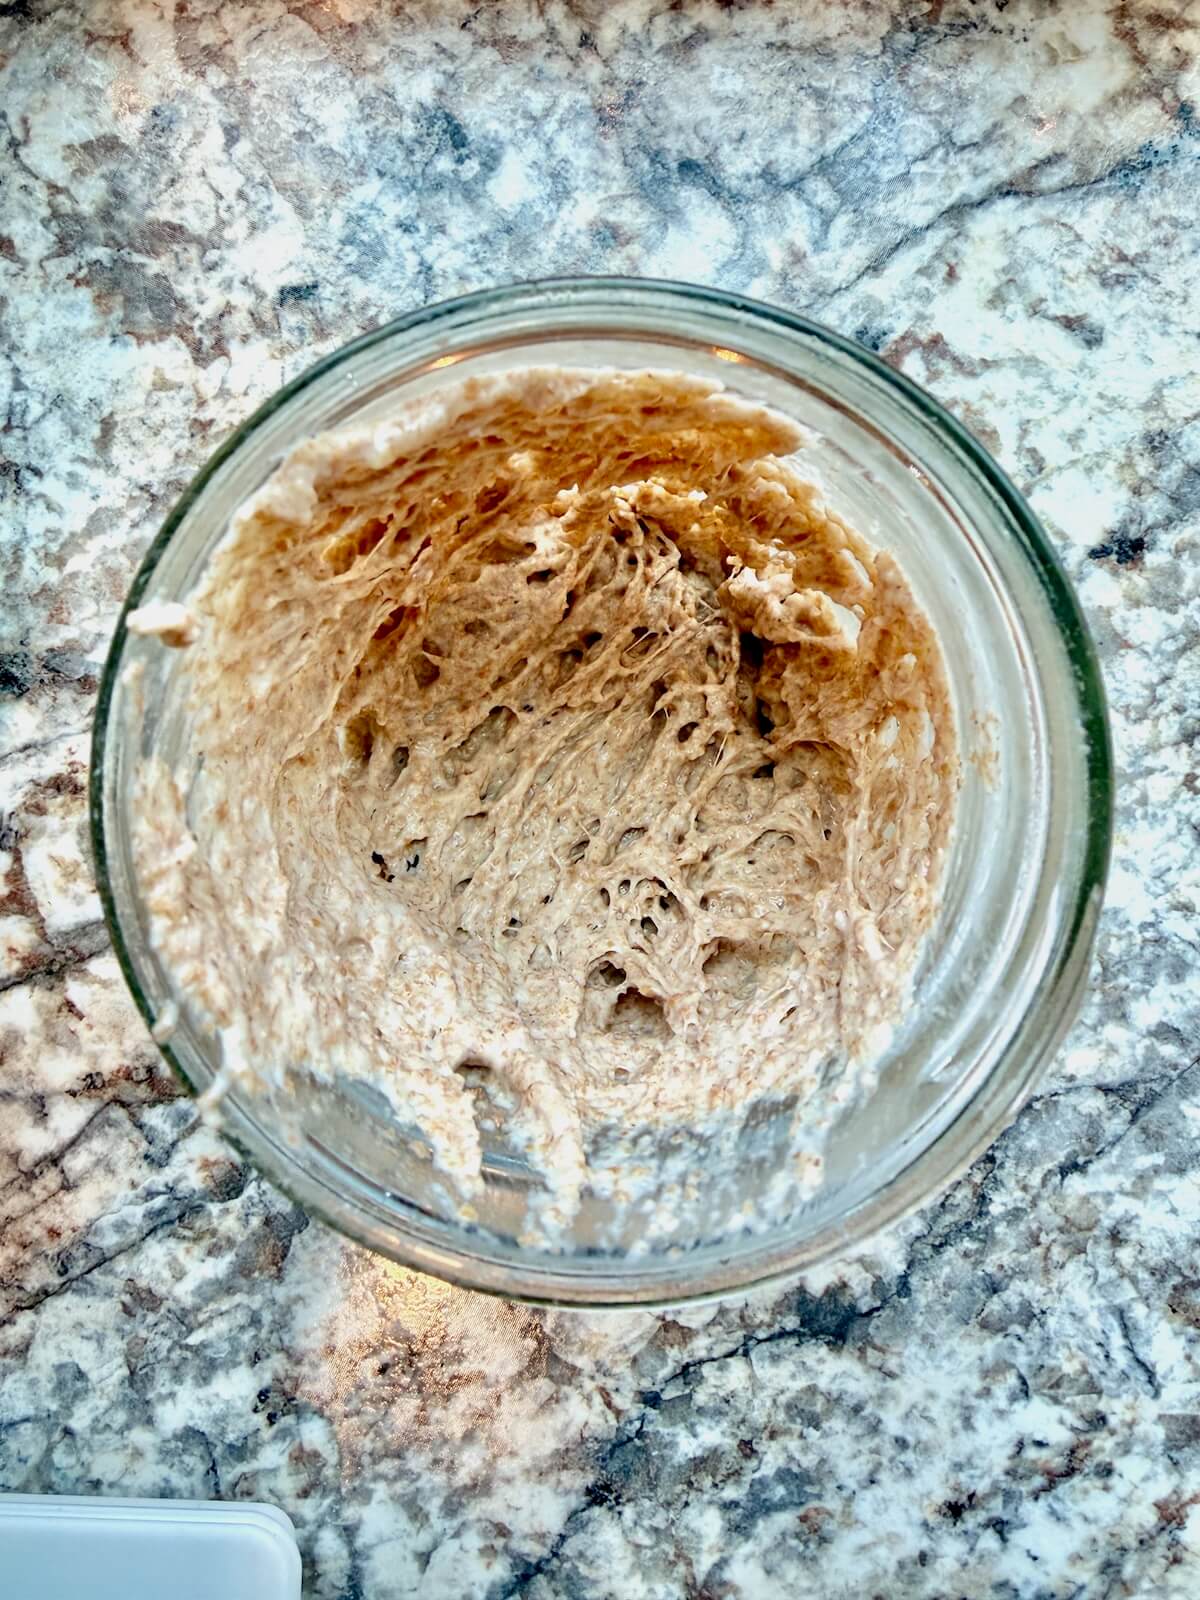
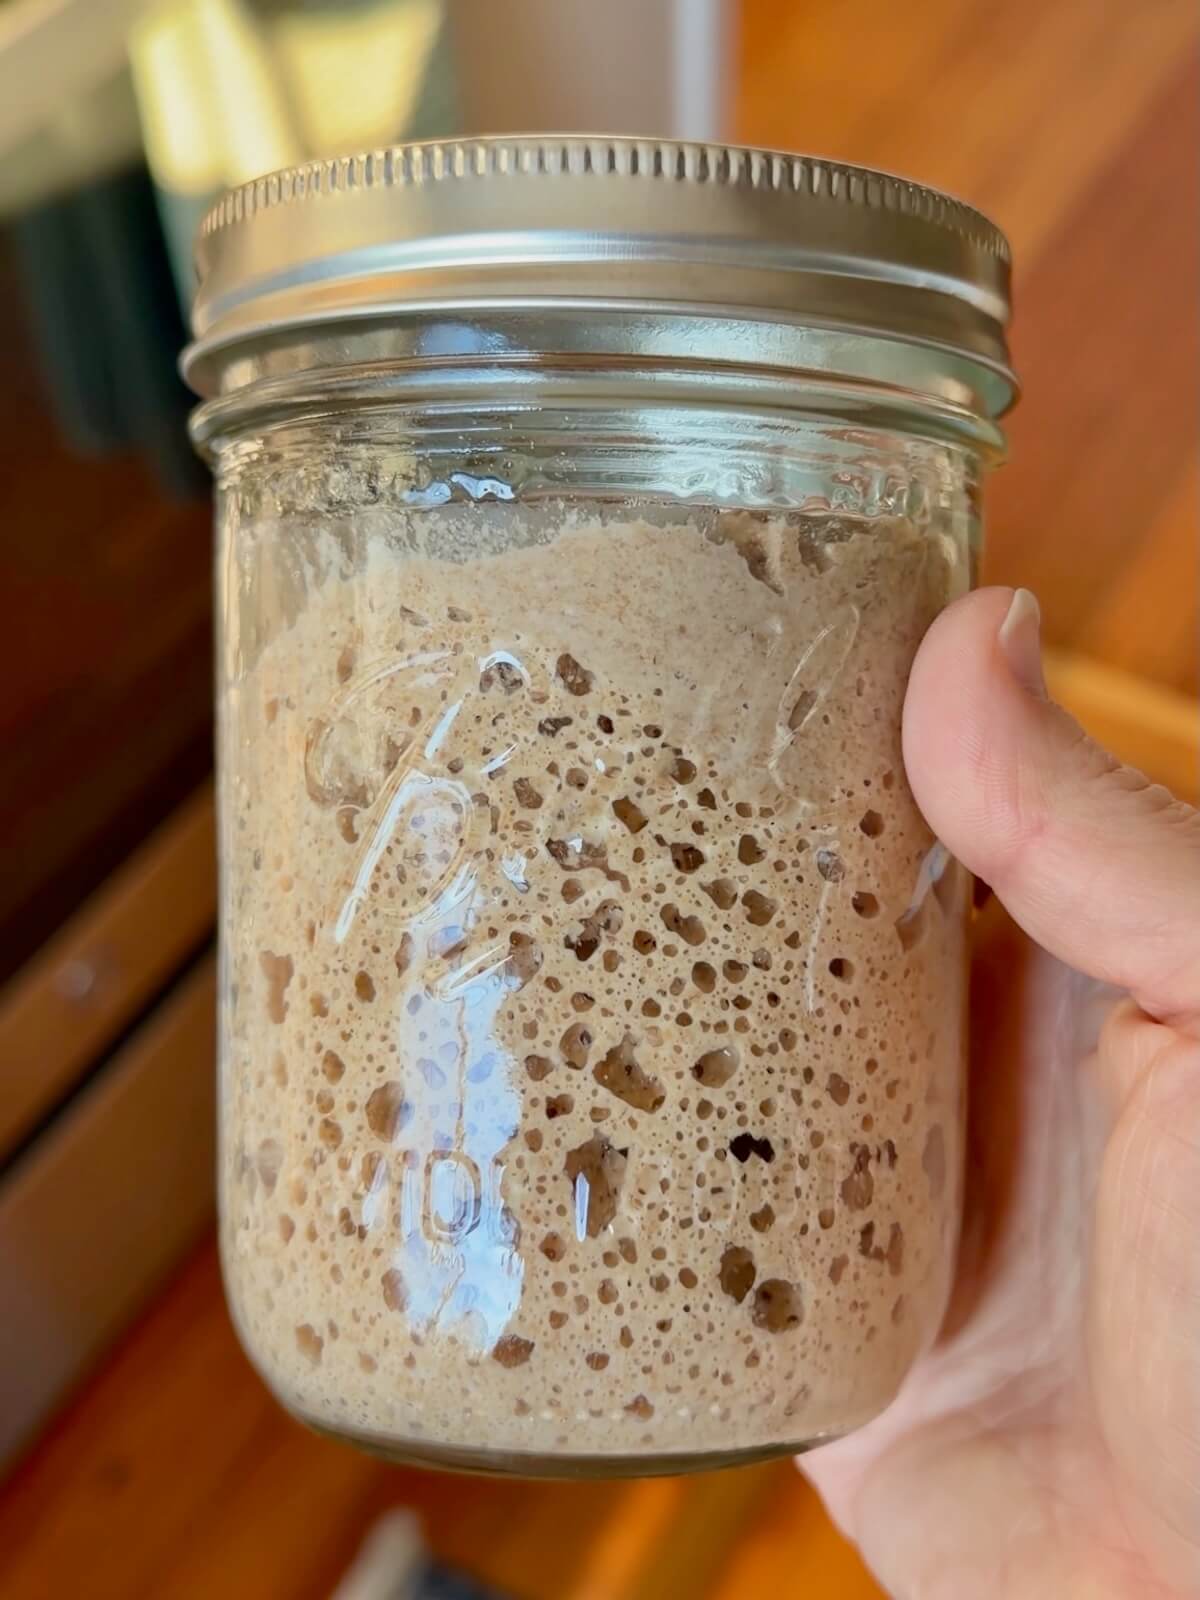
- Sourdough Discard- Adds a subtle tangy flavor and is a great way to use up leftover discard.
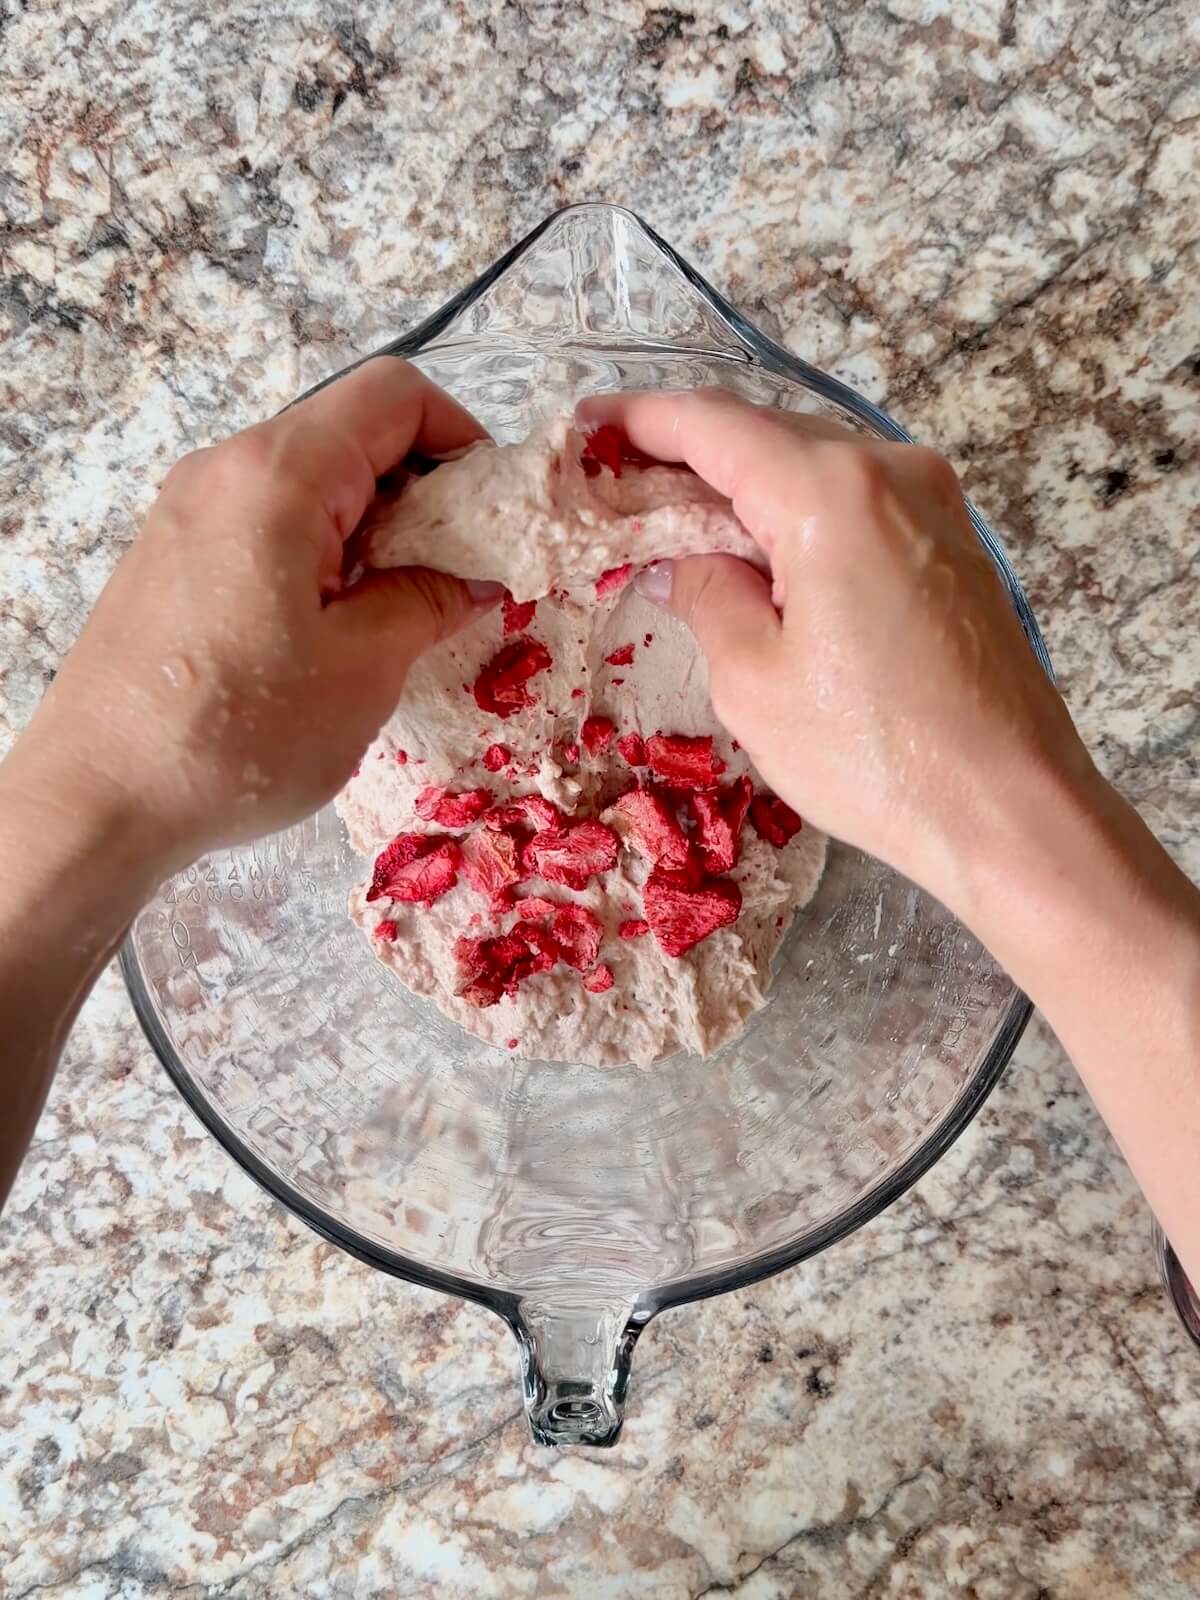
- Raspberries- Fresh or frozen both work well. You can also substitute blueberries, blackberries, strawberries, or a mixed berry blend.
- Cream Cheese- Base of the creamy cheesecake layer. Make sure it is fully softened to room temperature for a smooth, lump-free filling.
- Oats- Add texture and structure to the crust and crumble topping. Old-fashioned rolled oats work best.
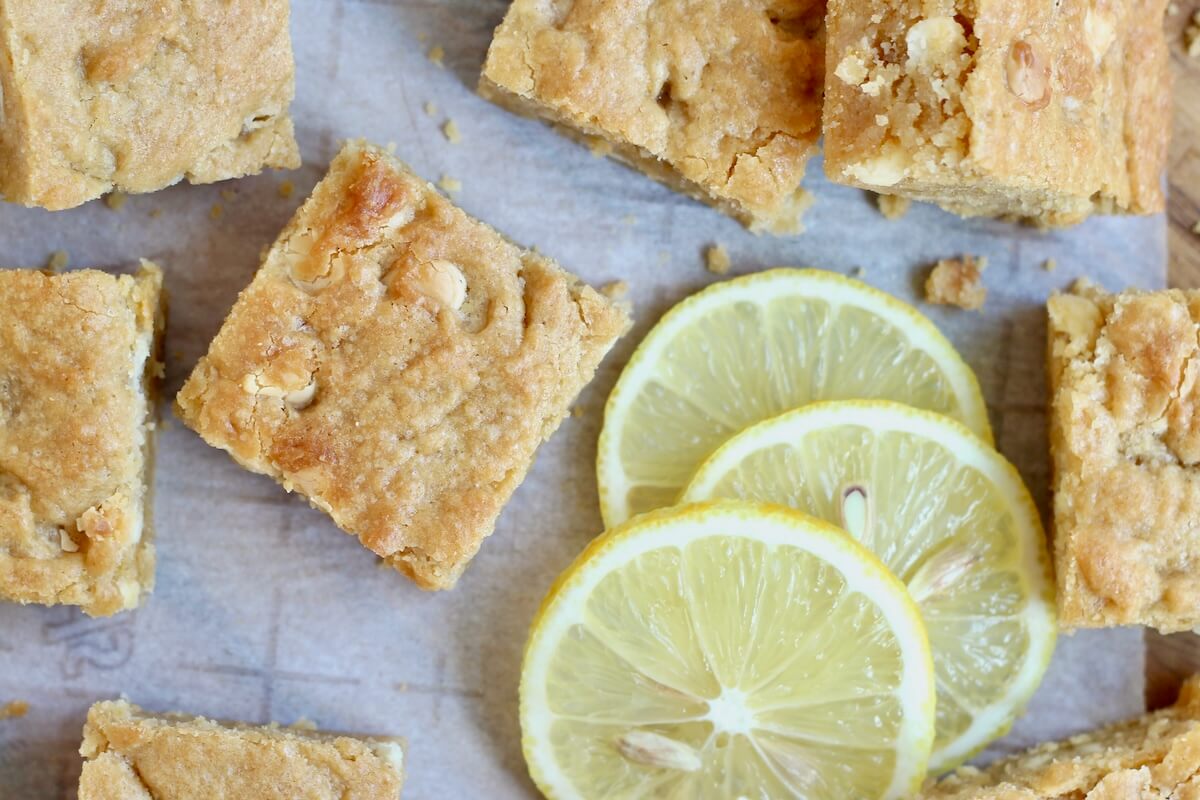
- Lemon Juice- Brightens the raspberry sauce and helps balance the sweetness of the bars.
- Cornstarch- Thickens the raspberry sauce so it sets into a jam-like layer instead of running through the cheesecake.
- Kosher Salt- Balances the sweetness and enhances flavor. I use Diamond Crystal Kosher Salt (2.8 grams per teaspoon). If using Morton’s or table salt, reduce to ¼ teaspoon.
Tips for Success
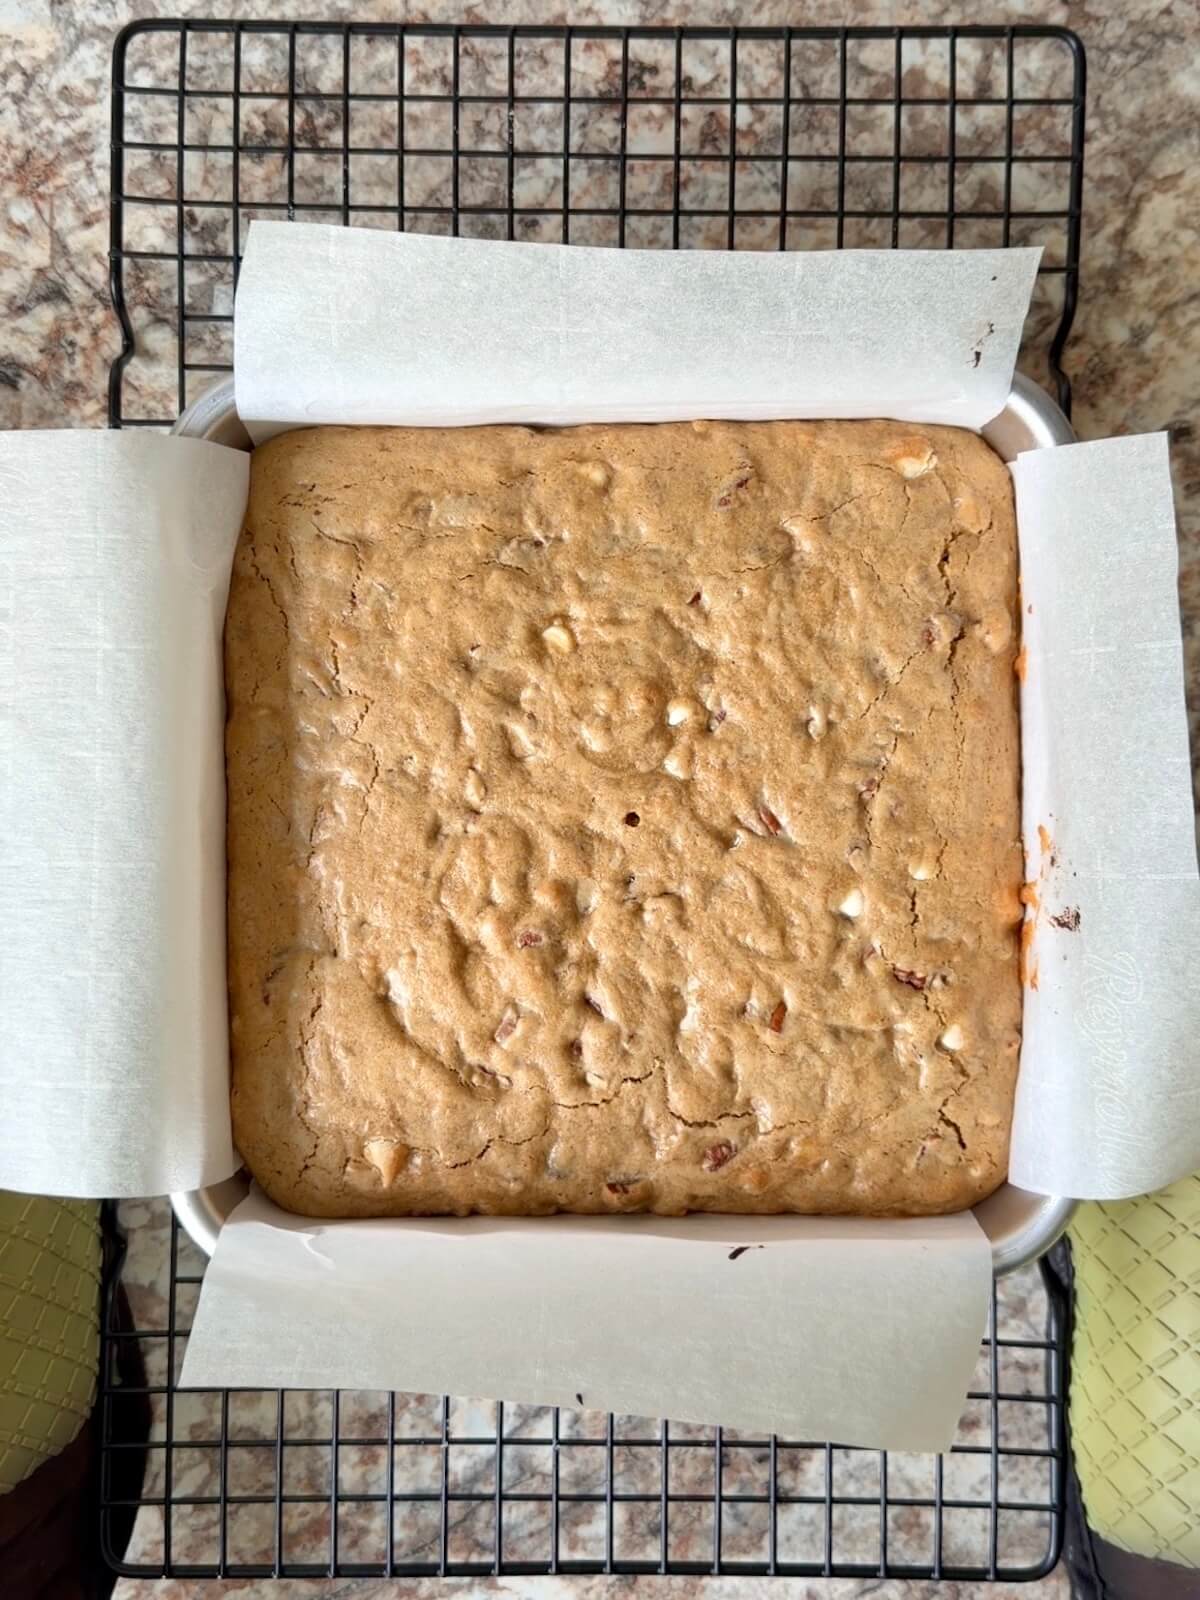
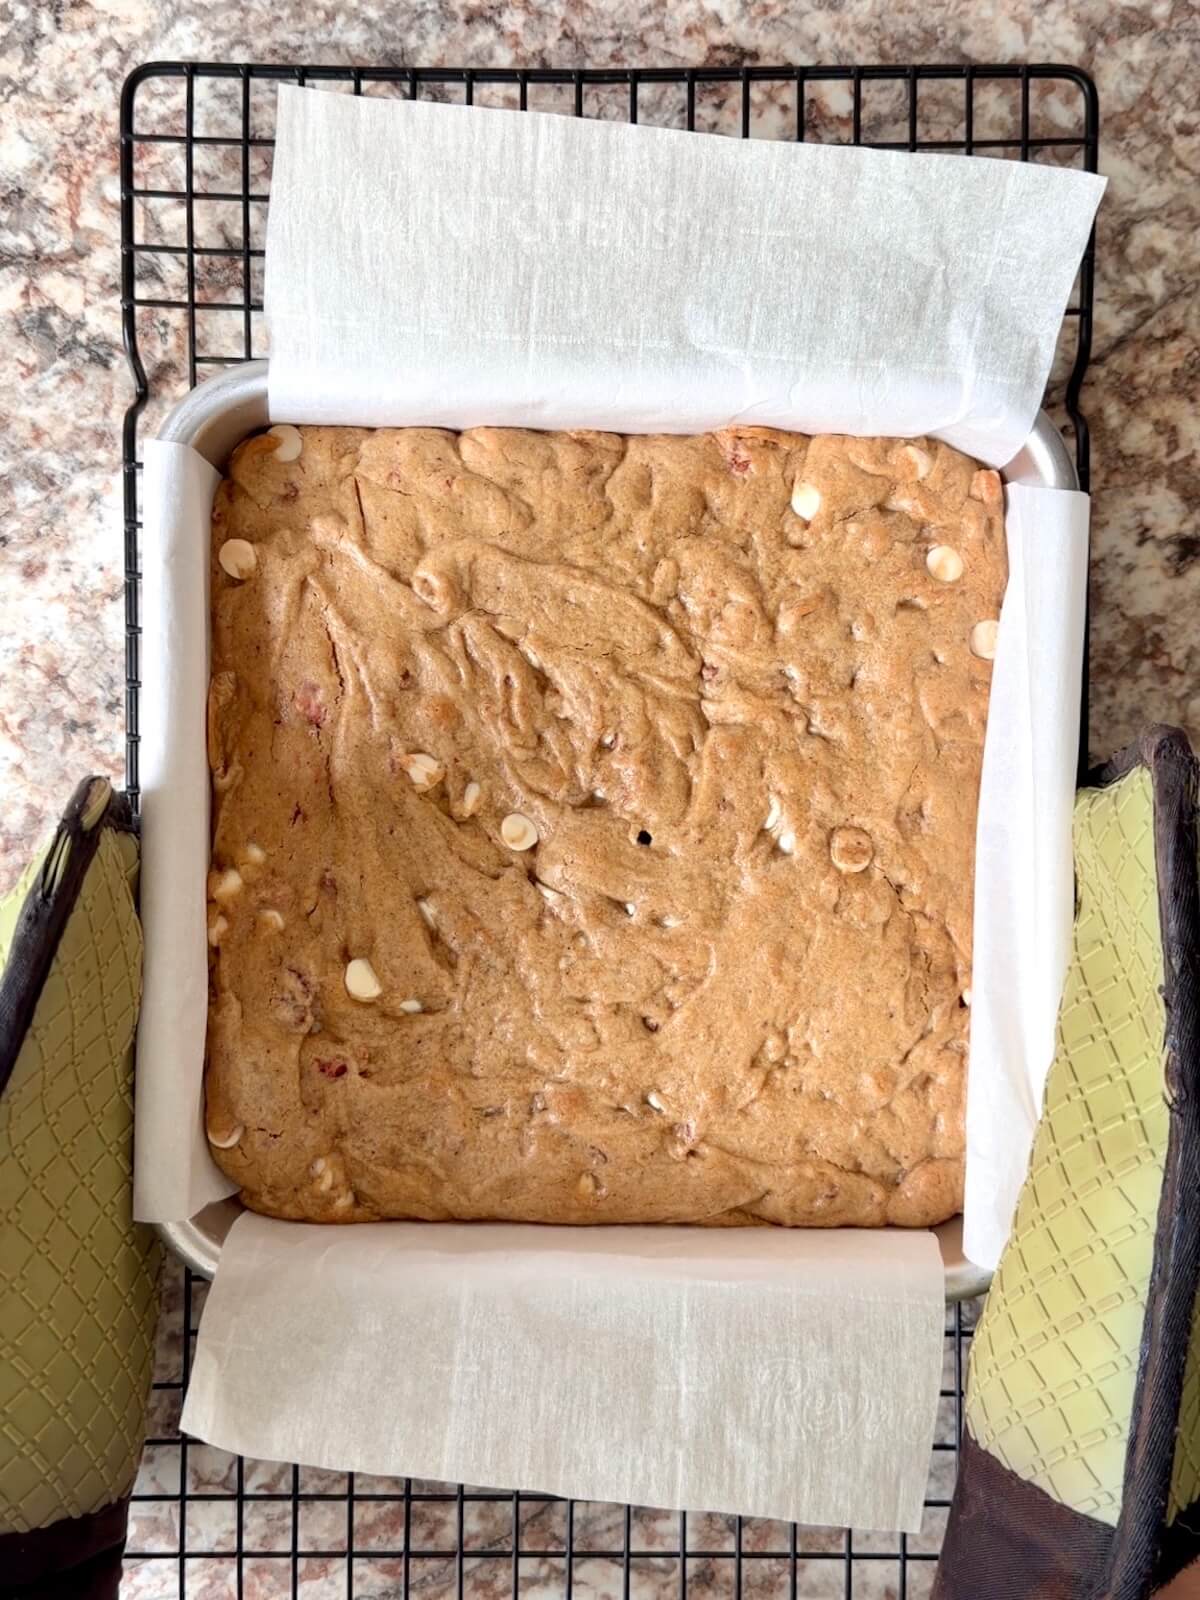
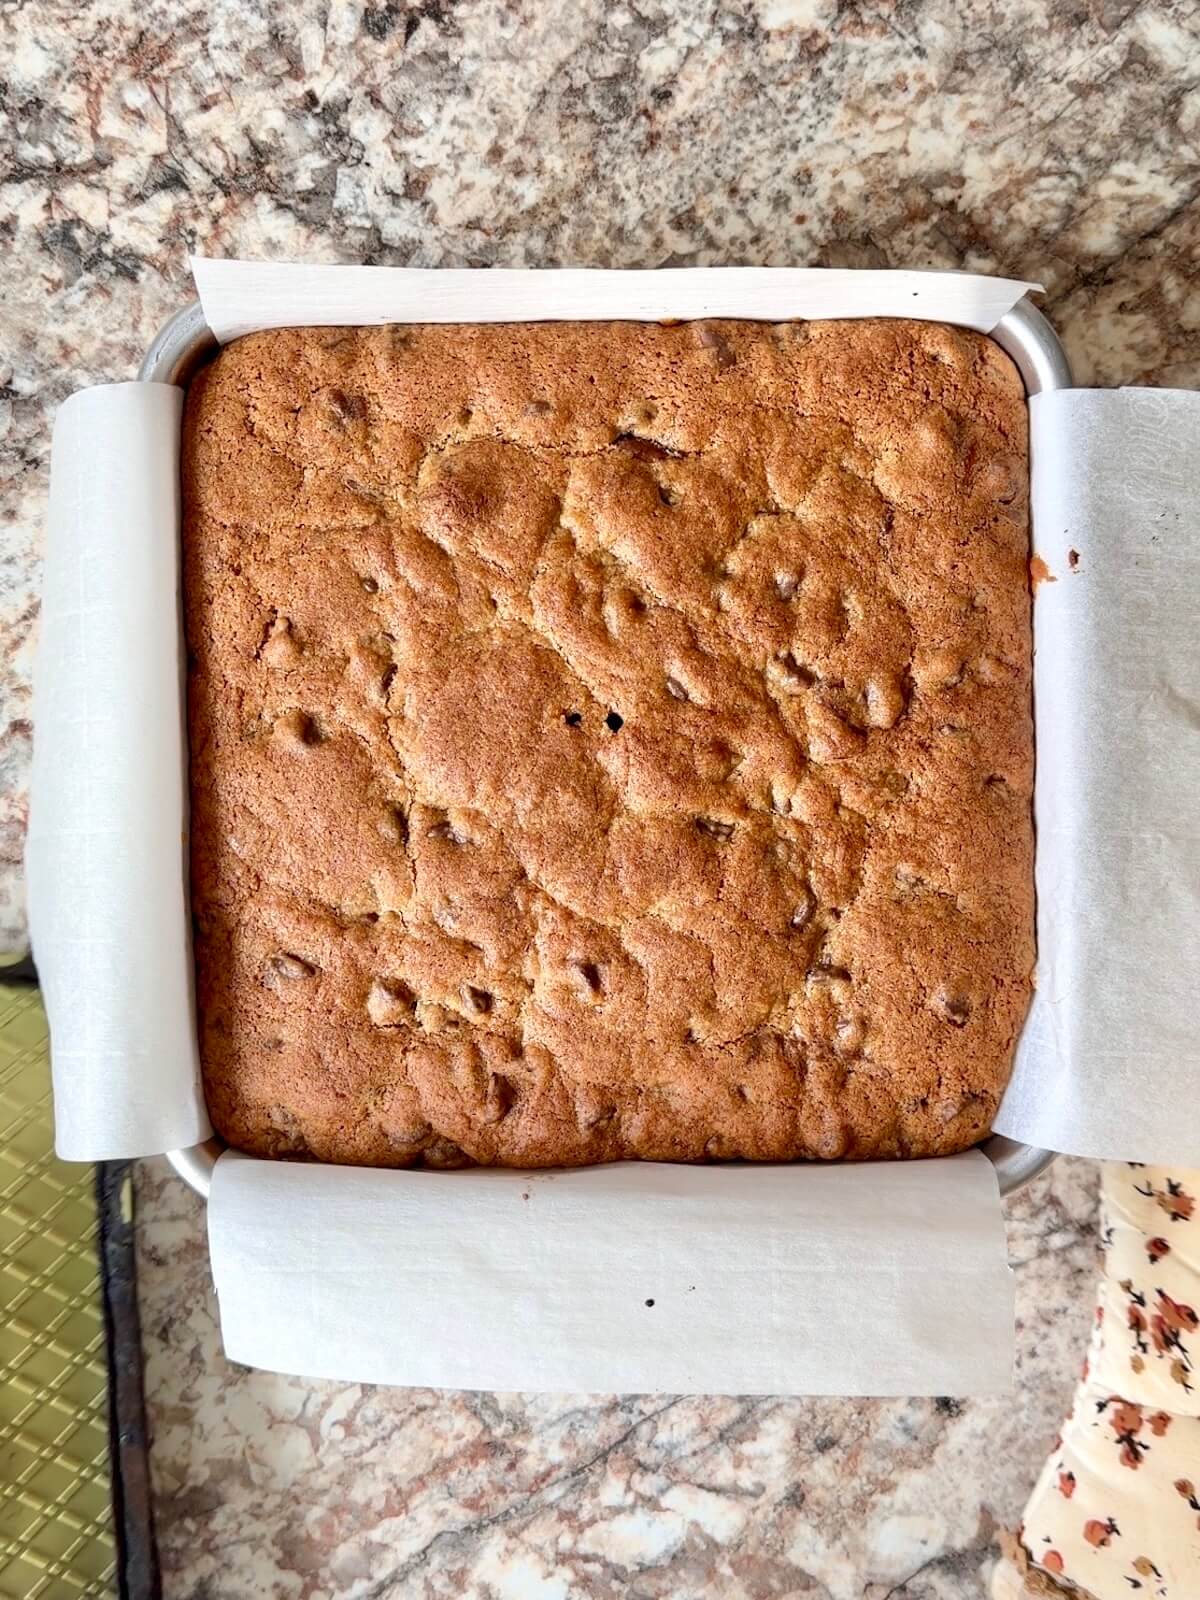
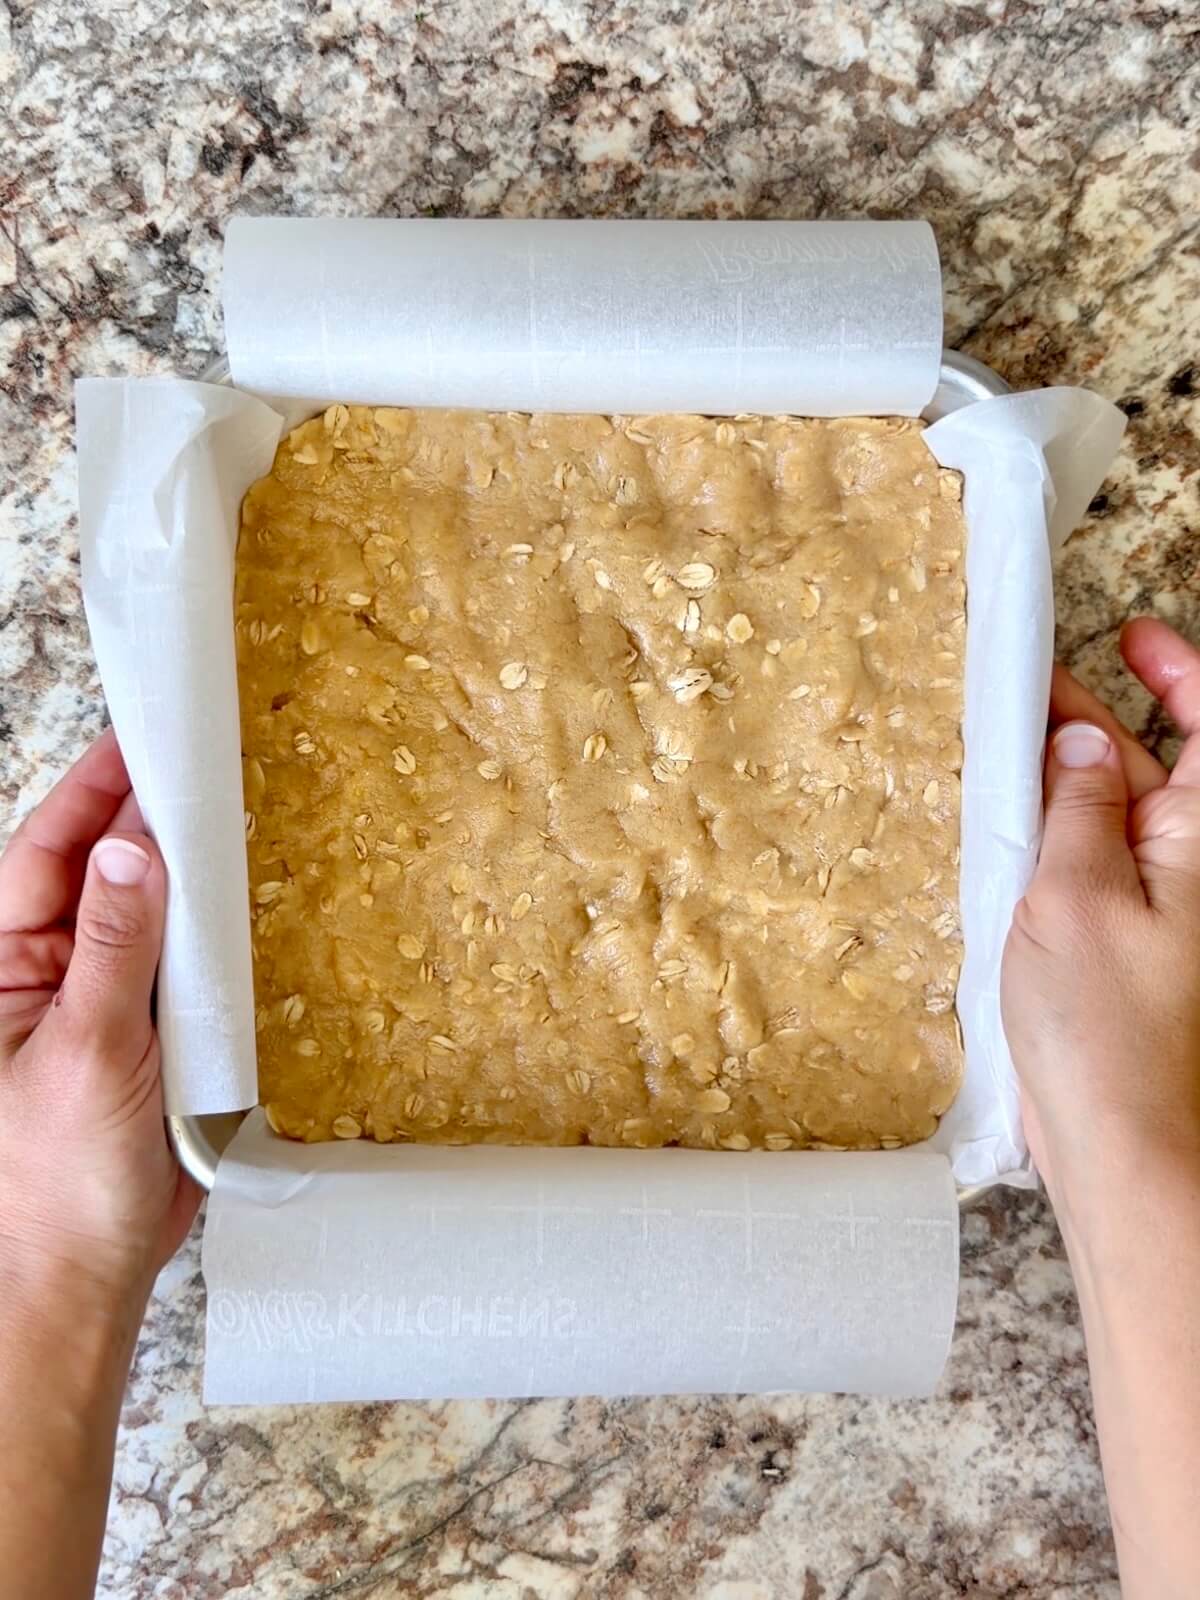
- Line the pan with parchment. Leave an overhang on two sides so you can easily lift the cheesecake bars out before slicing.
- Use an aluminum pan. Aluminum pans bake more evenly and help prevent overbaked edges or an underbaked center.
- Don’t skip the par-bake. Pre-baking the crust helps it stay together and prevents a soggy bottom once the cheesecake layer is added.
- Cool the raspberry sauce. Let it cool before adding to the cheesecake layer so it doesn’t thin or melt into the filling.
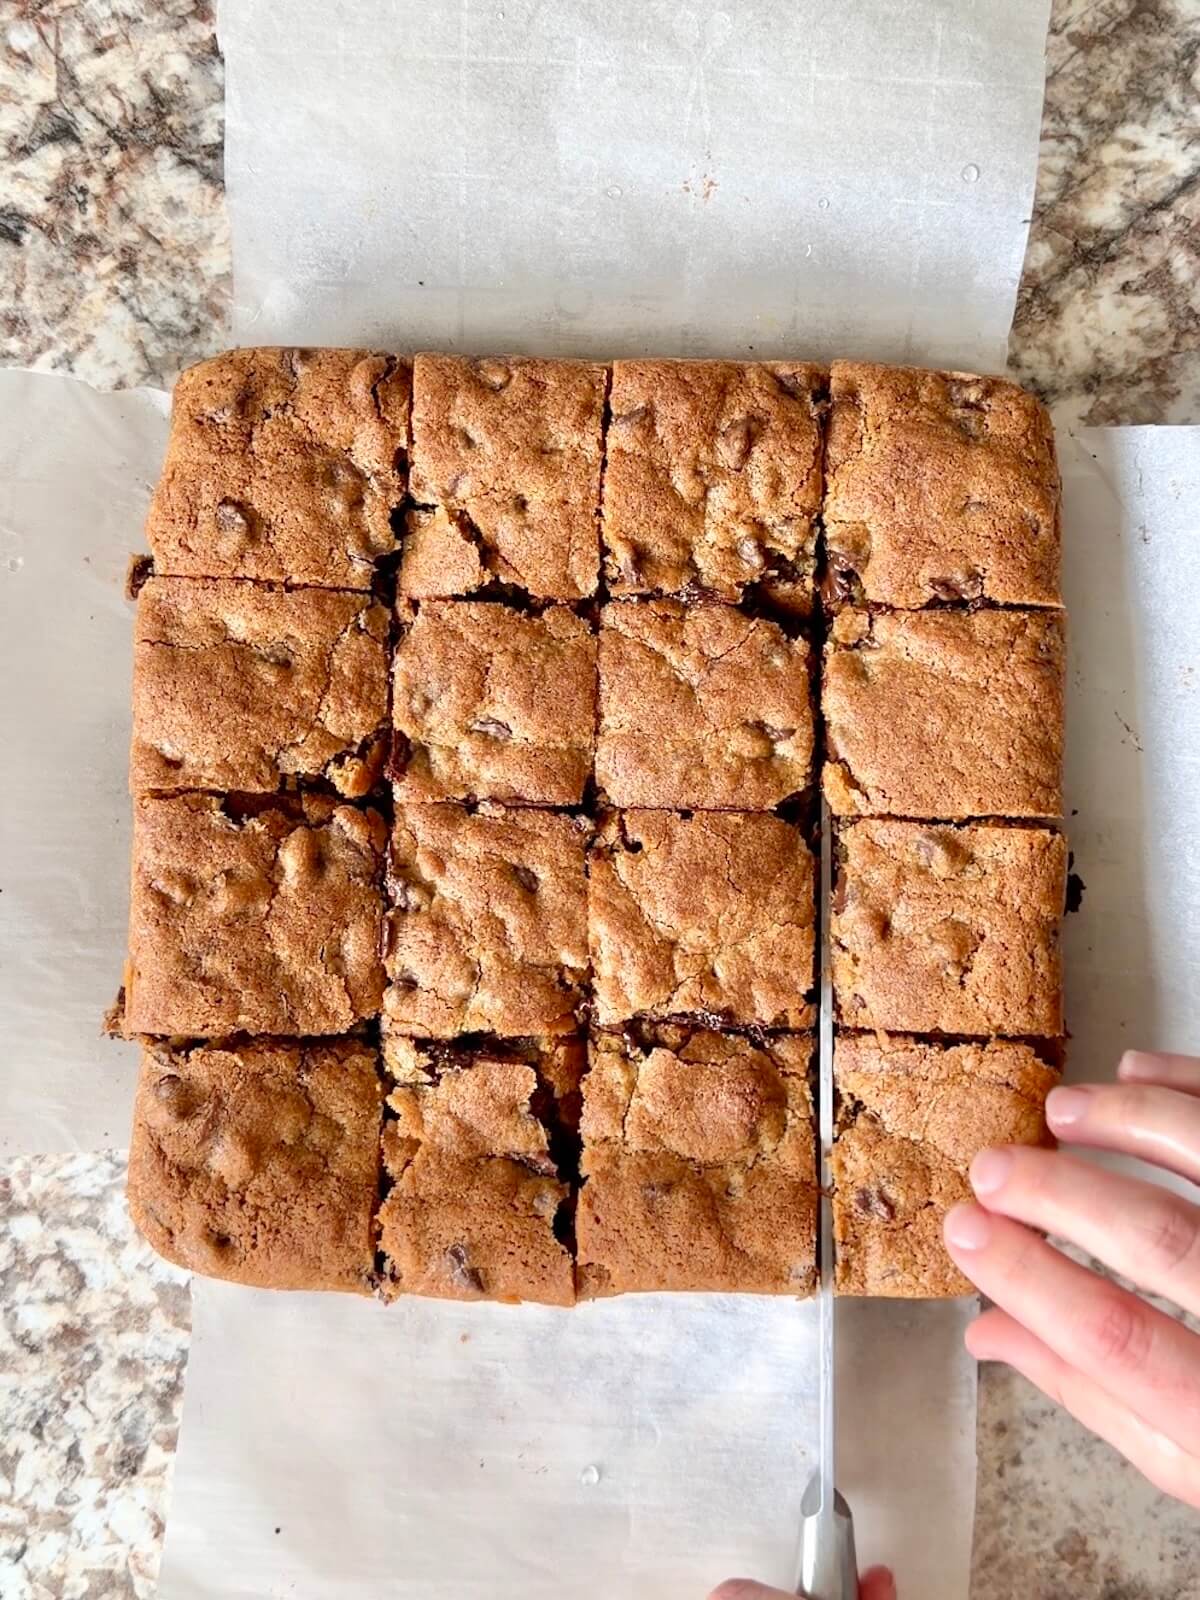
- Cool completely before slicing. These bars need full cooling (and ideally chilling) for clean slices and set layers.
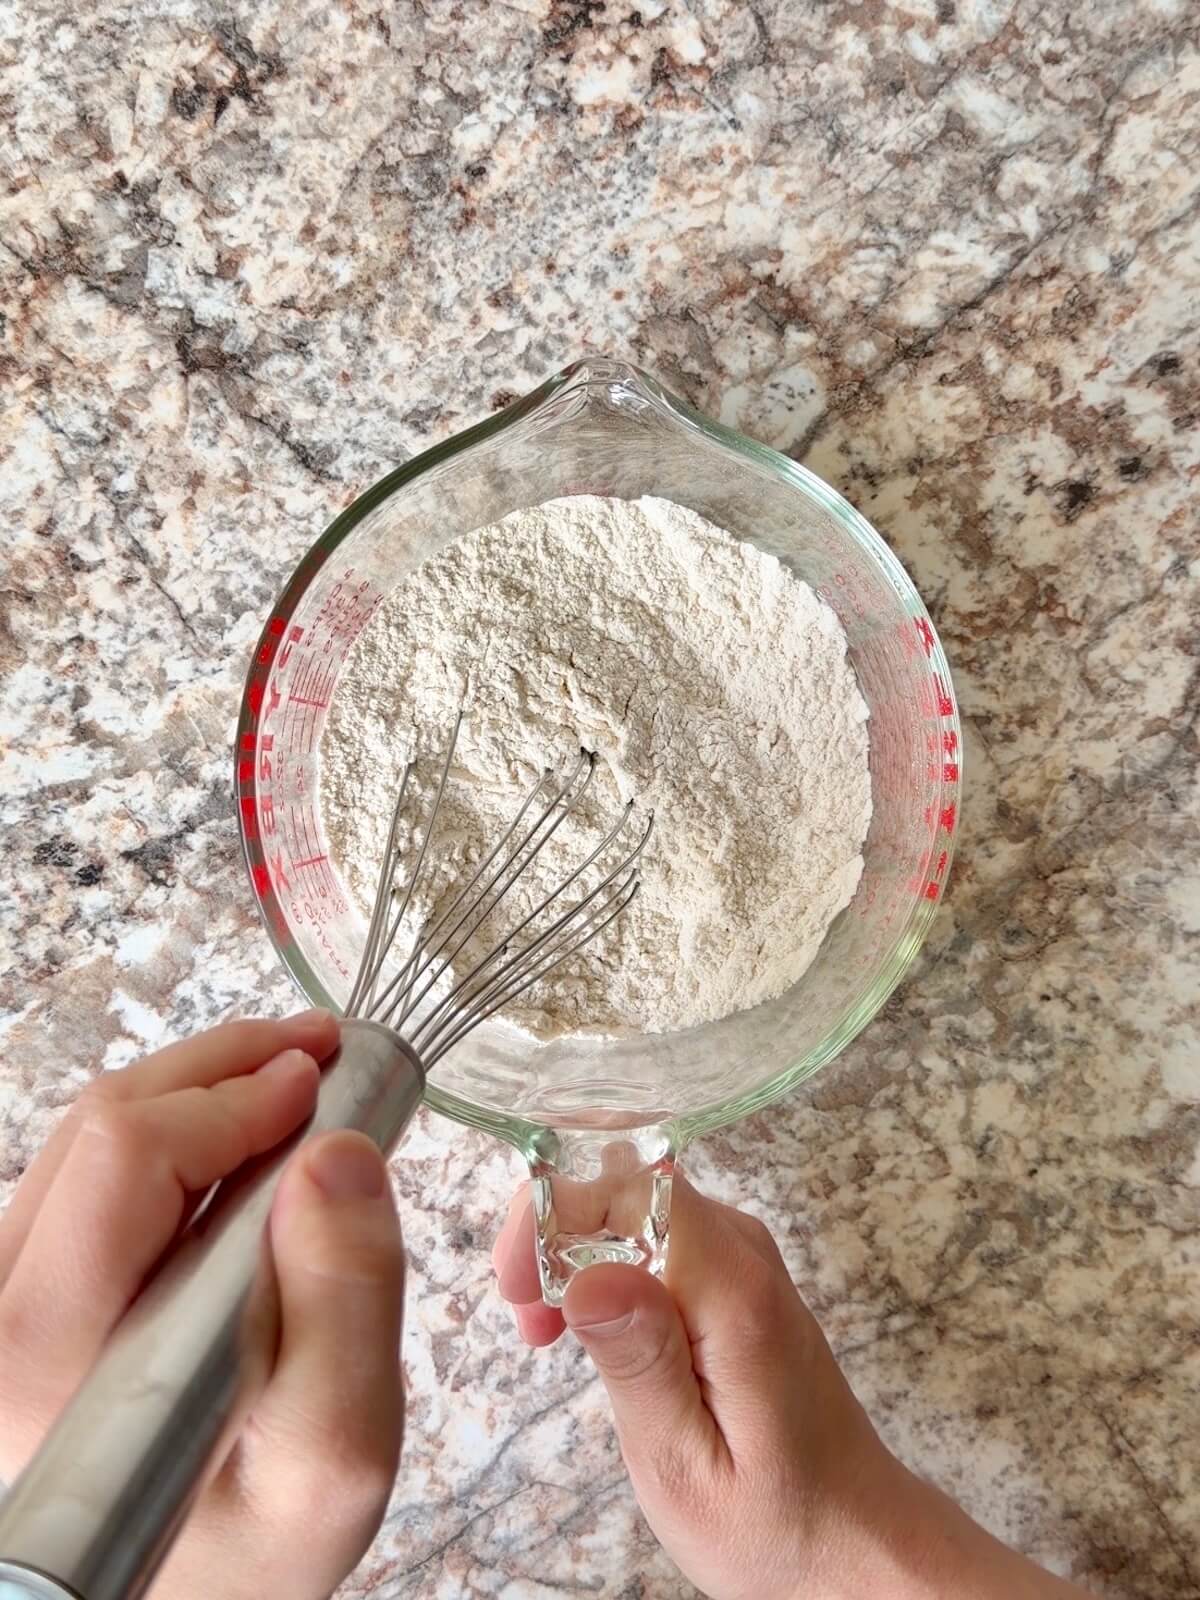
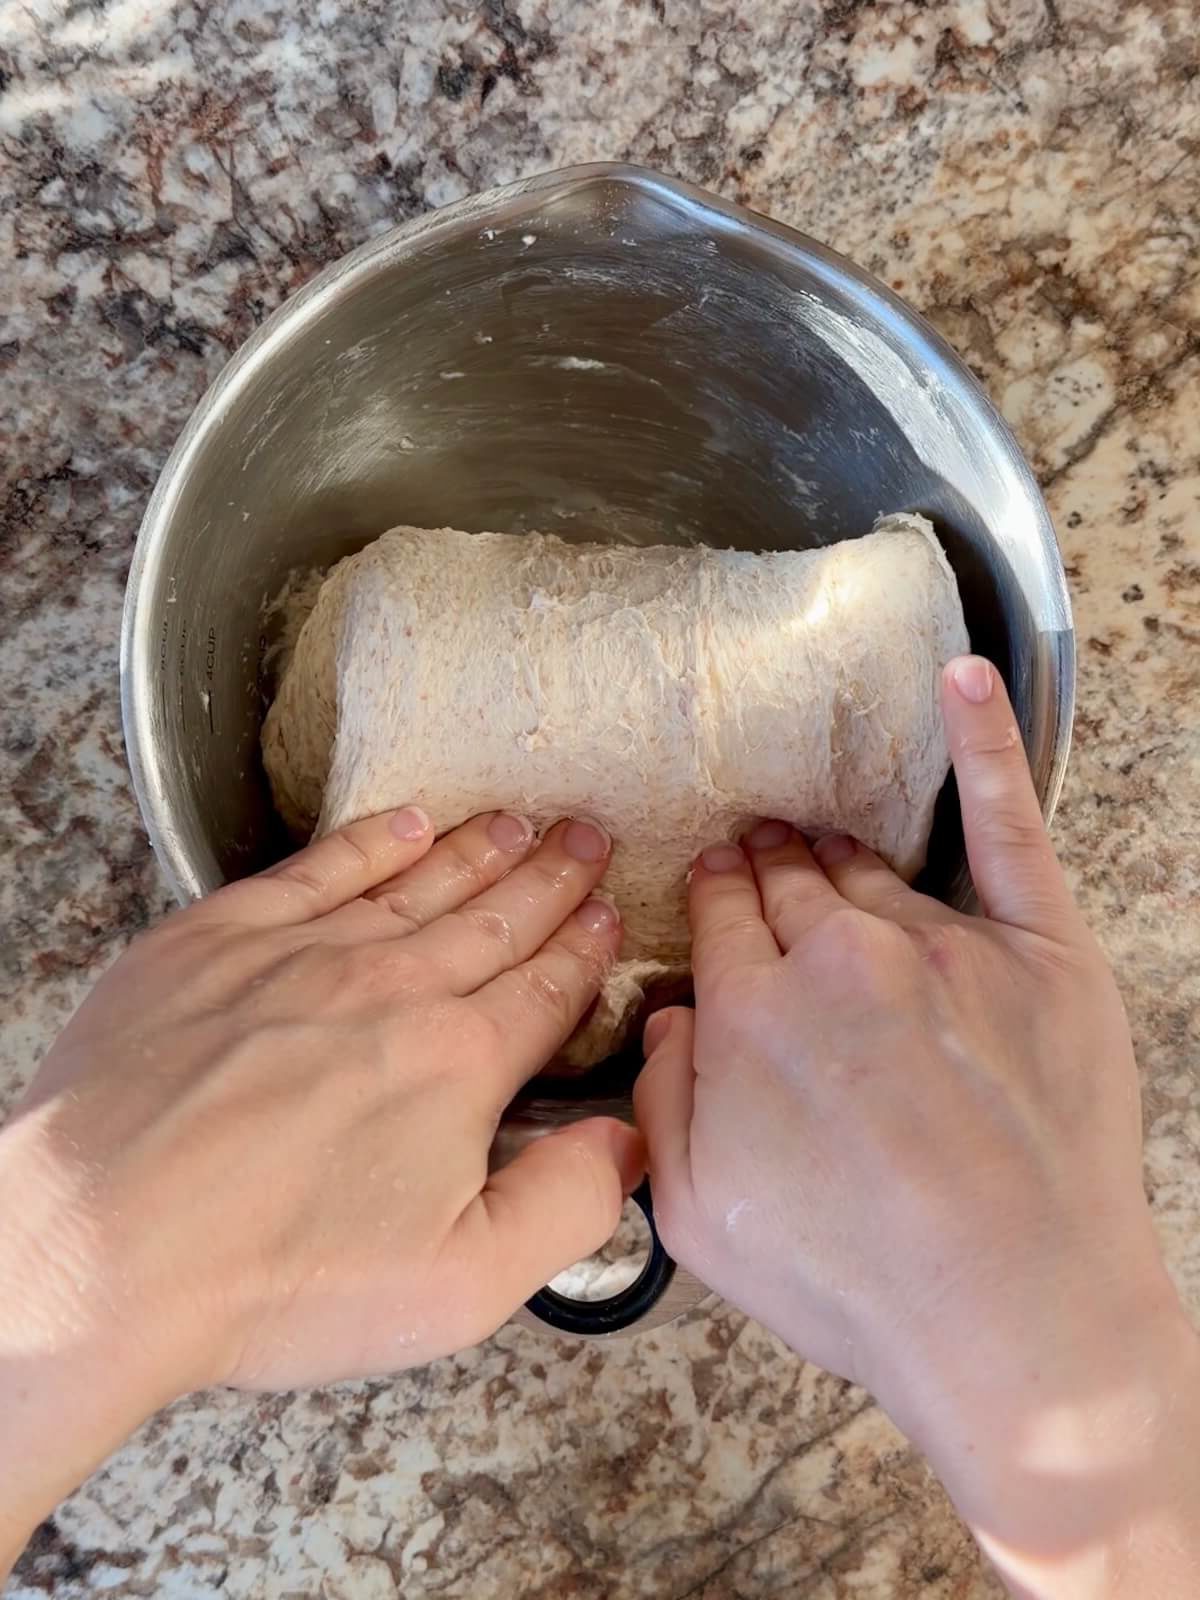
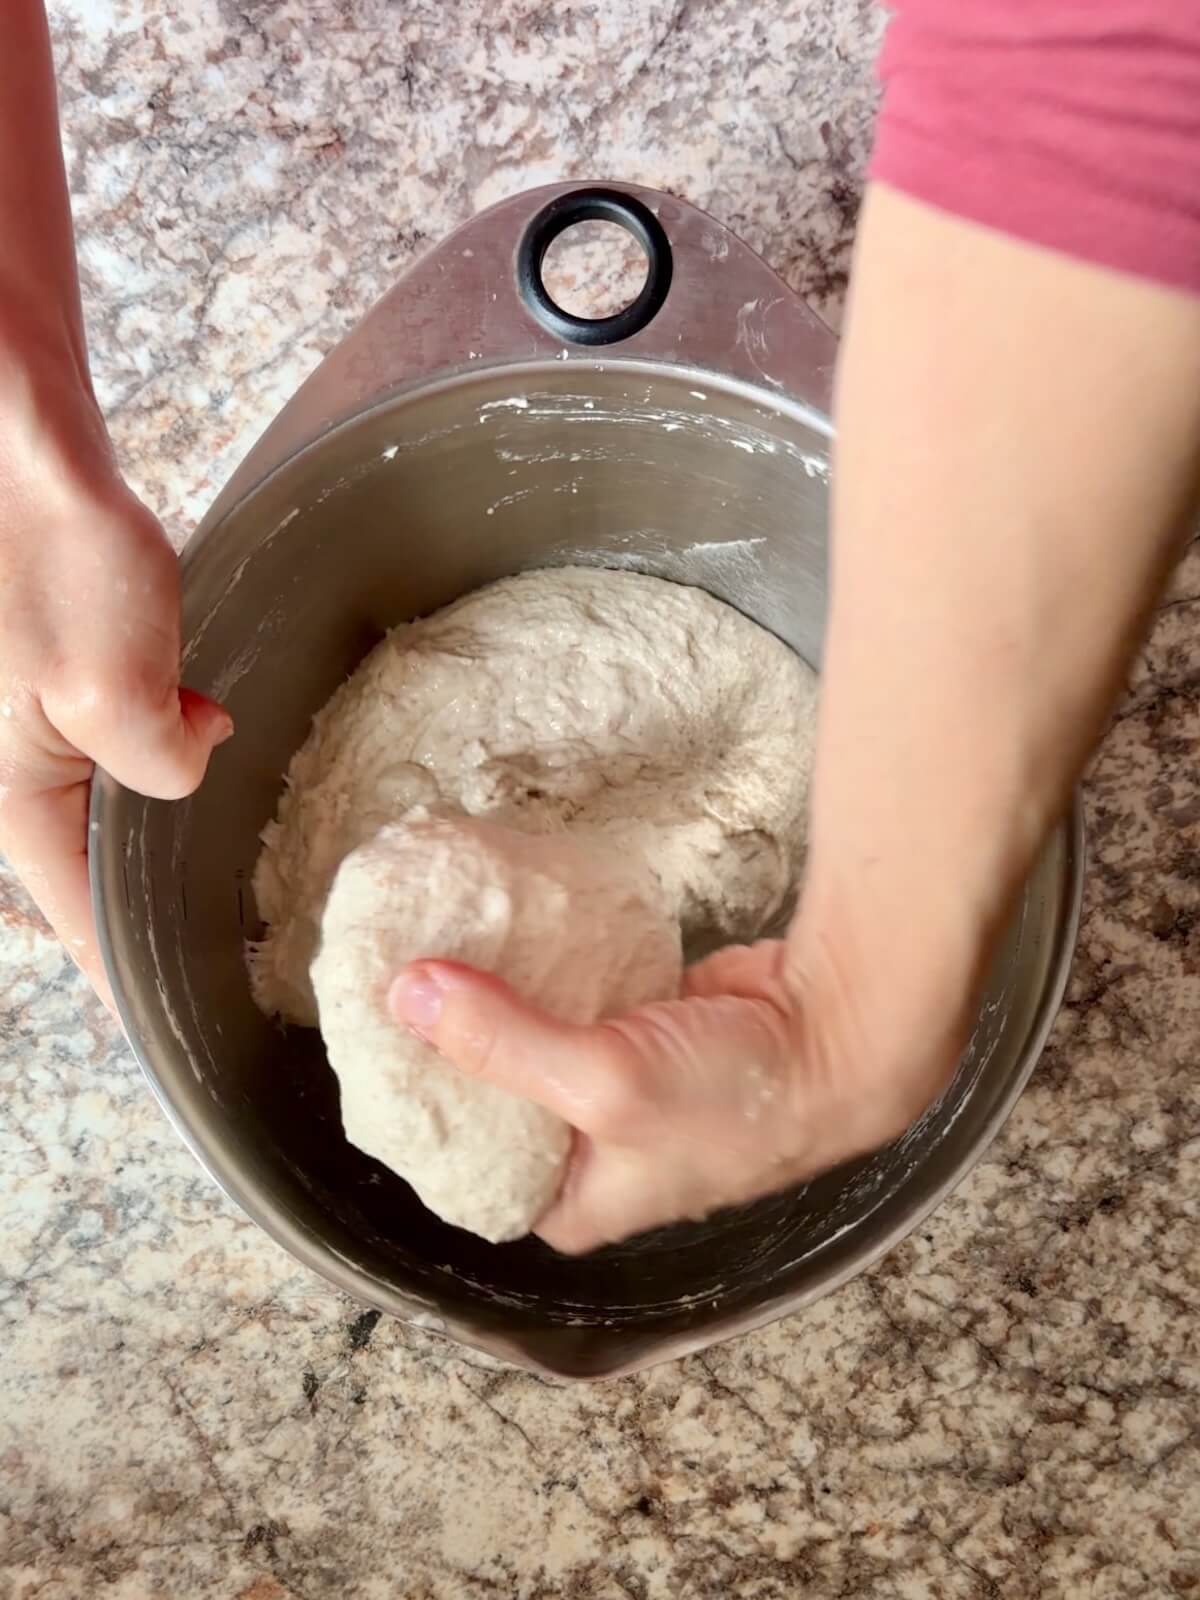
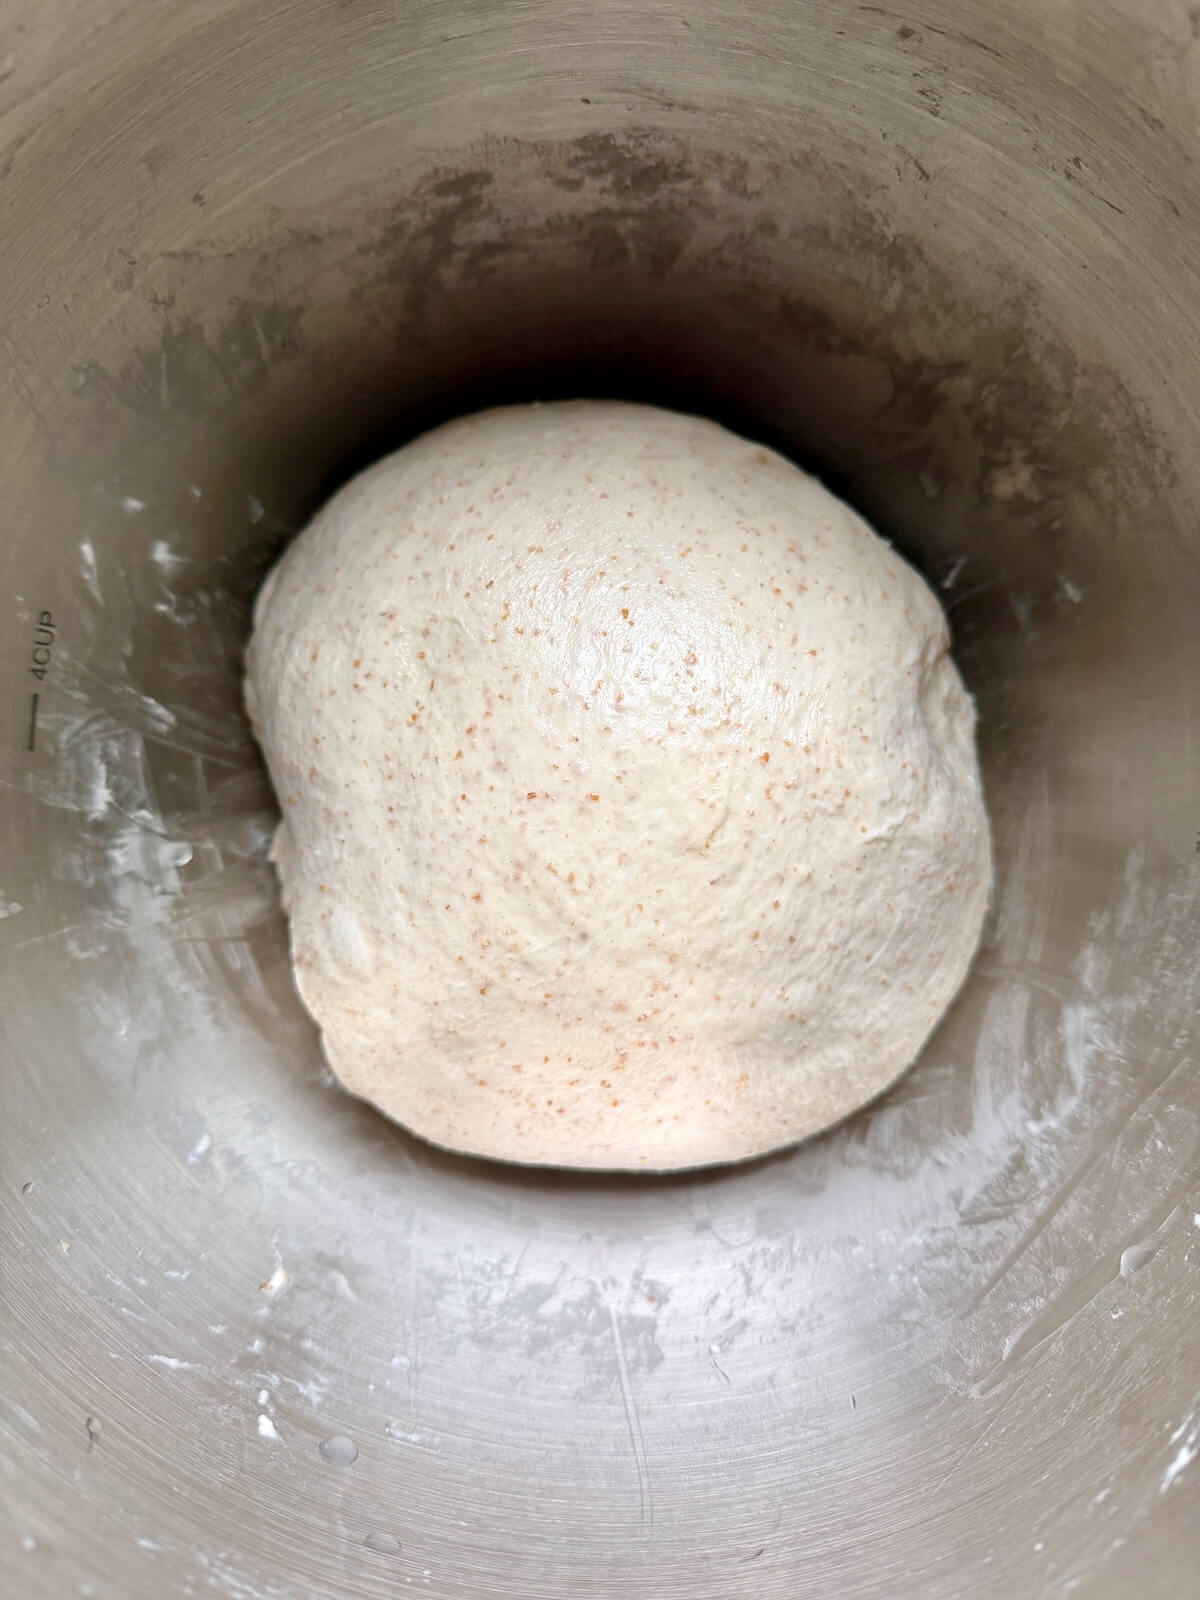
How to Make Sourdough Raspberry Cheesecake Bars
Follow these simple step-by-step photos to make sourdough raspberry cheesecake bars. Full instructions are in the recipe card below.
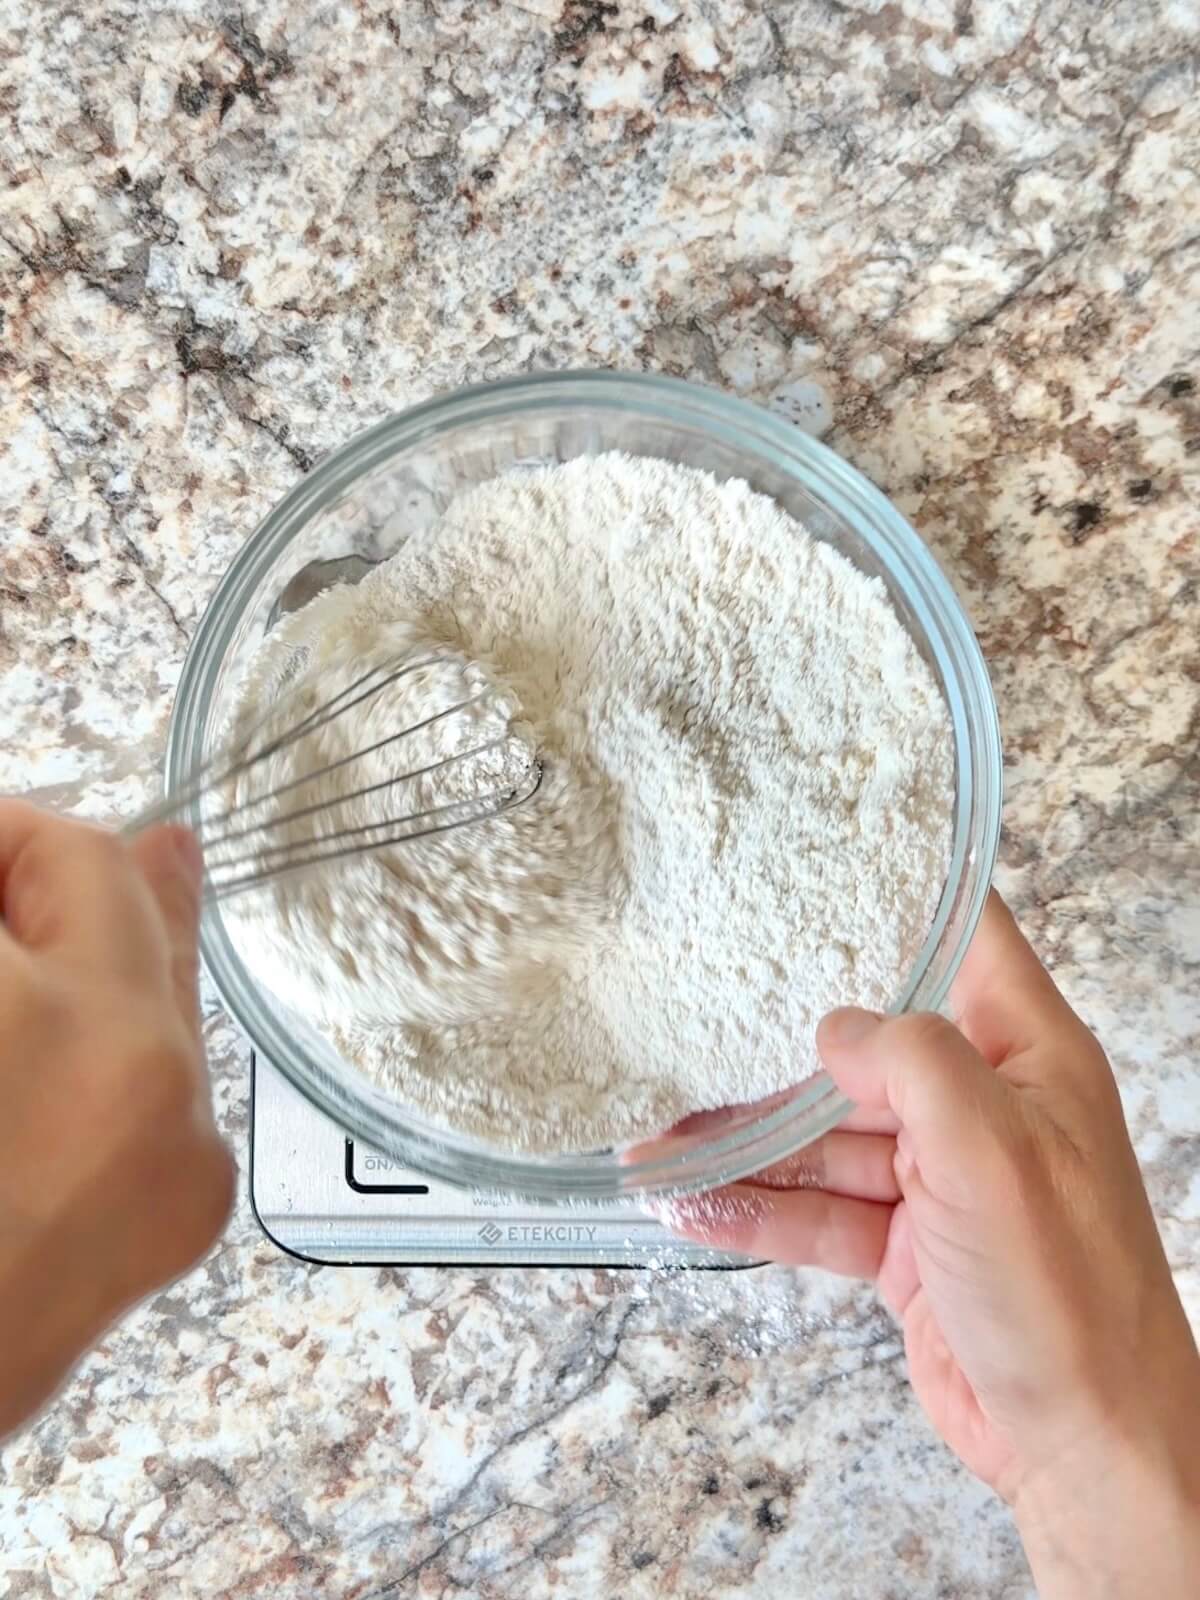
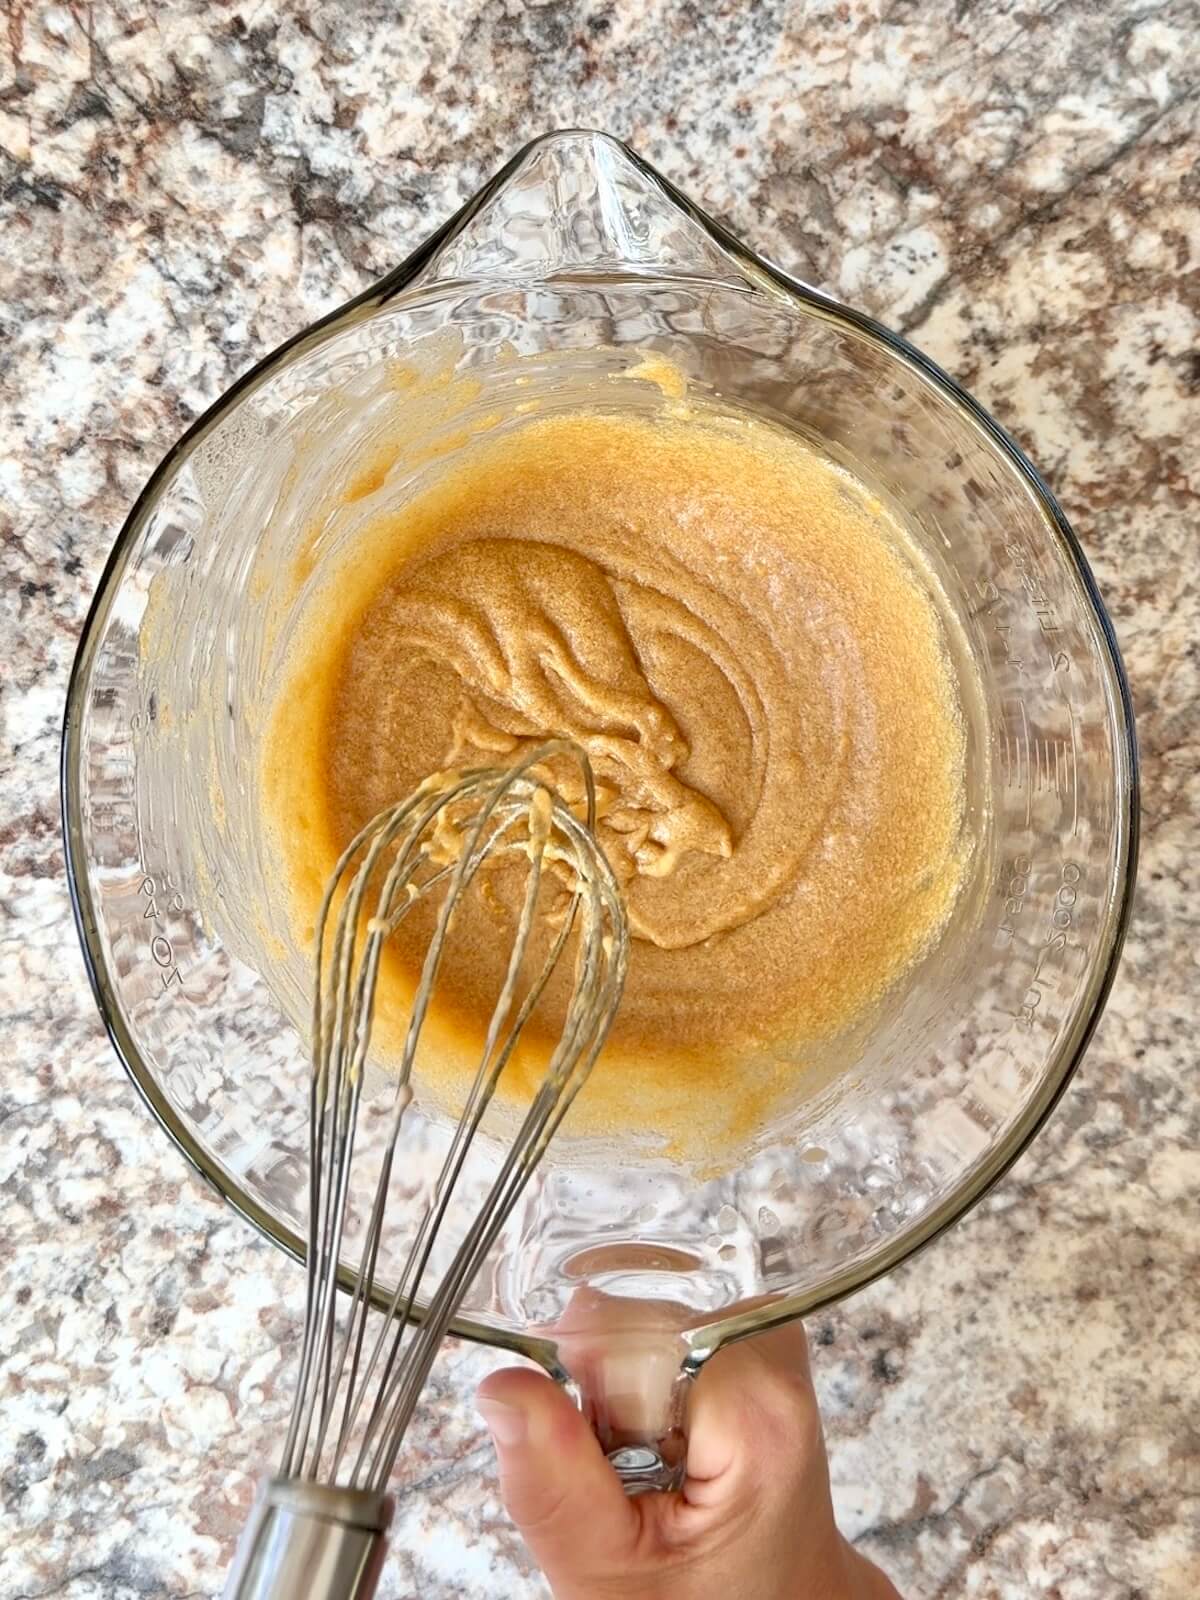
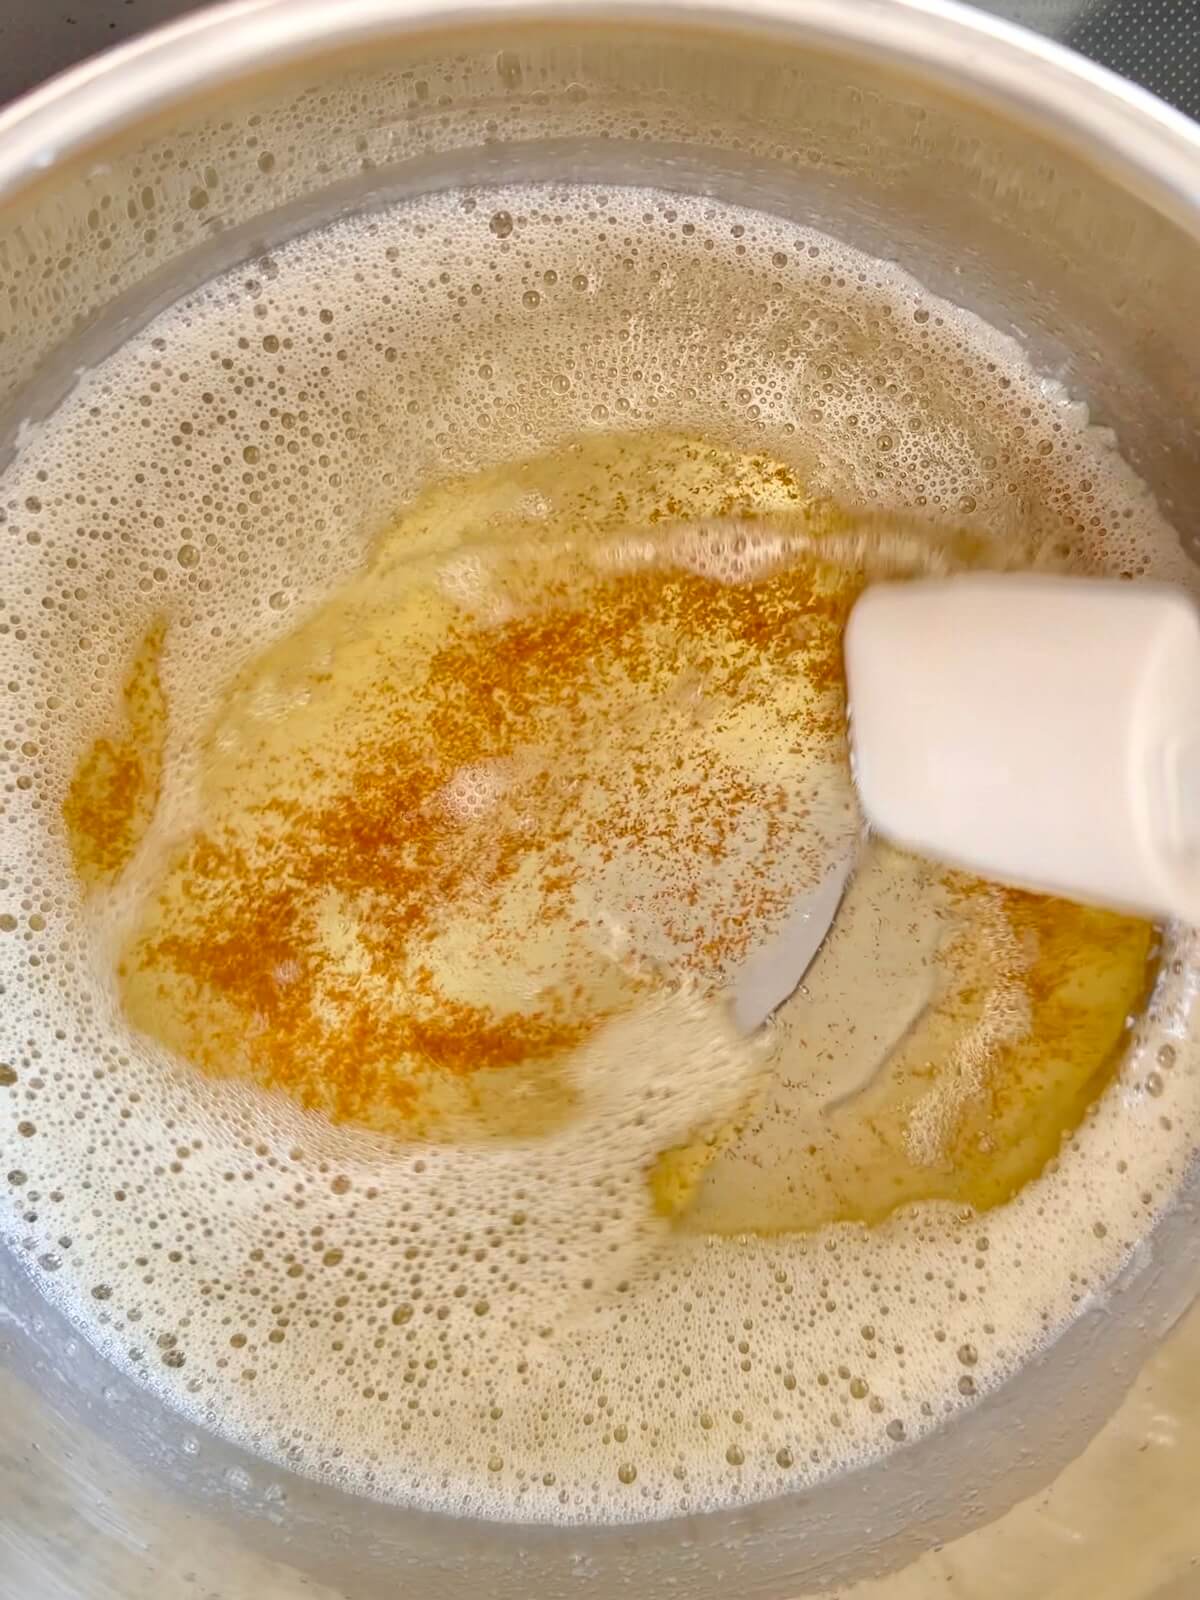
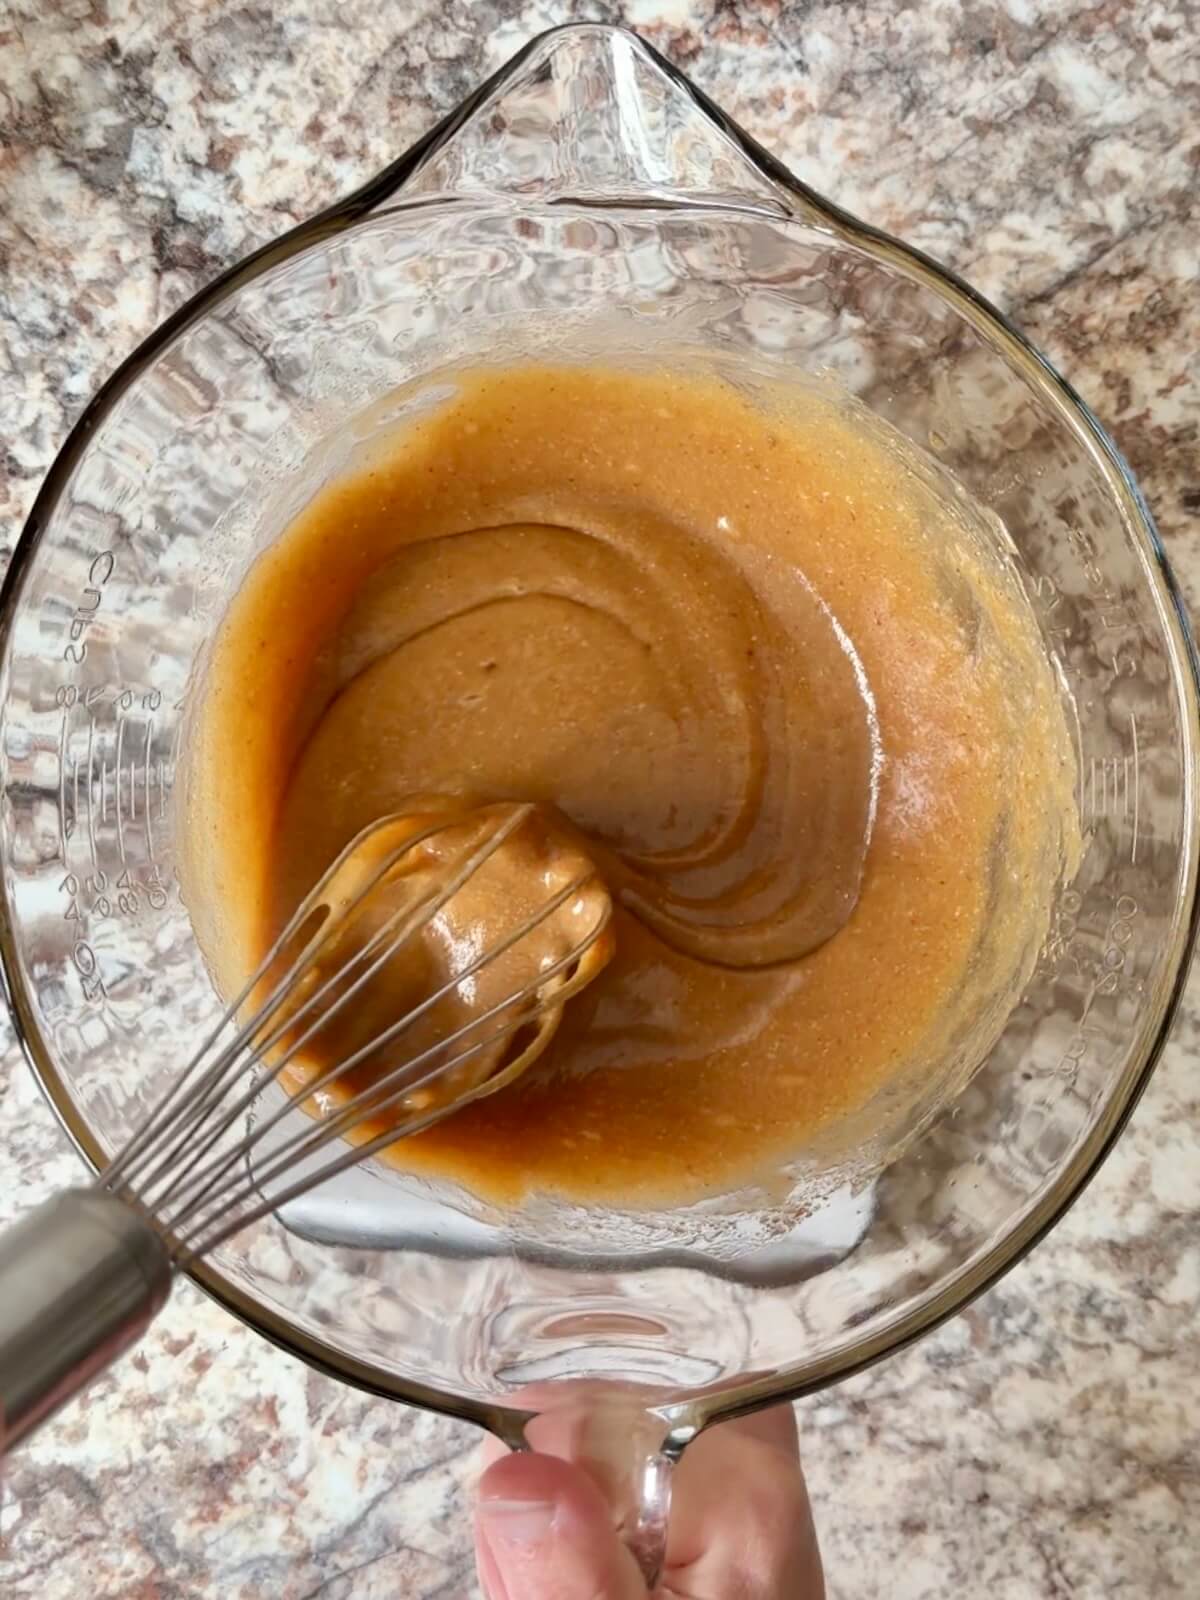
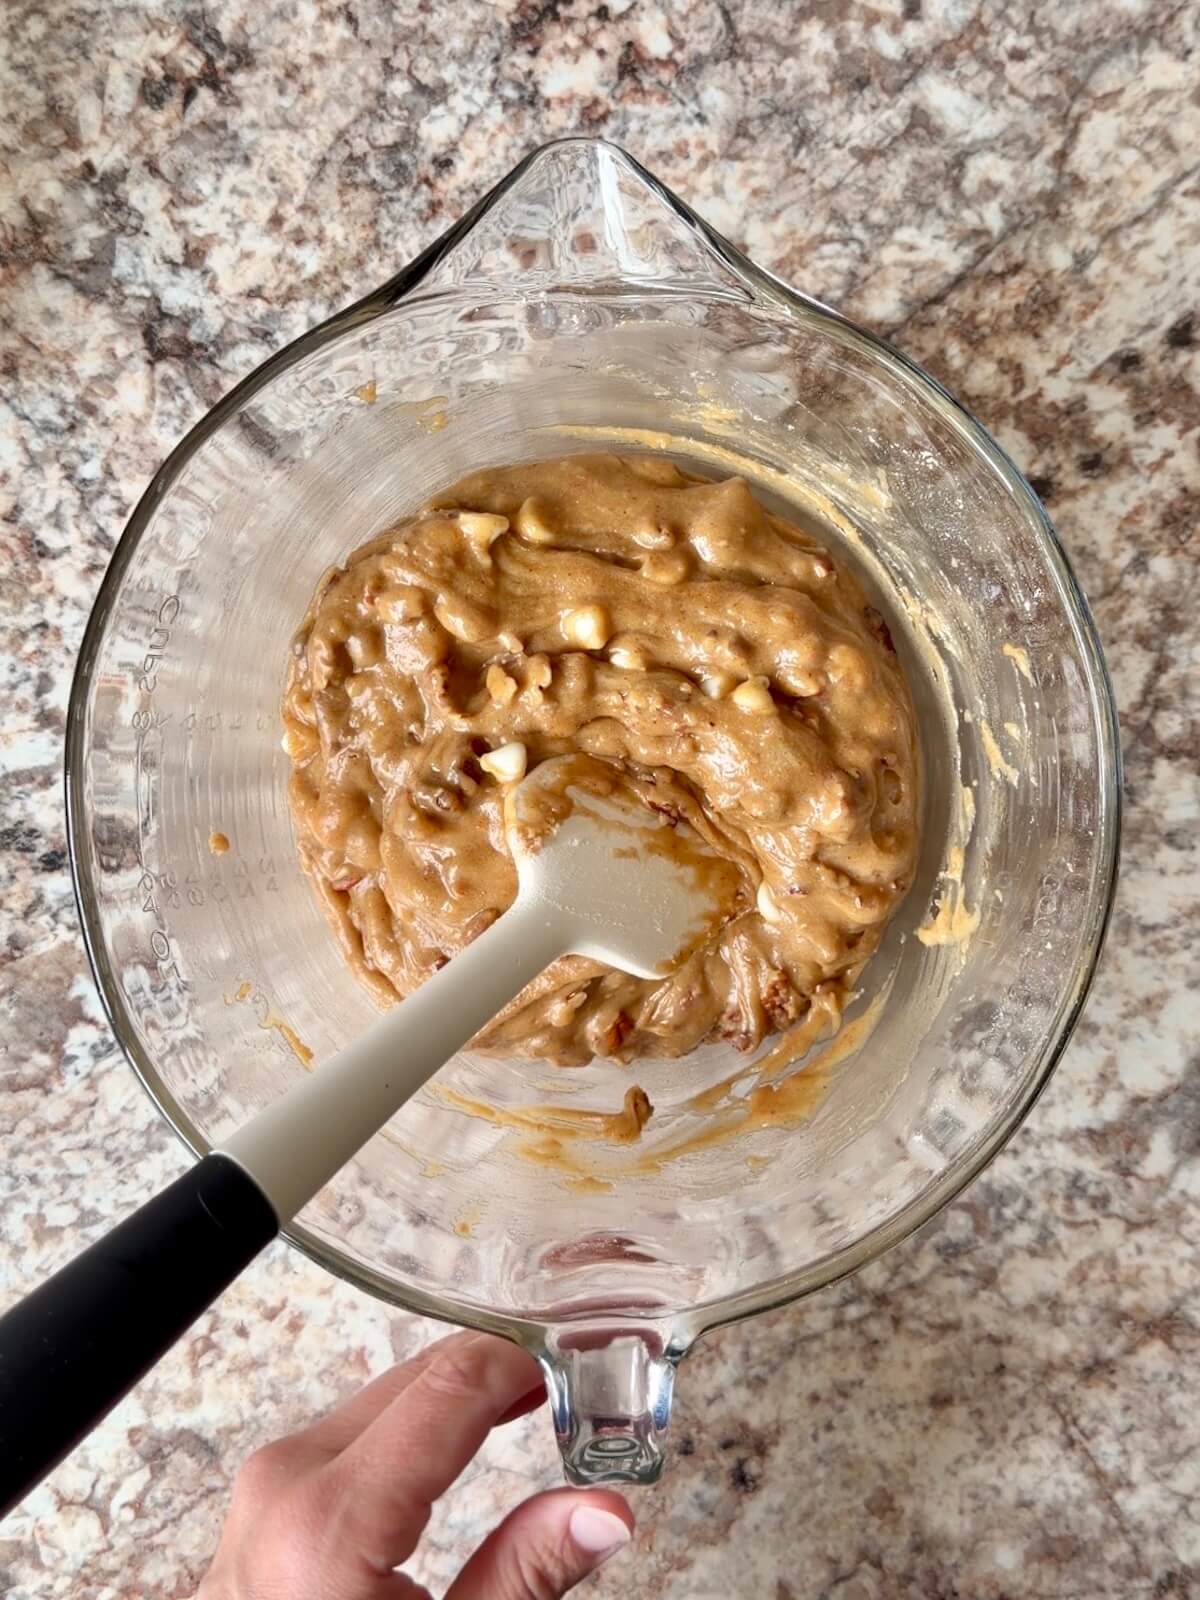
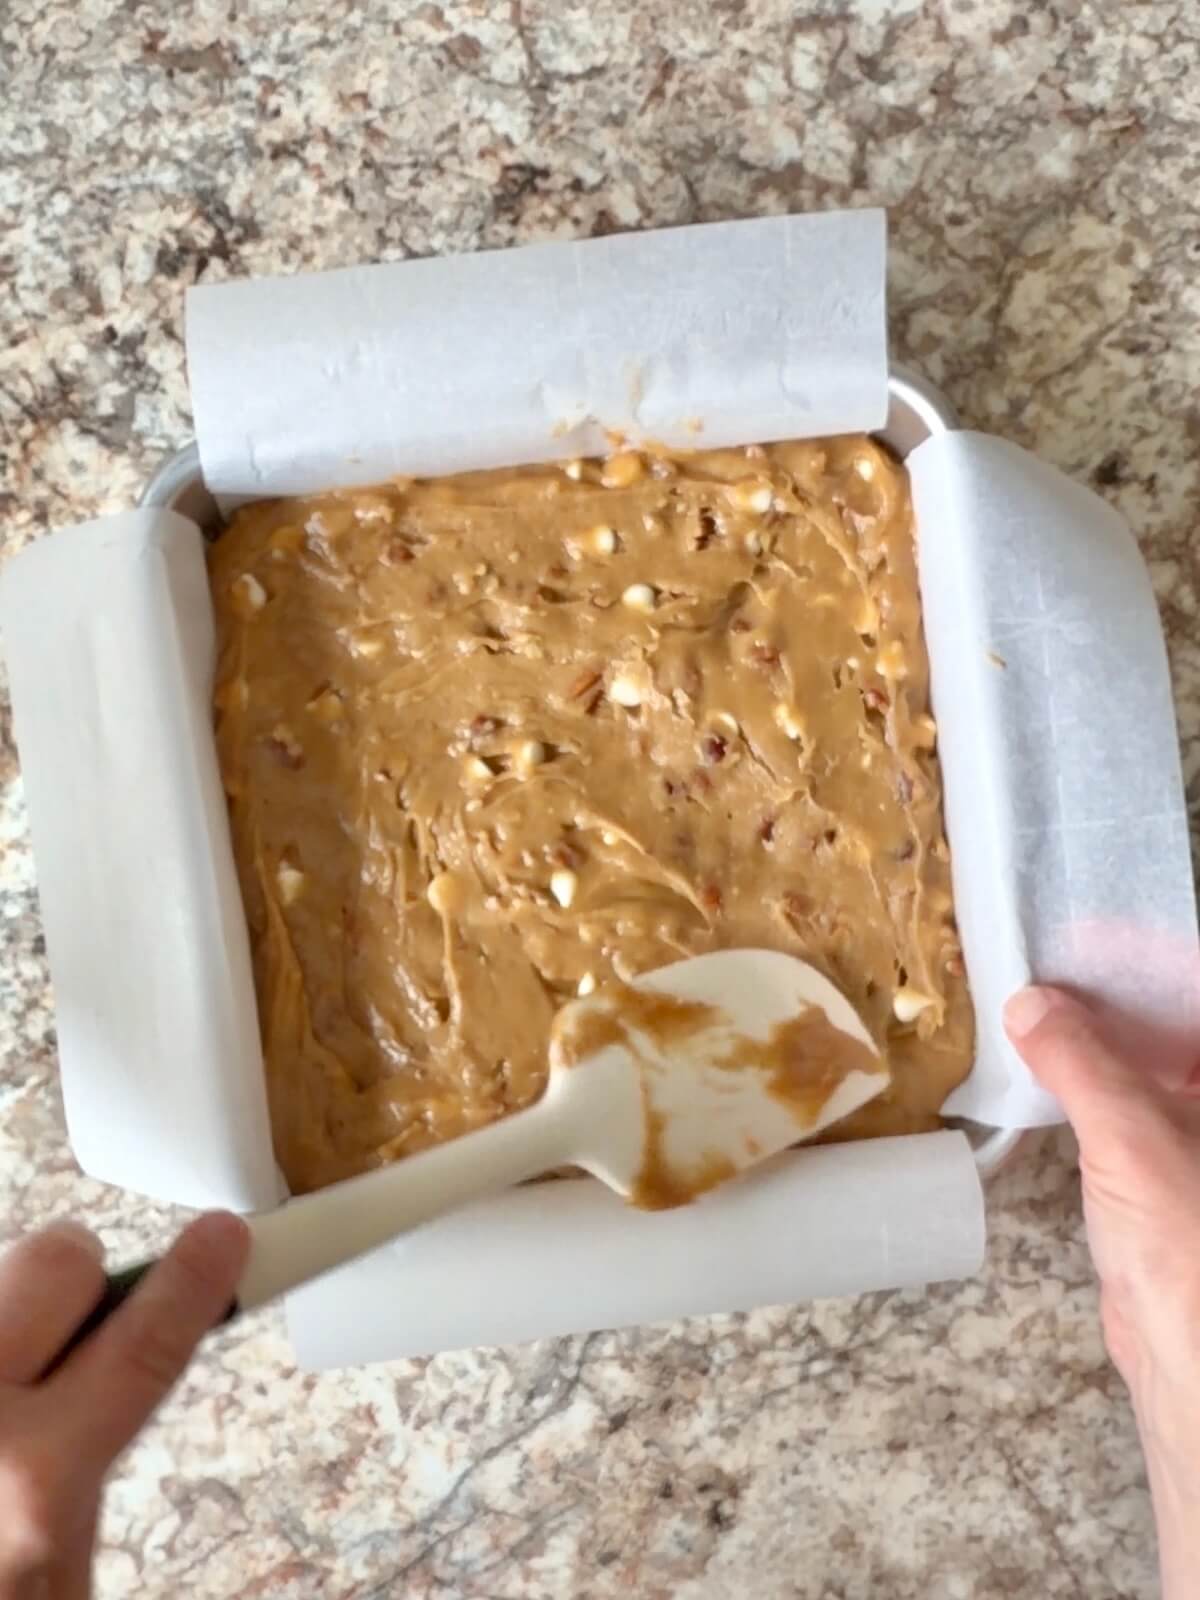
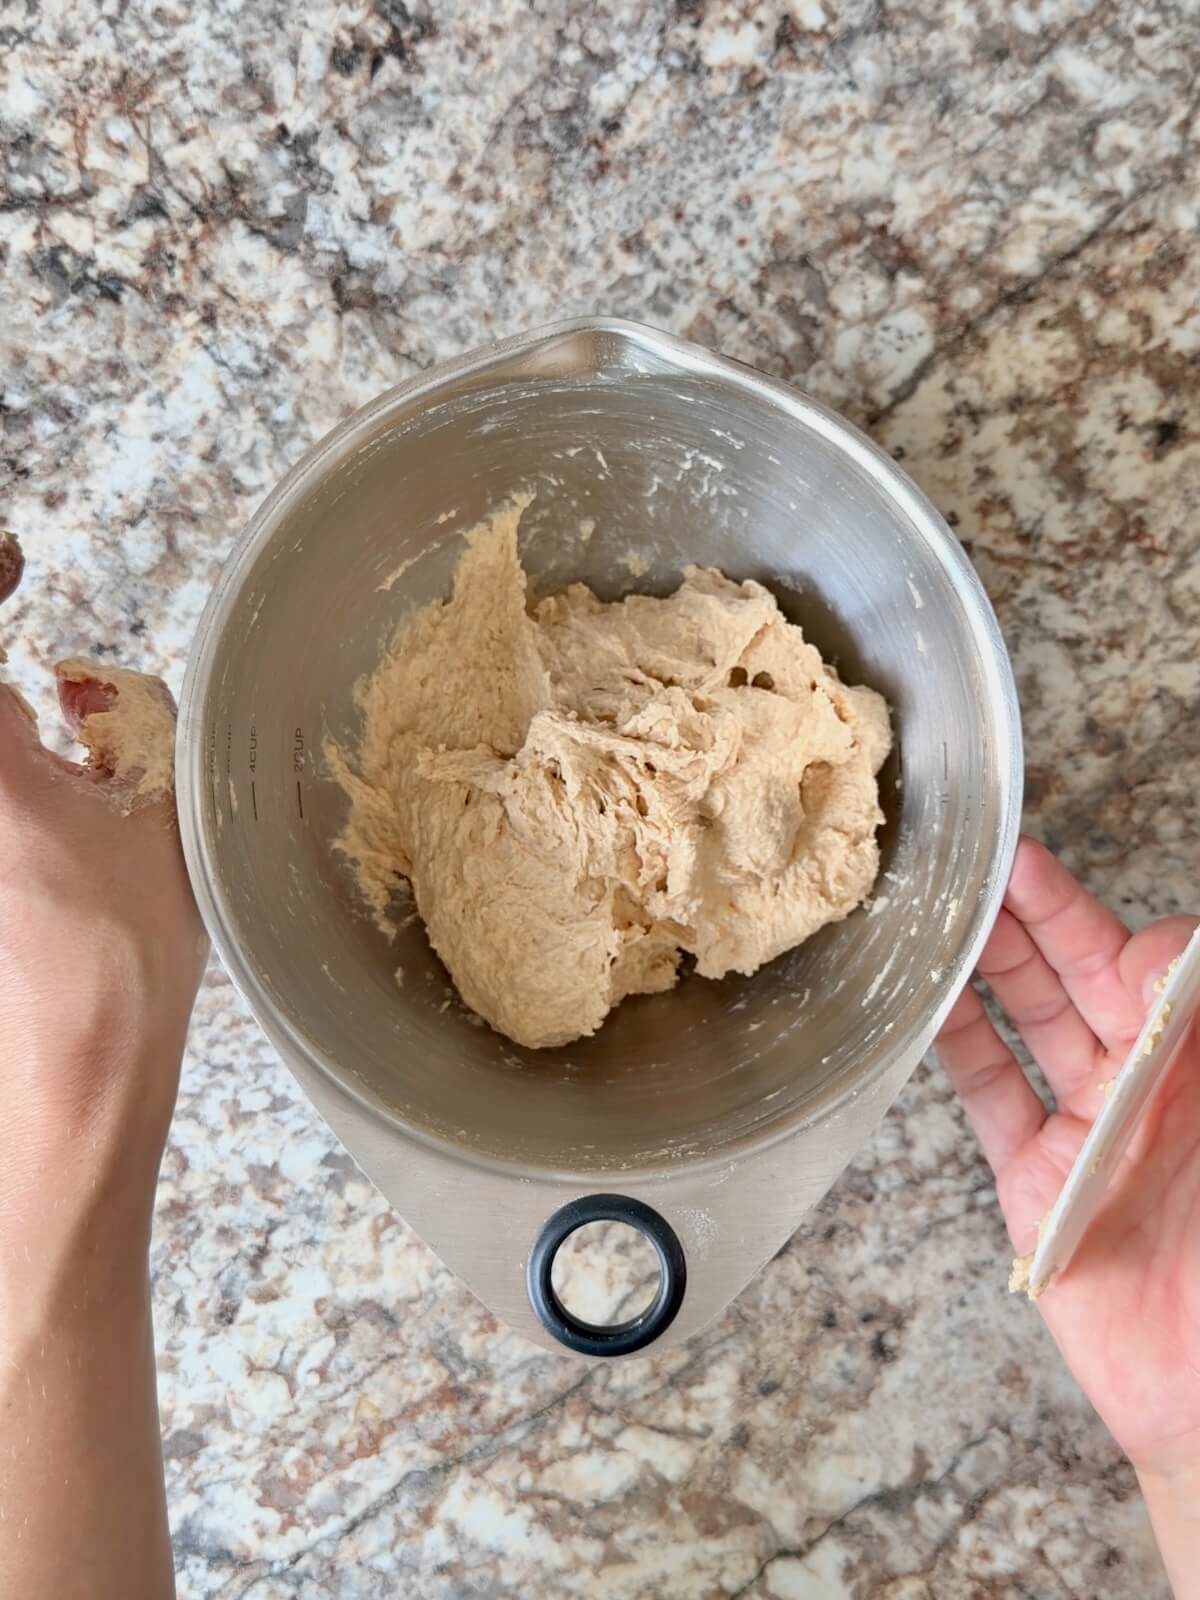
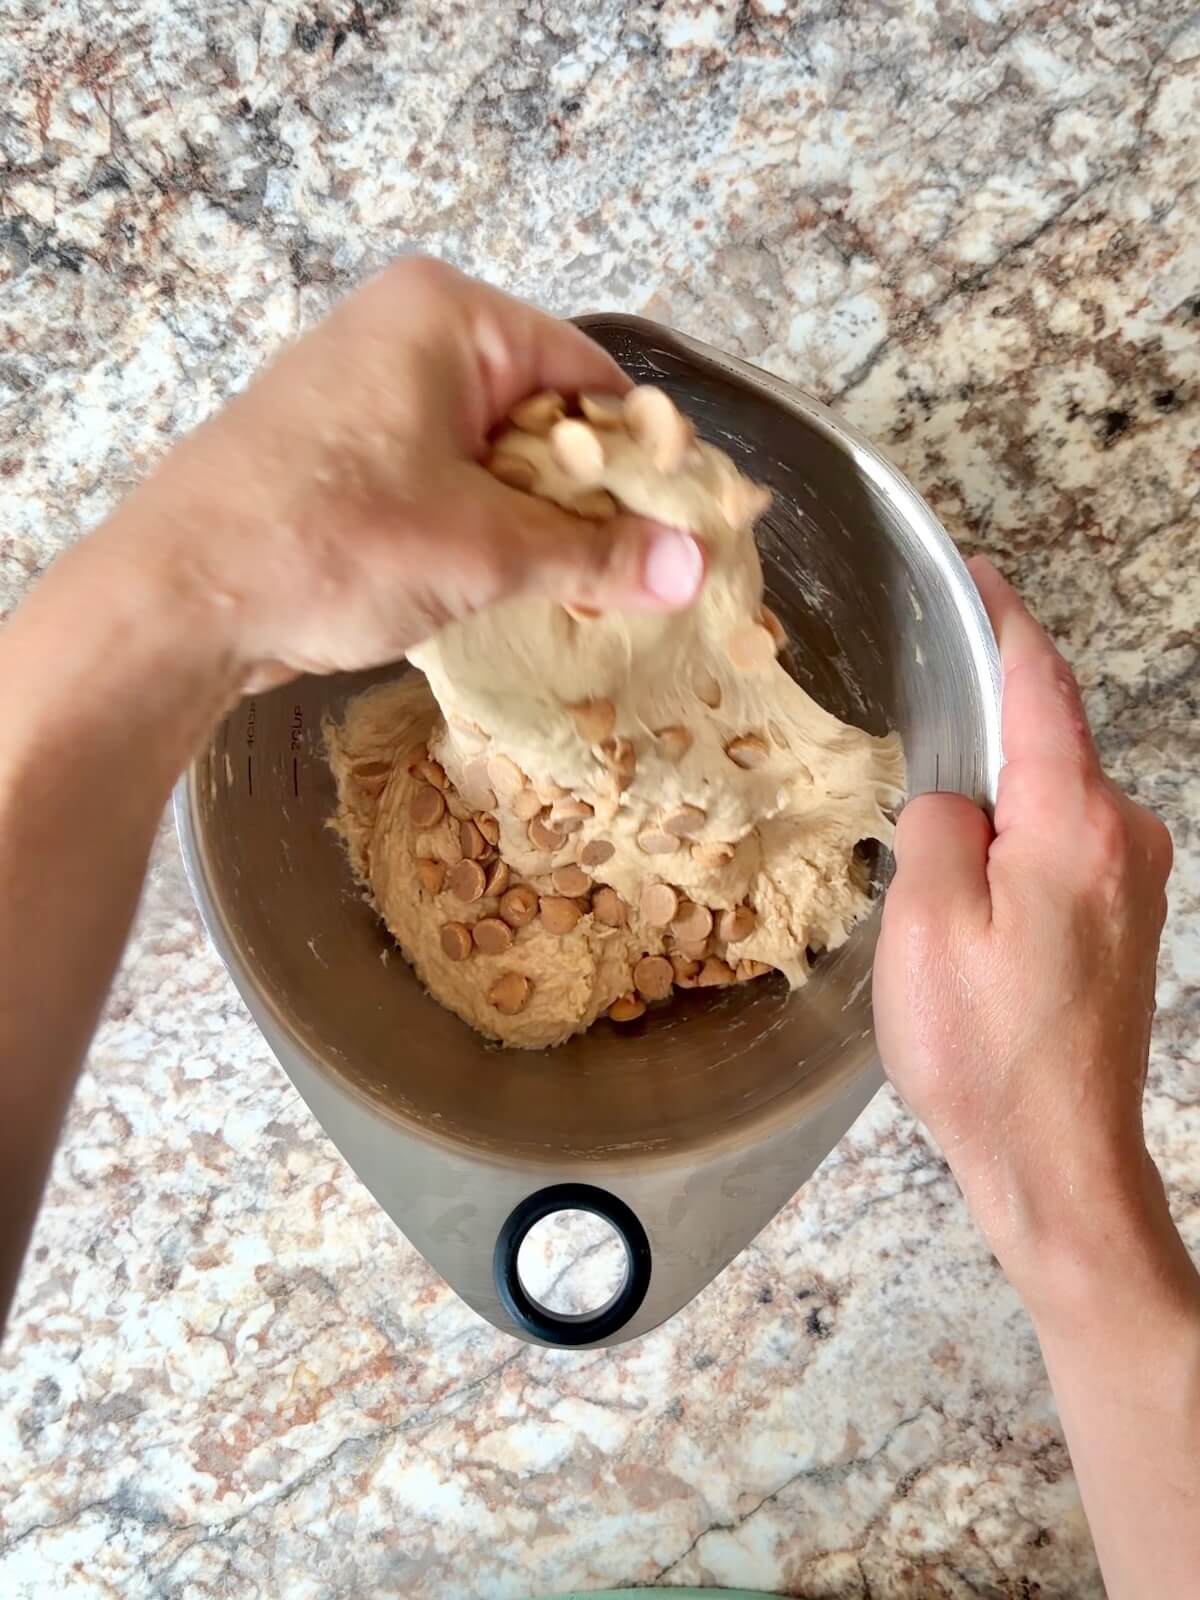
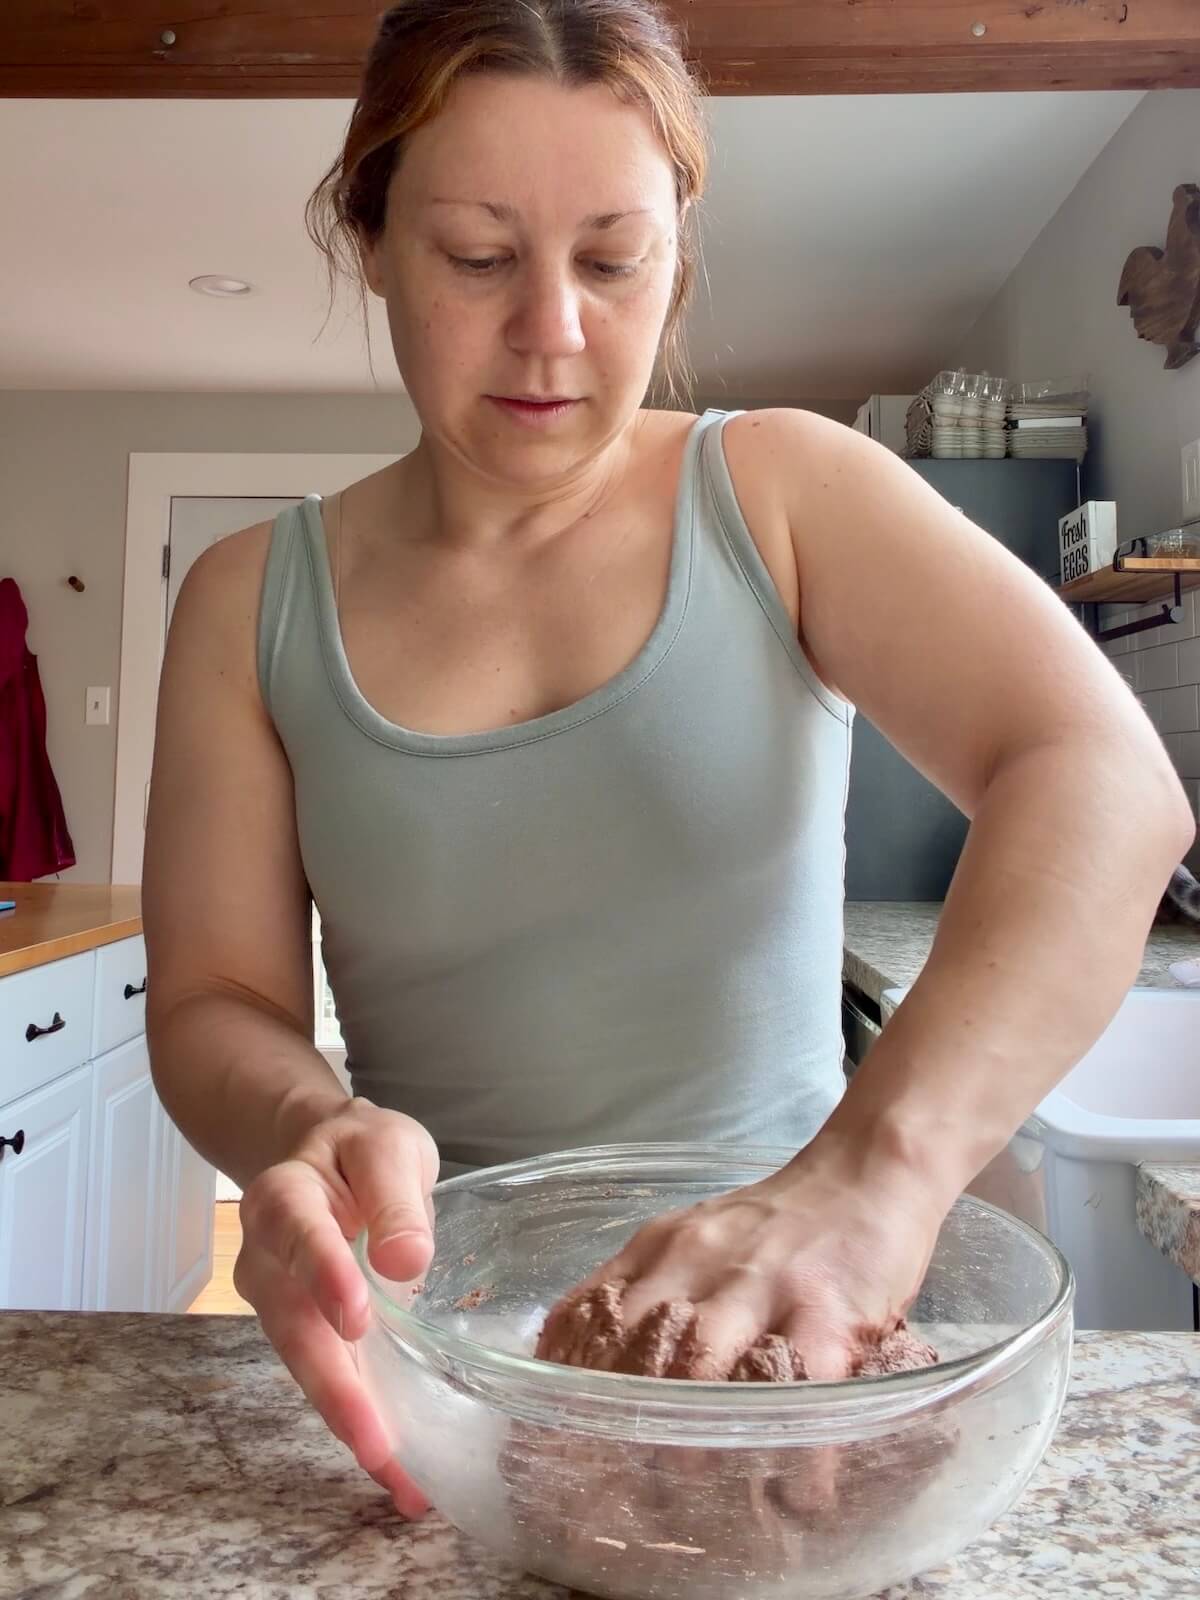
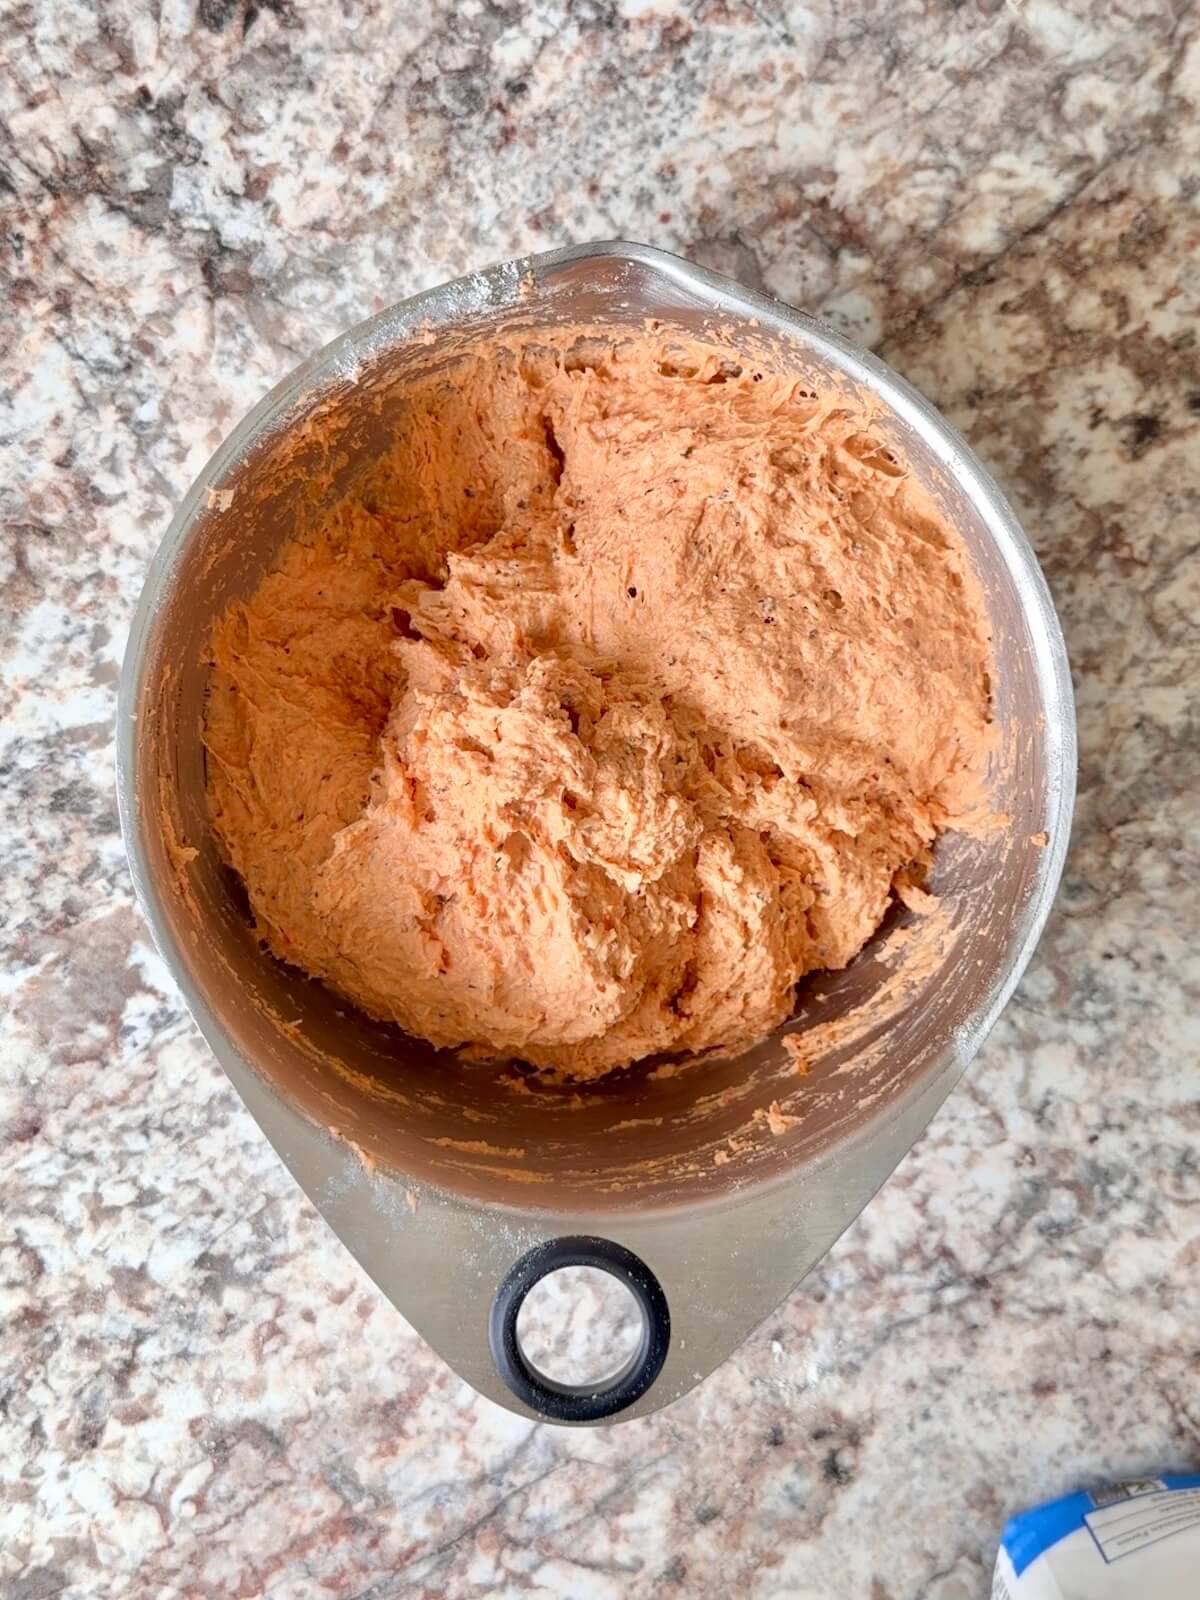
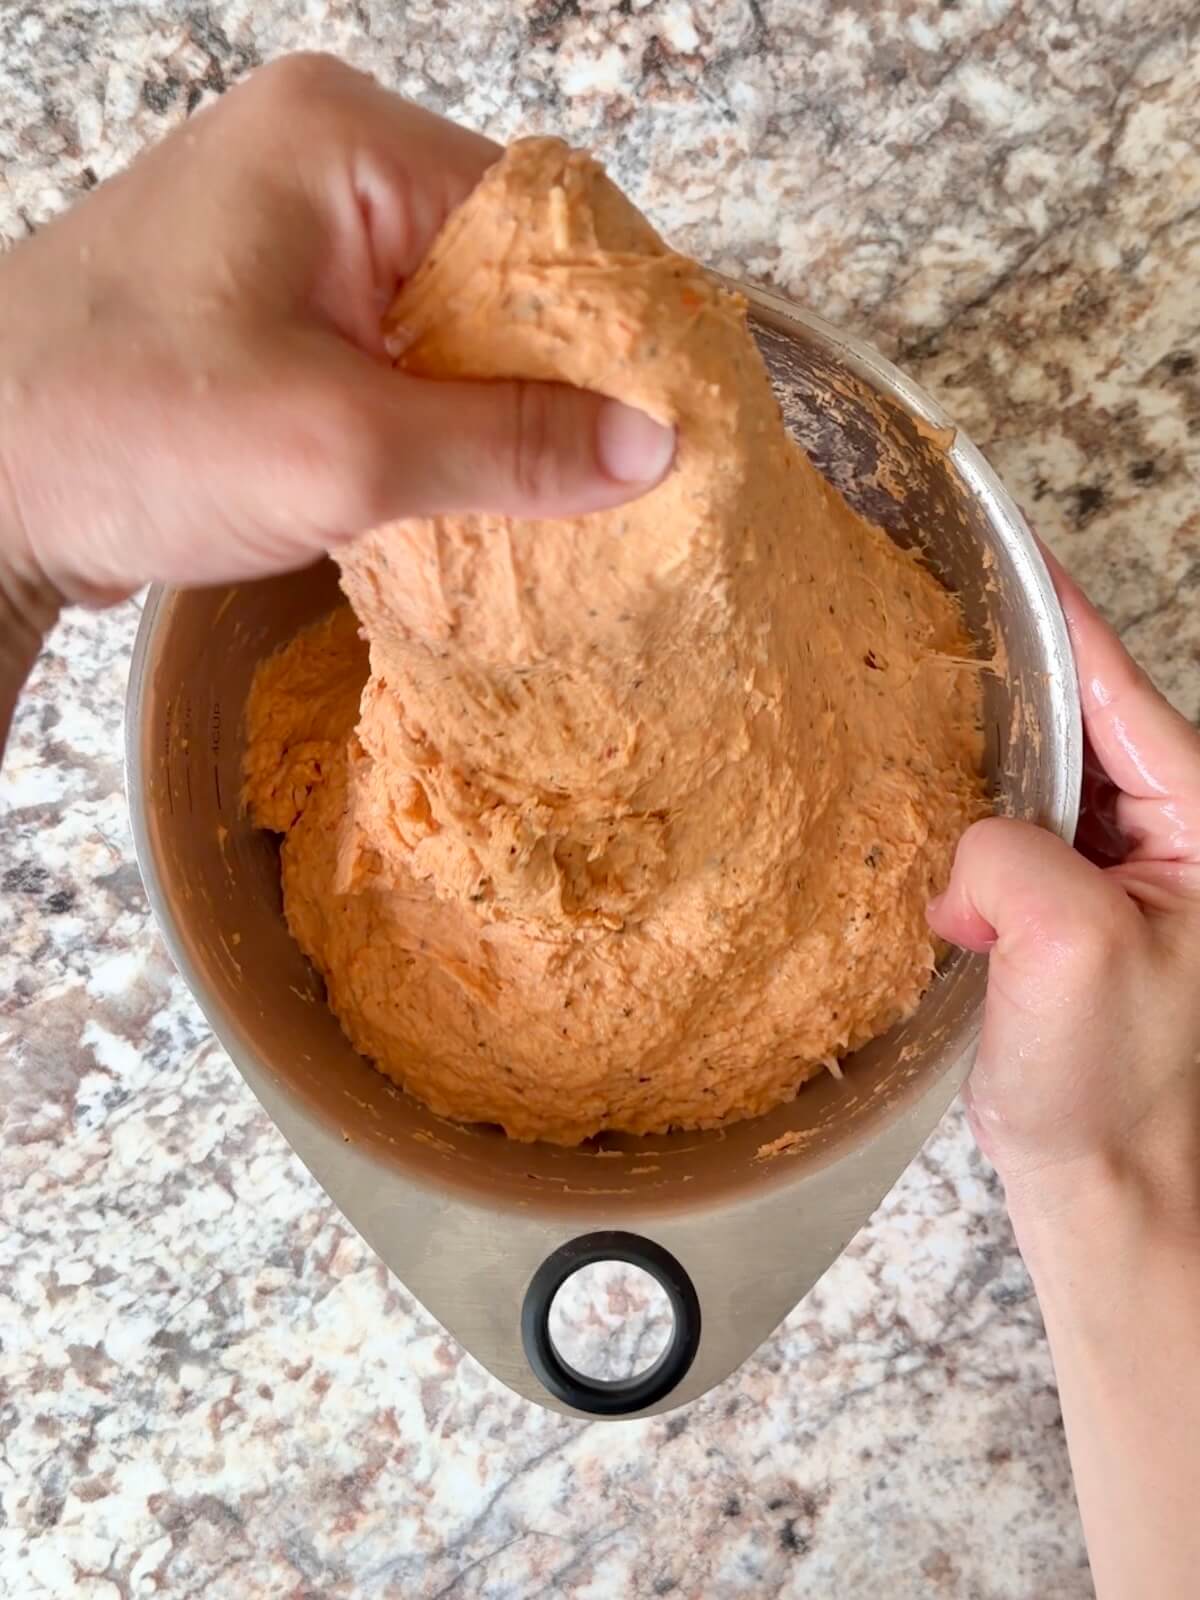
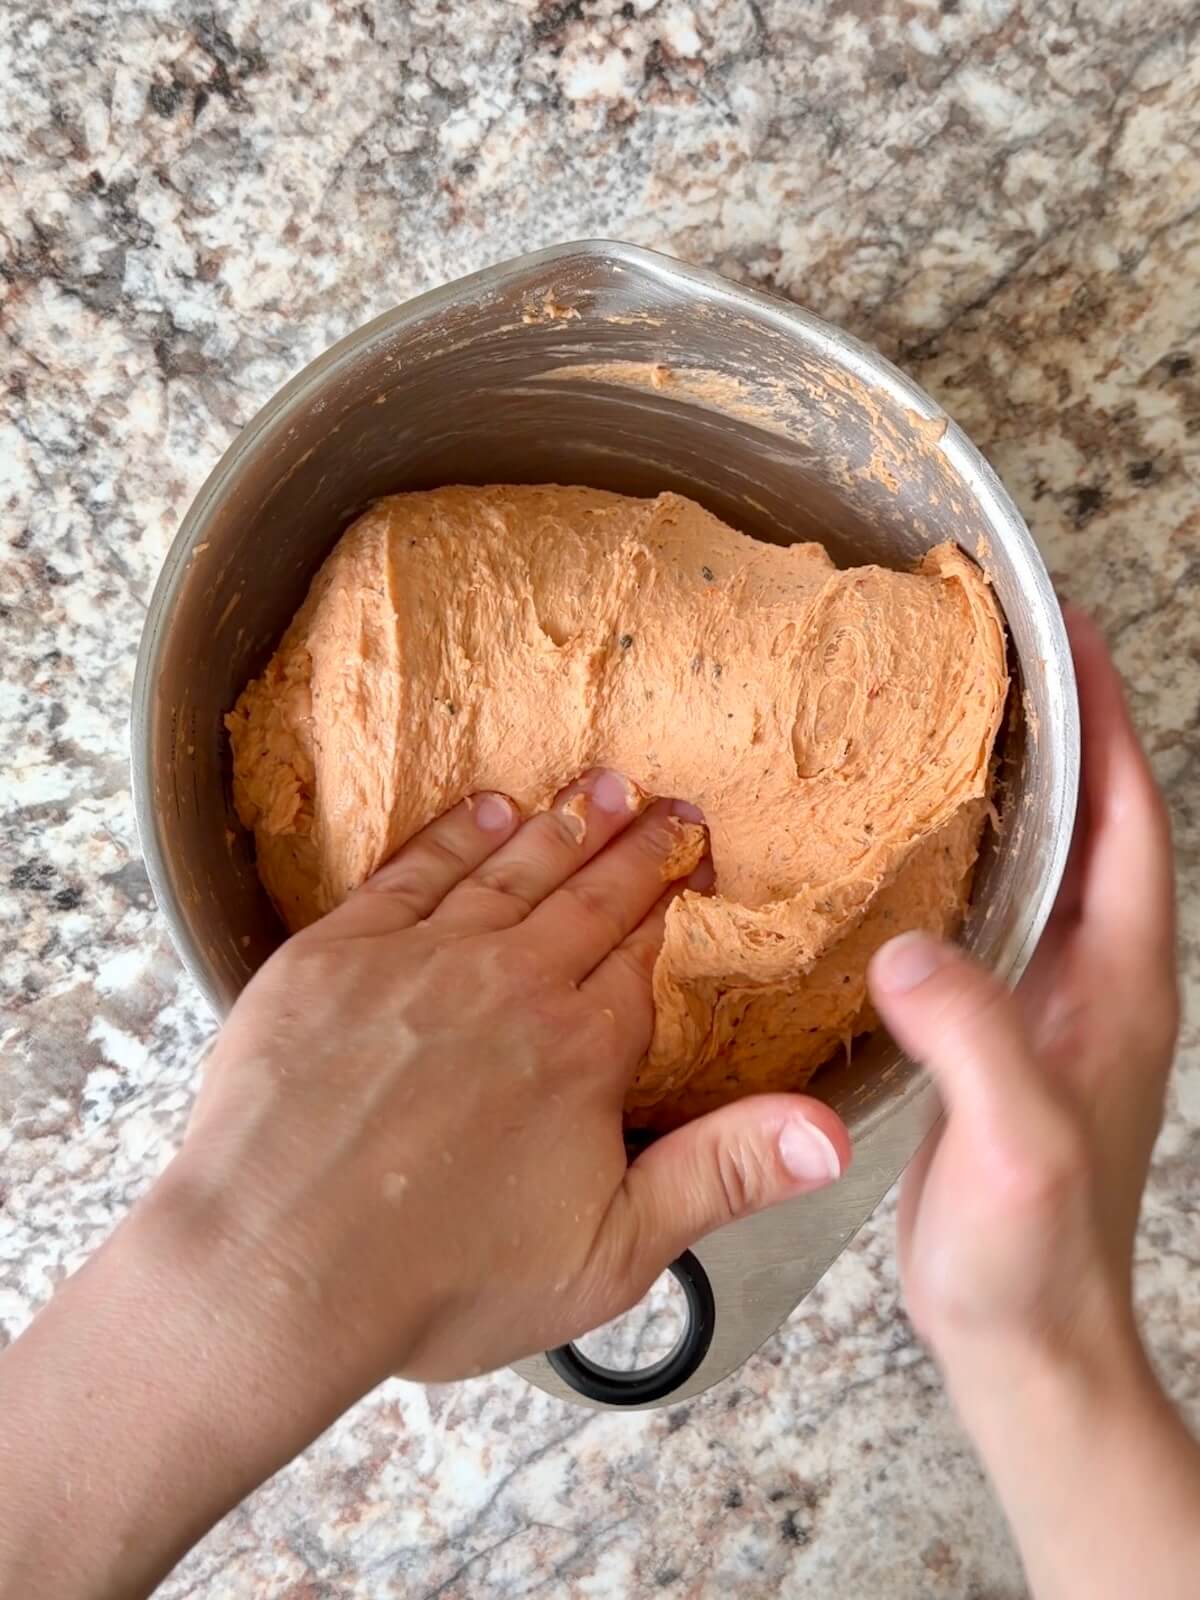
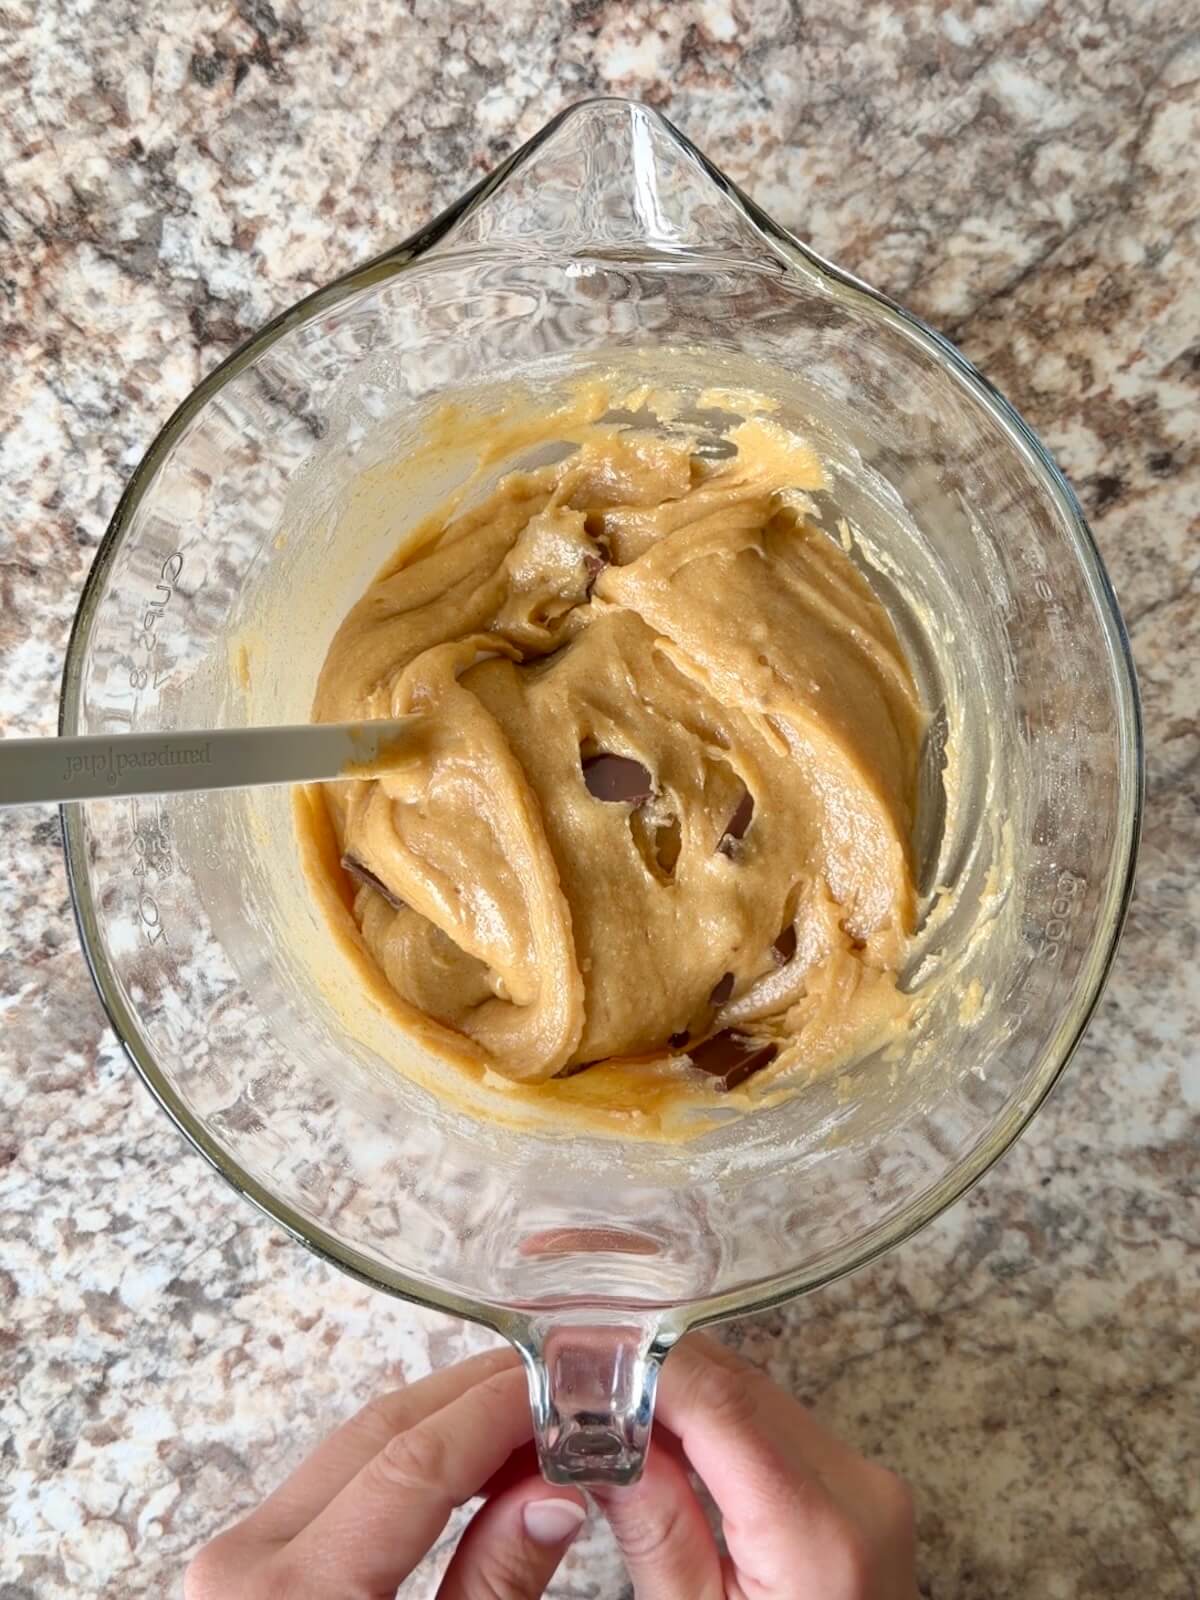
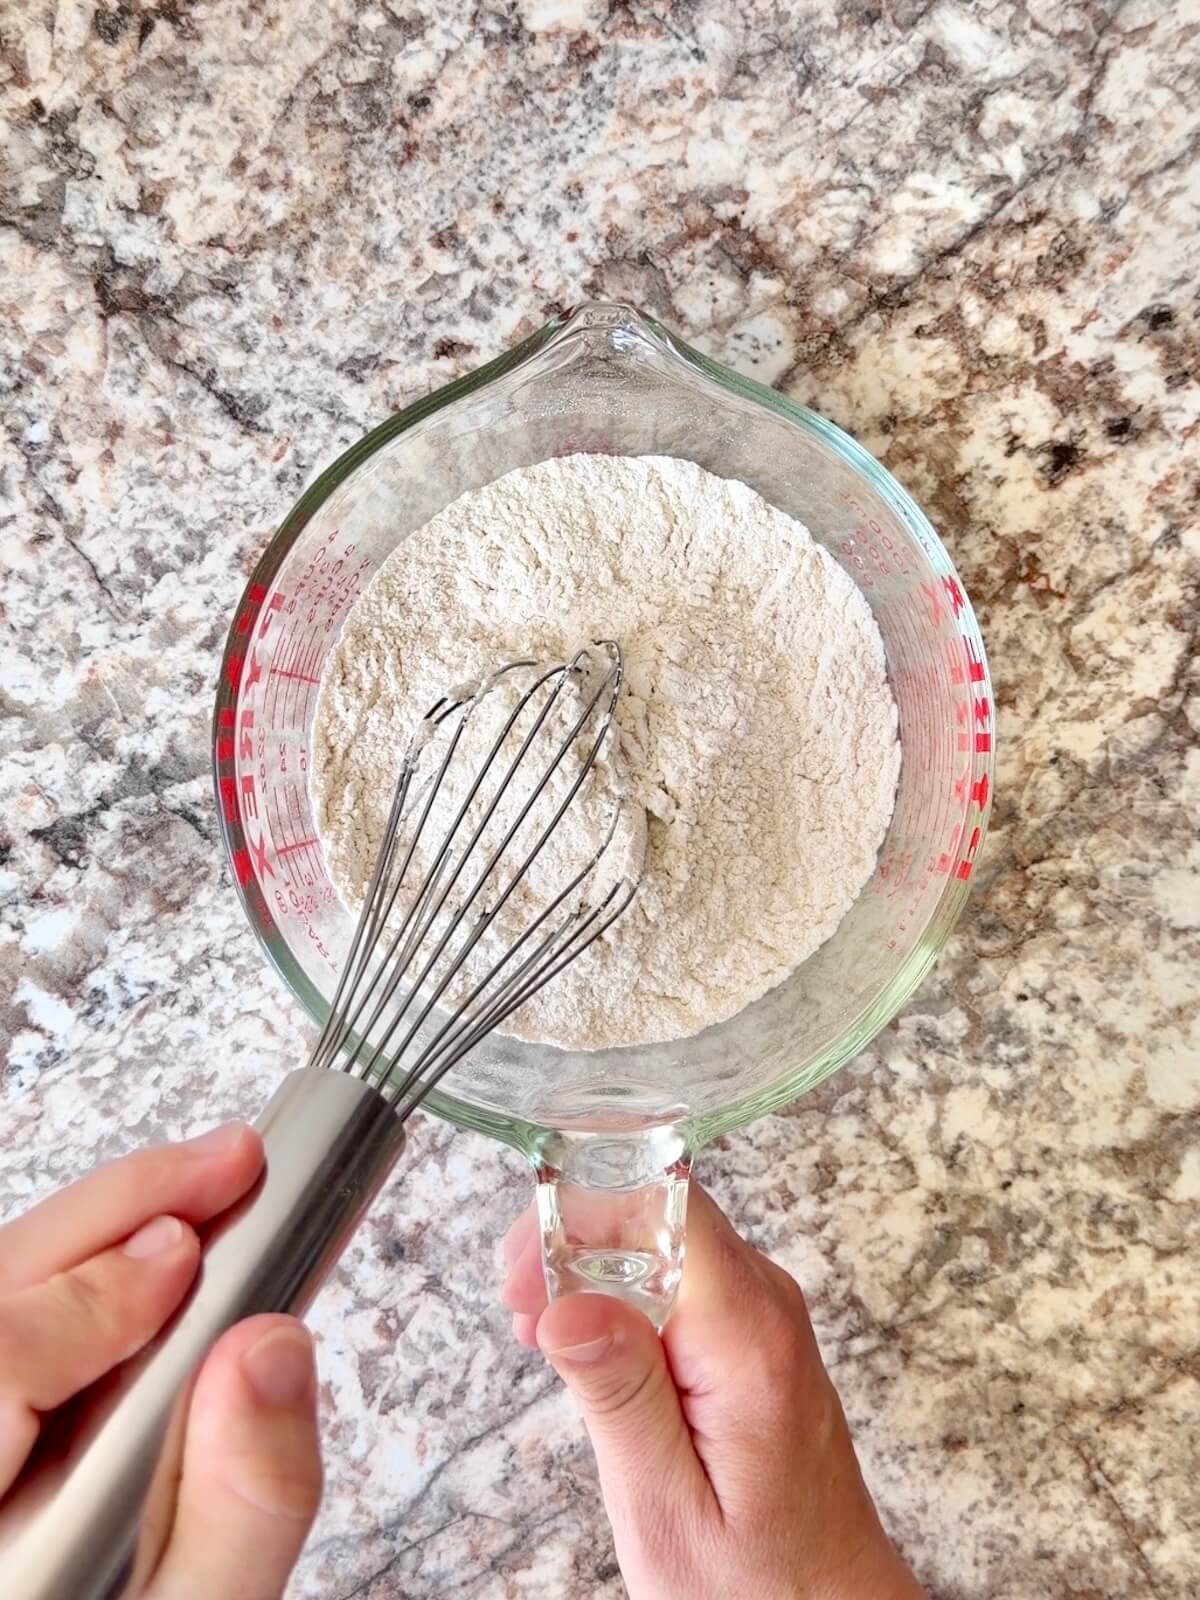
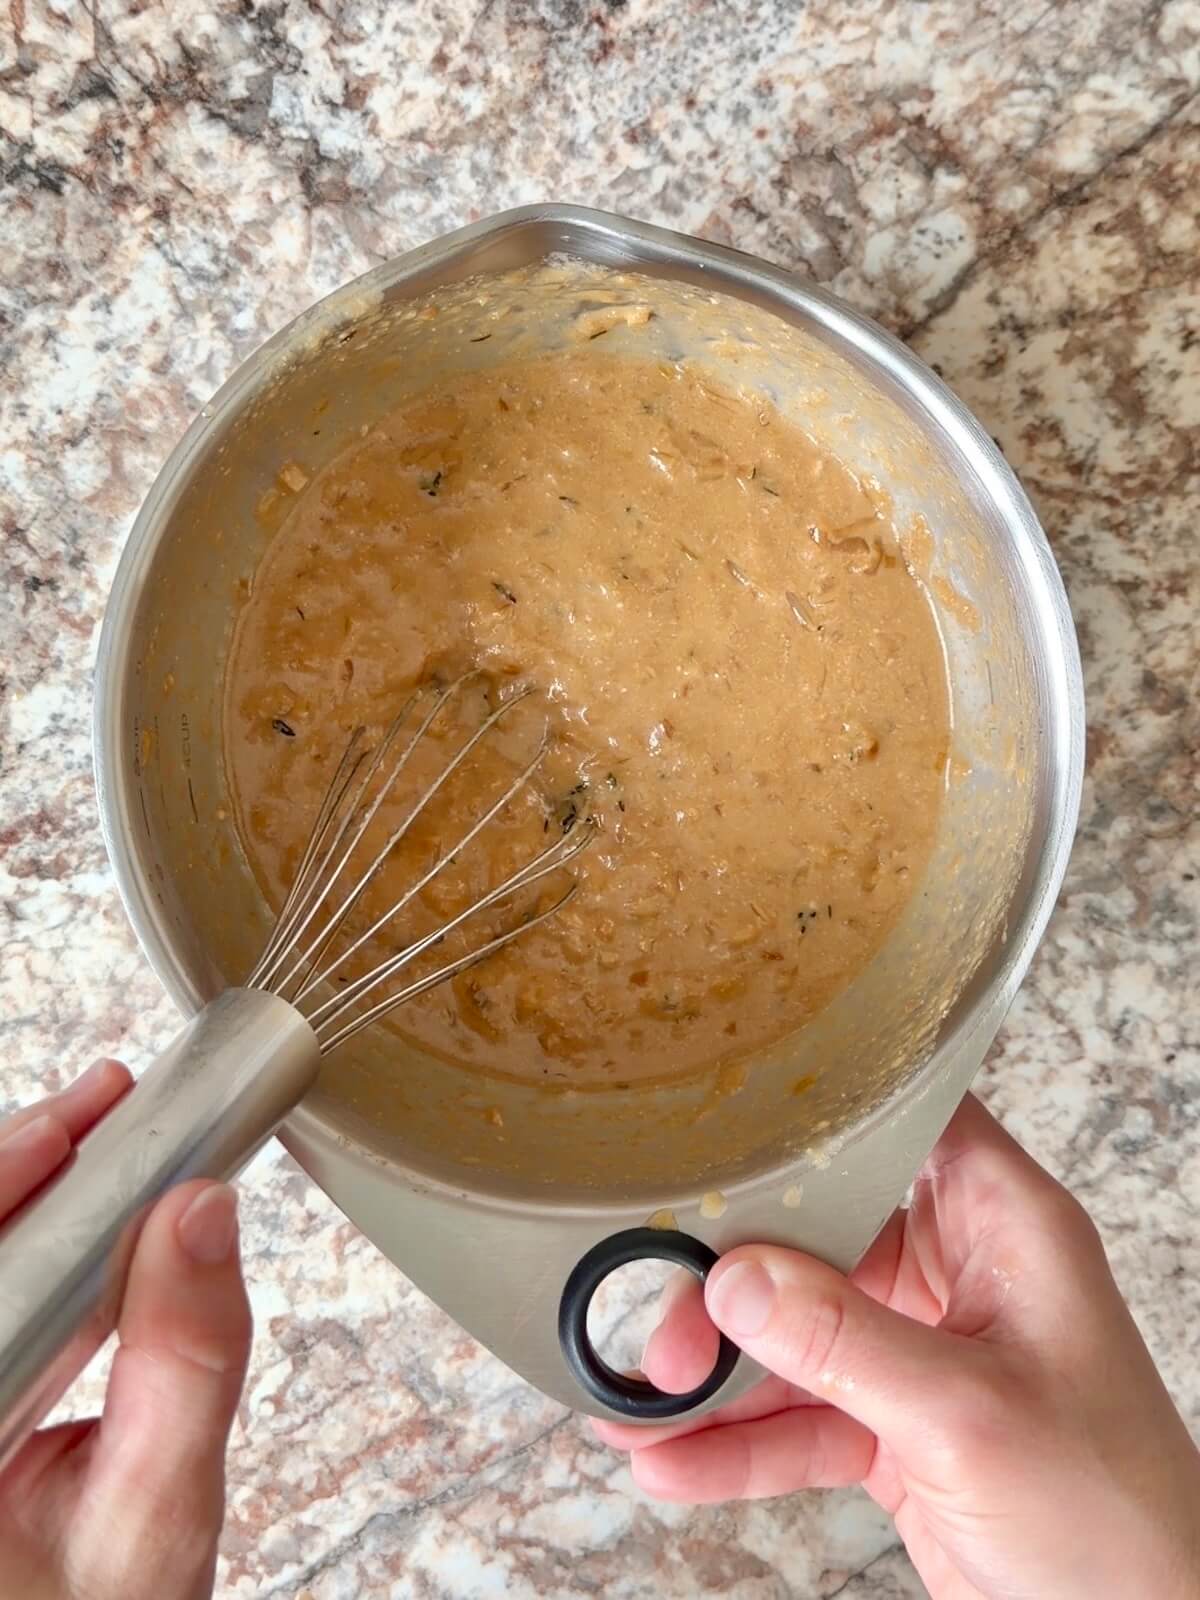
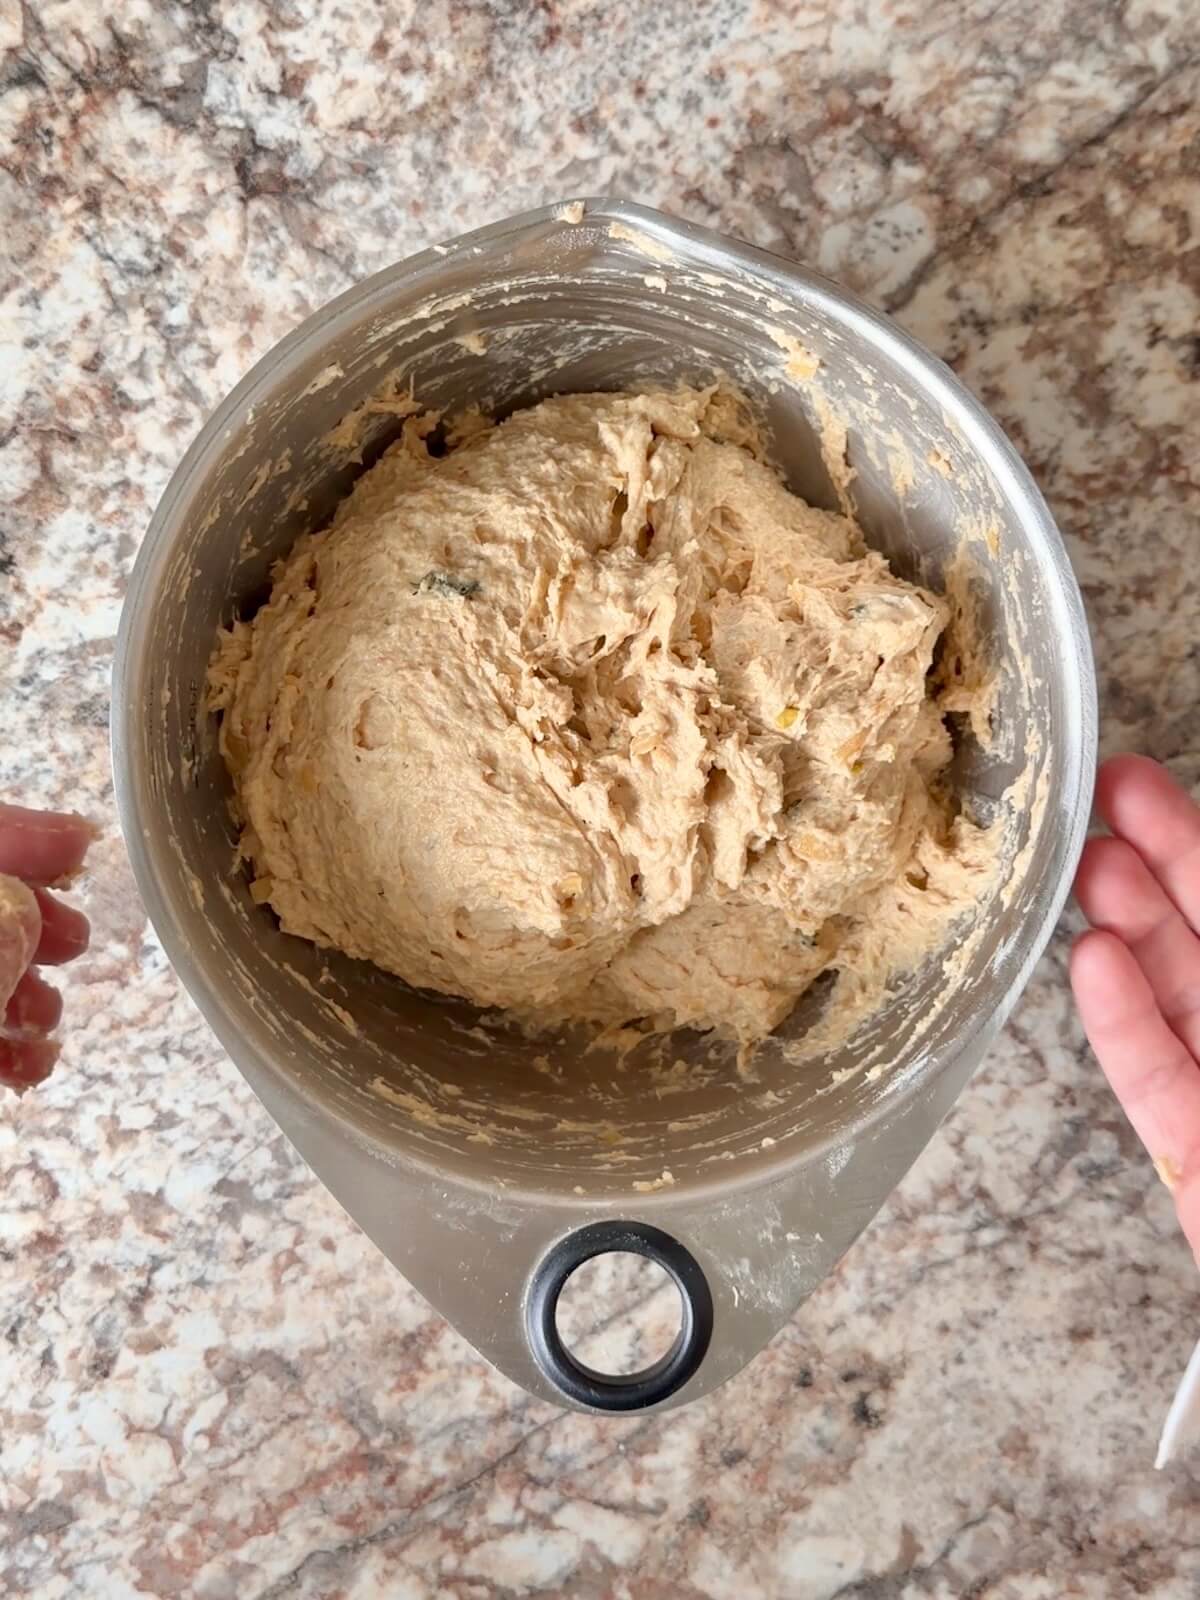
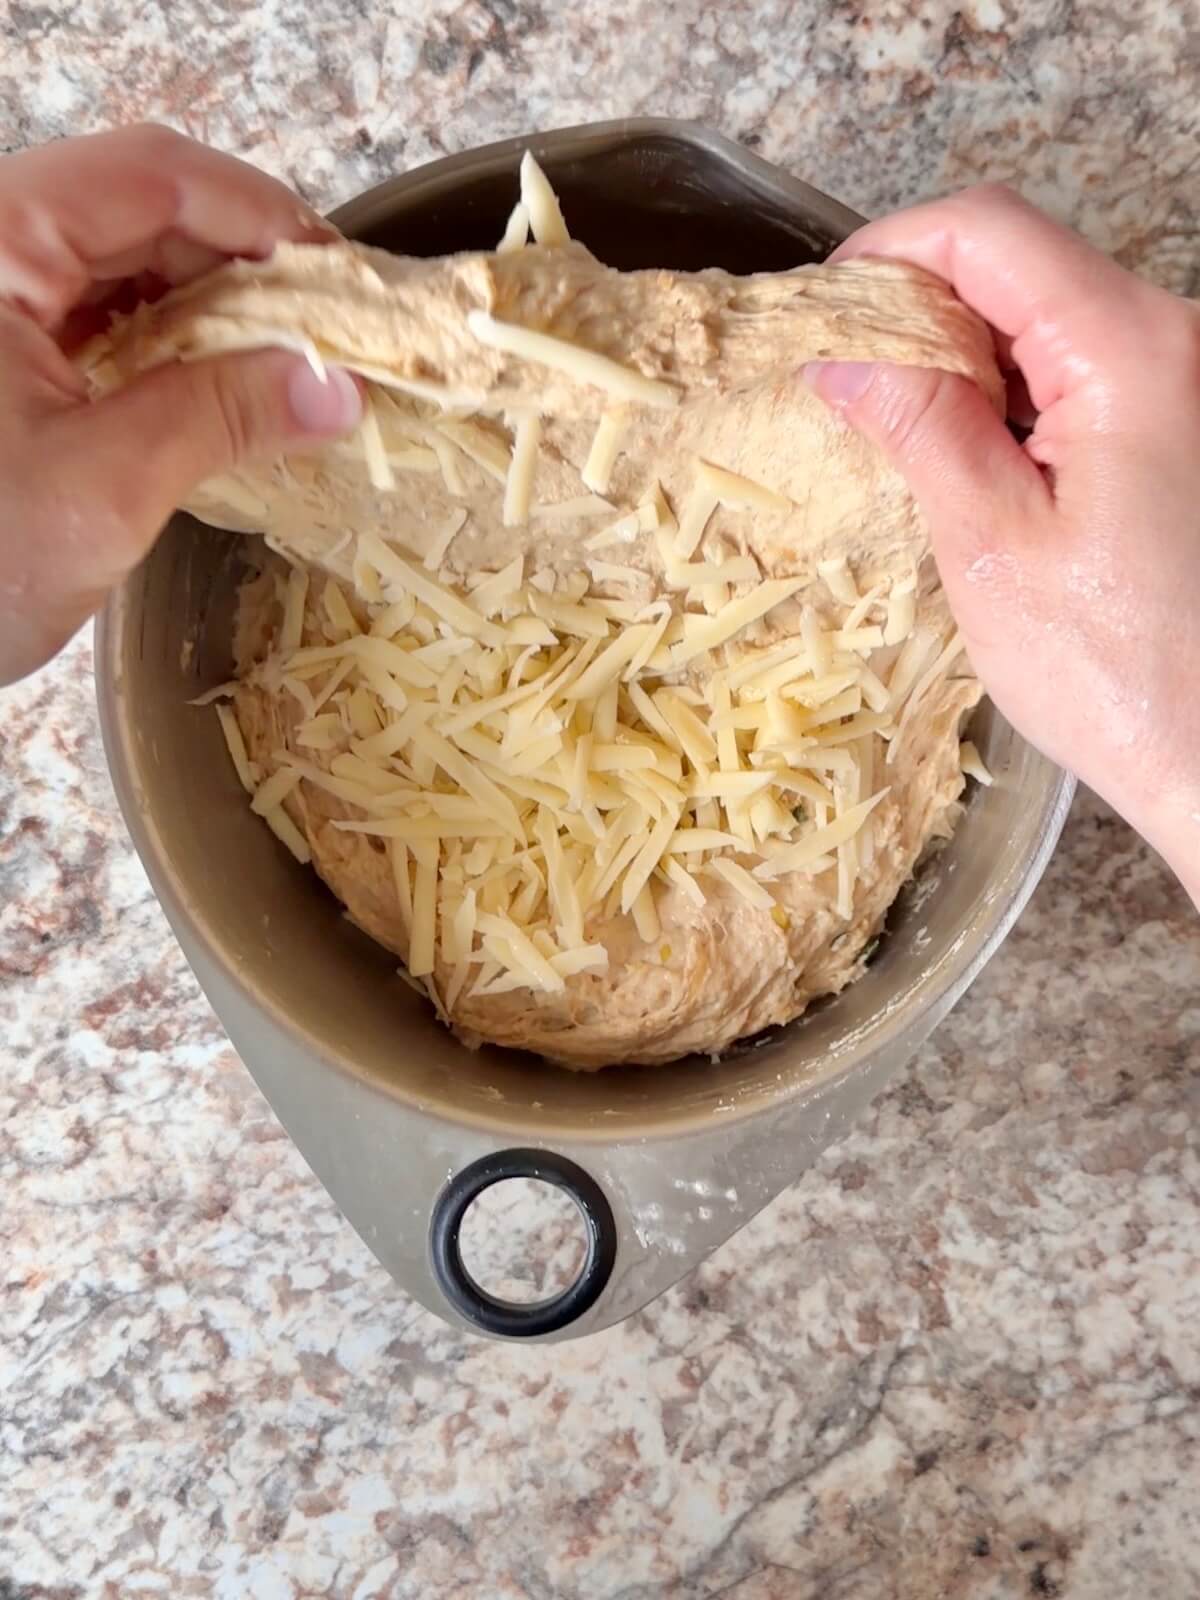
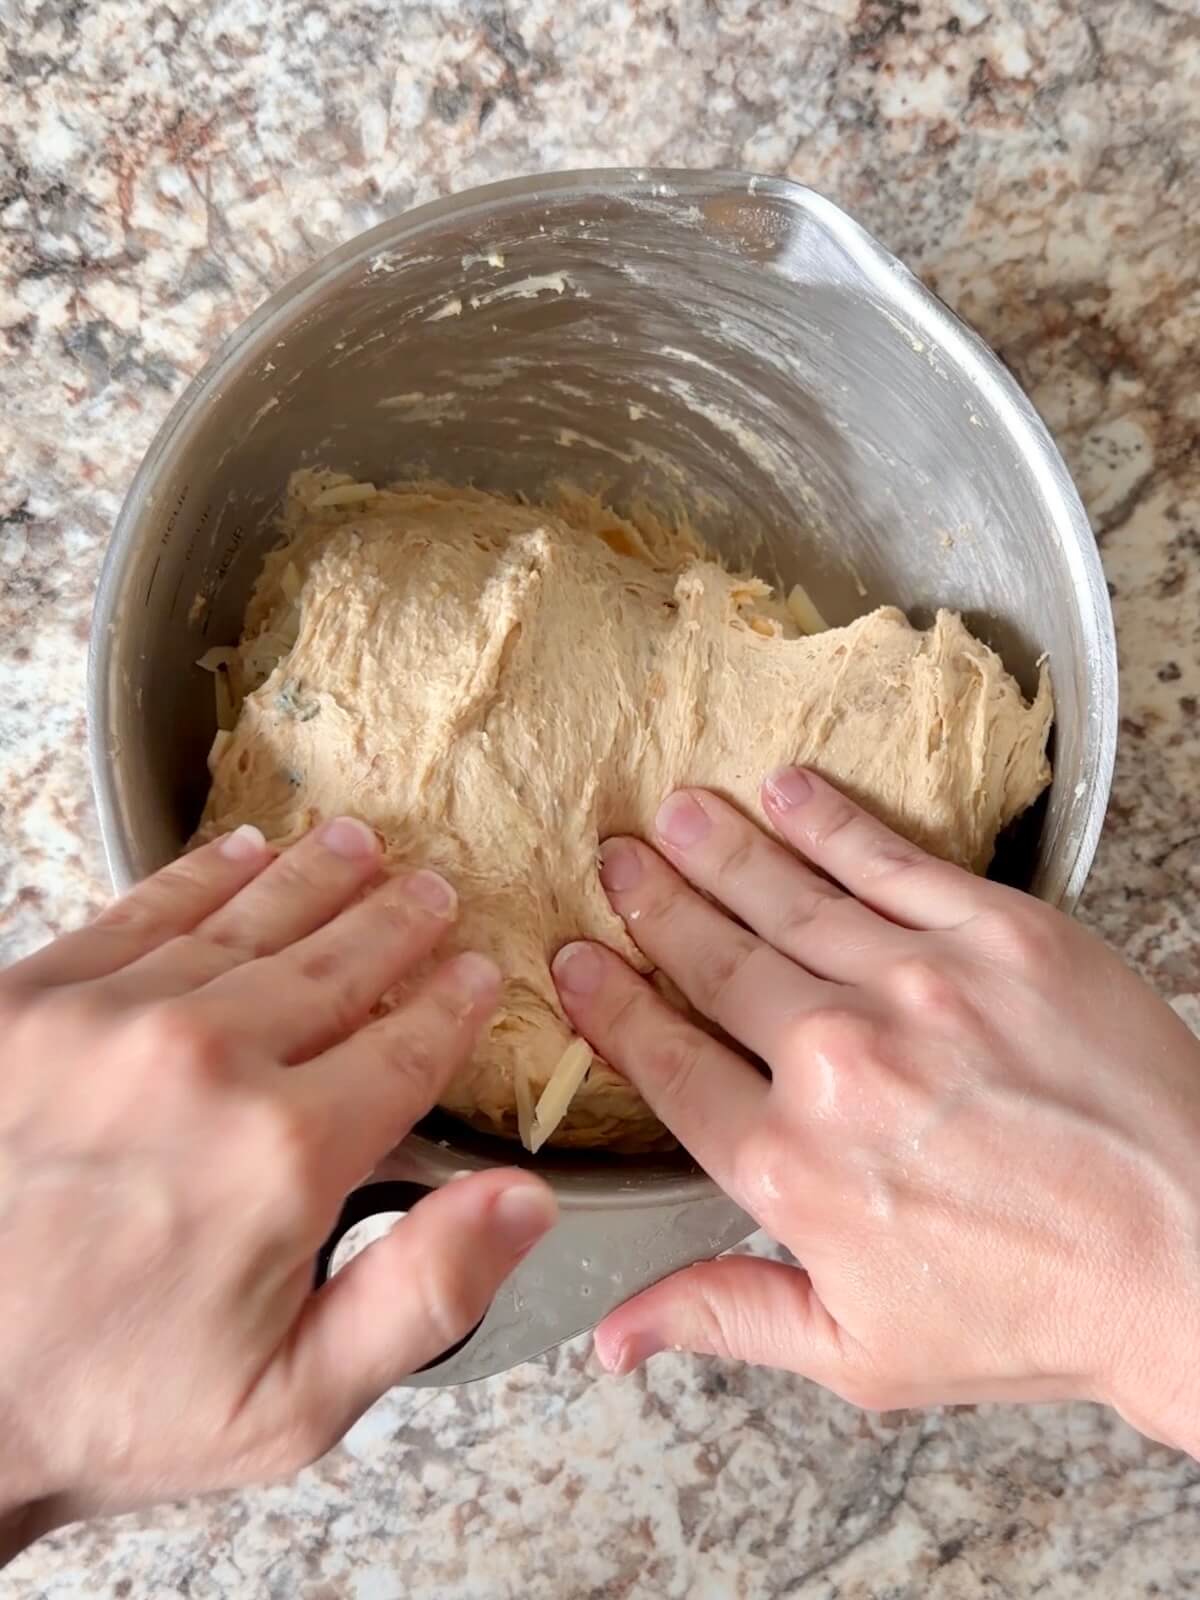
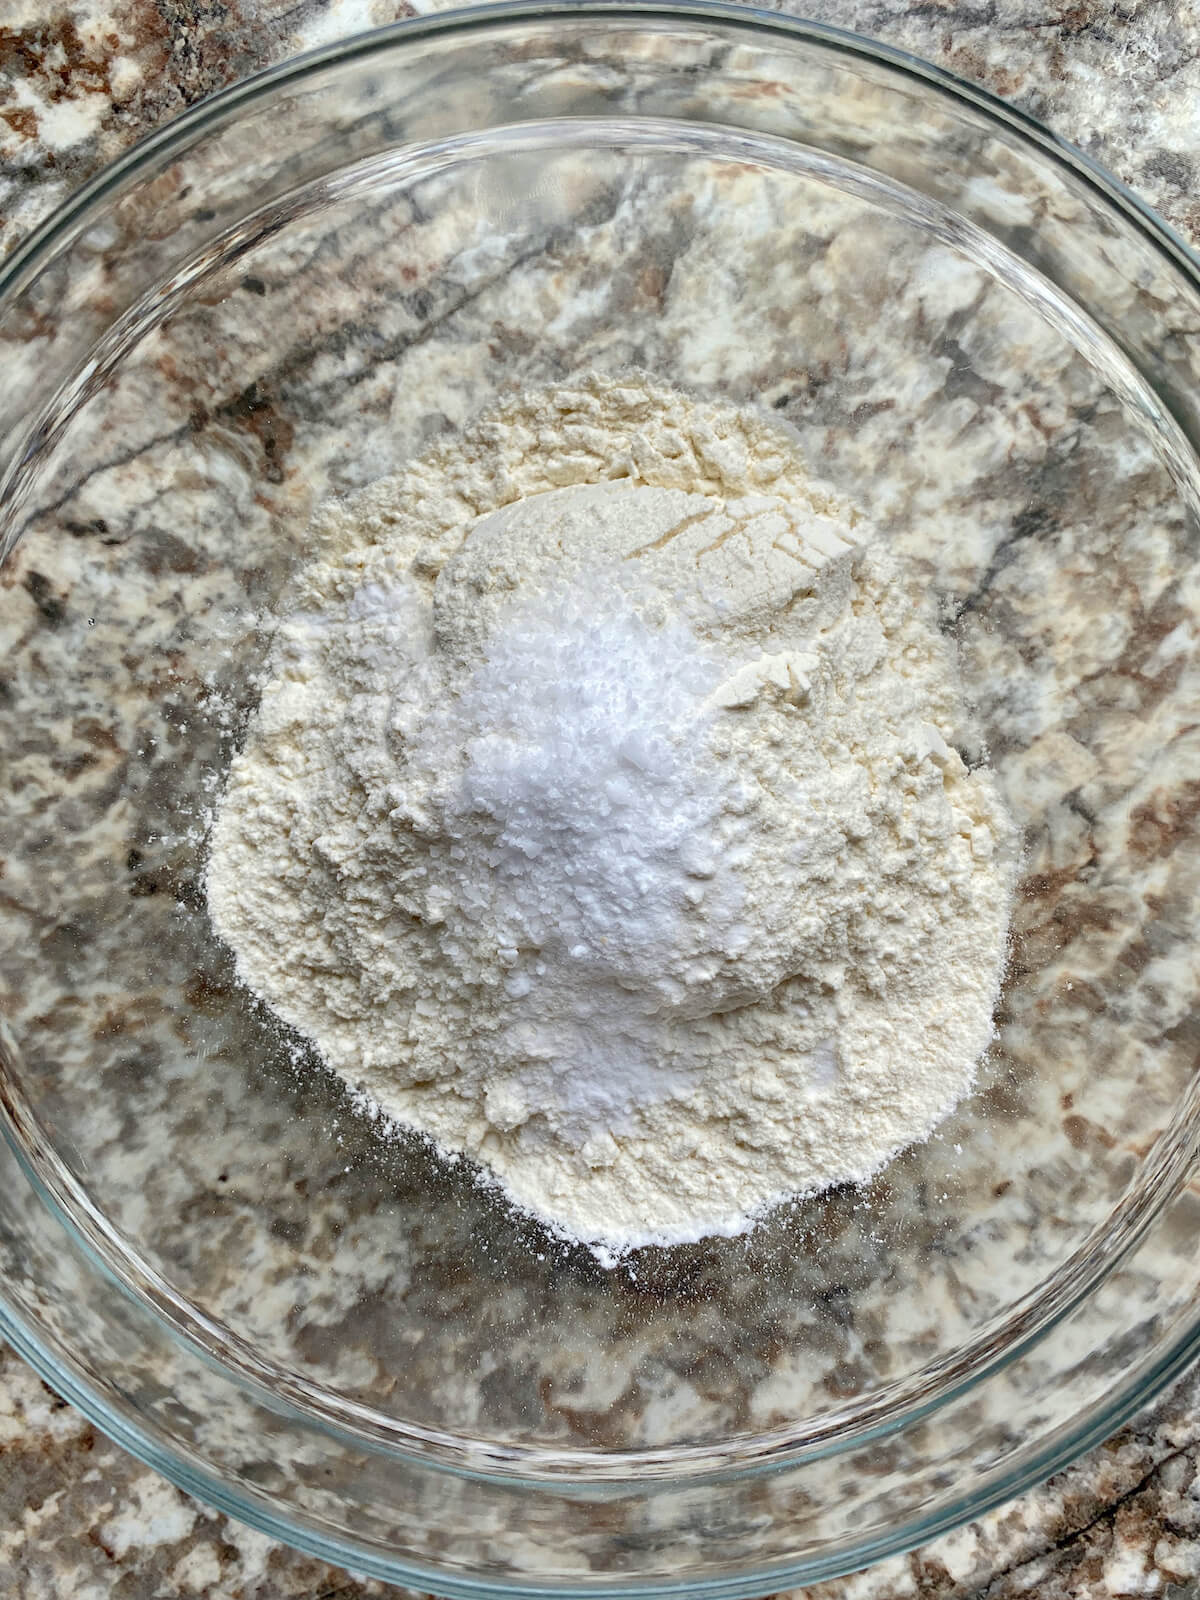
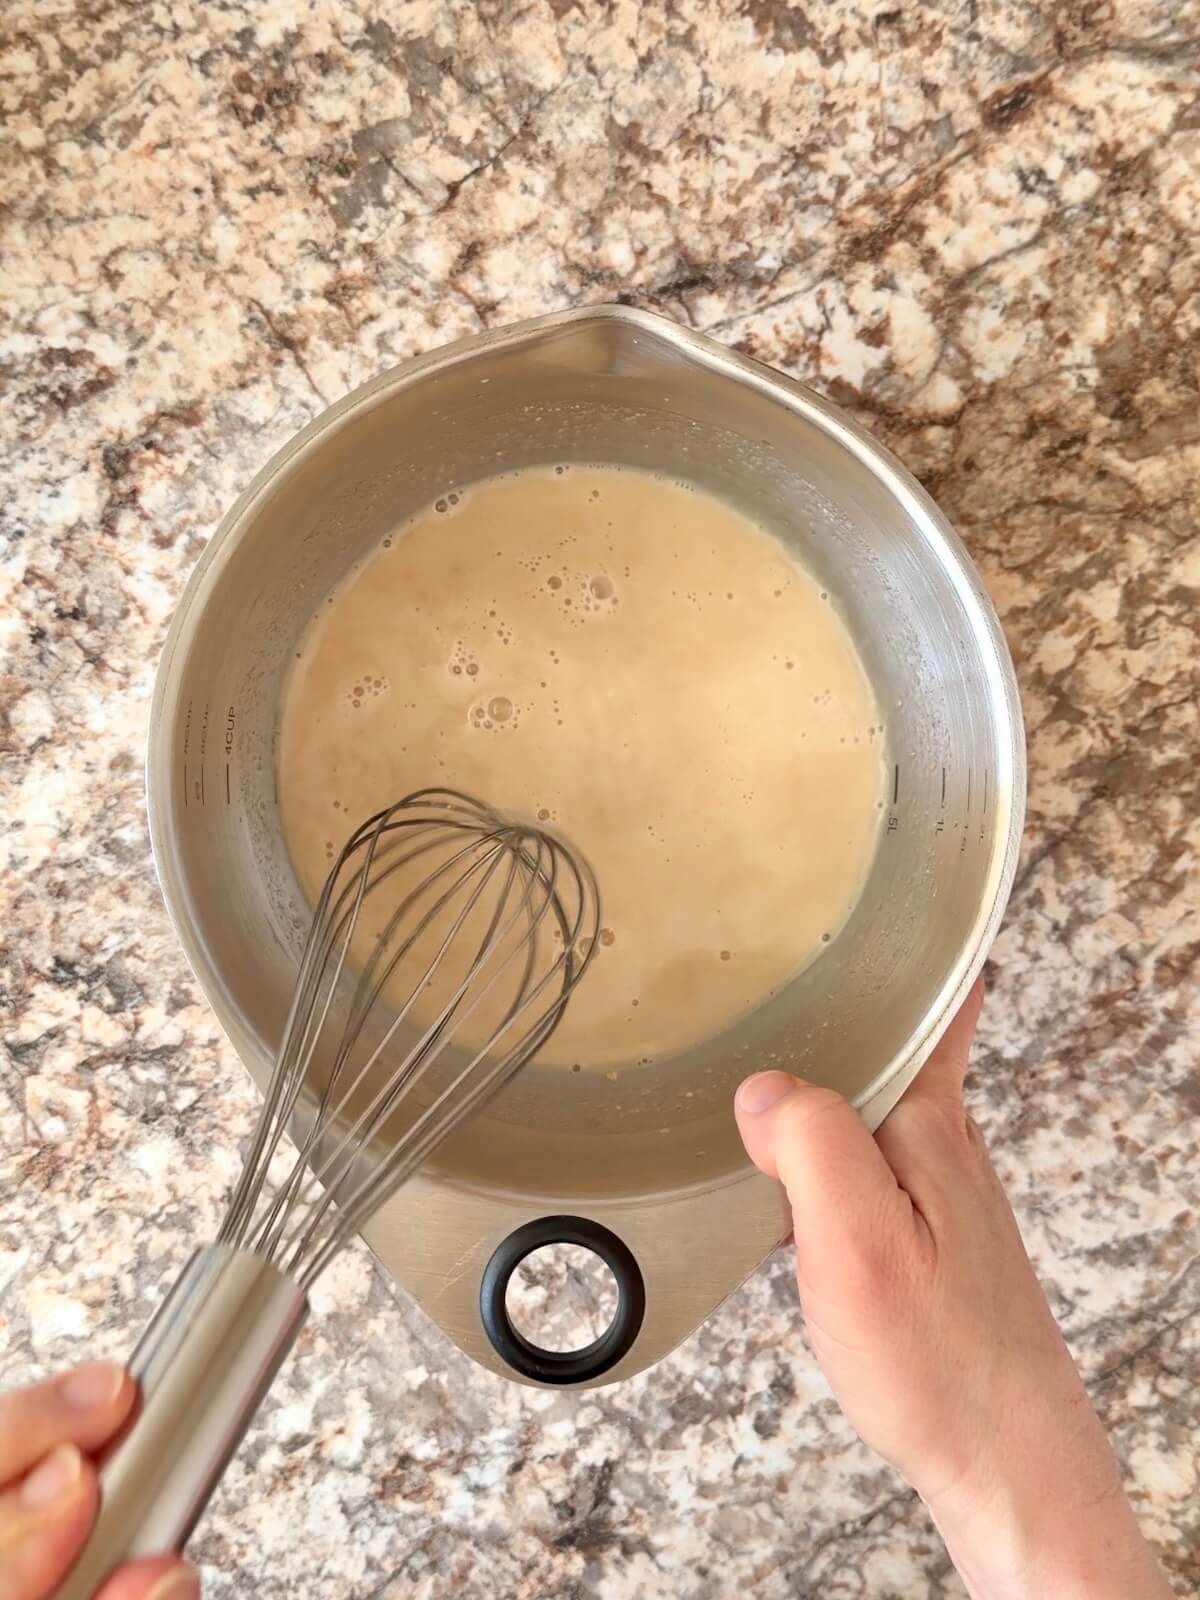
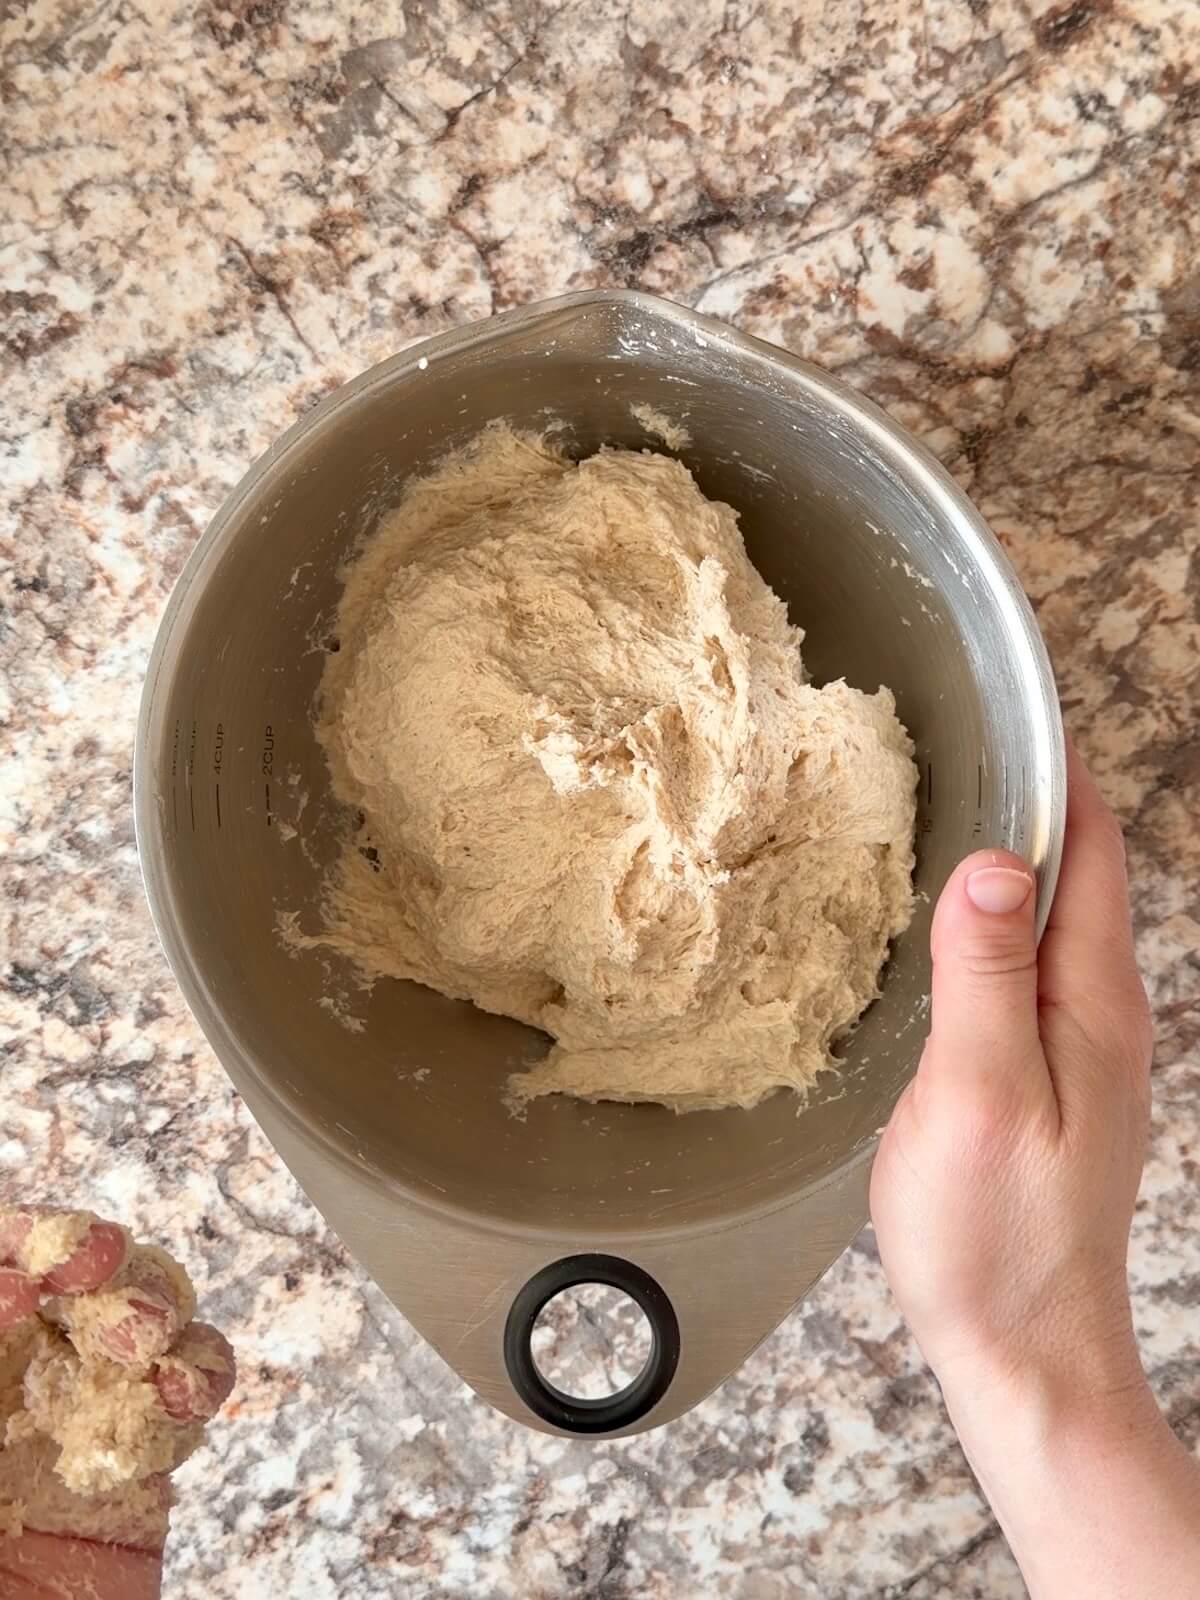
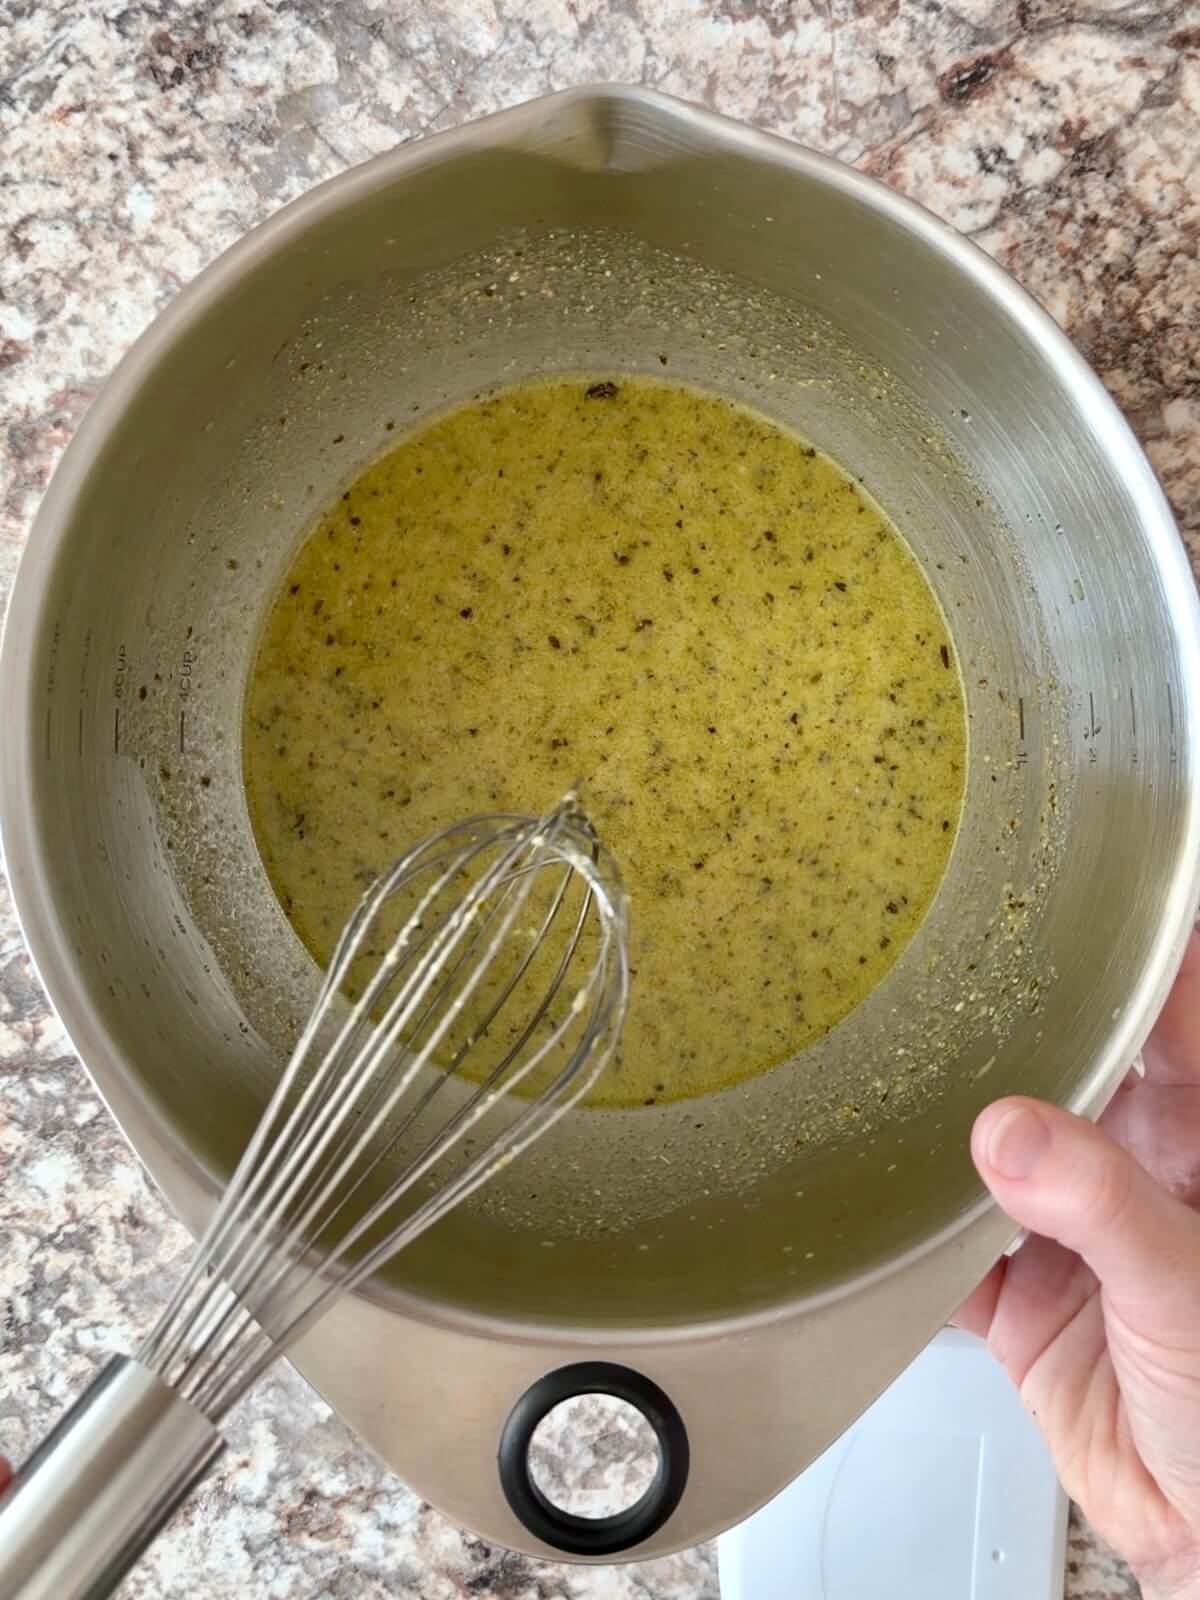
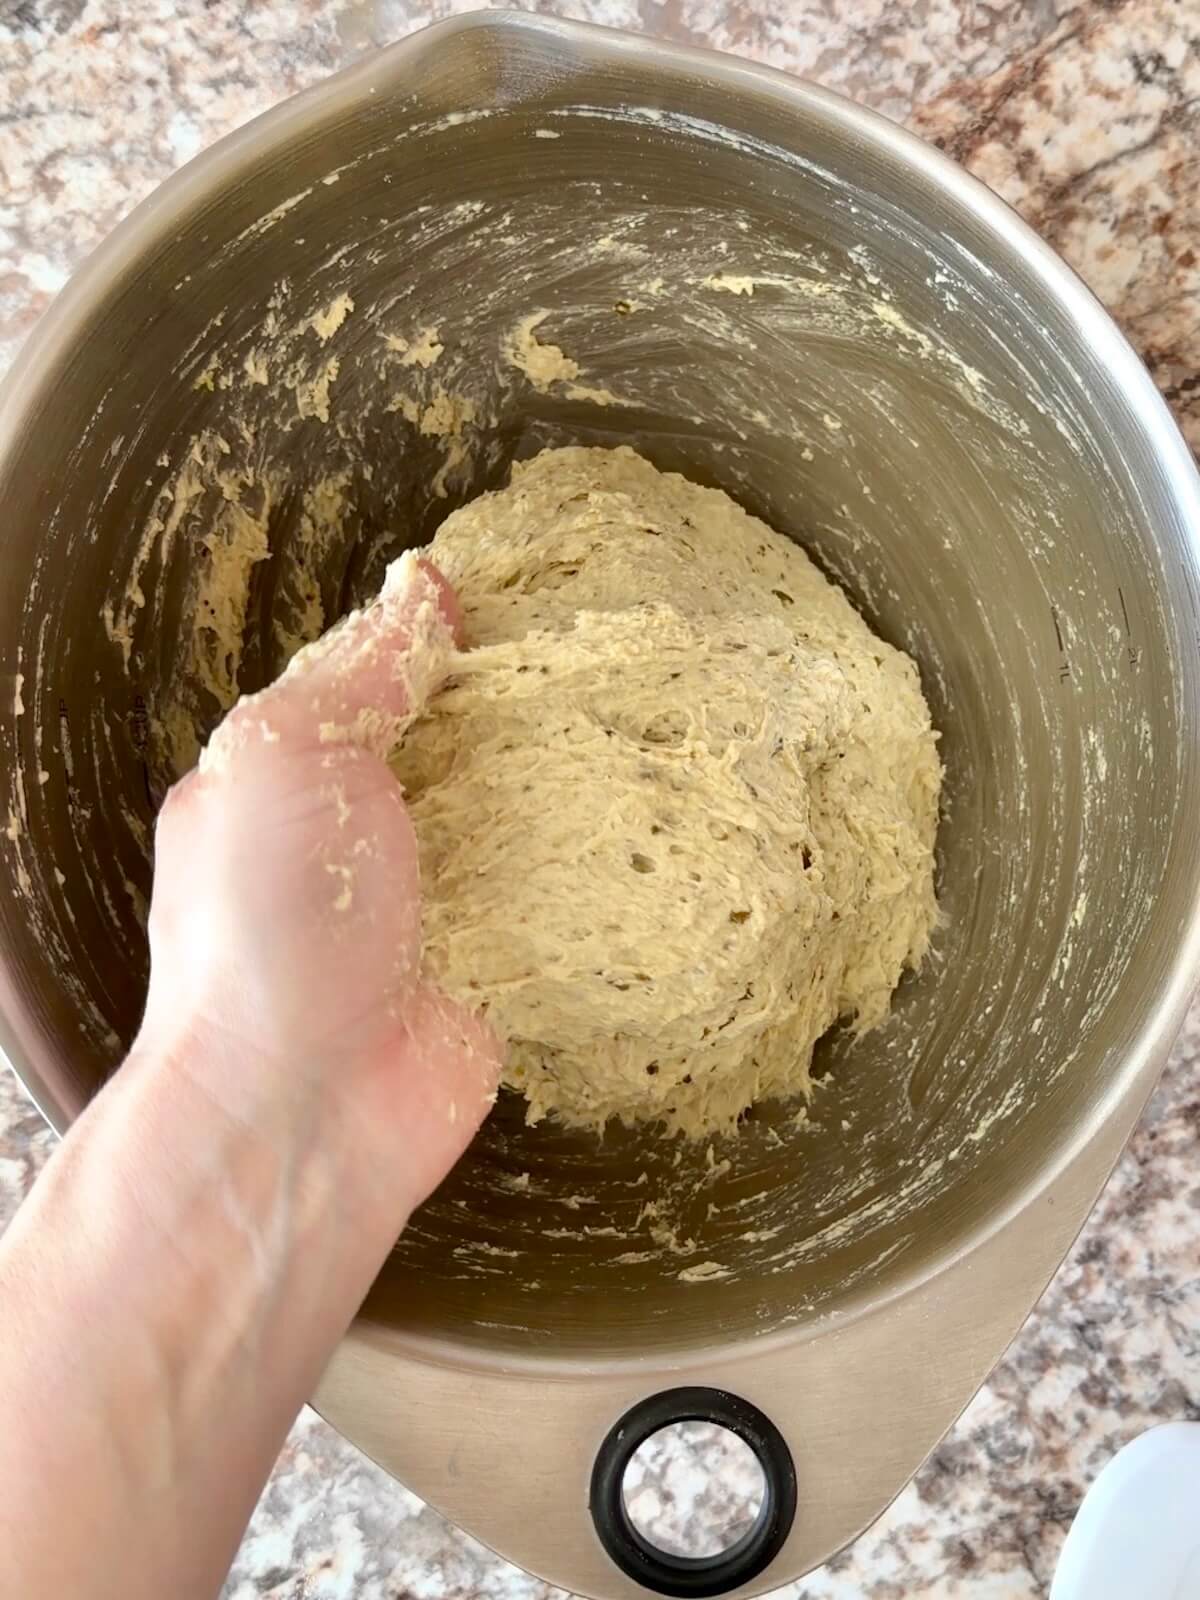
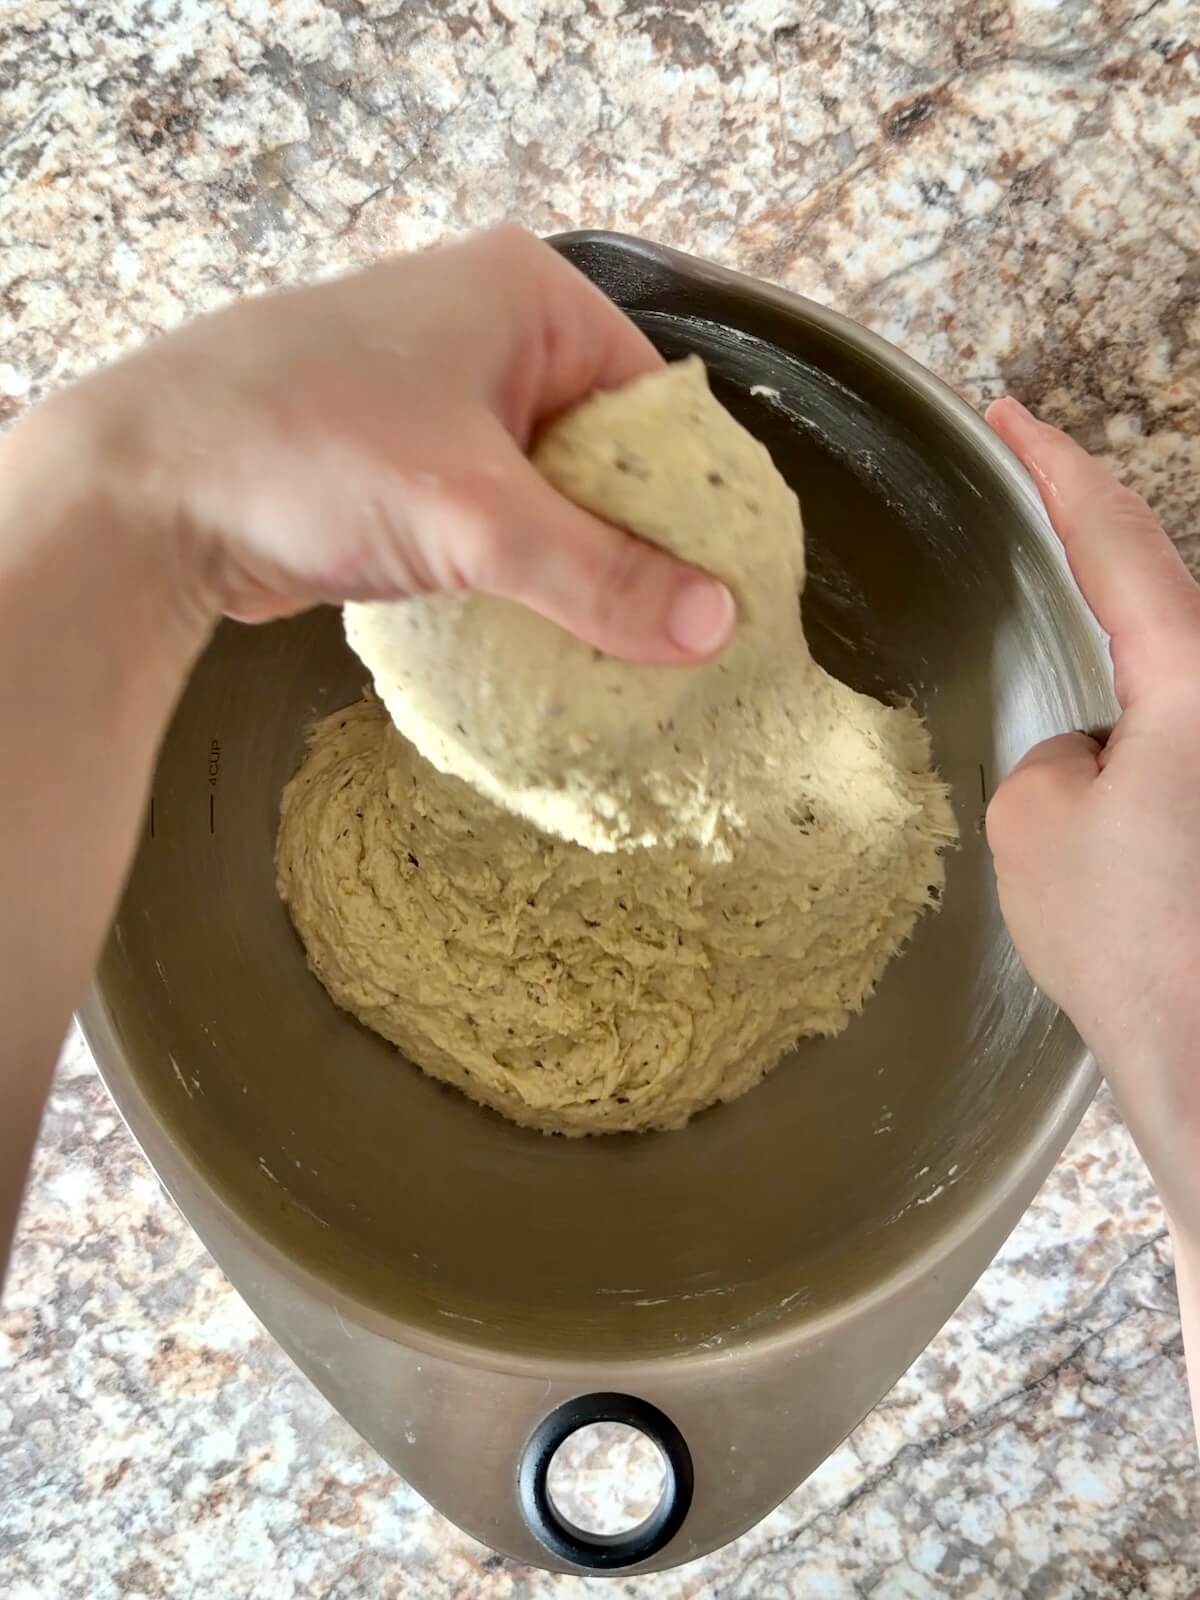
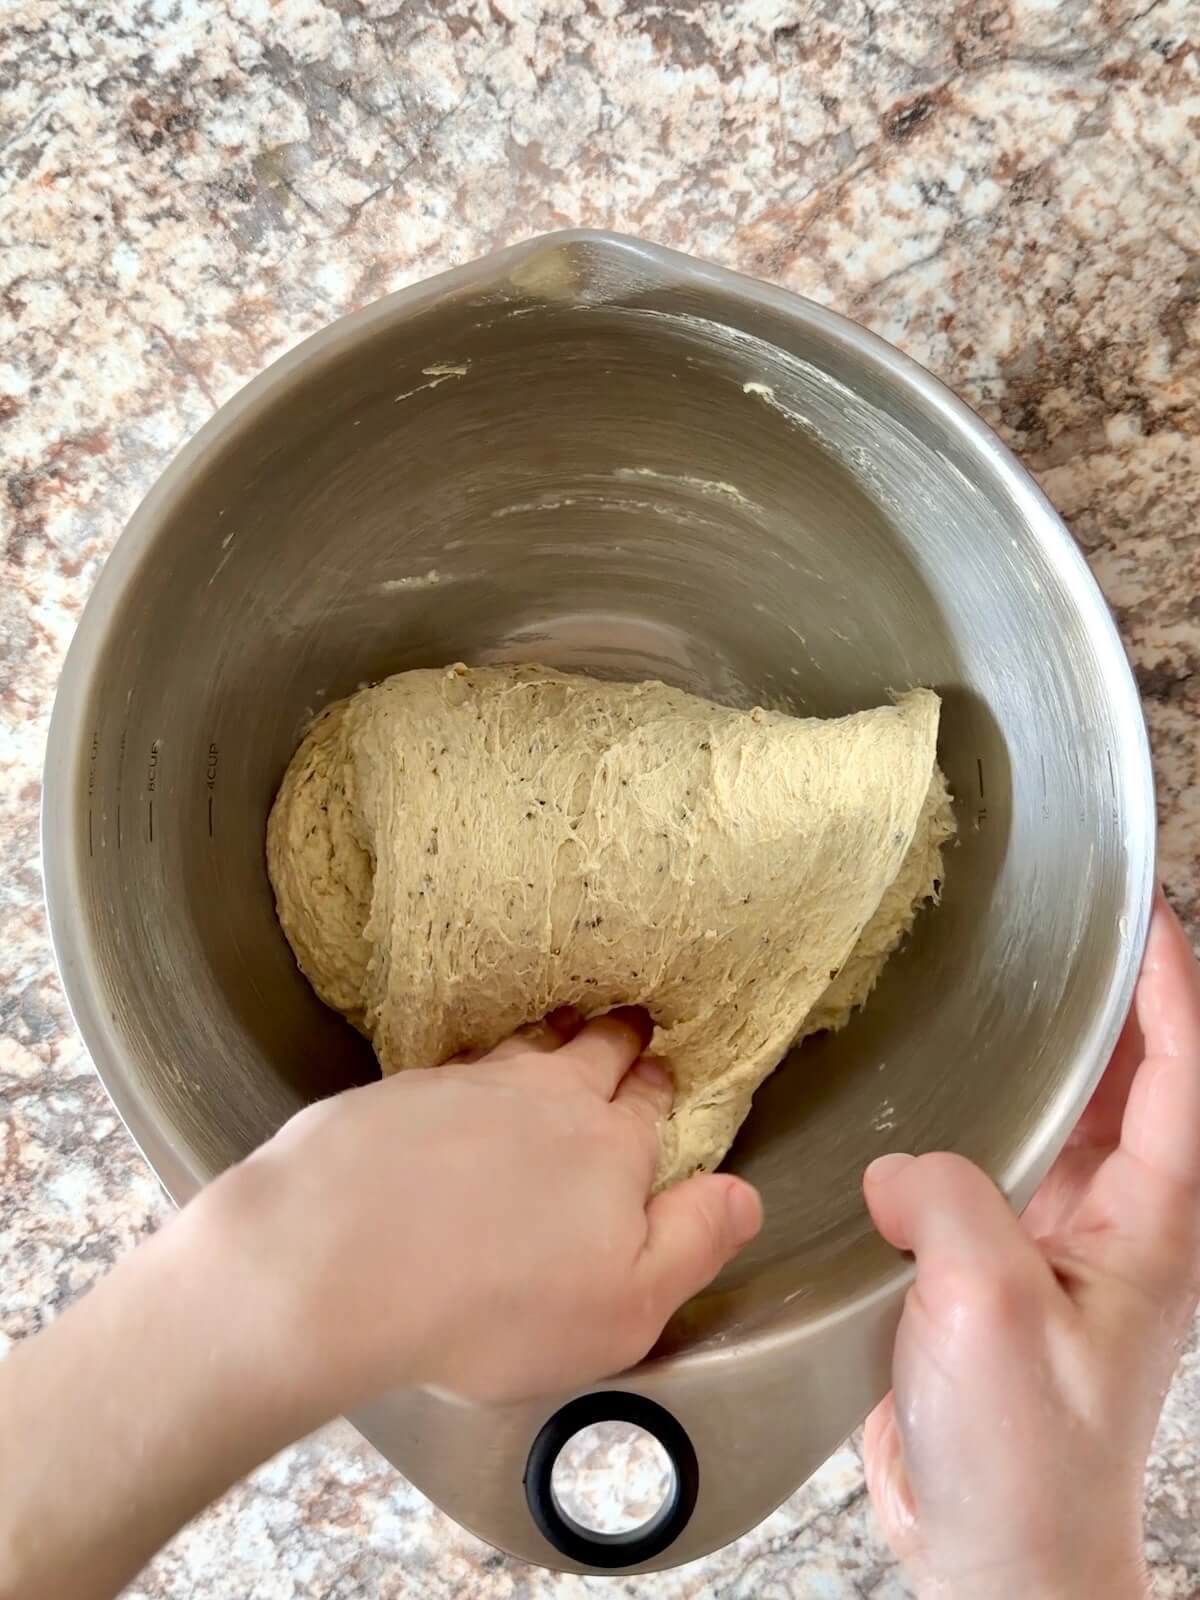
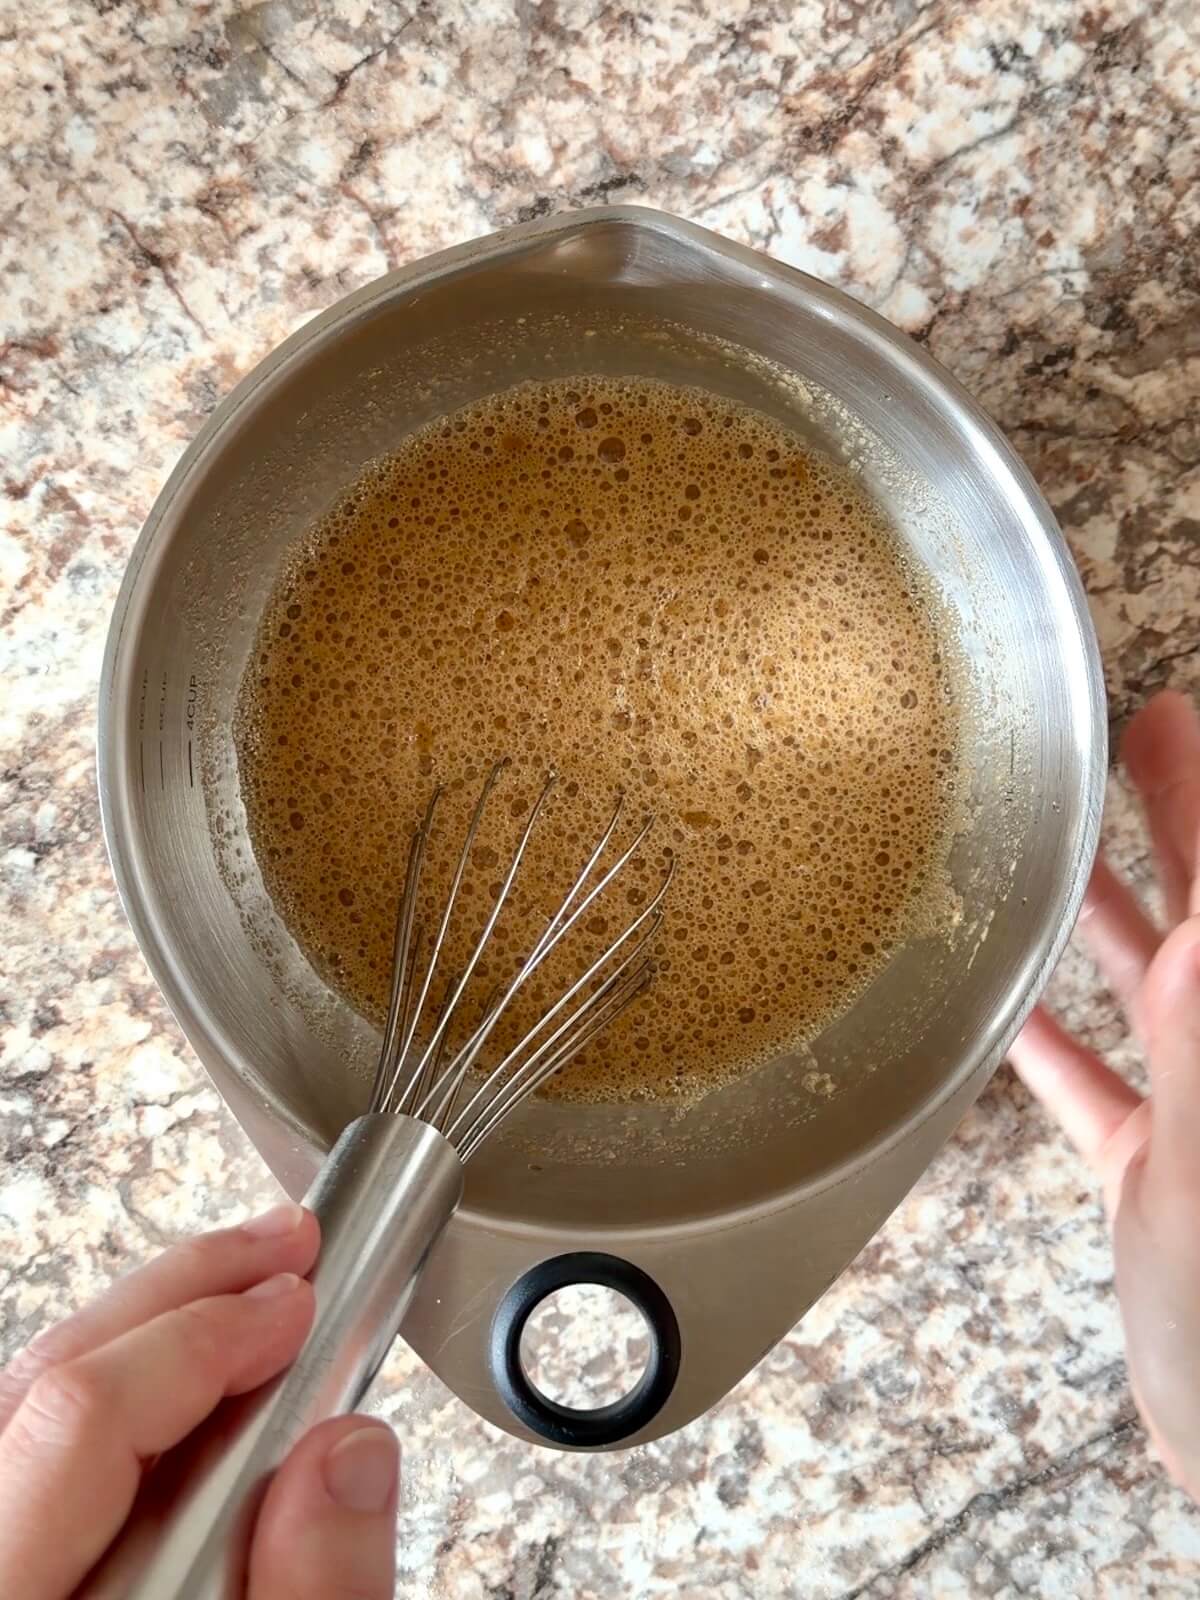
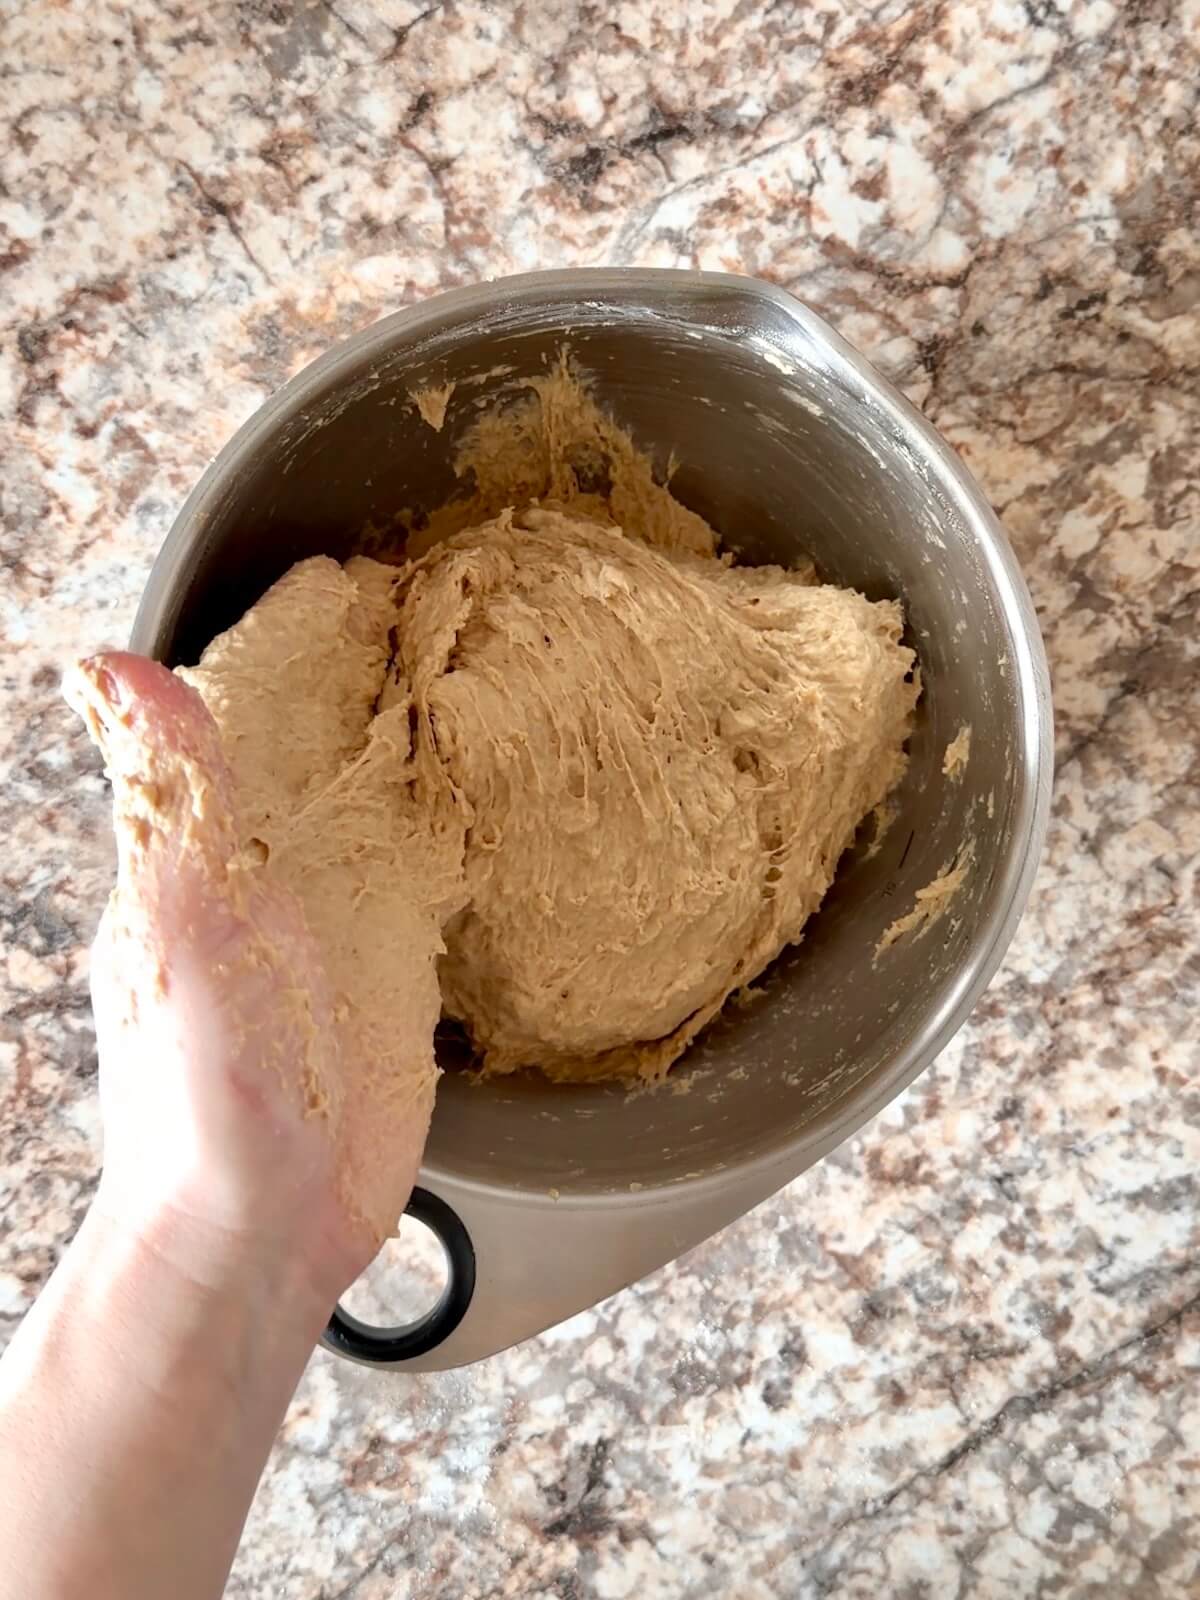
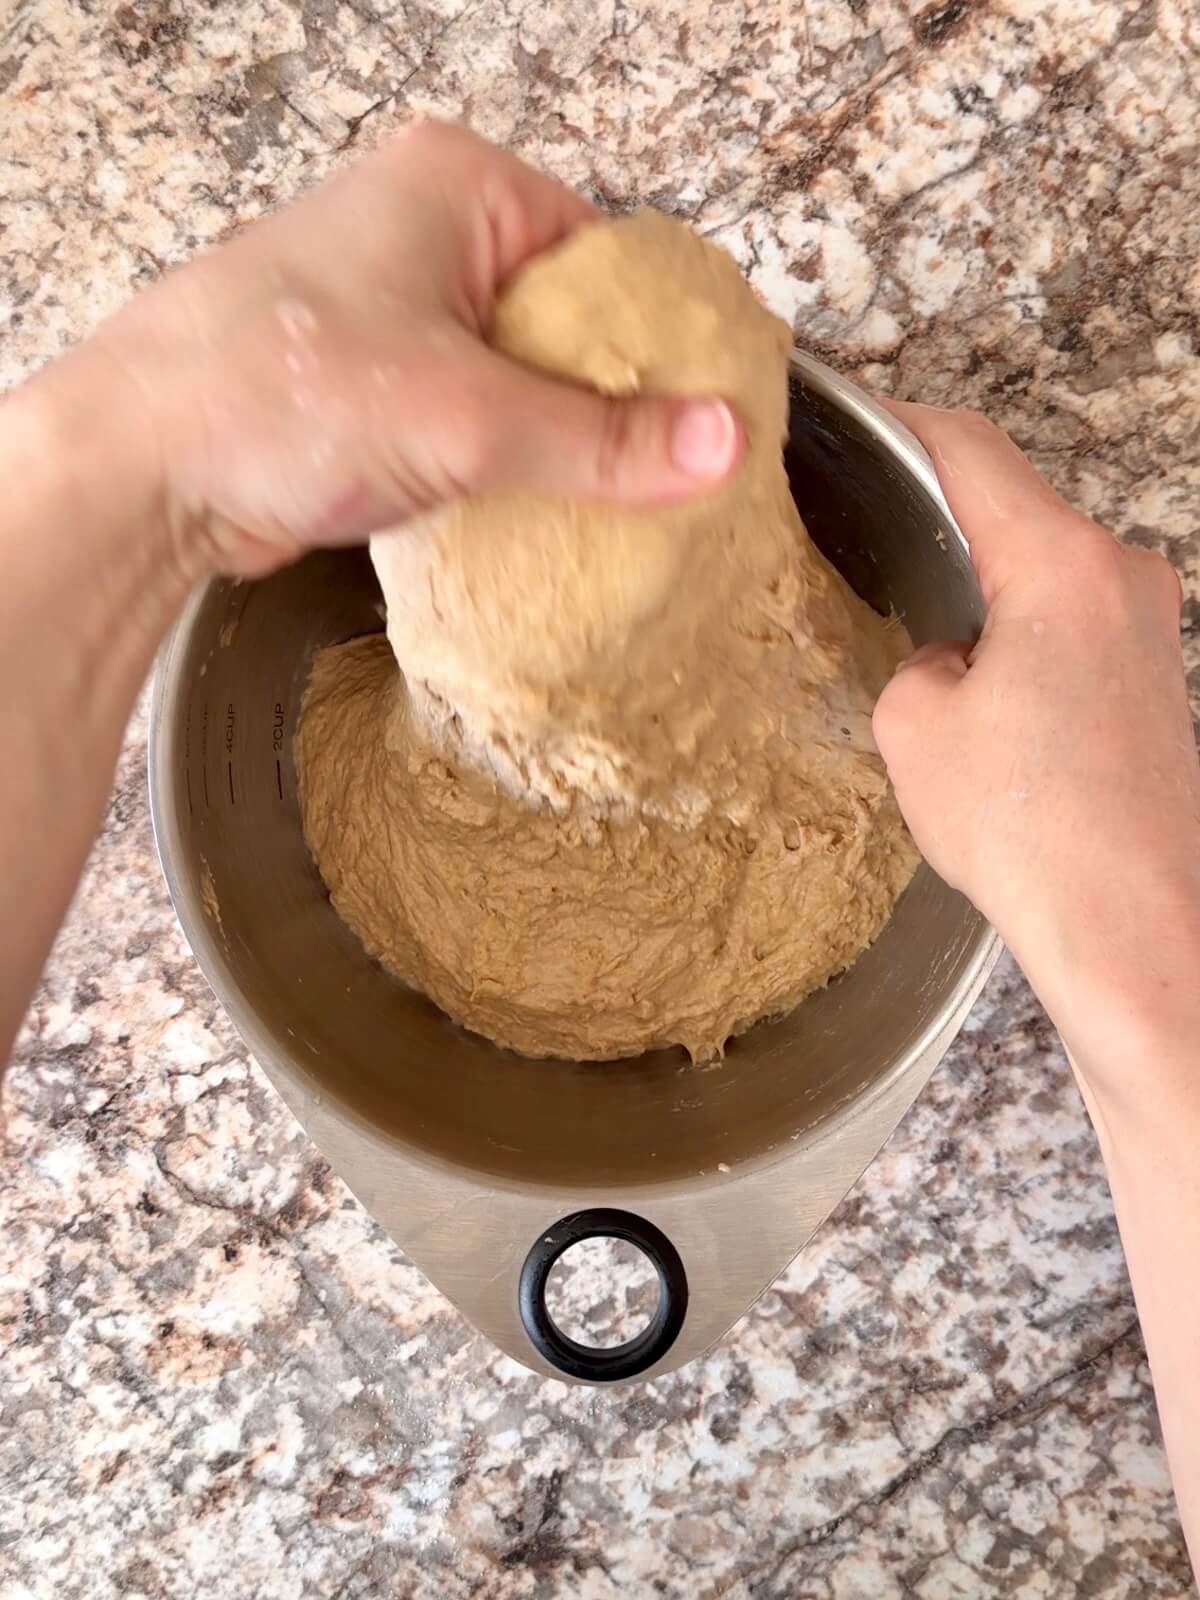
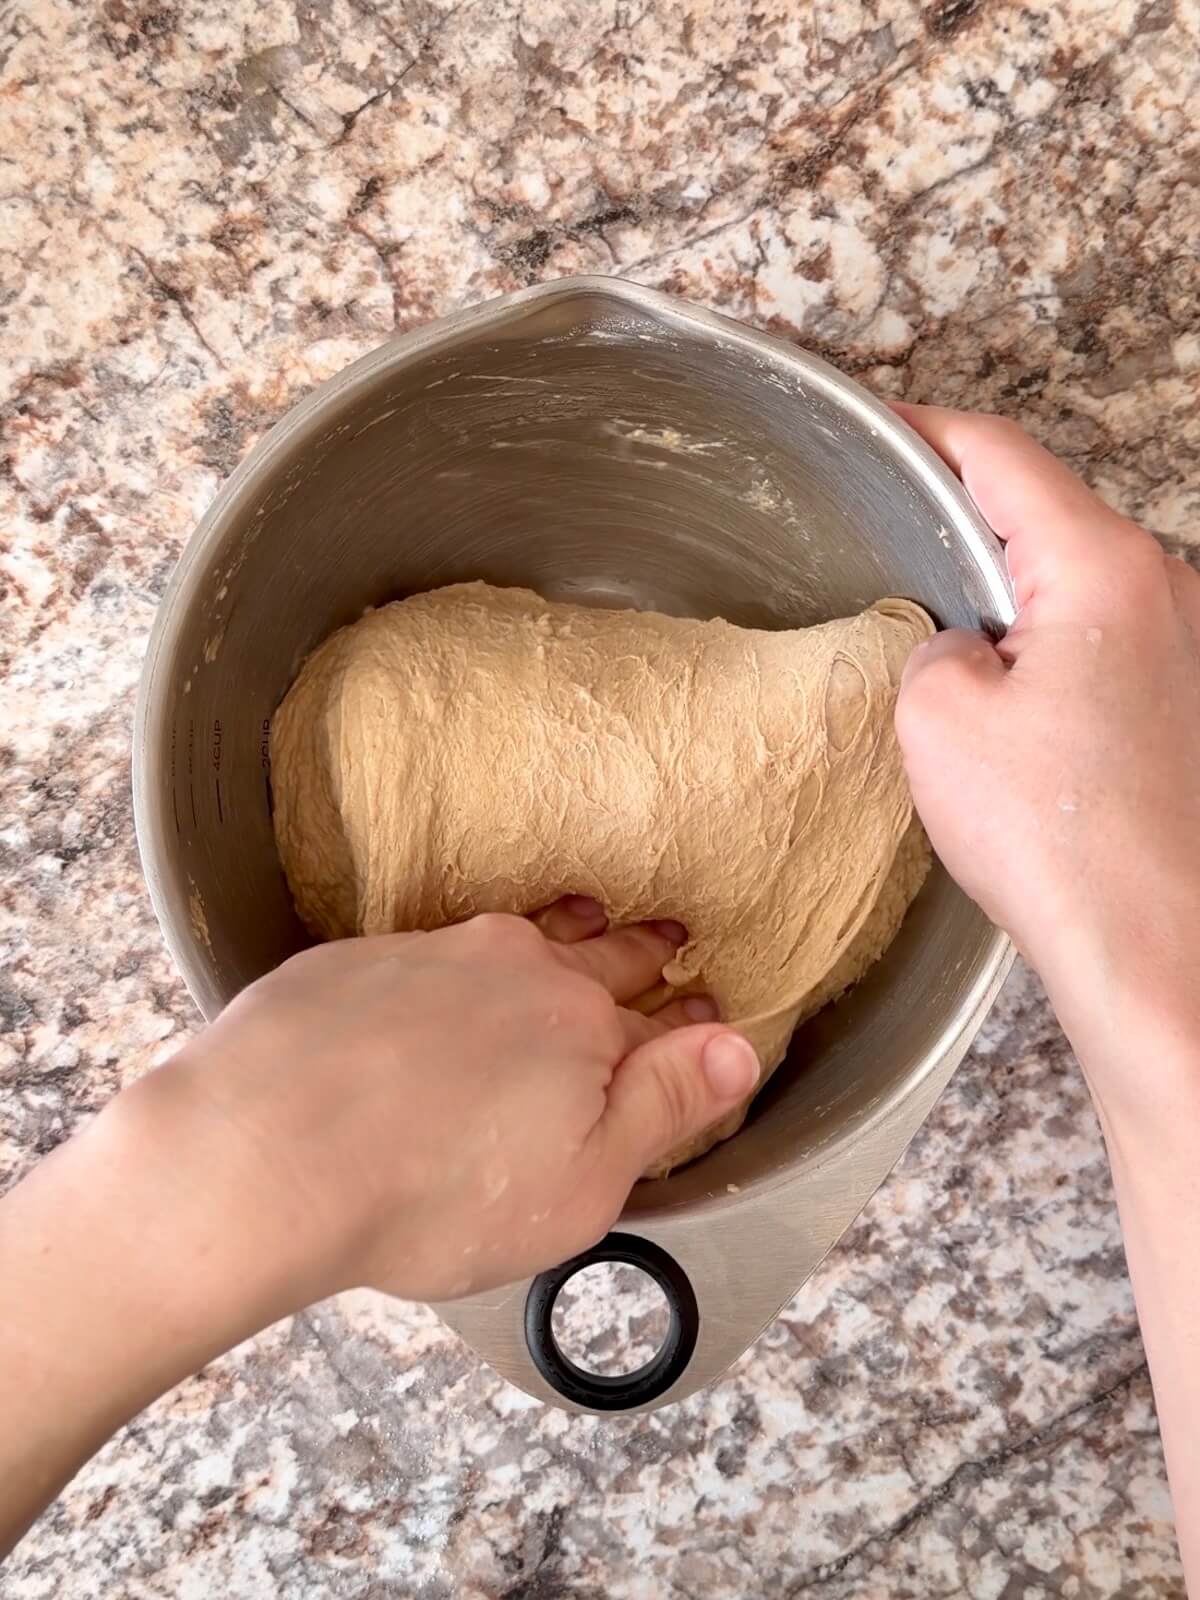
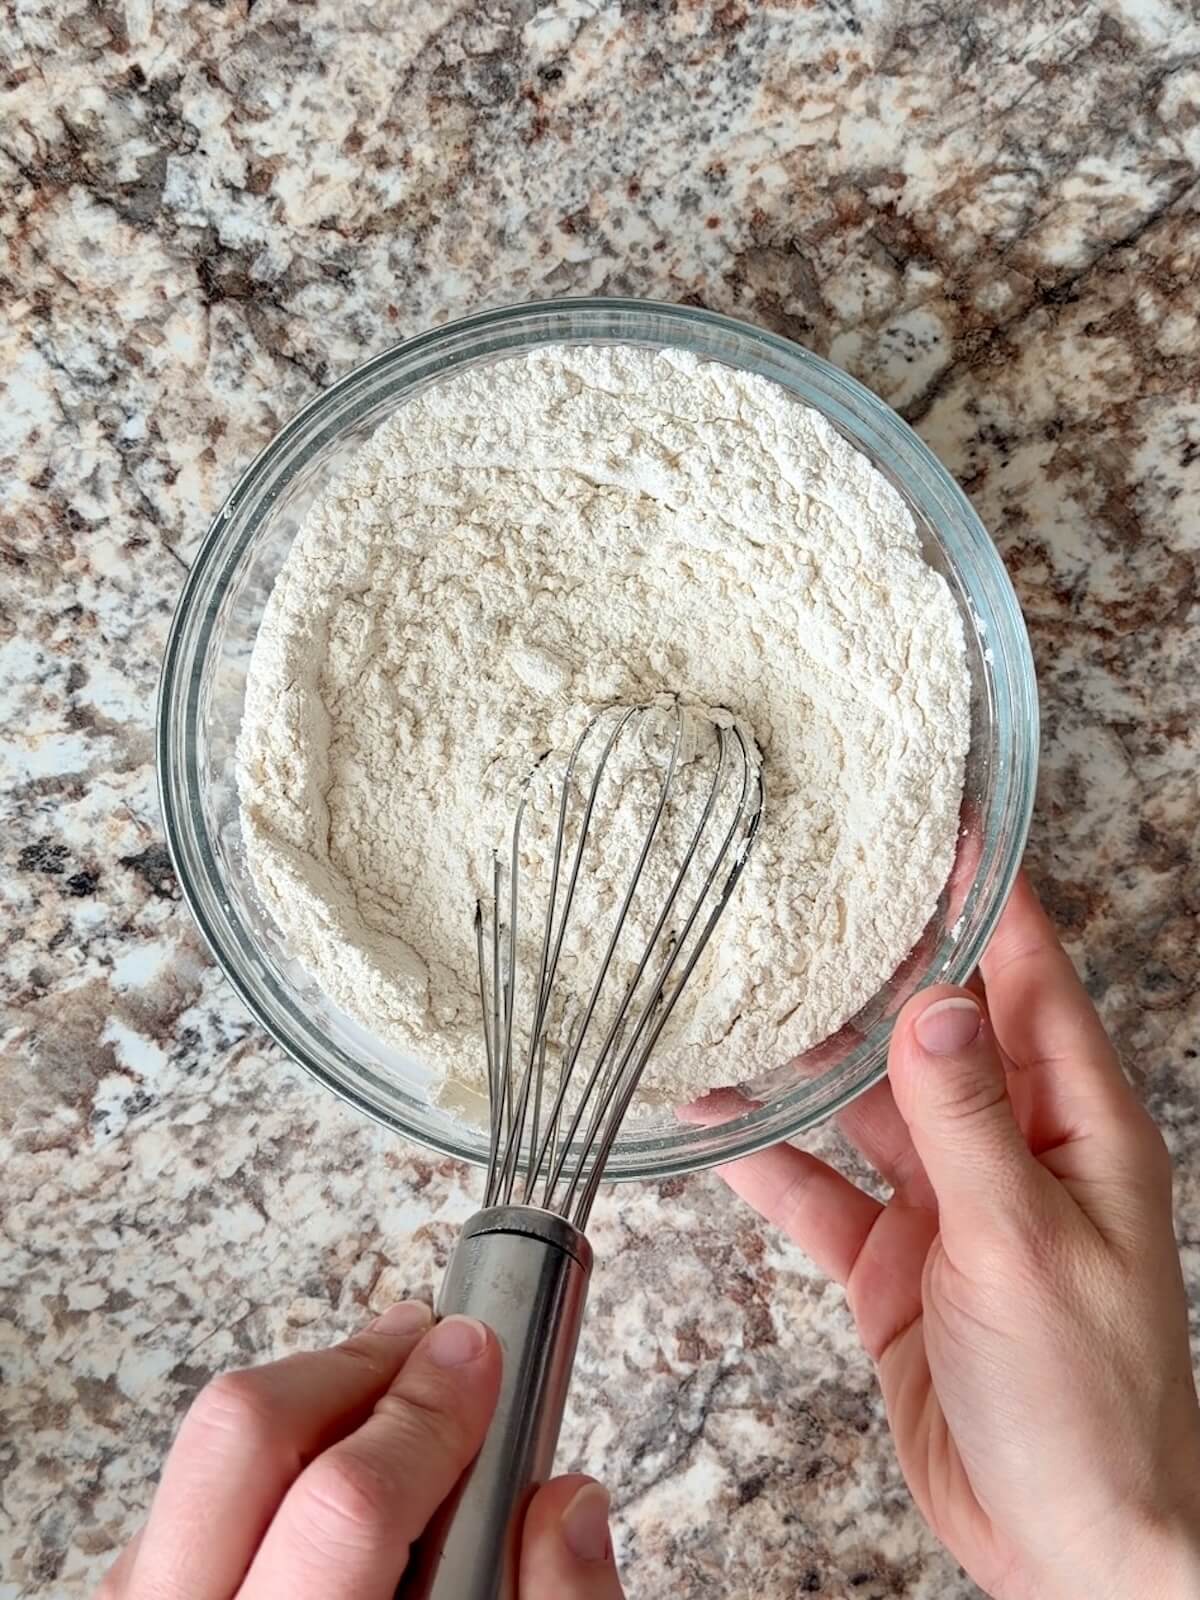
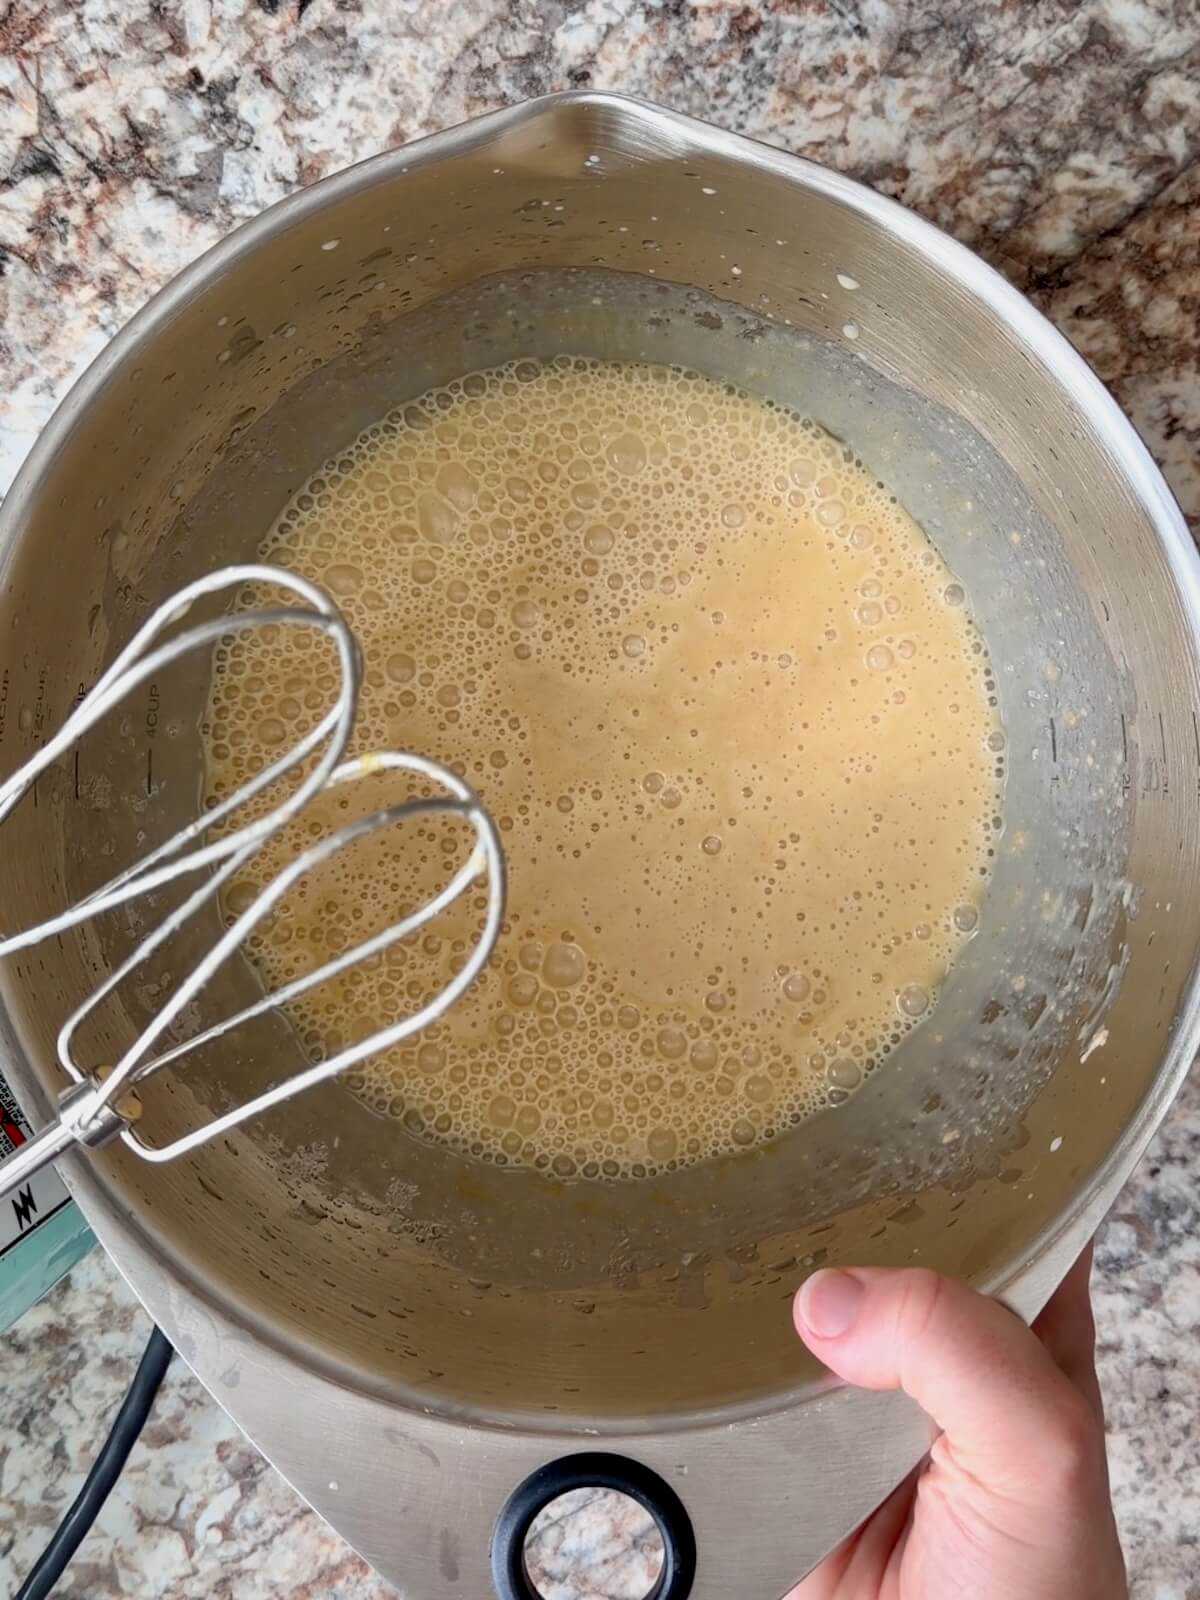
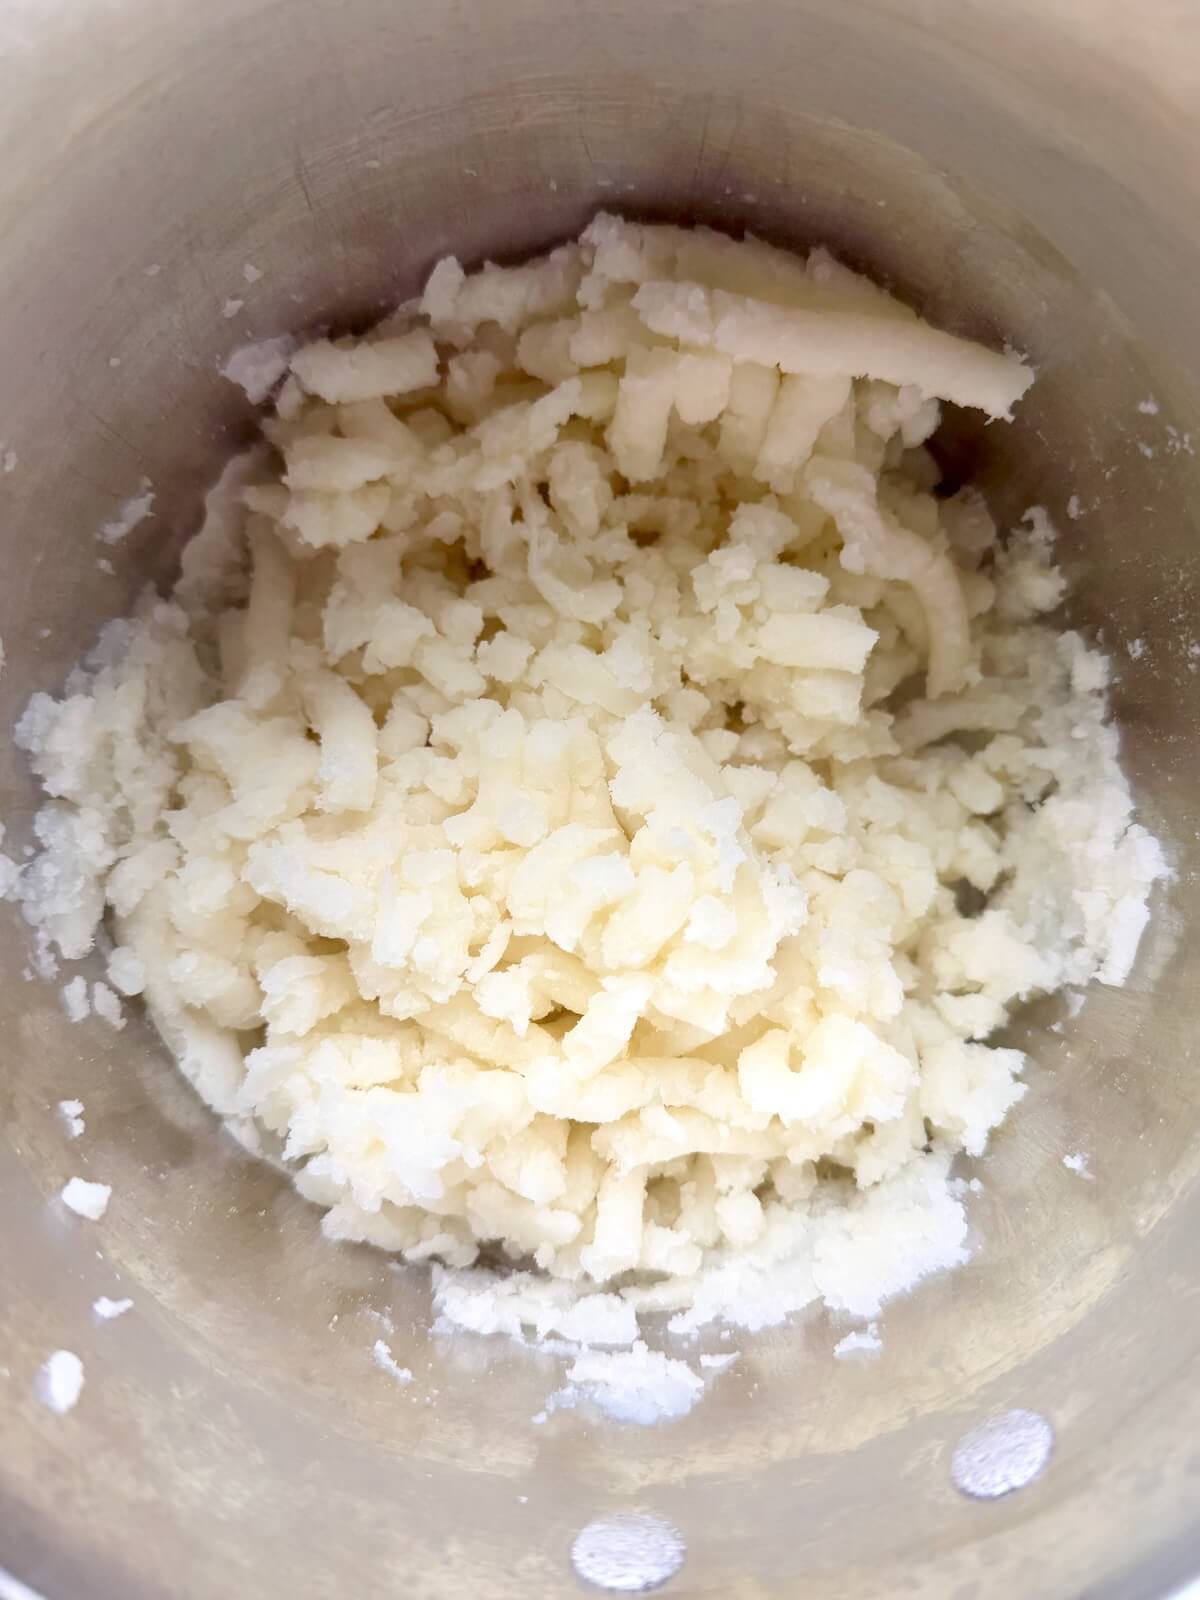
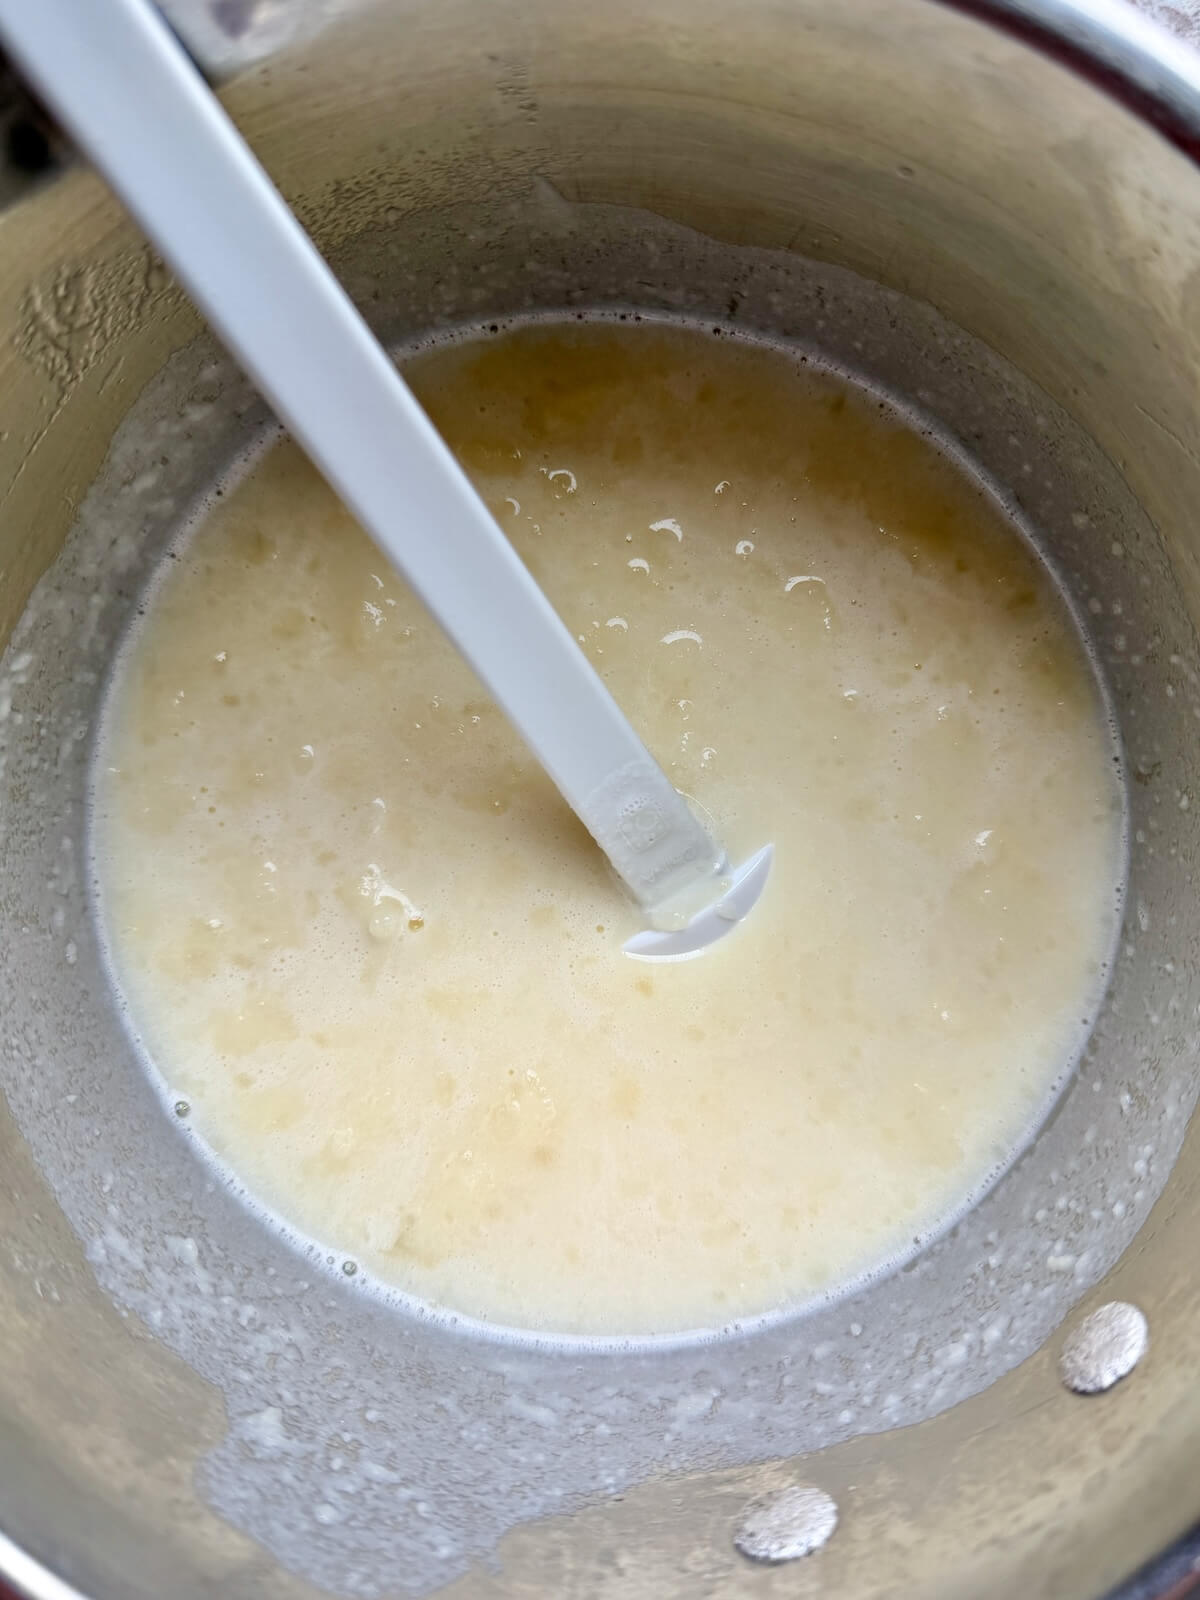
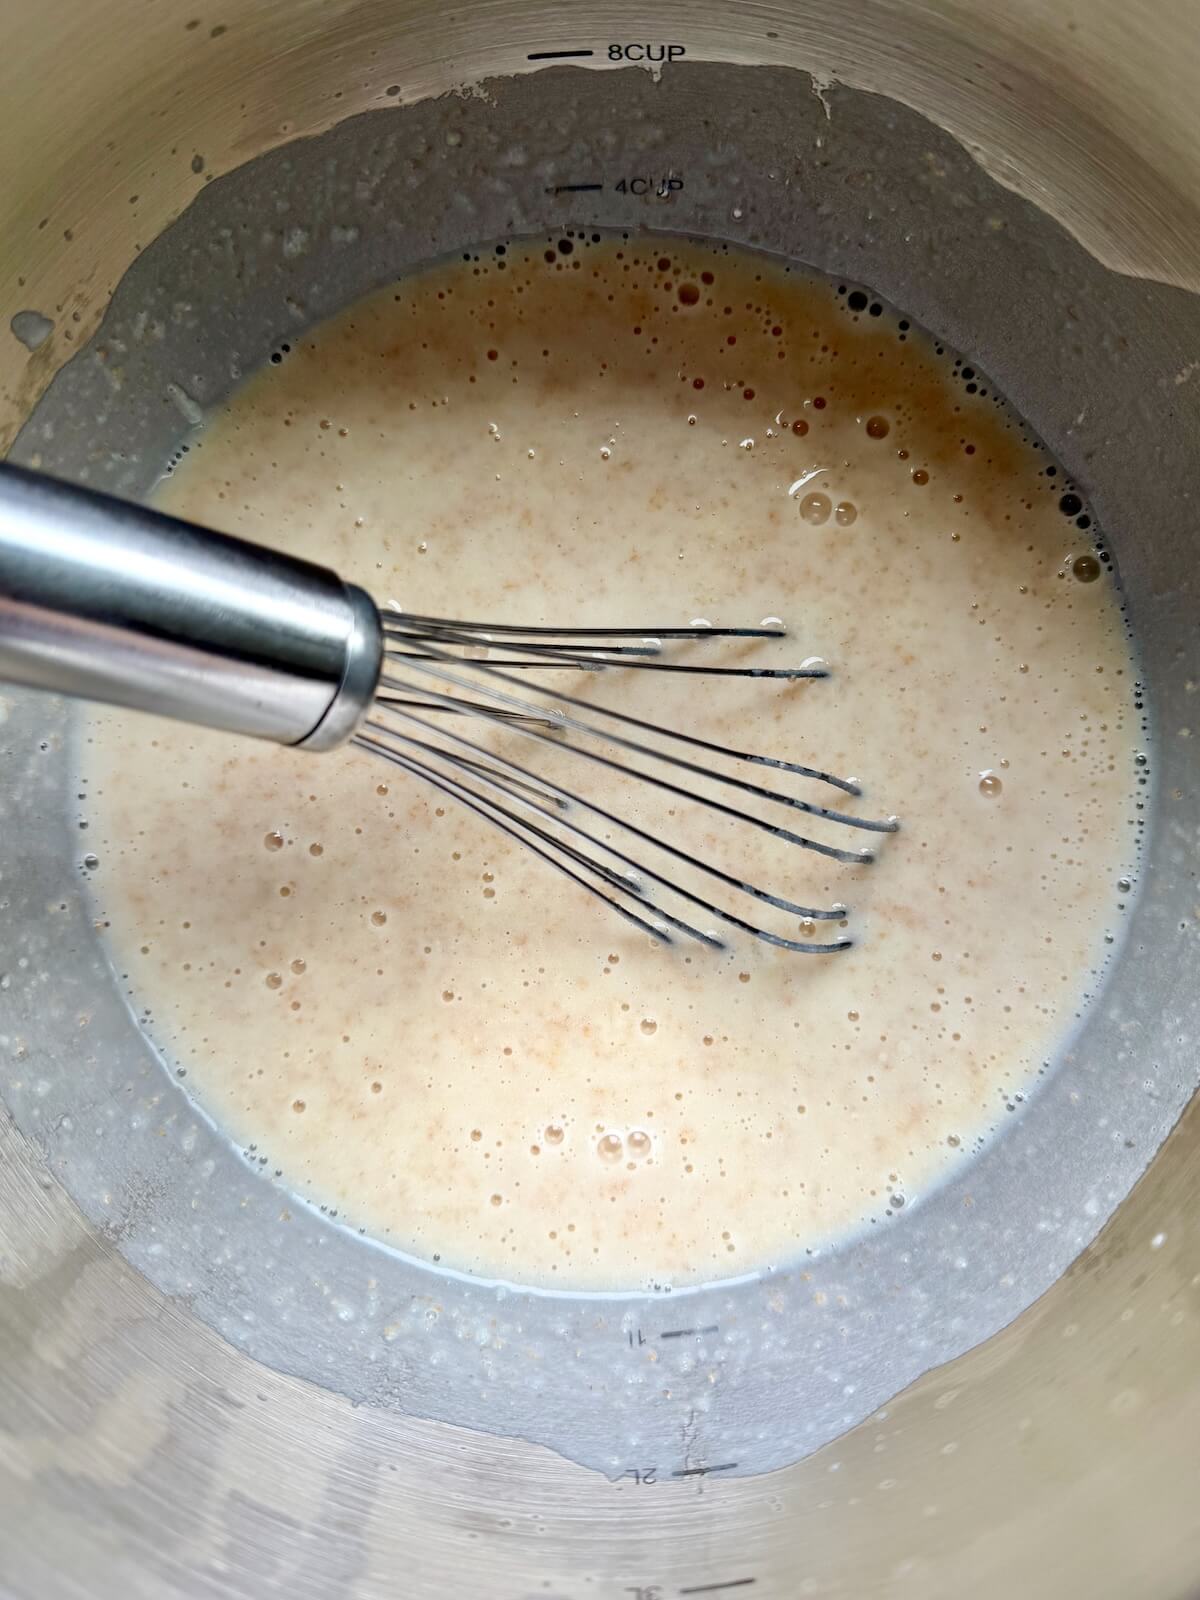
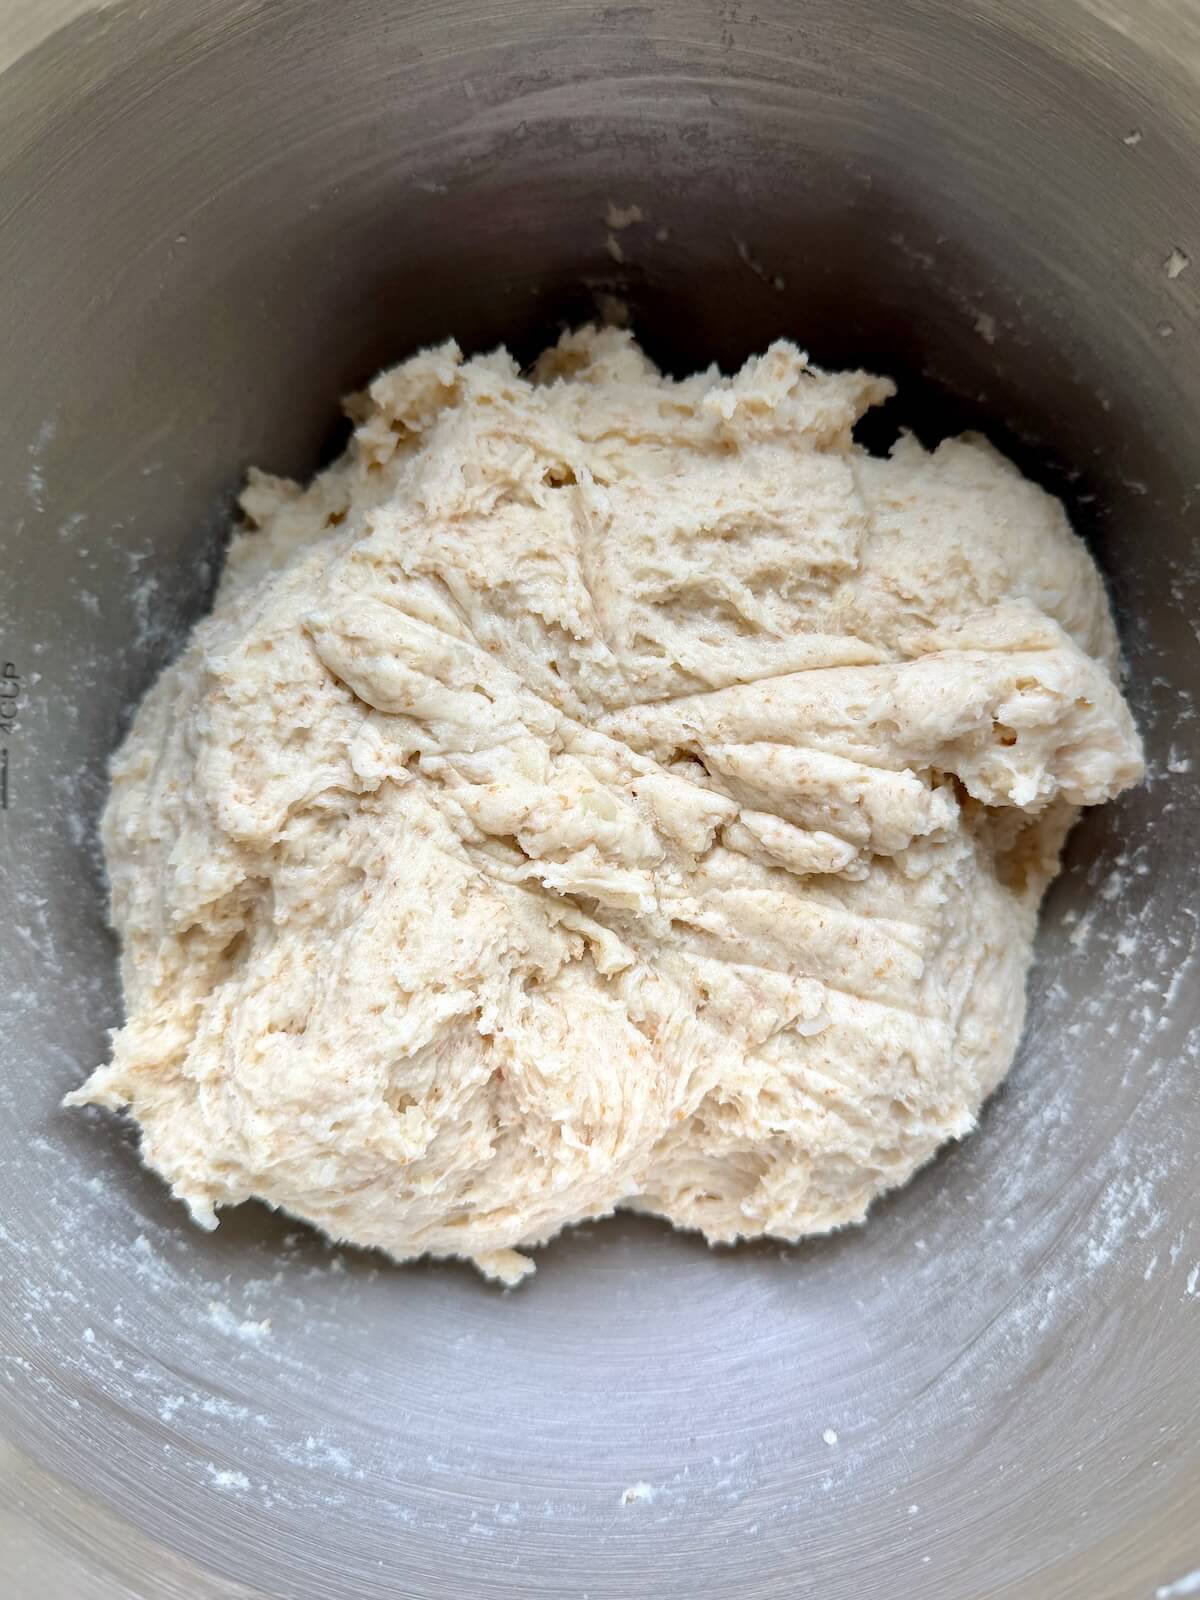
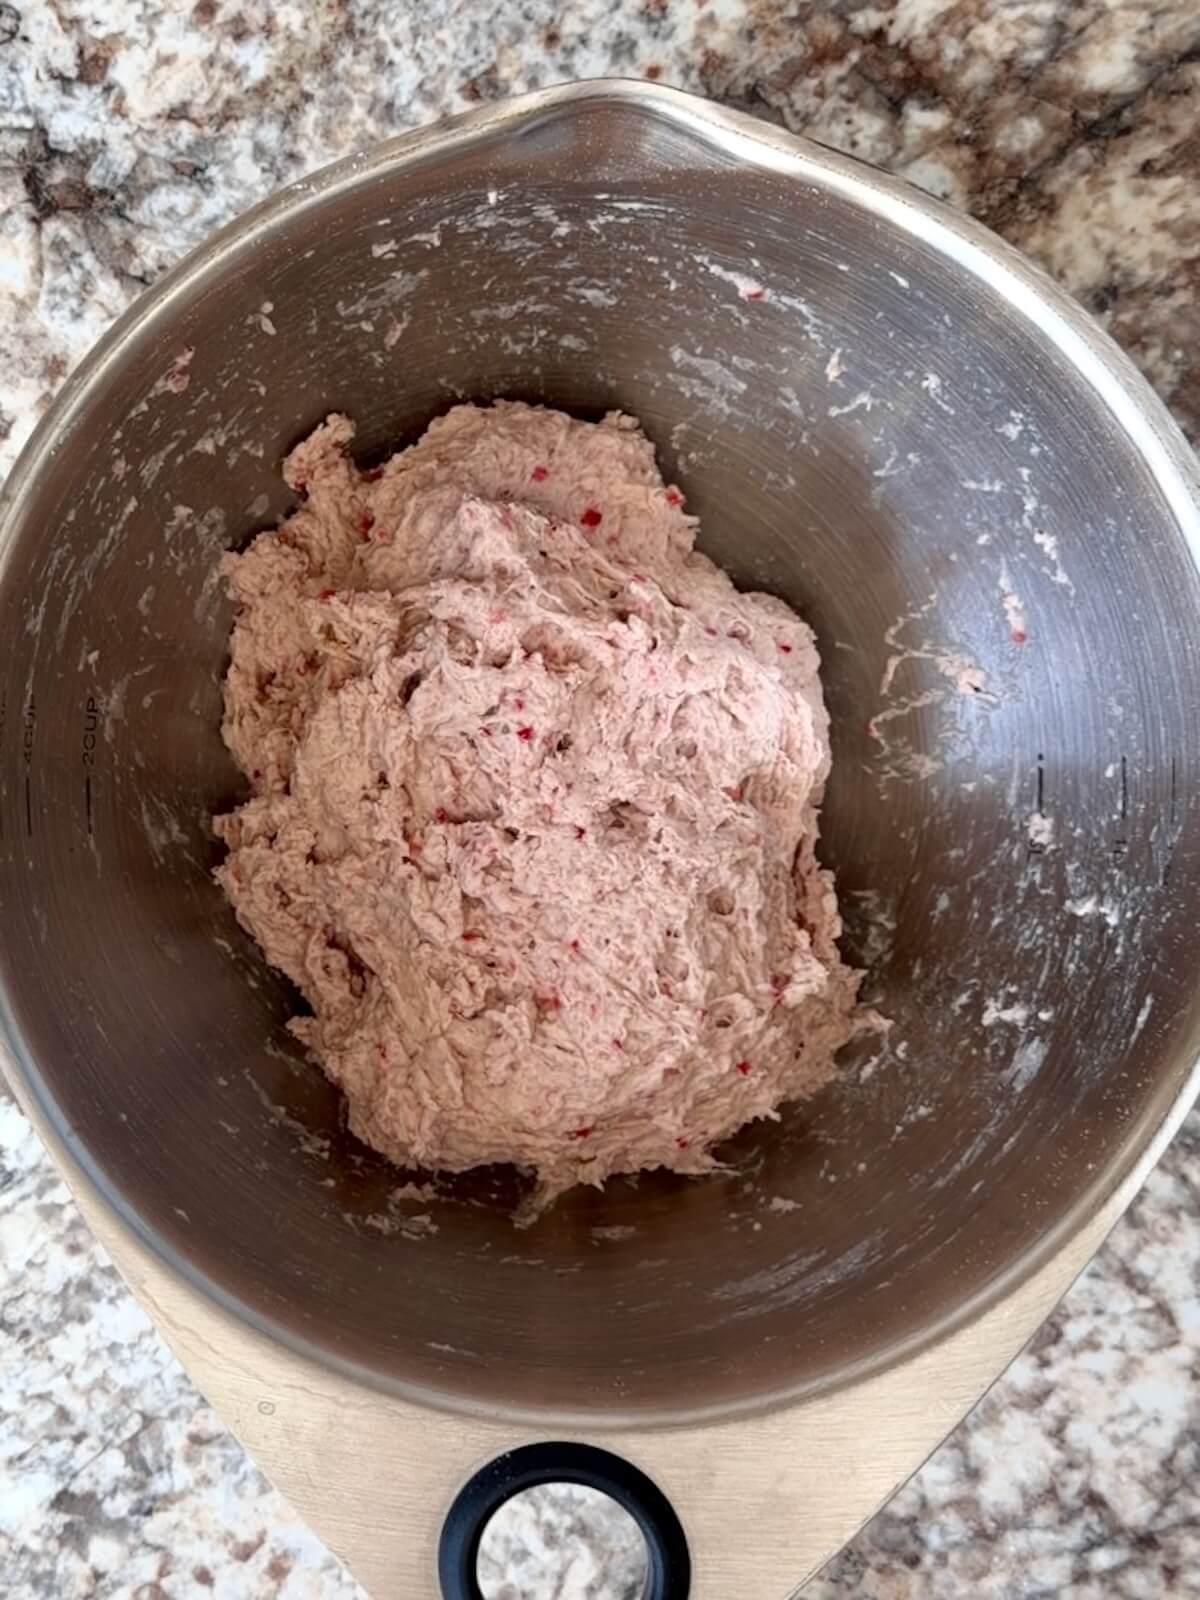
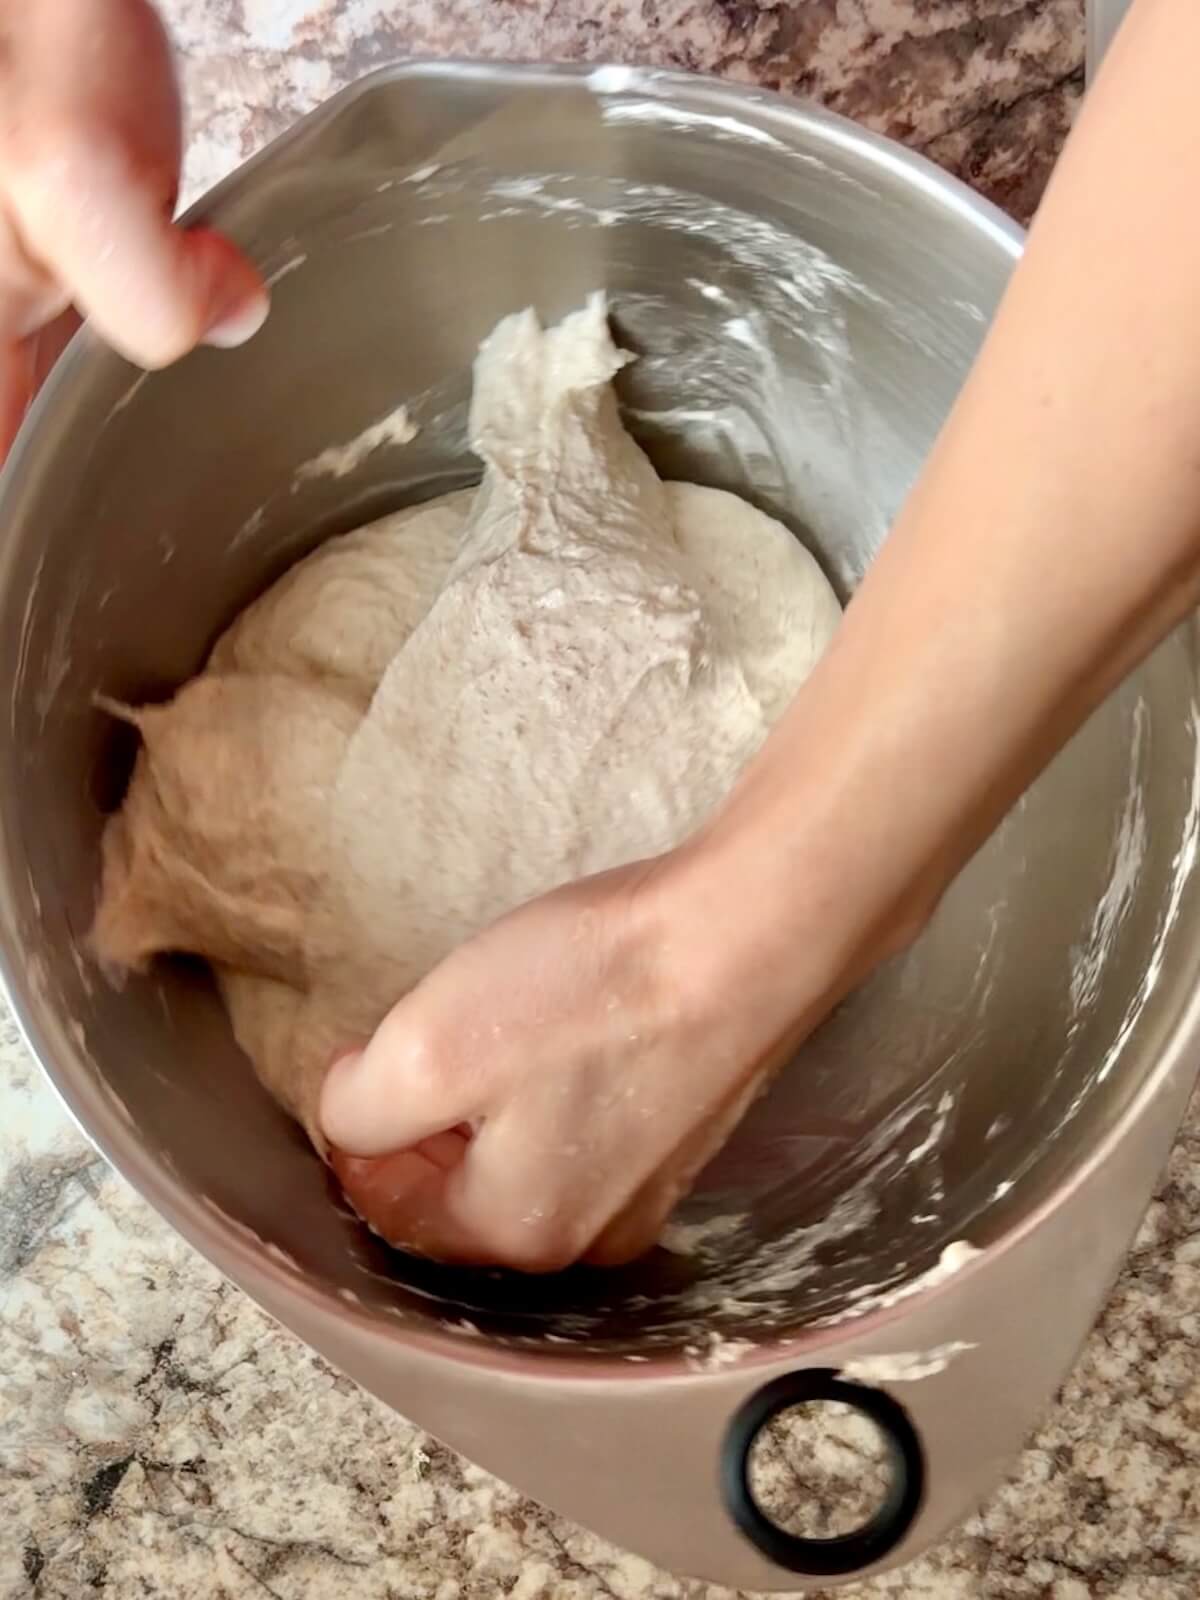
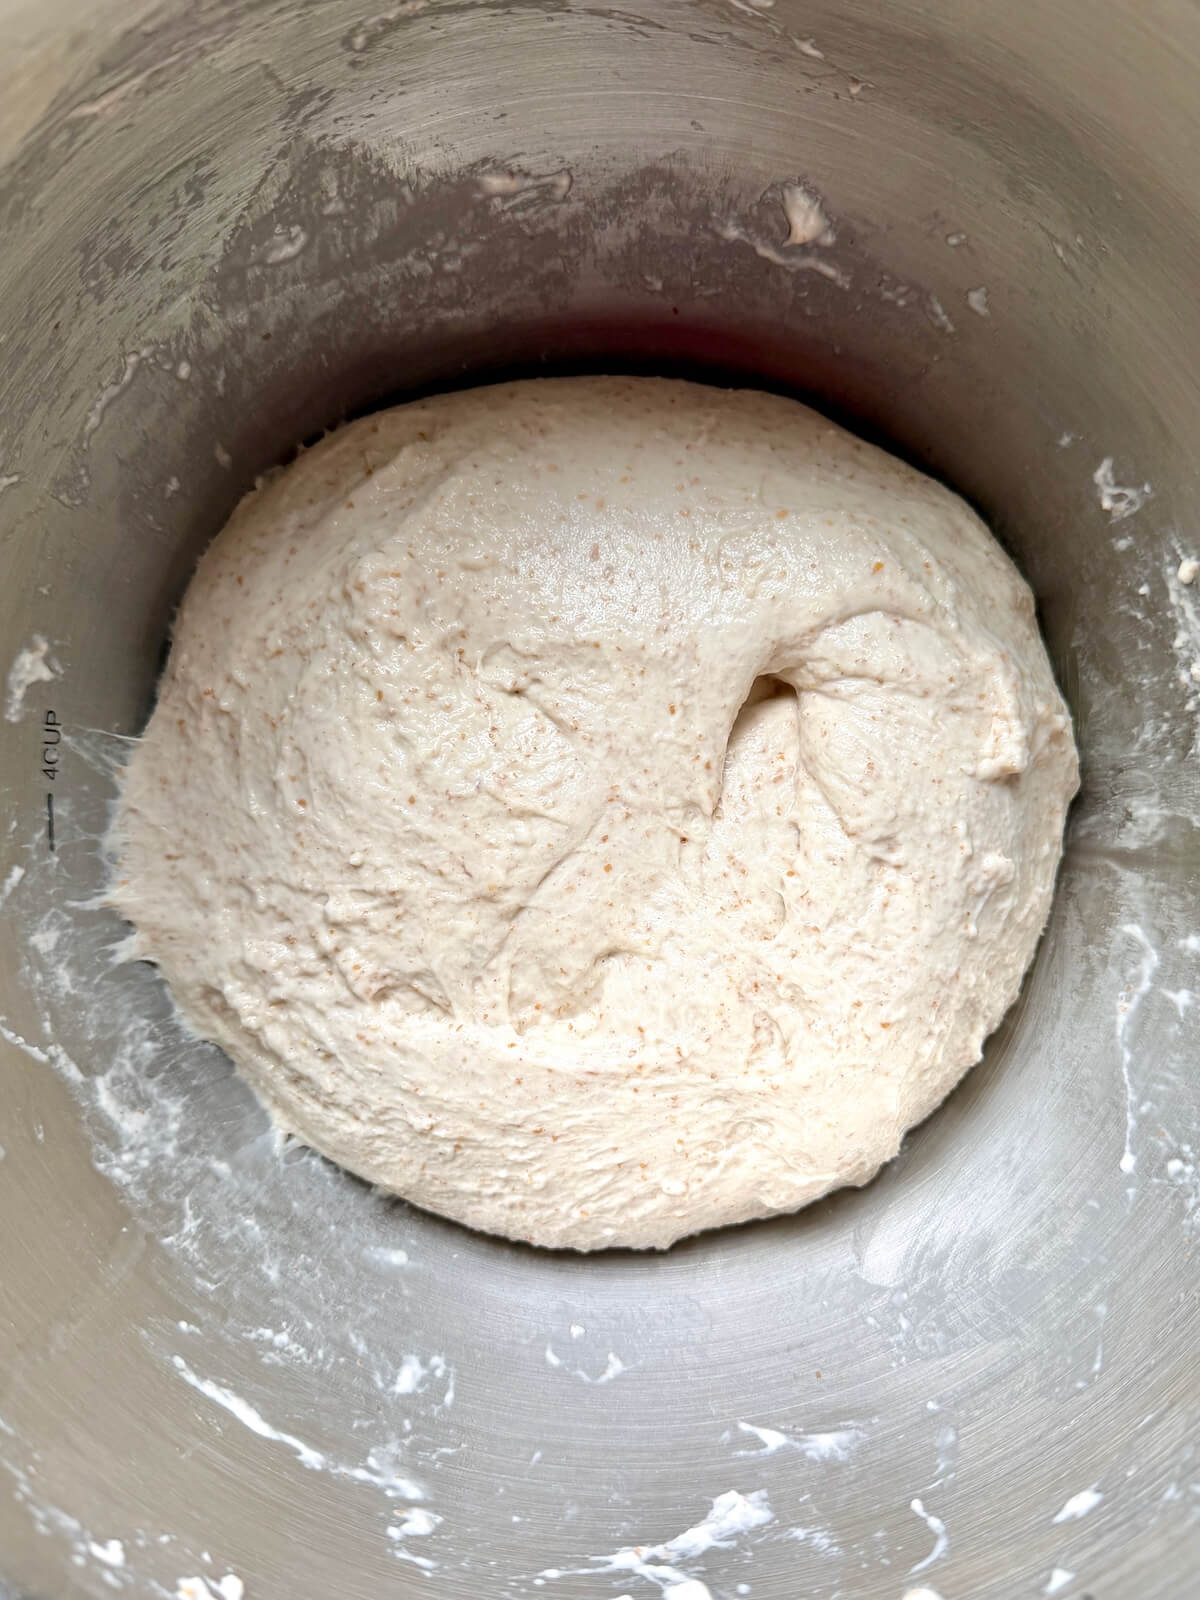
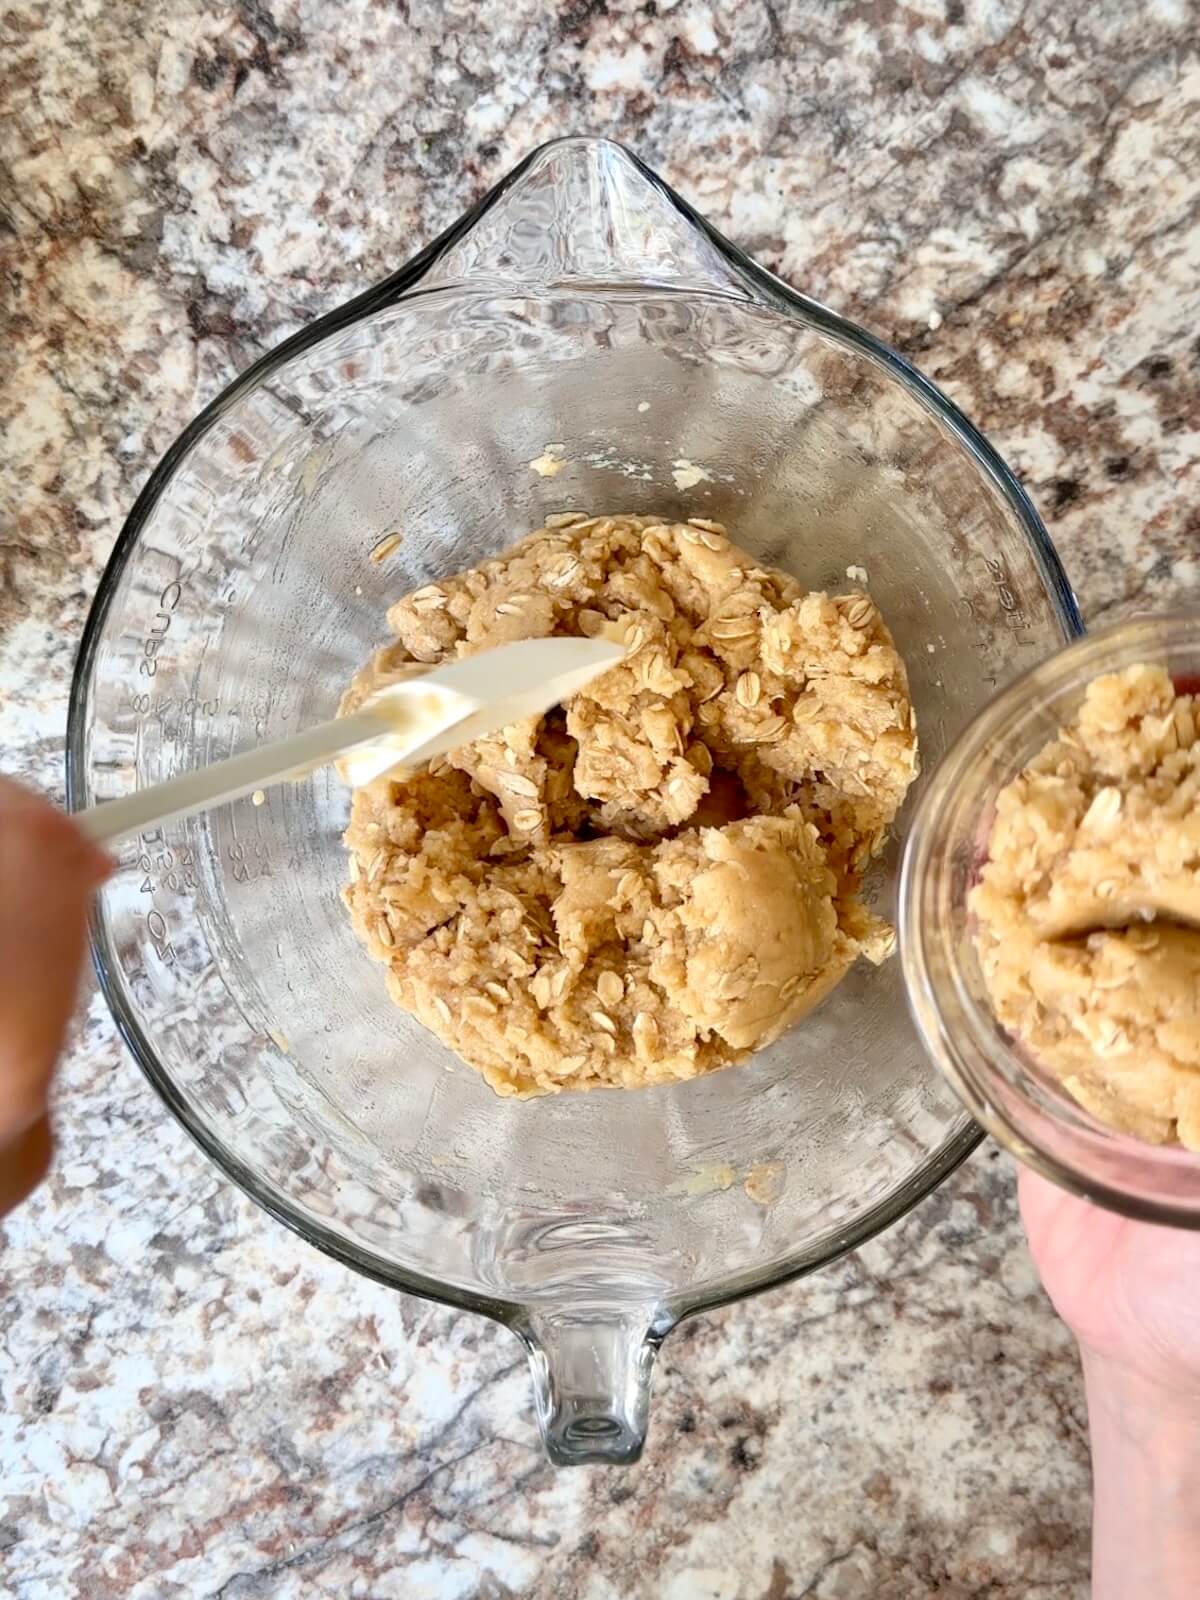
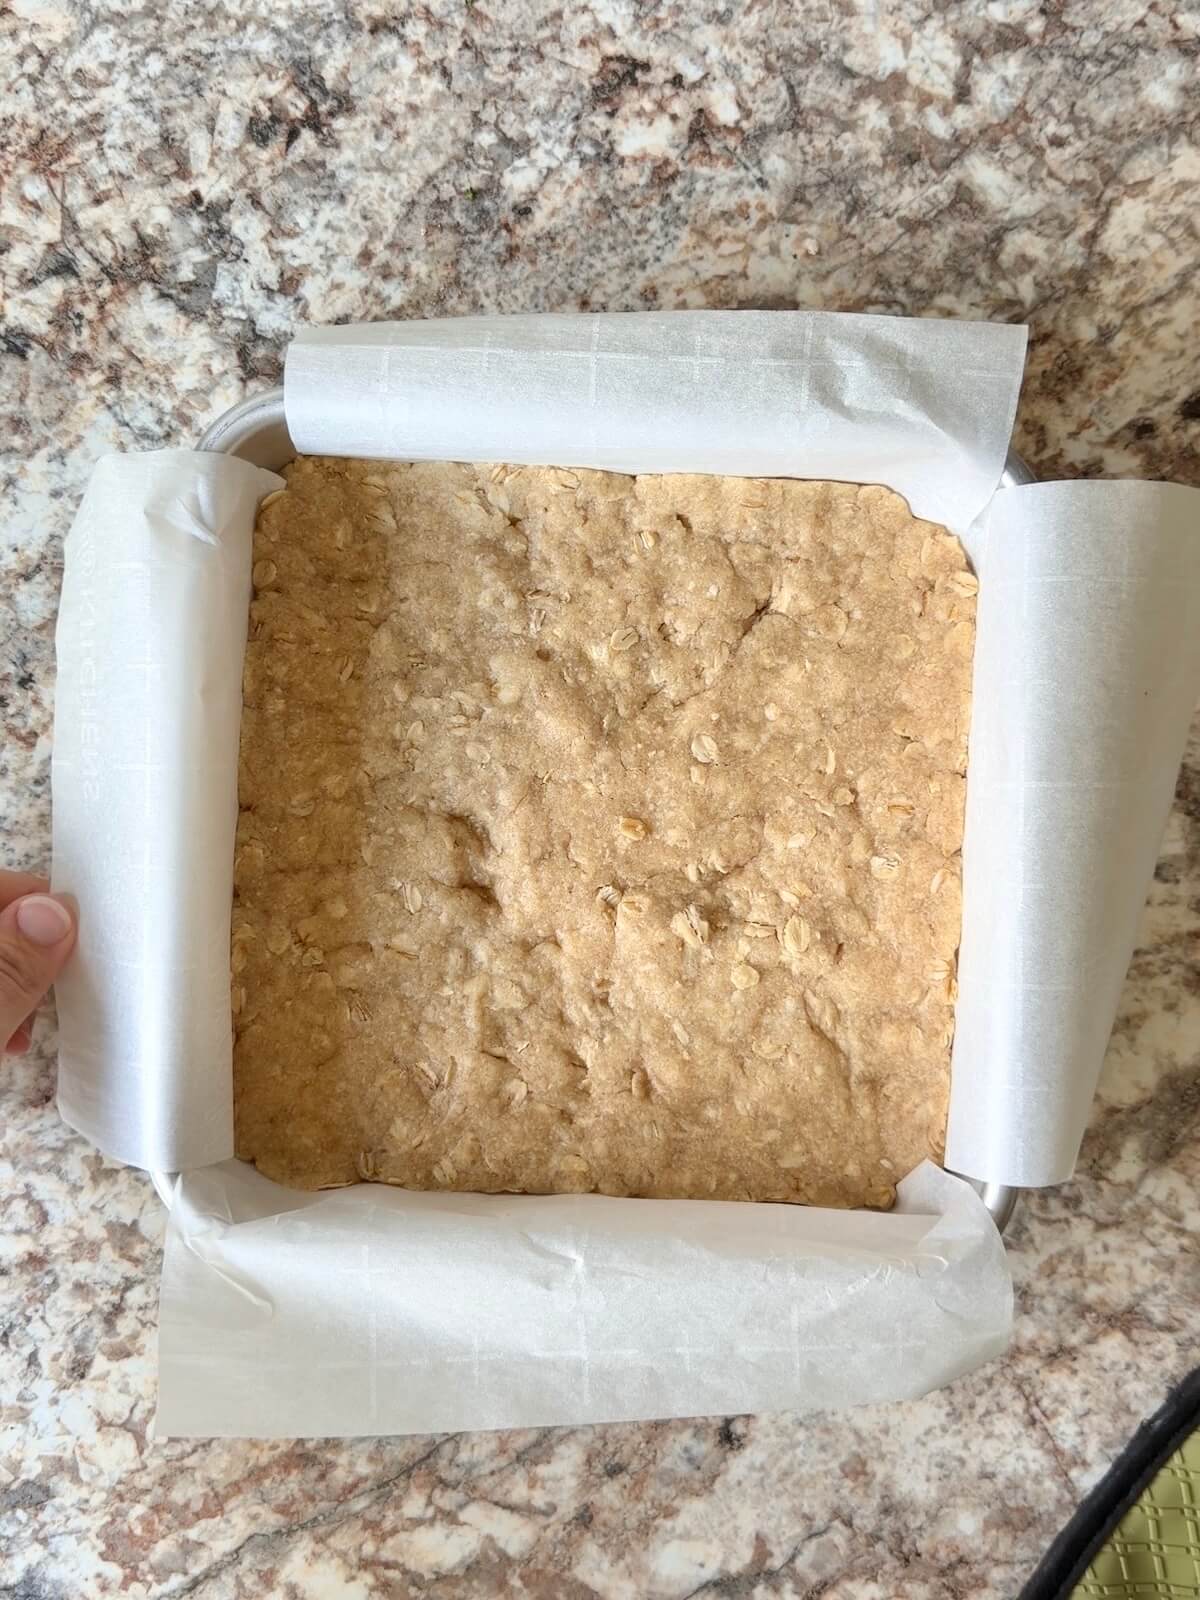
Step 1: Make crust & crumble. Mix melted butter, sugar, sourdough discard, and vanilla. Add flour, oats, and salt and mix until crumbly. Press most into the pan and reserve 1 cup for topping. Bake 15–20 minutes.
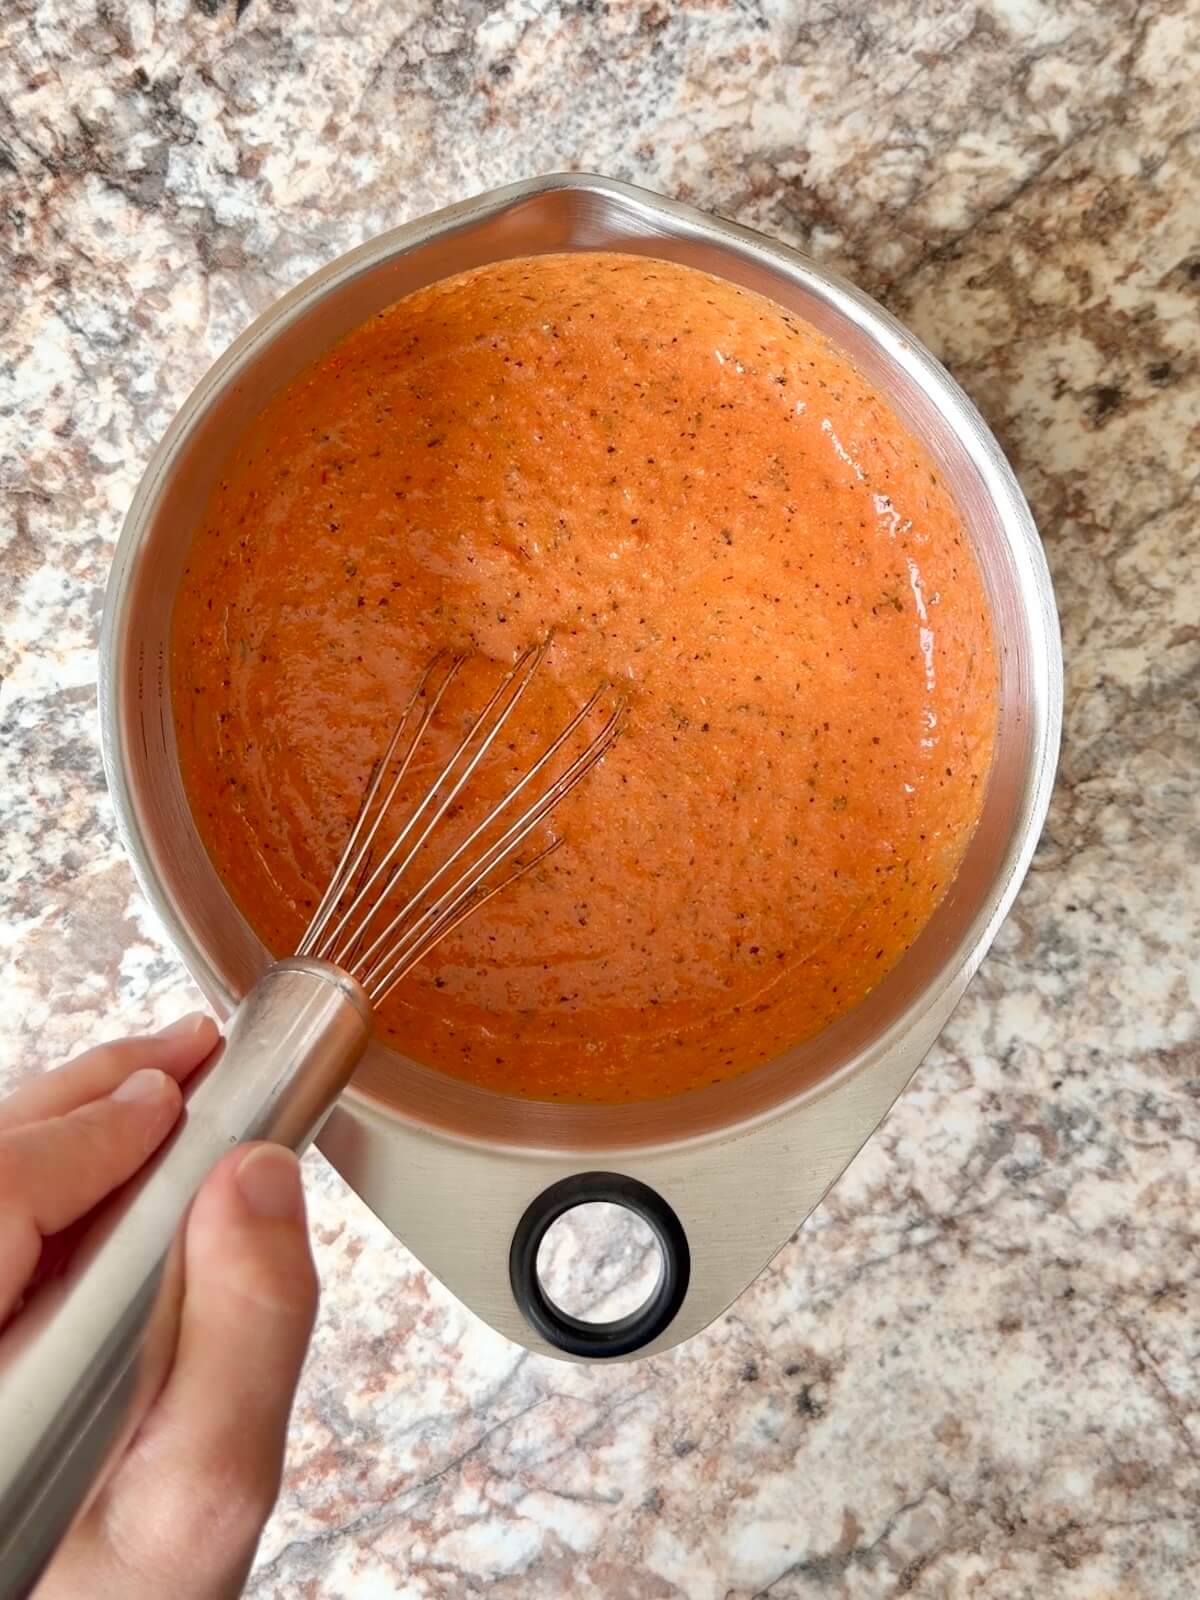
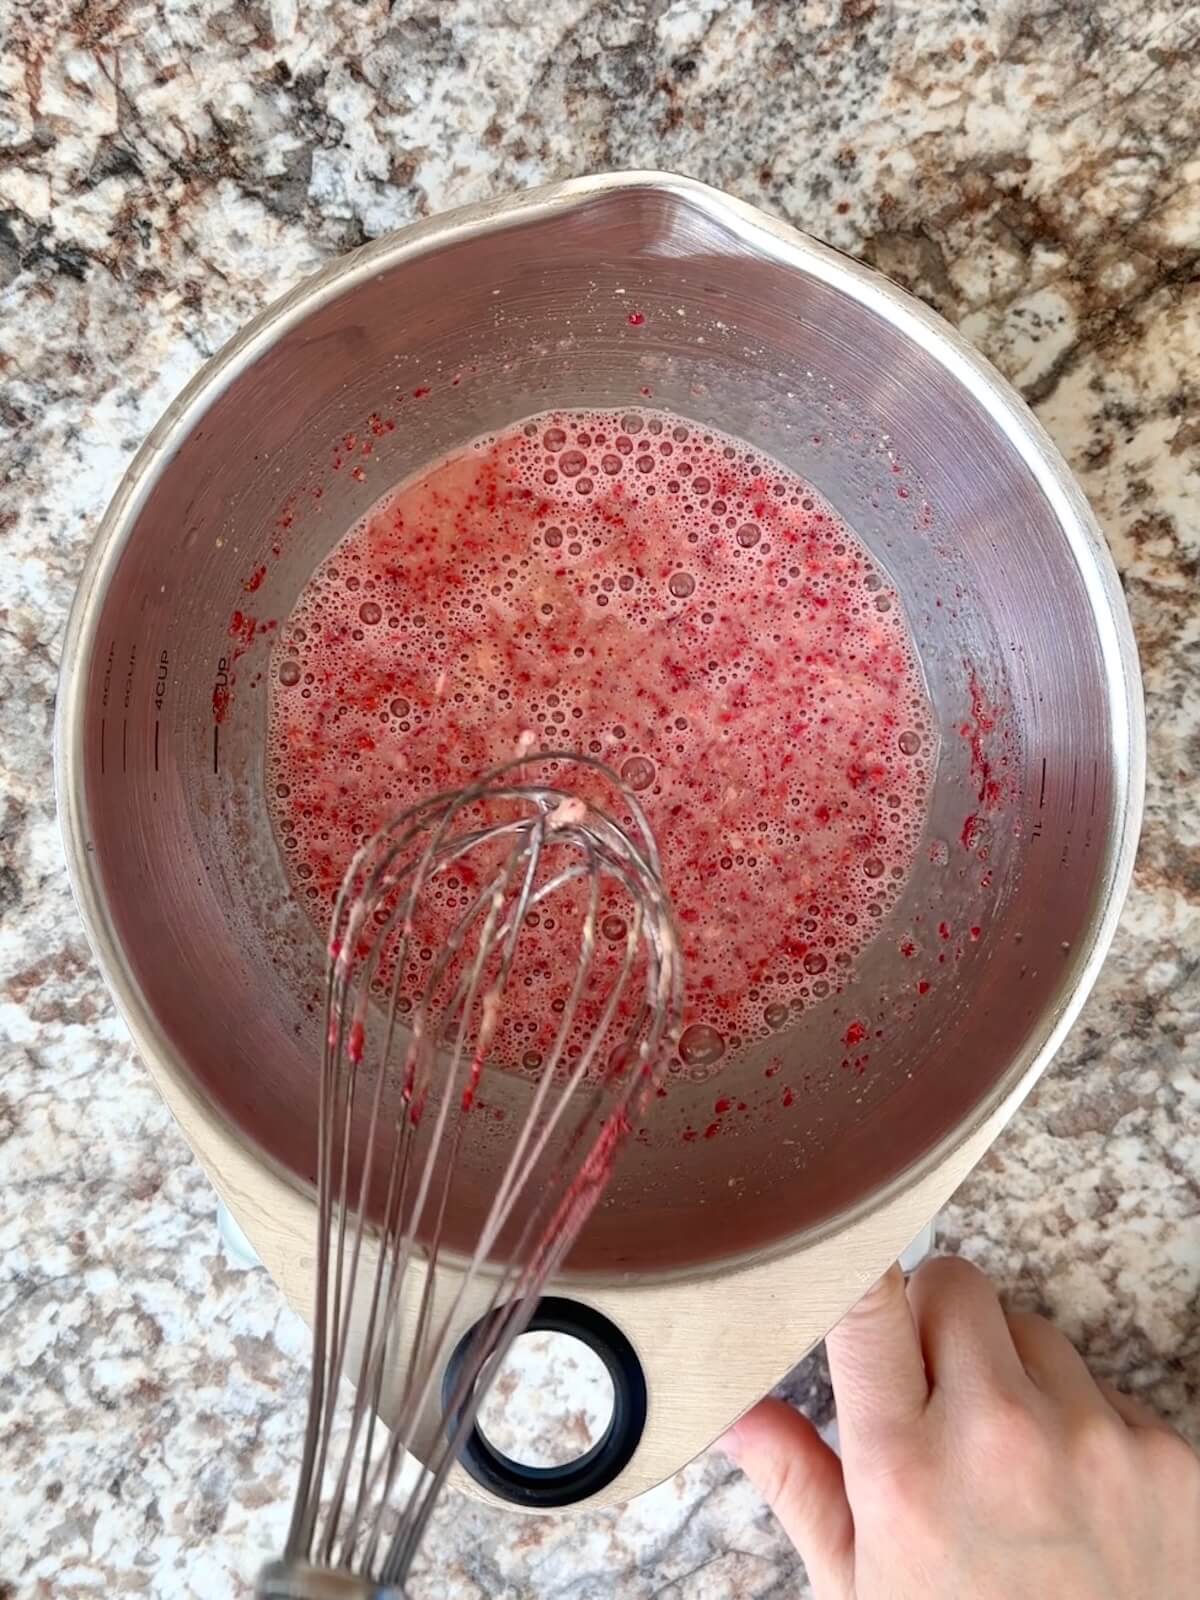
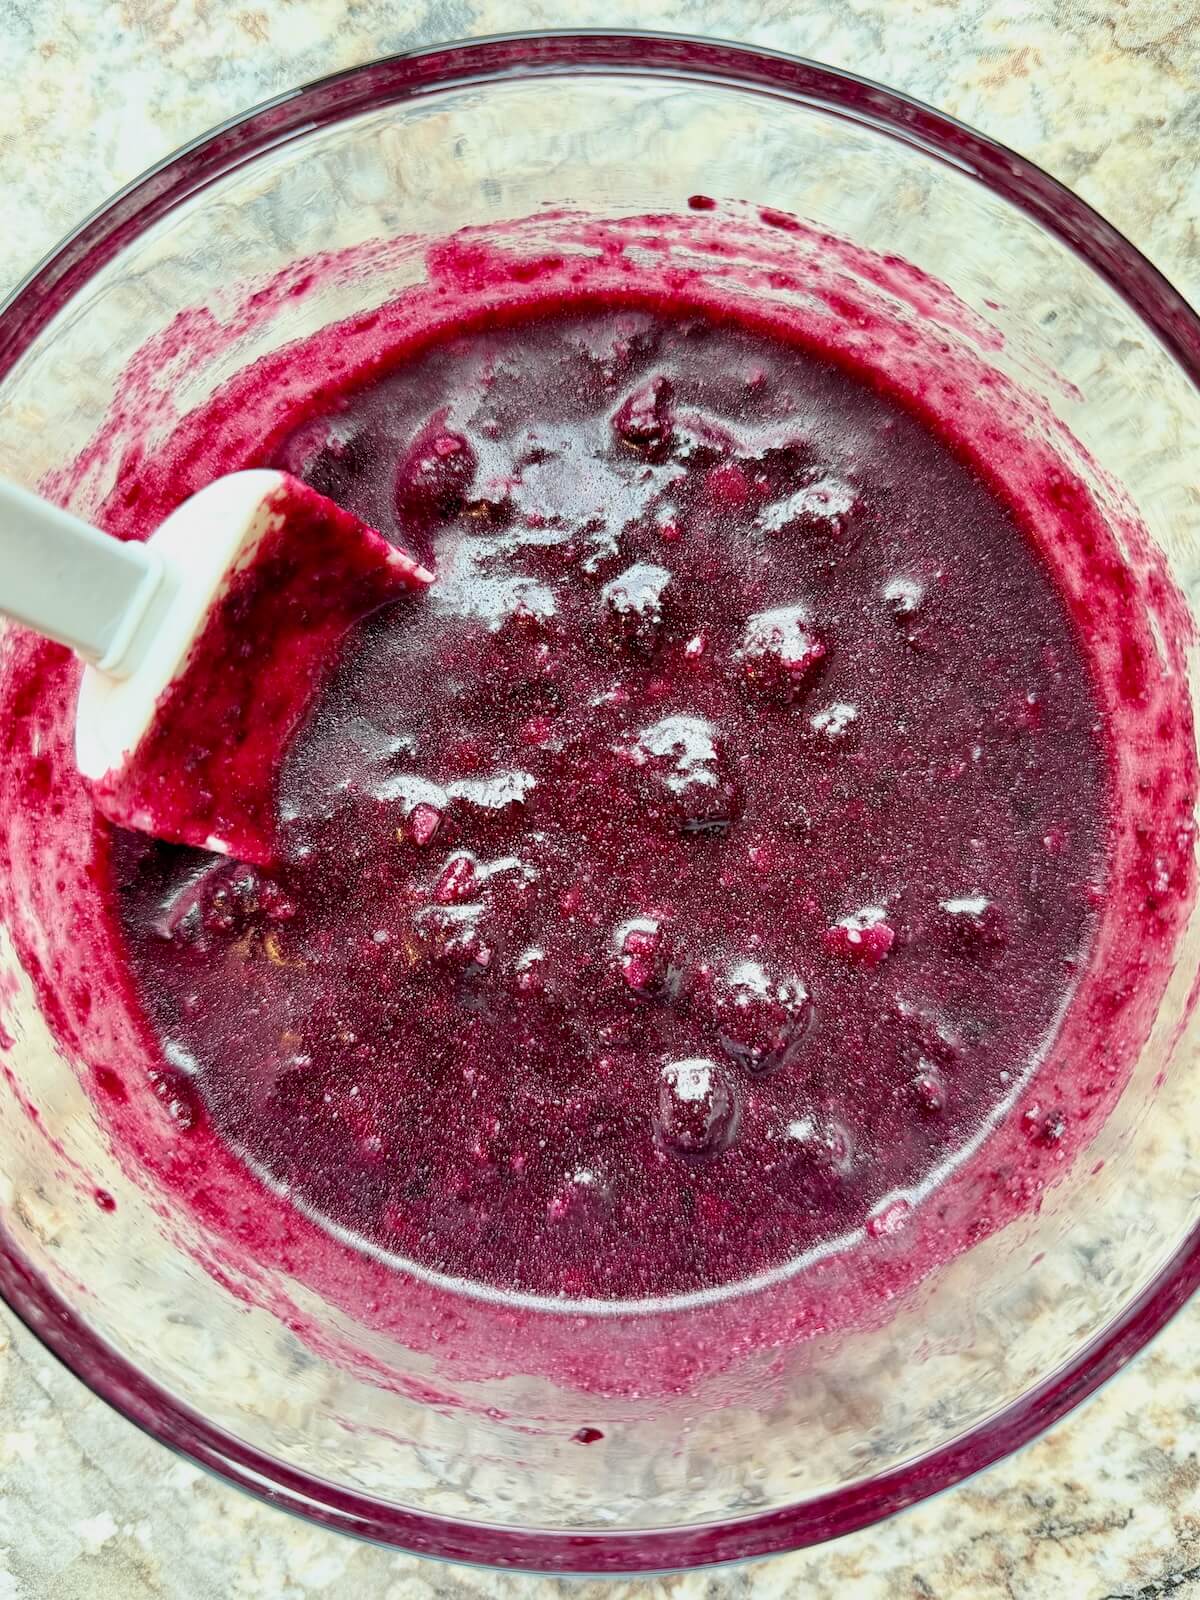
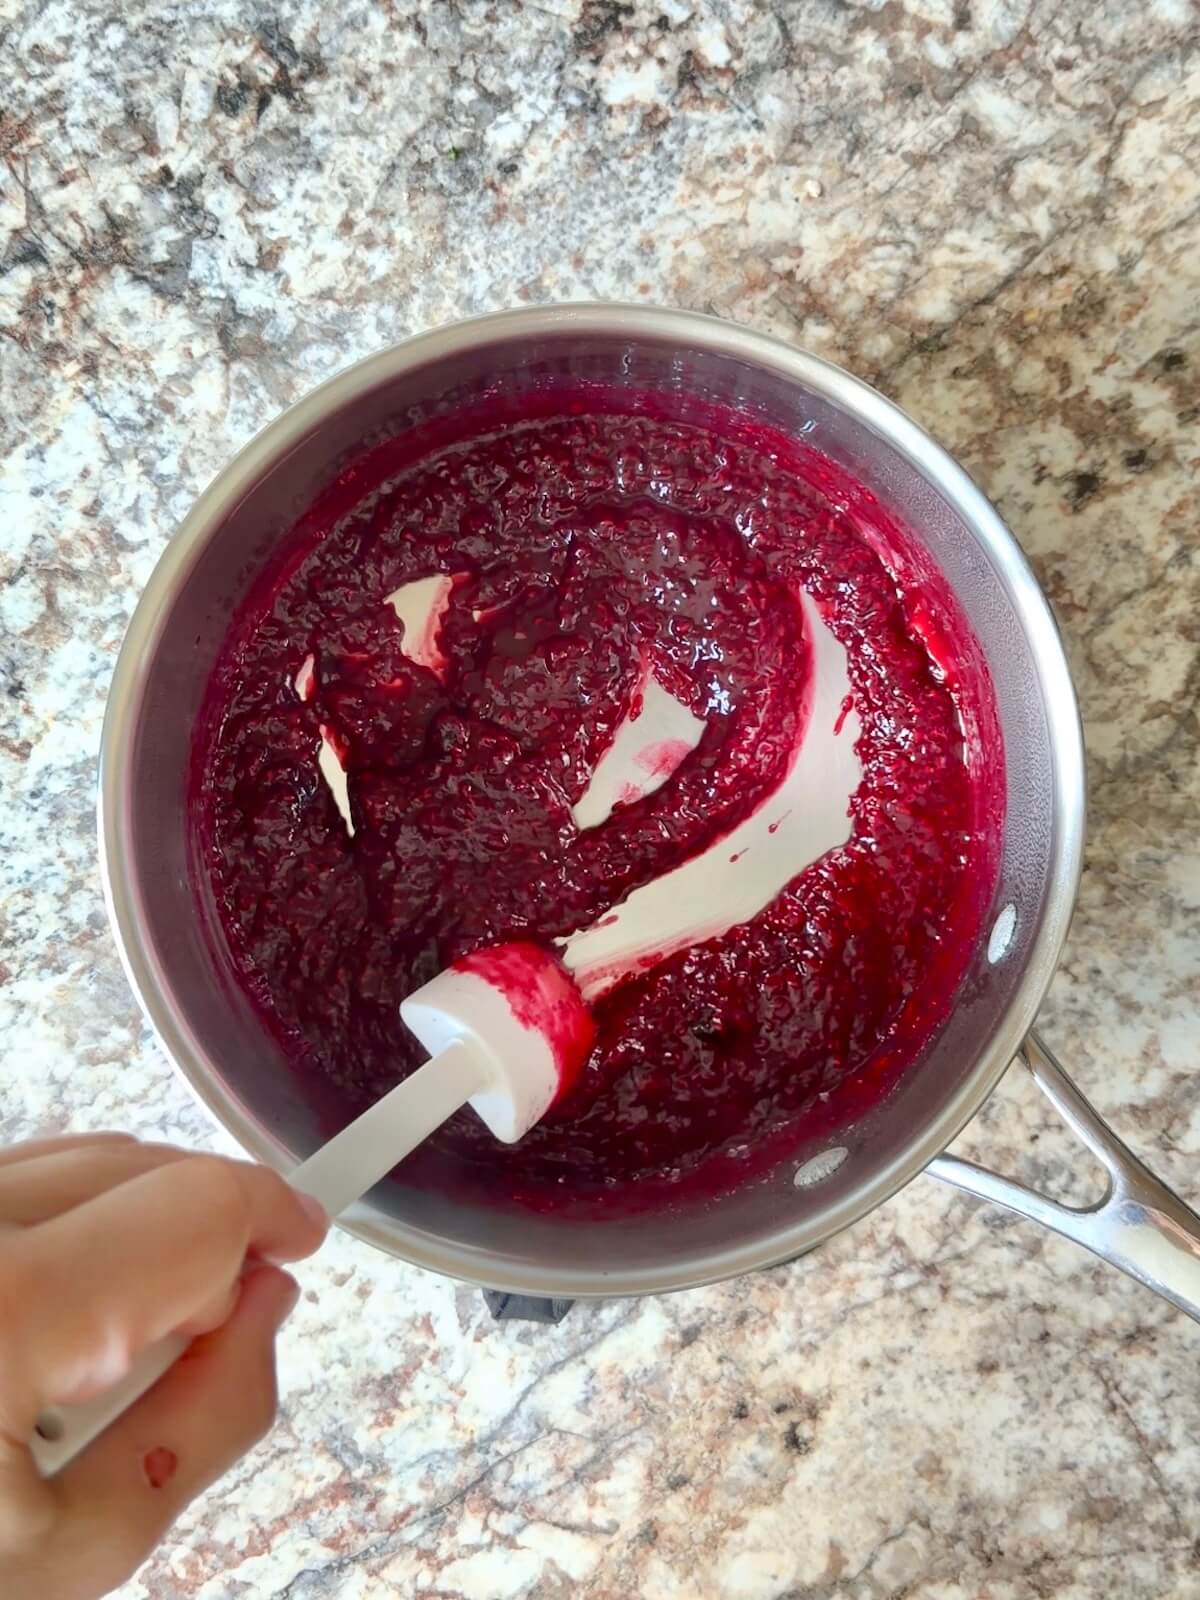
Step 2: Make raspberry sauce. Cook raspberries and sugar over medium-low heat until broken down and syrupy, about 10 minutes. Stir in lemon juice and cornstarch slurry to thicken, then cool.
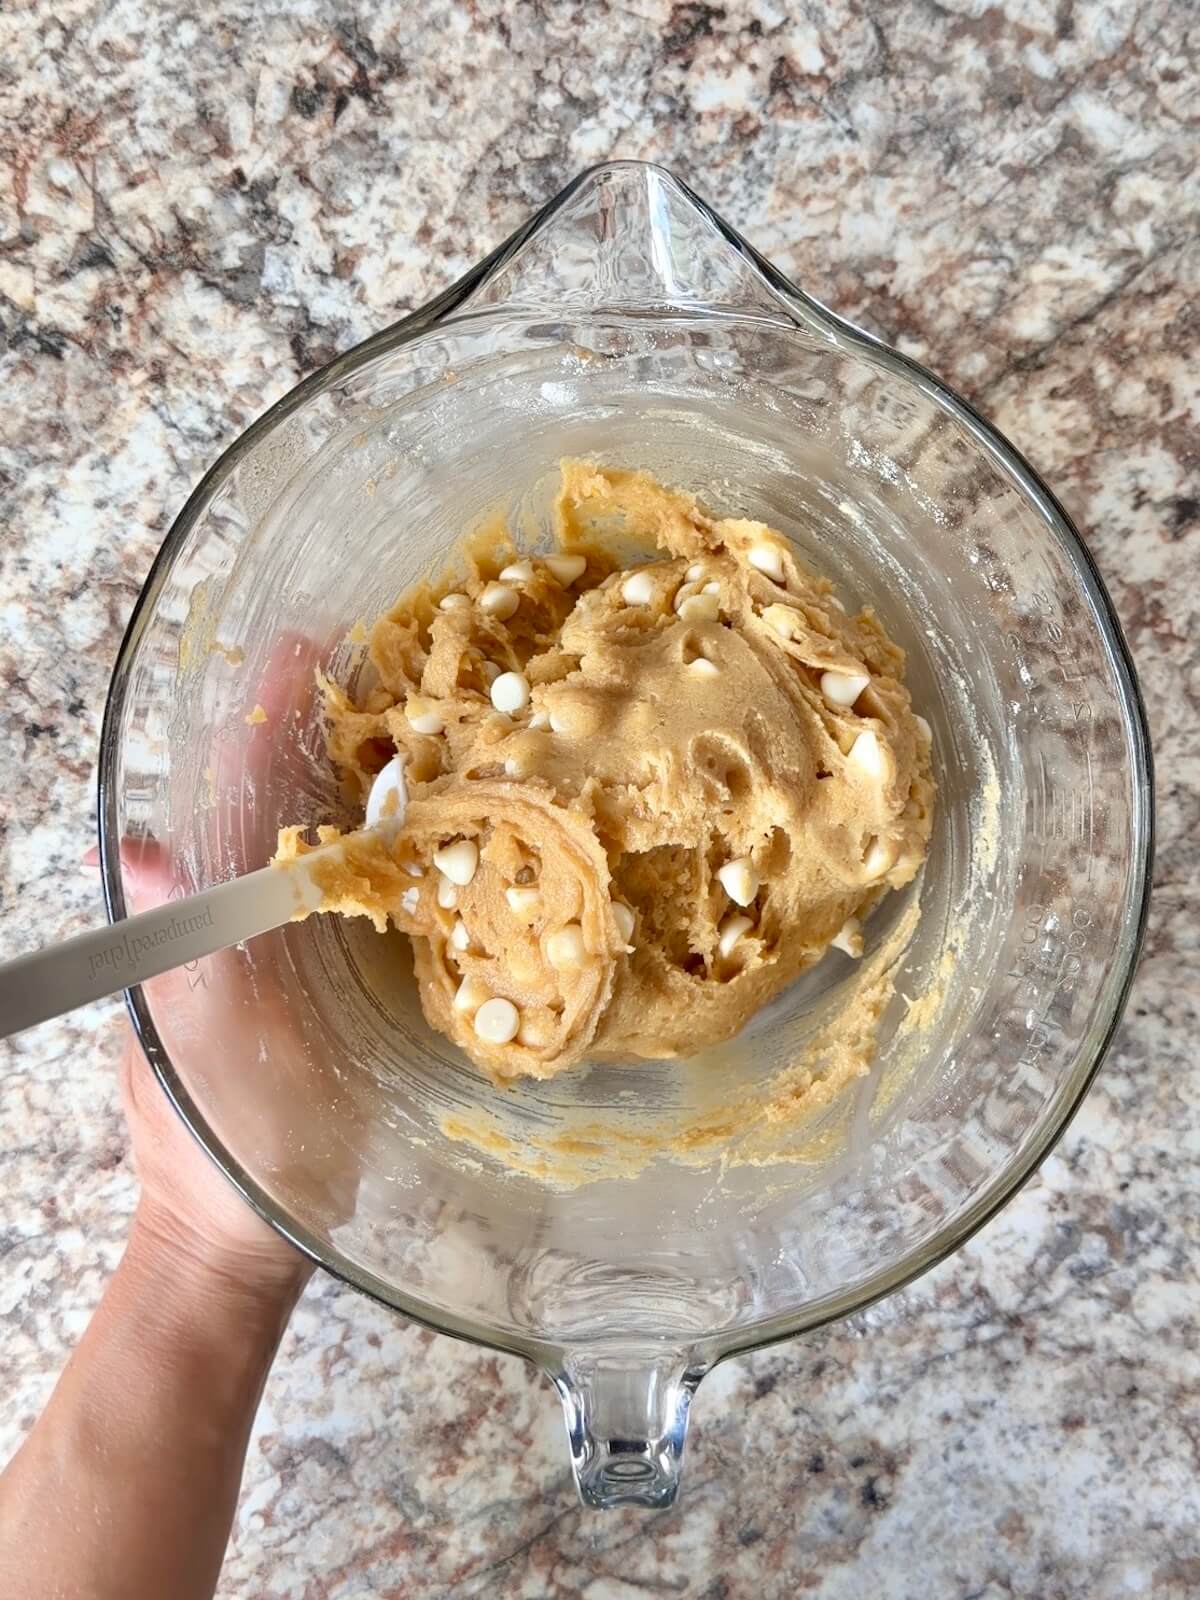
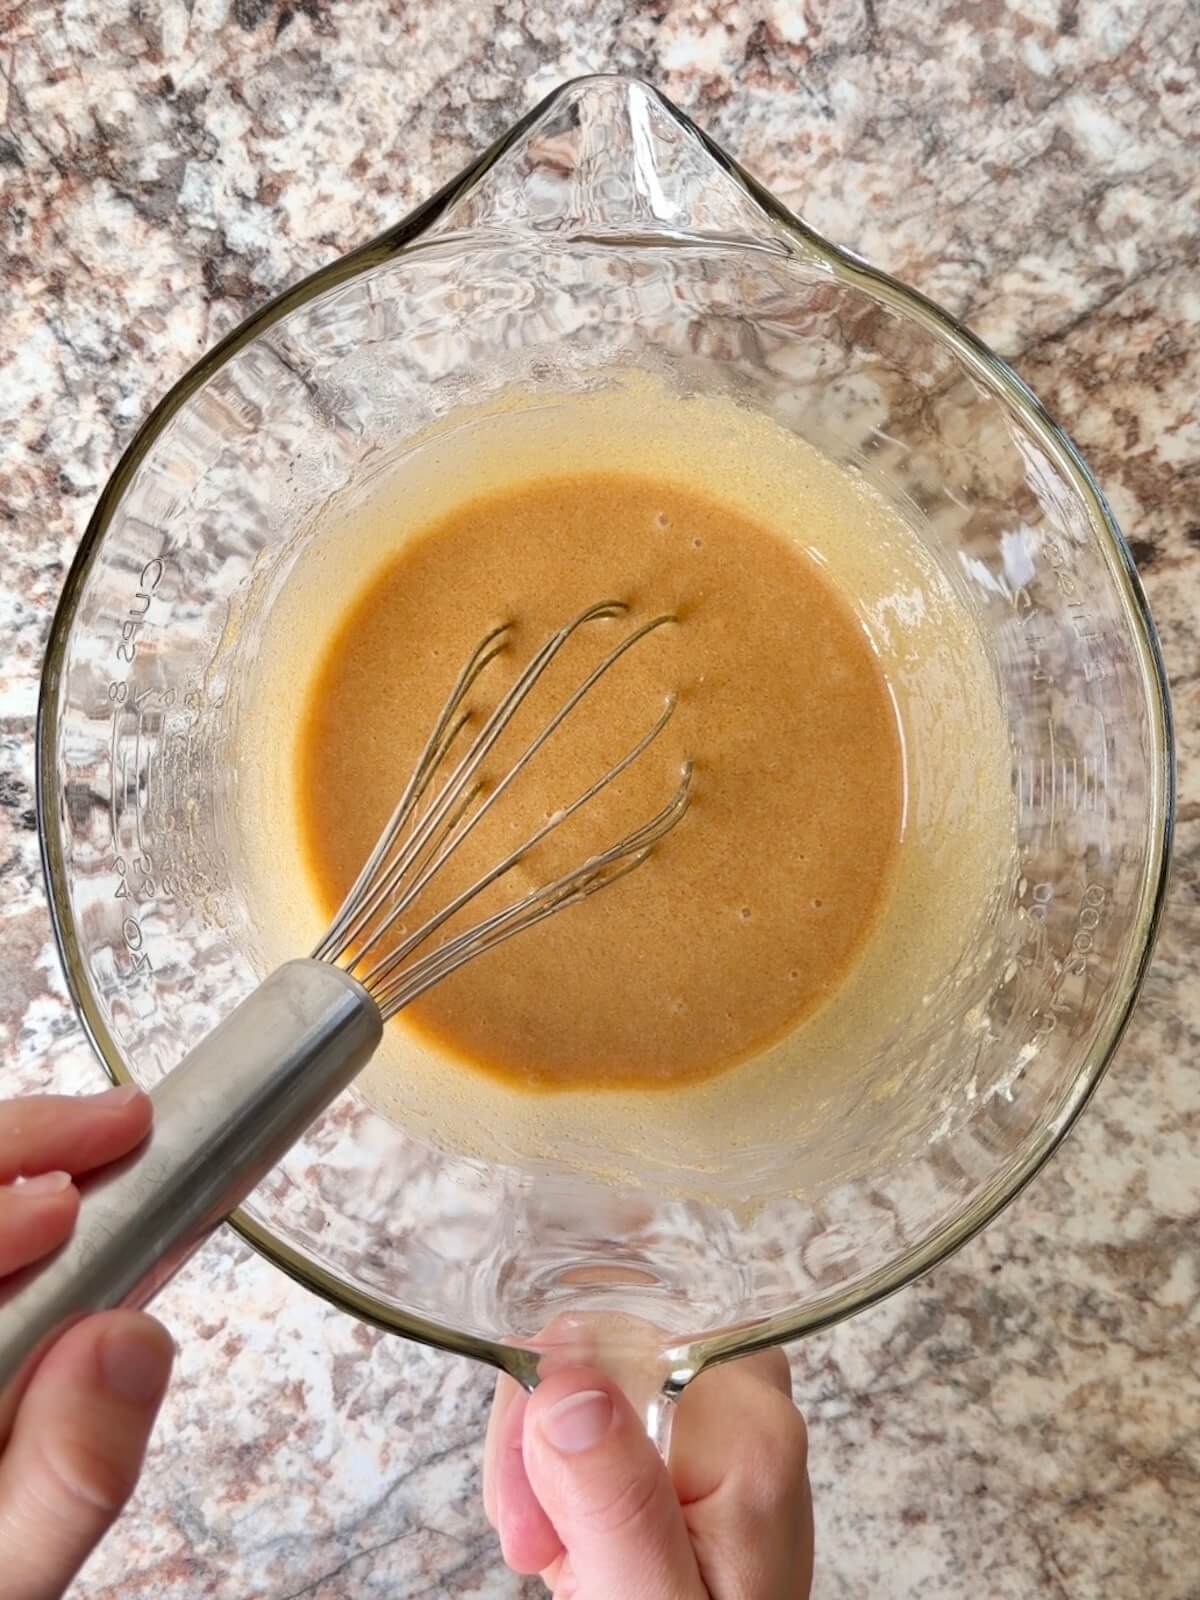
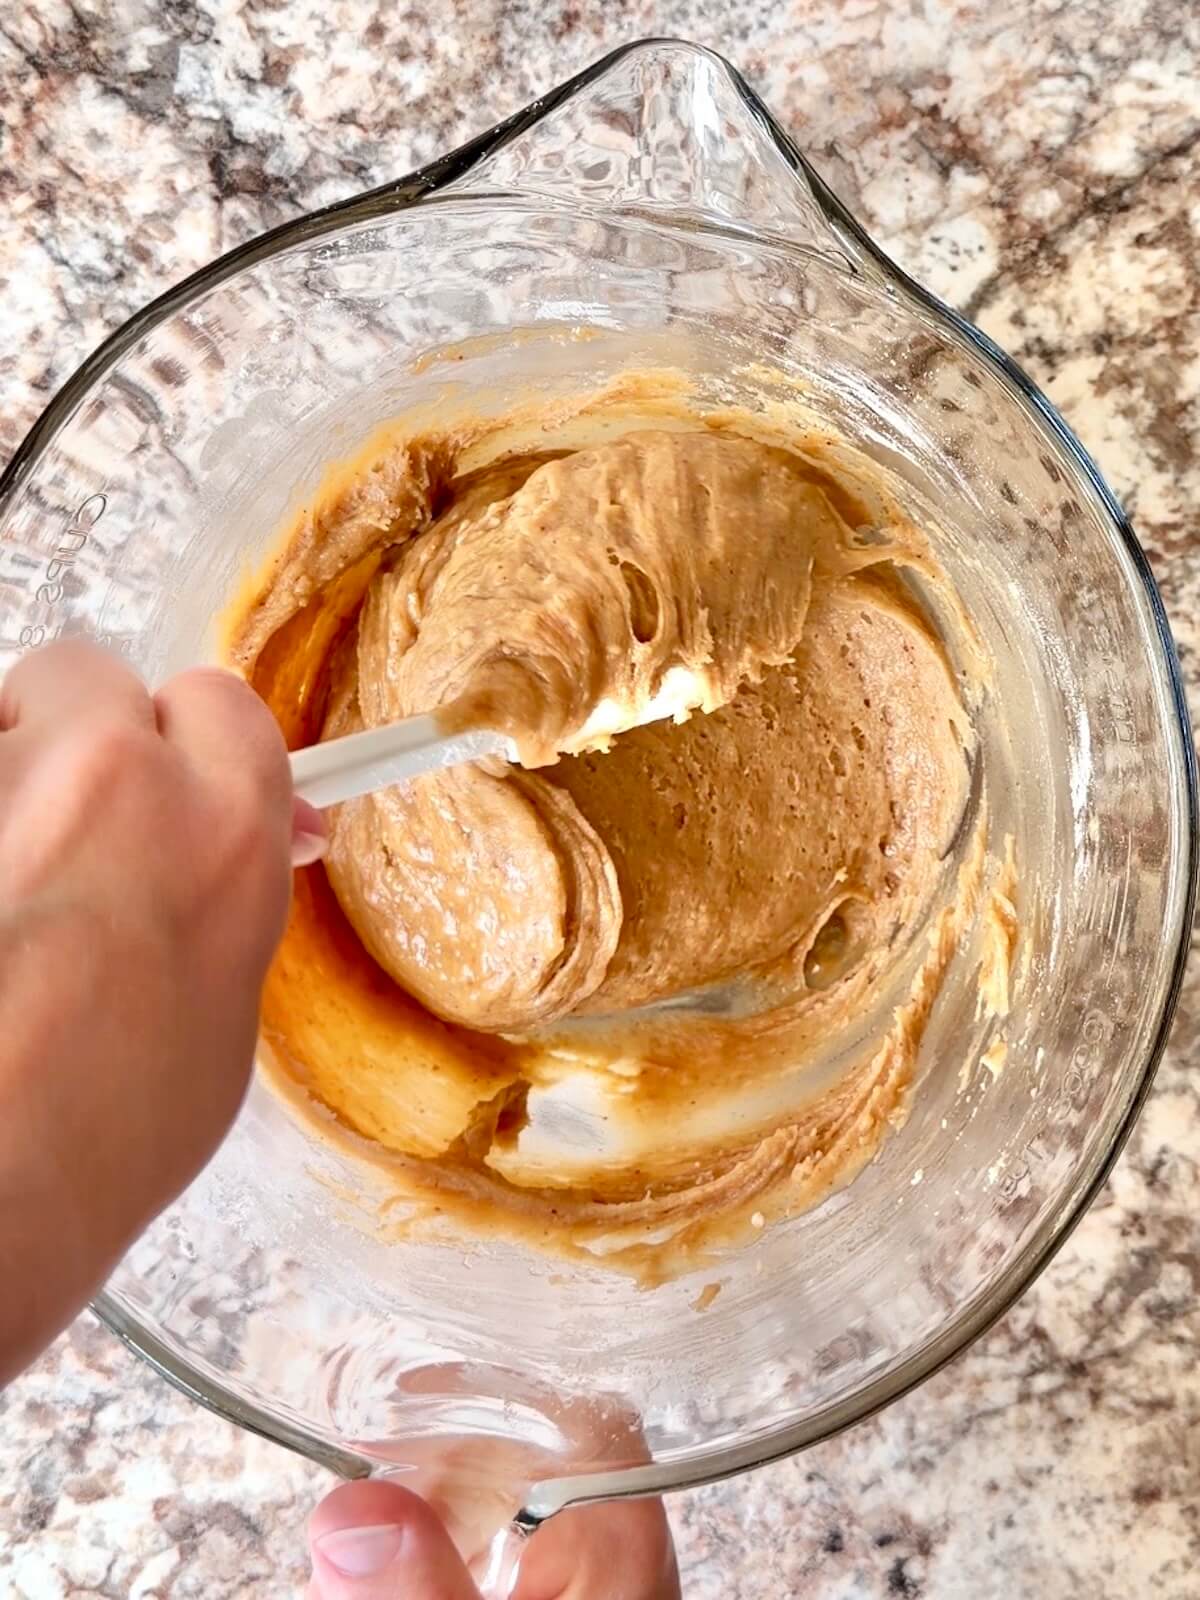
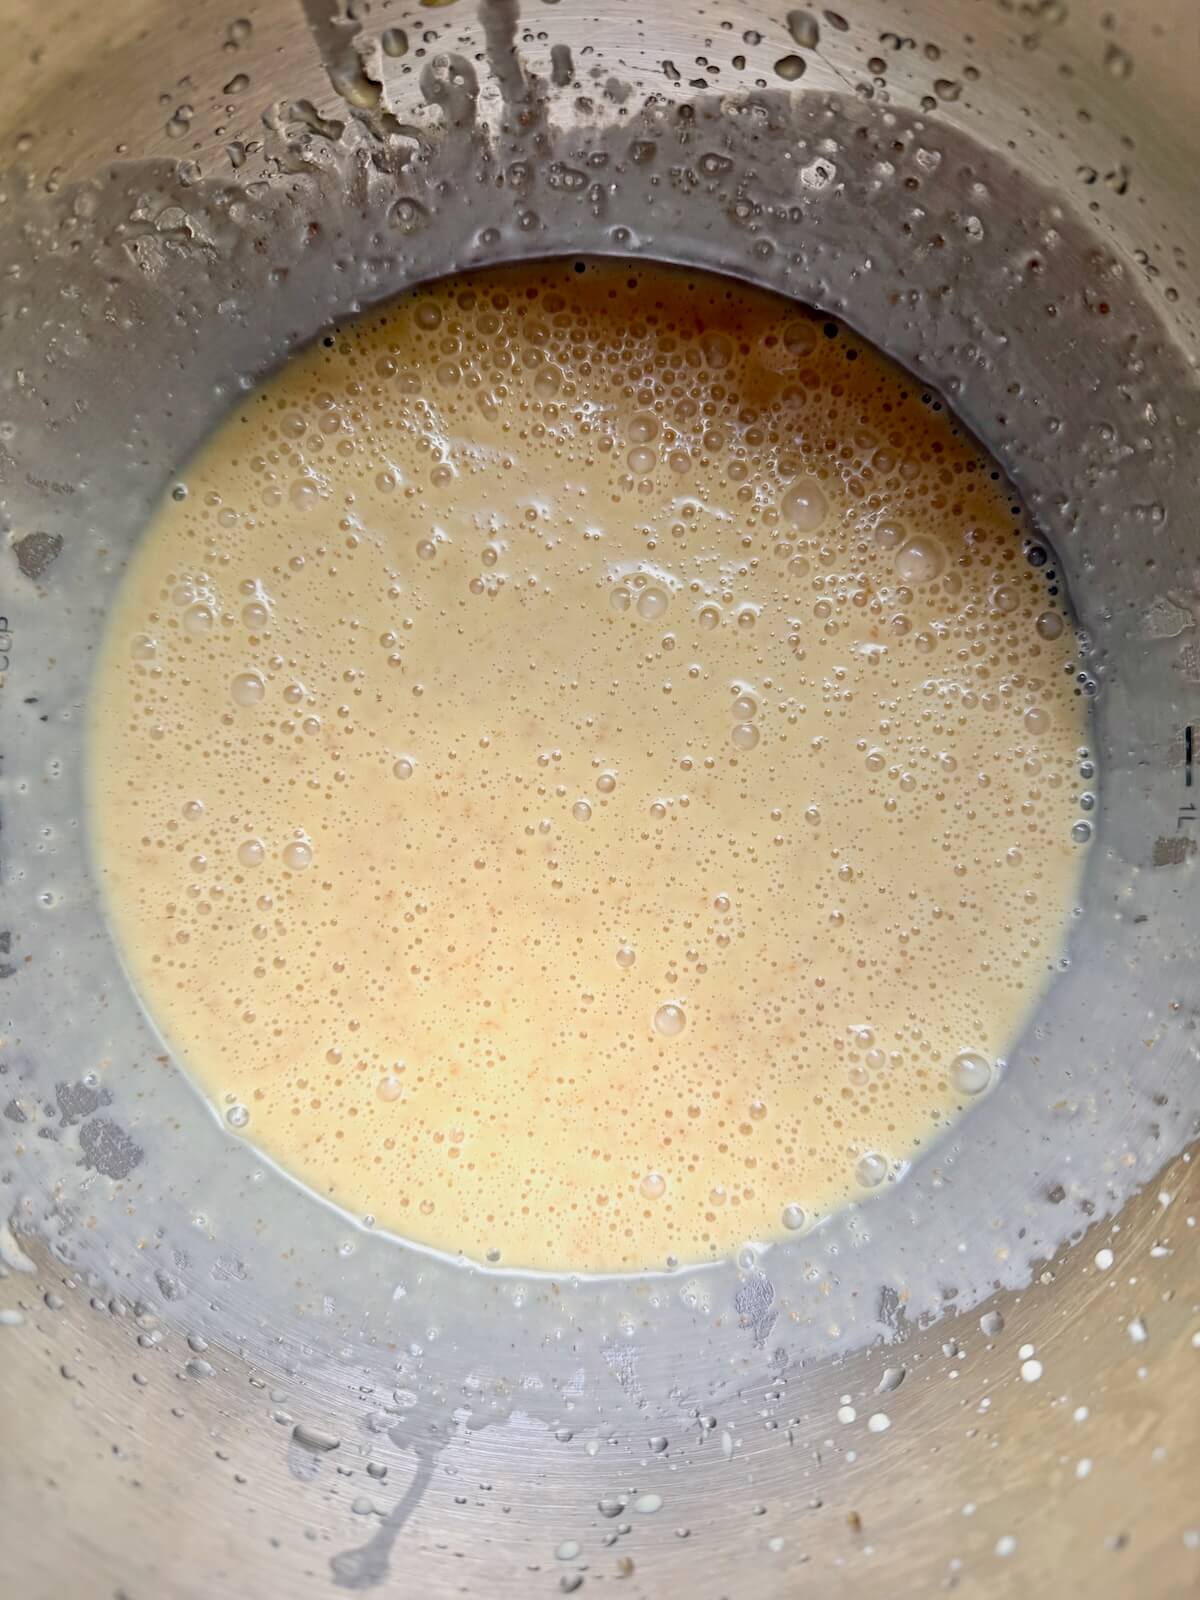
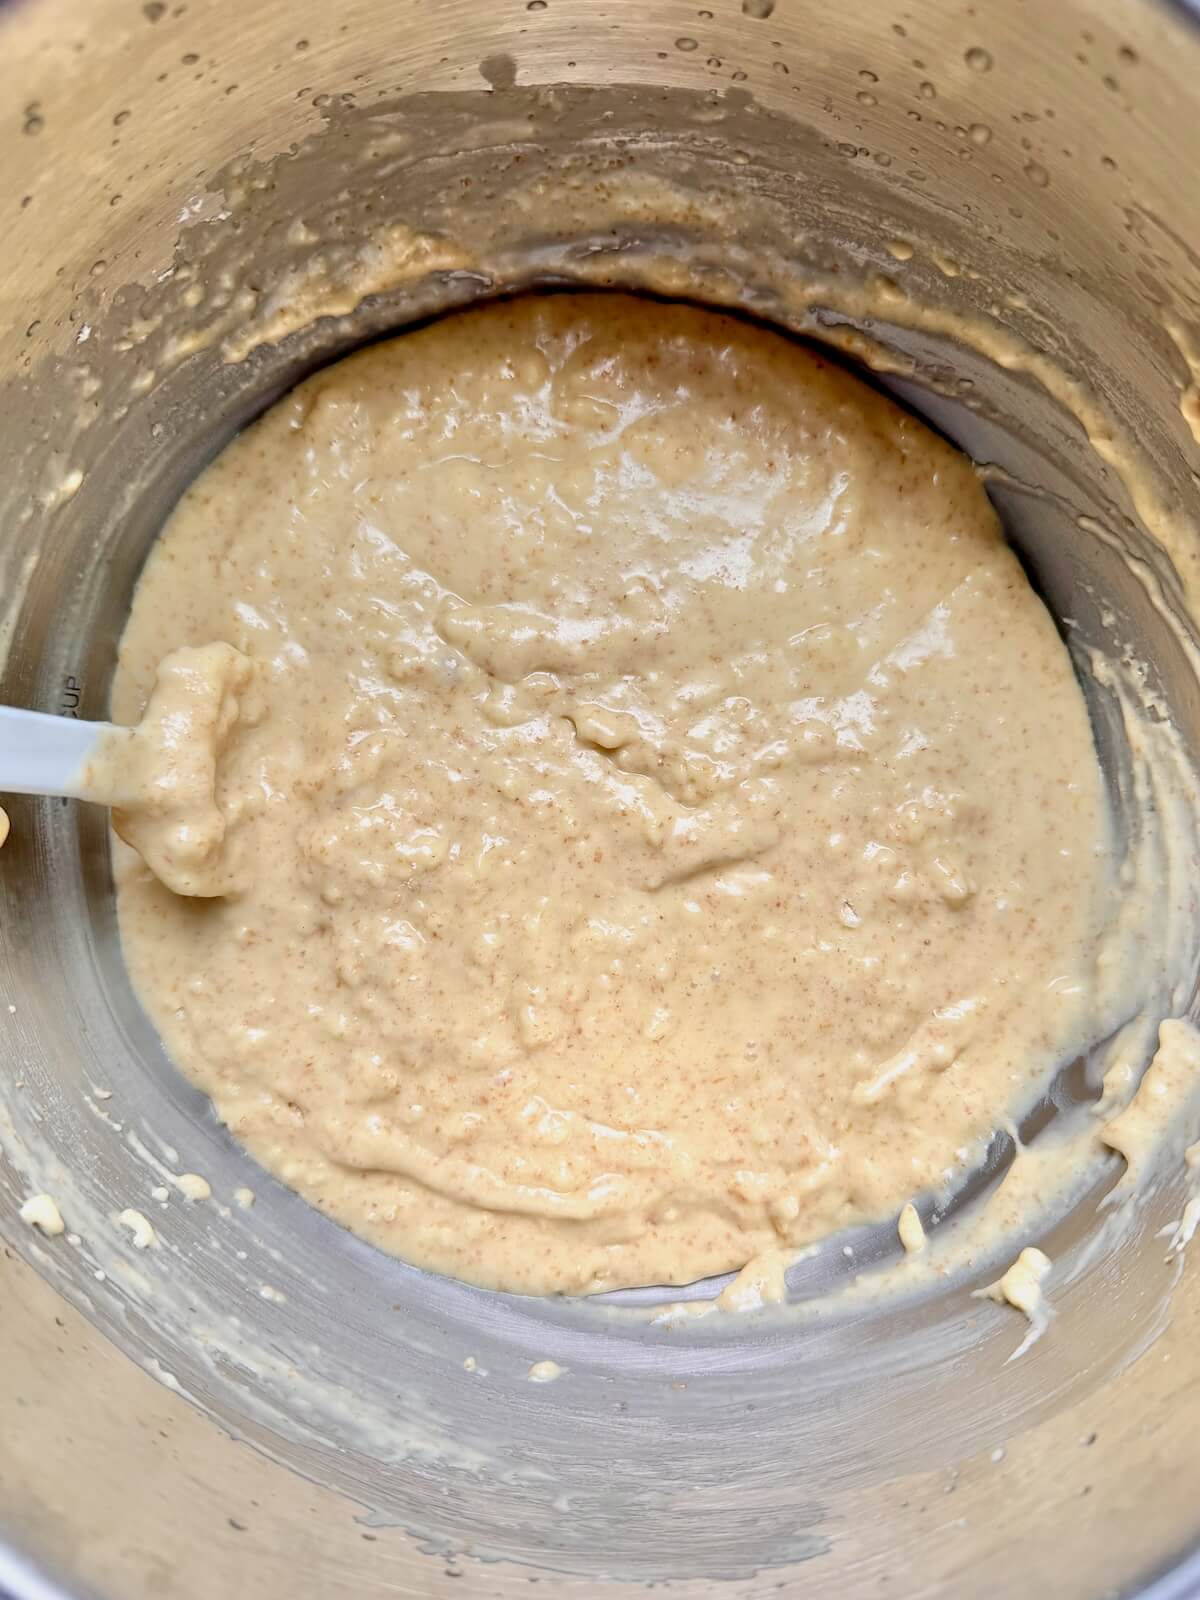
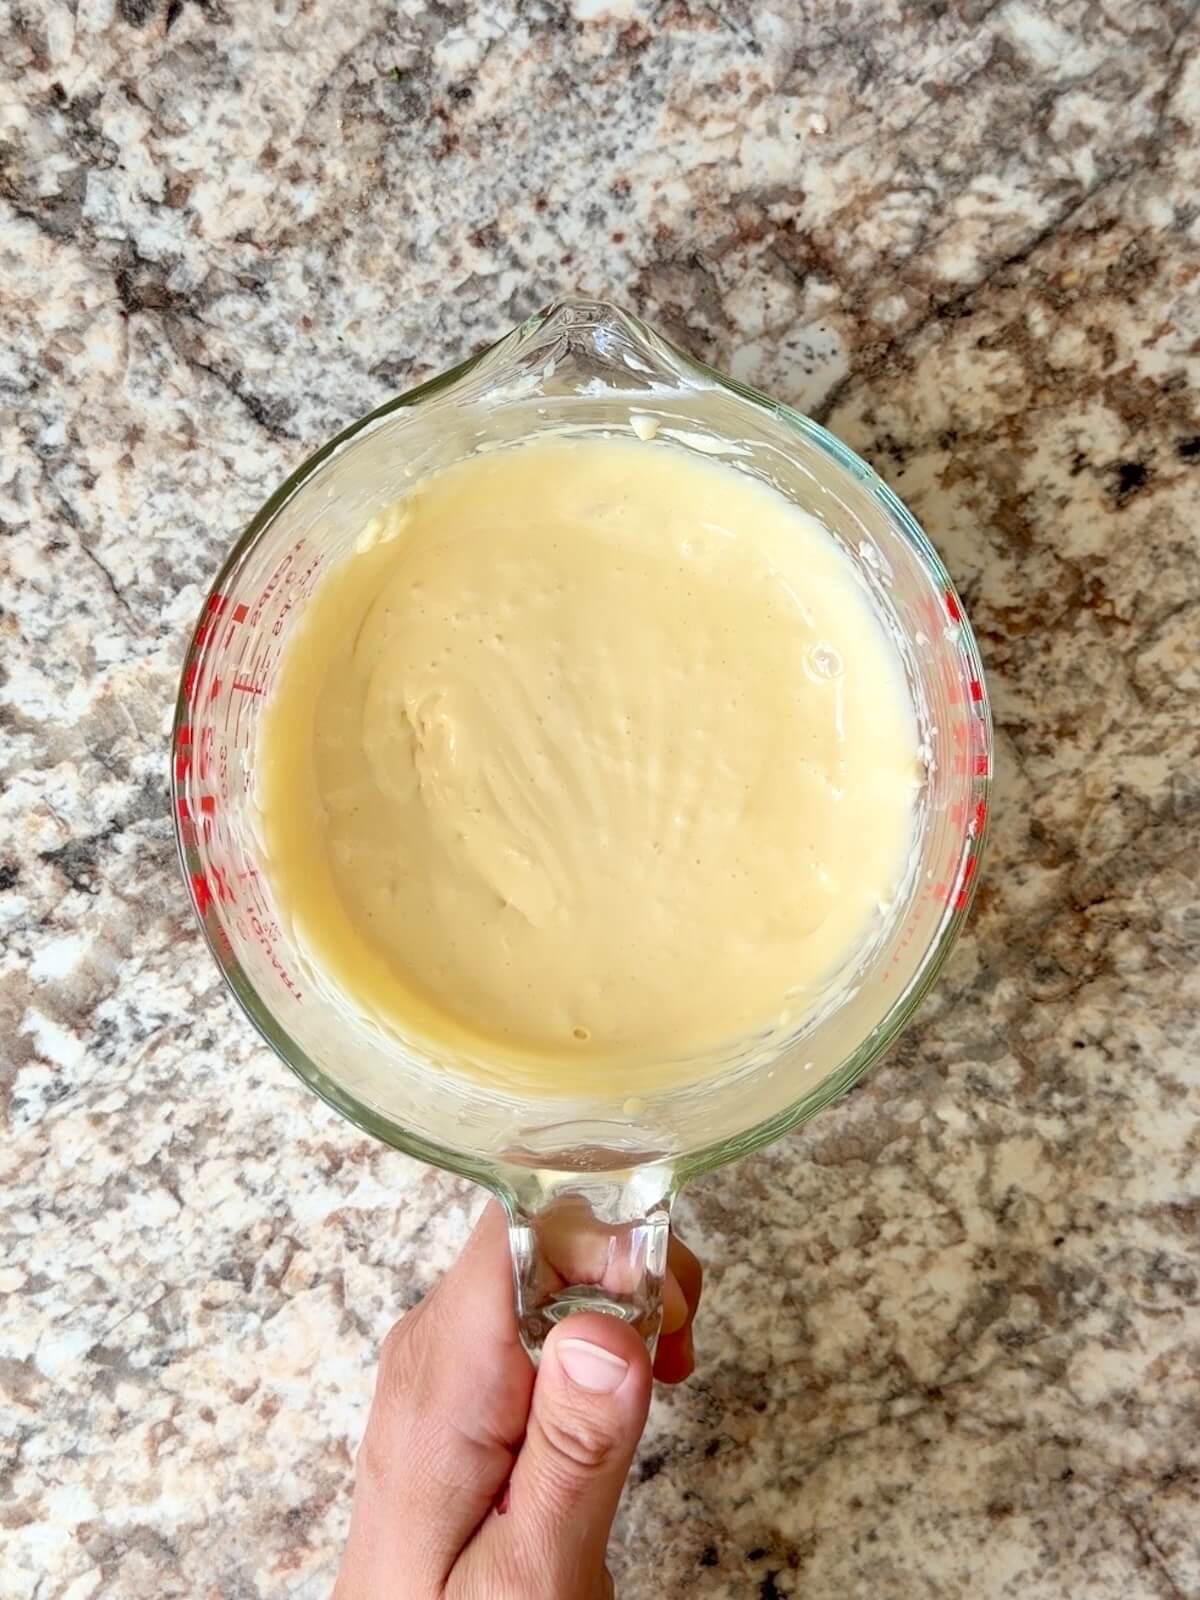
Step 3: Make cheesecake layer. Beat cream cheese and sugar until smooth. Mix in egg and vanilla until creamy.
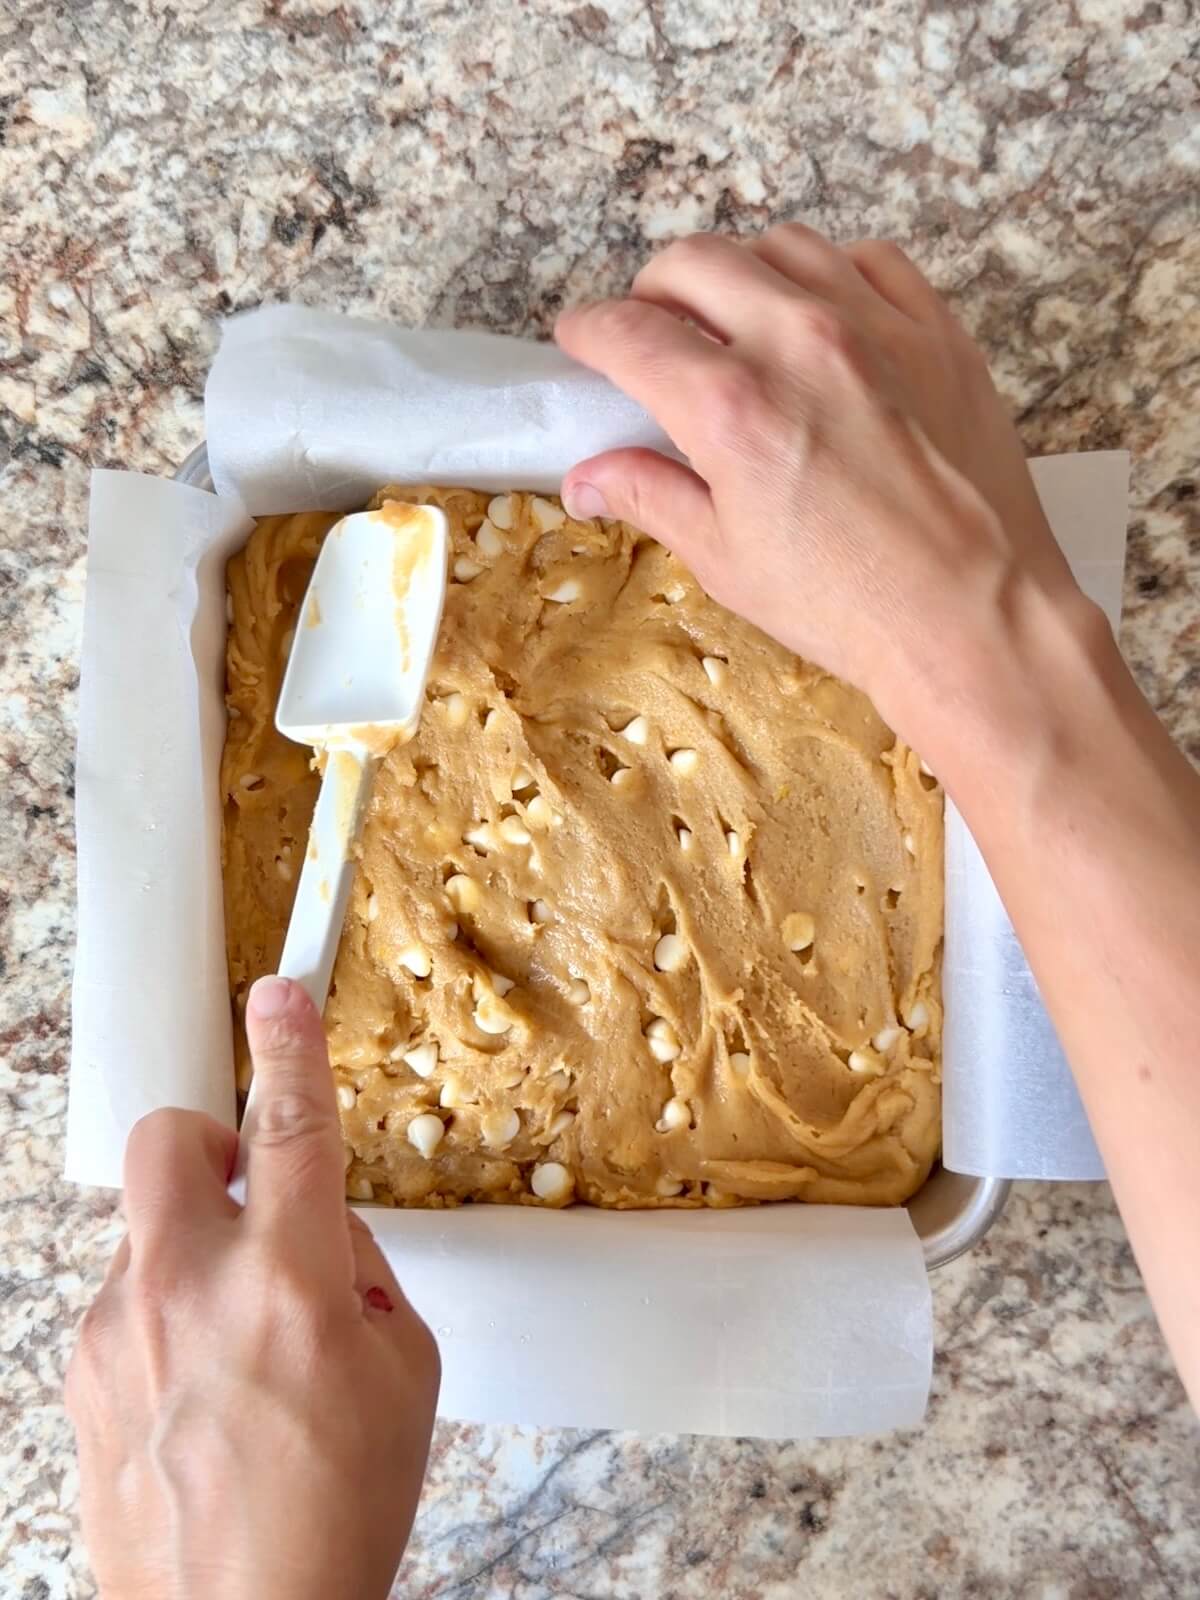
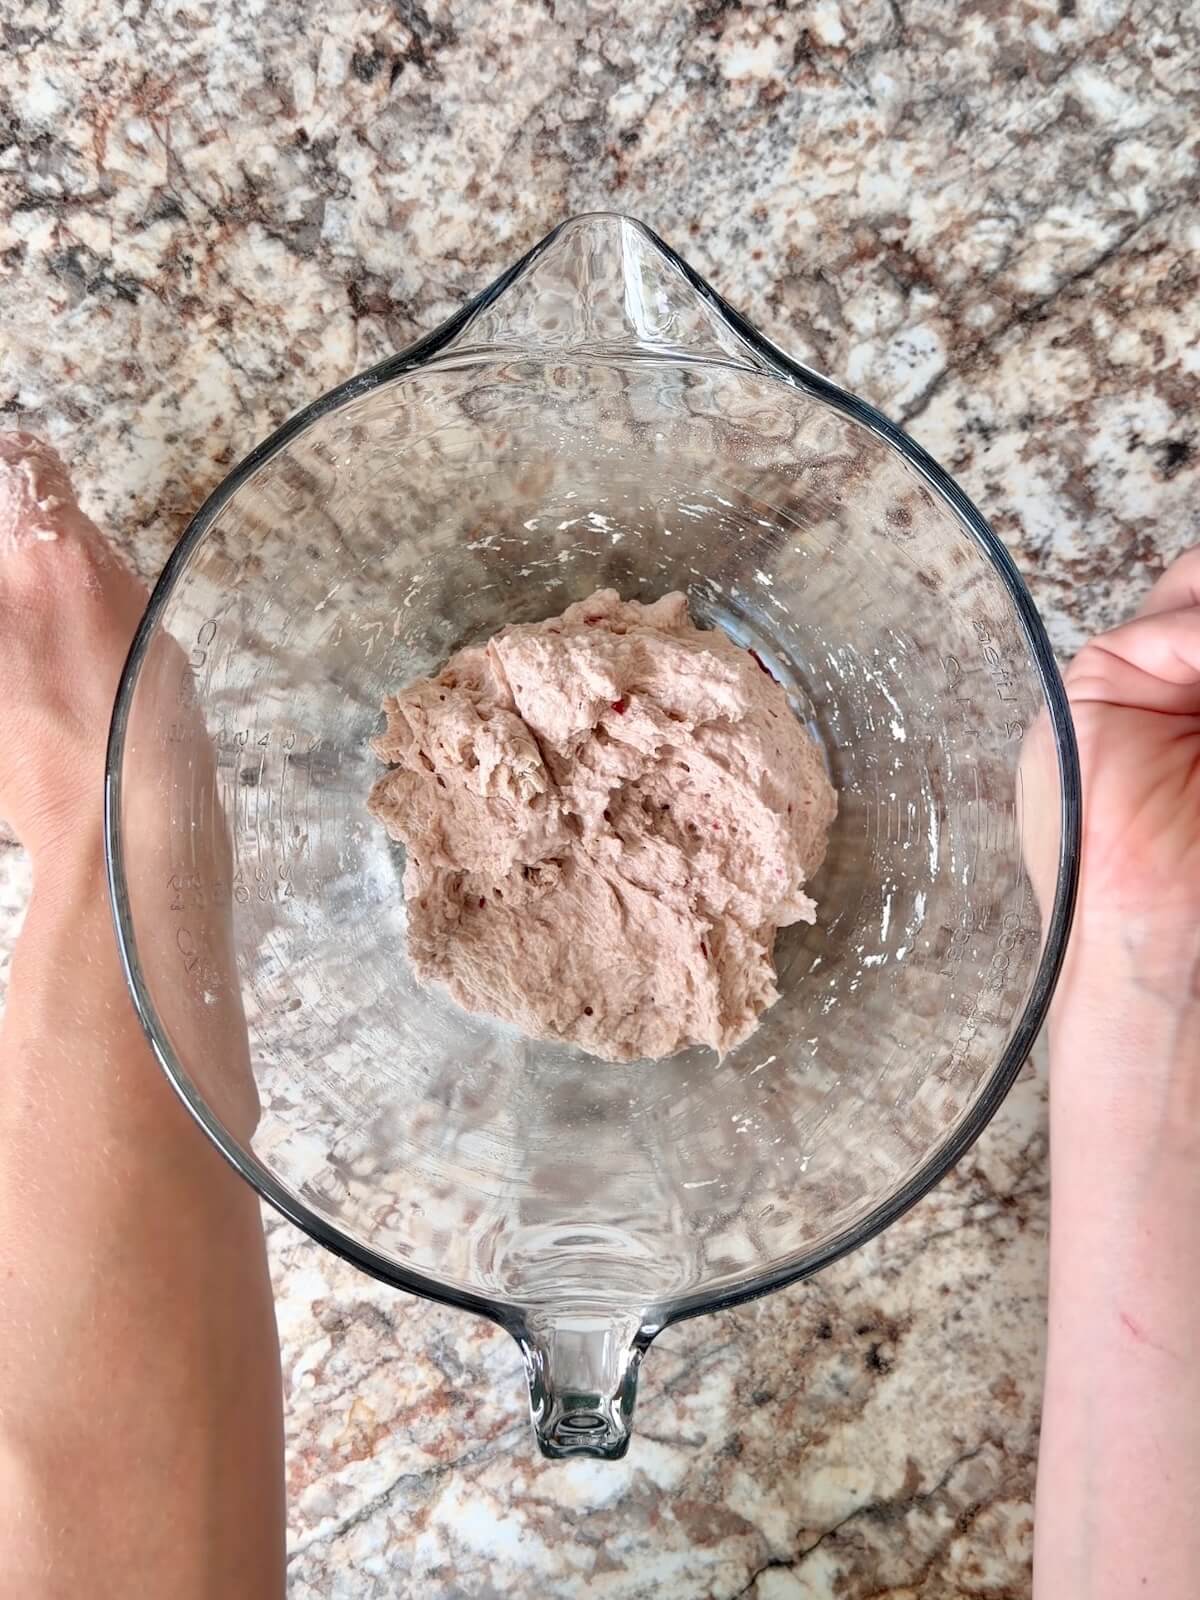
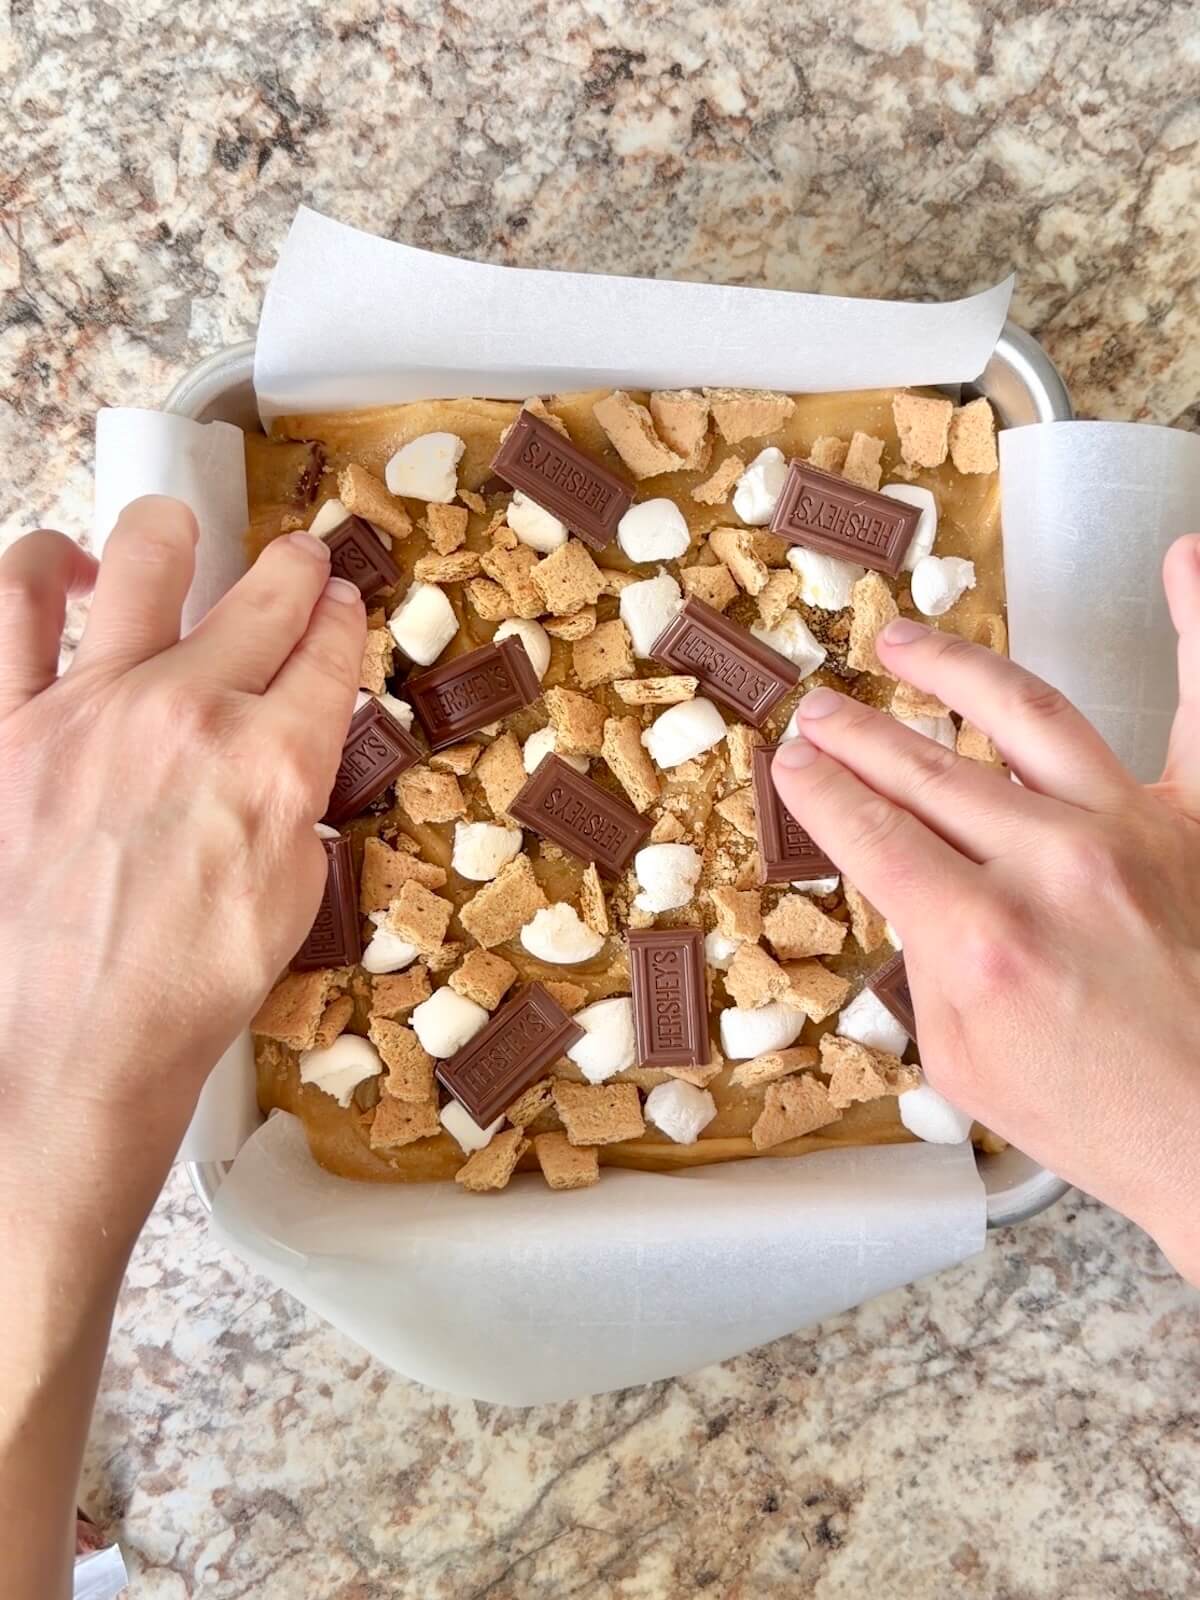
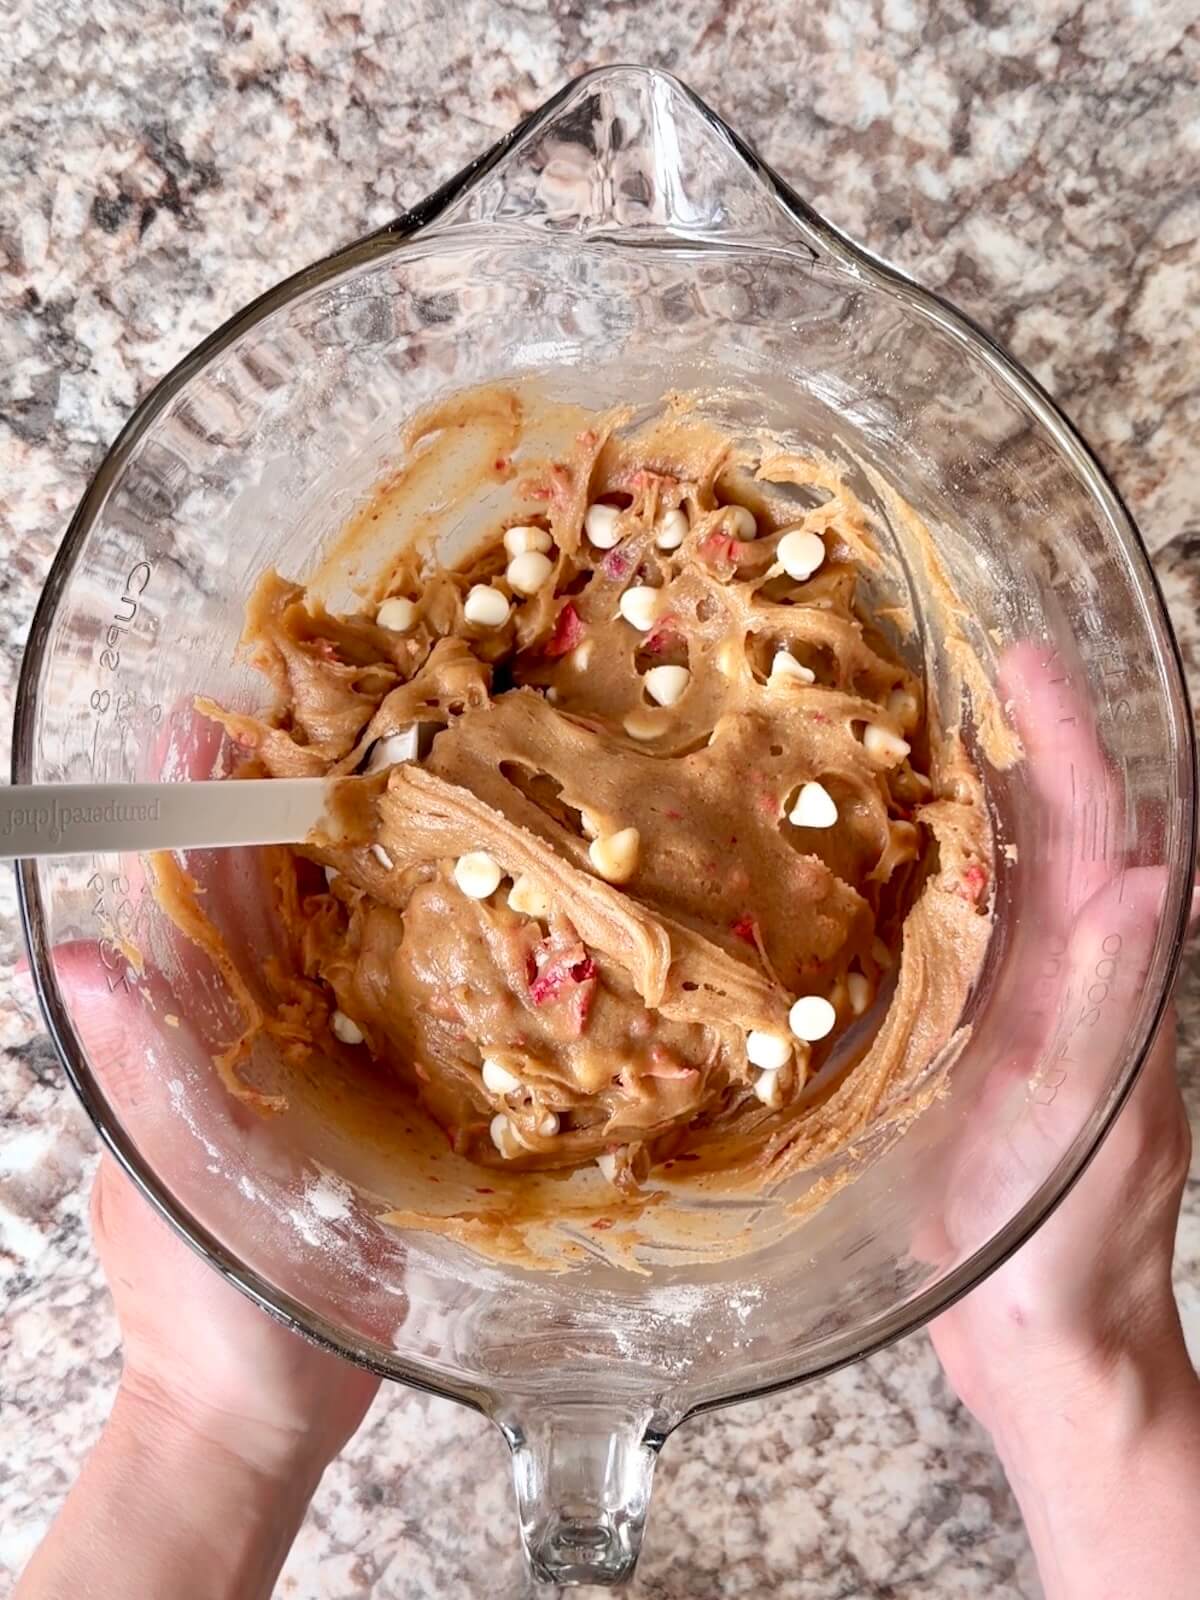
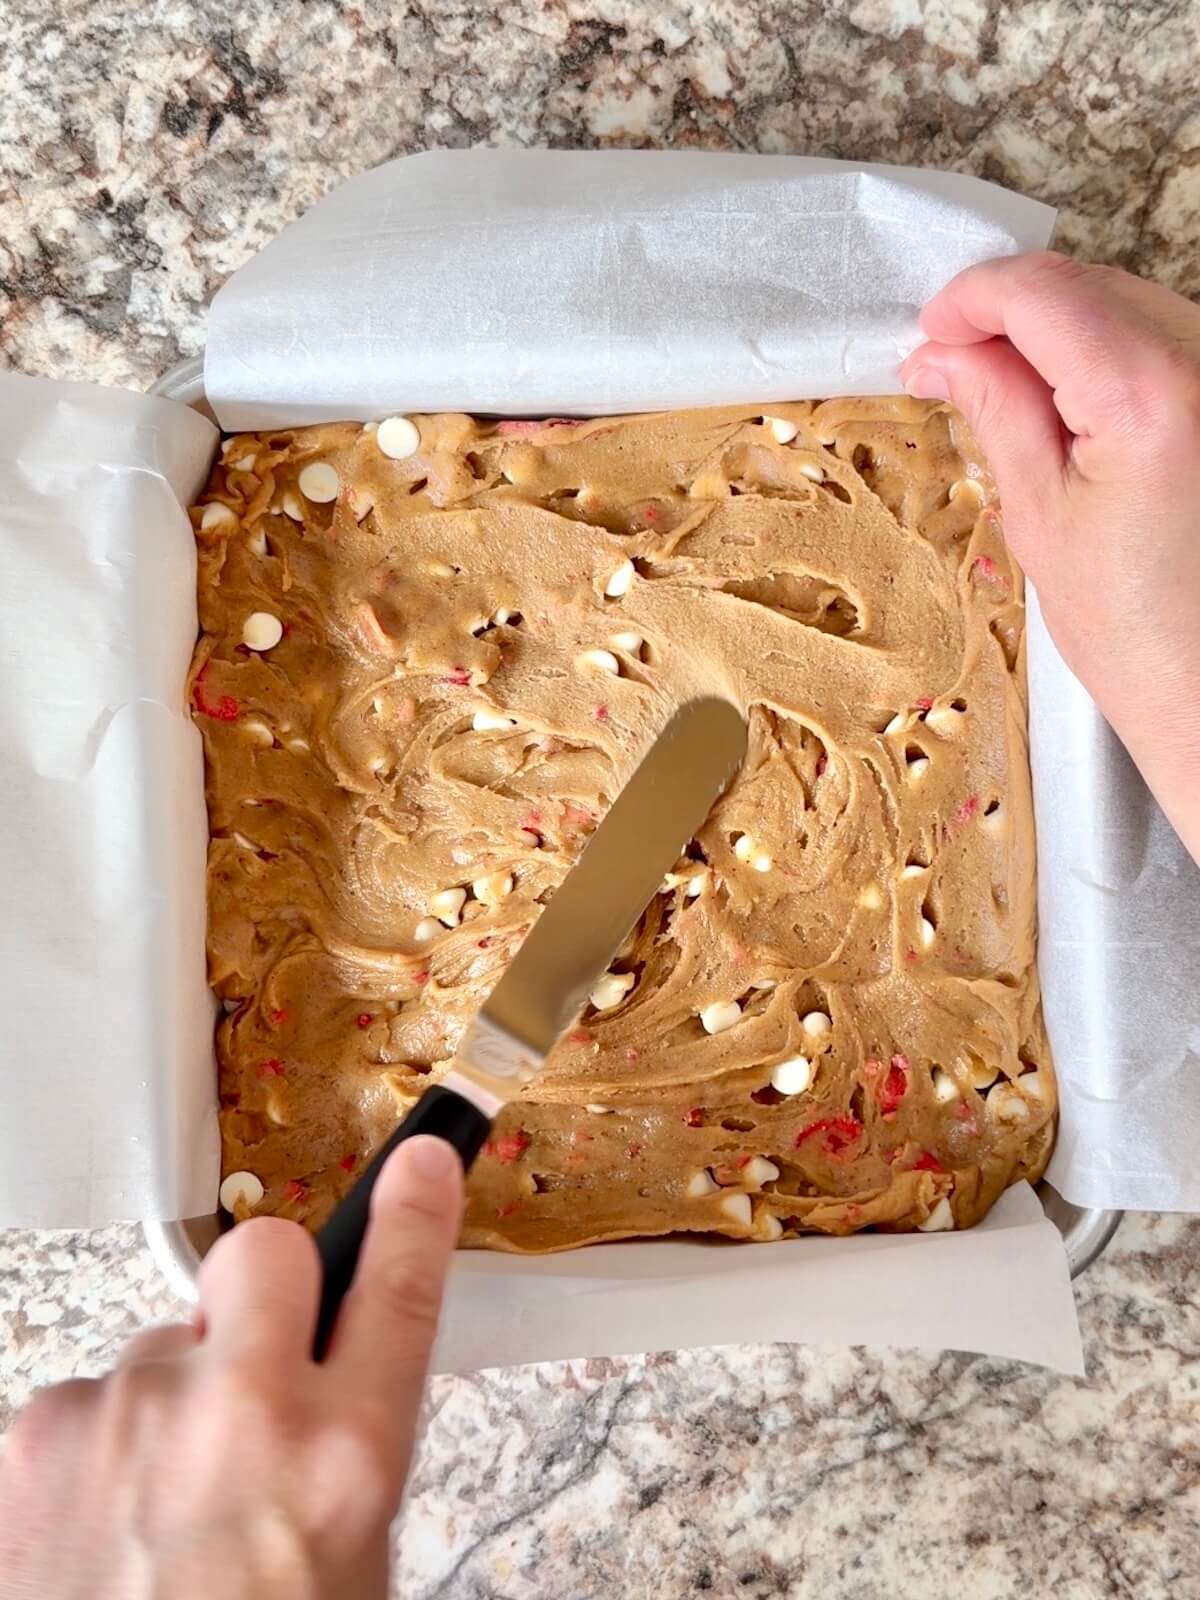
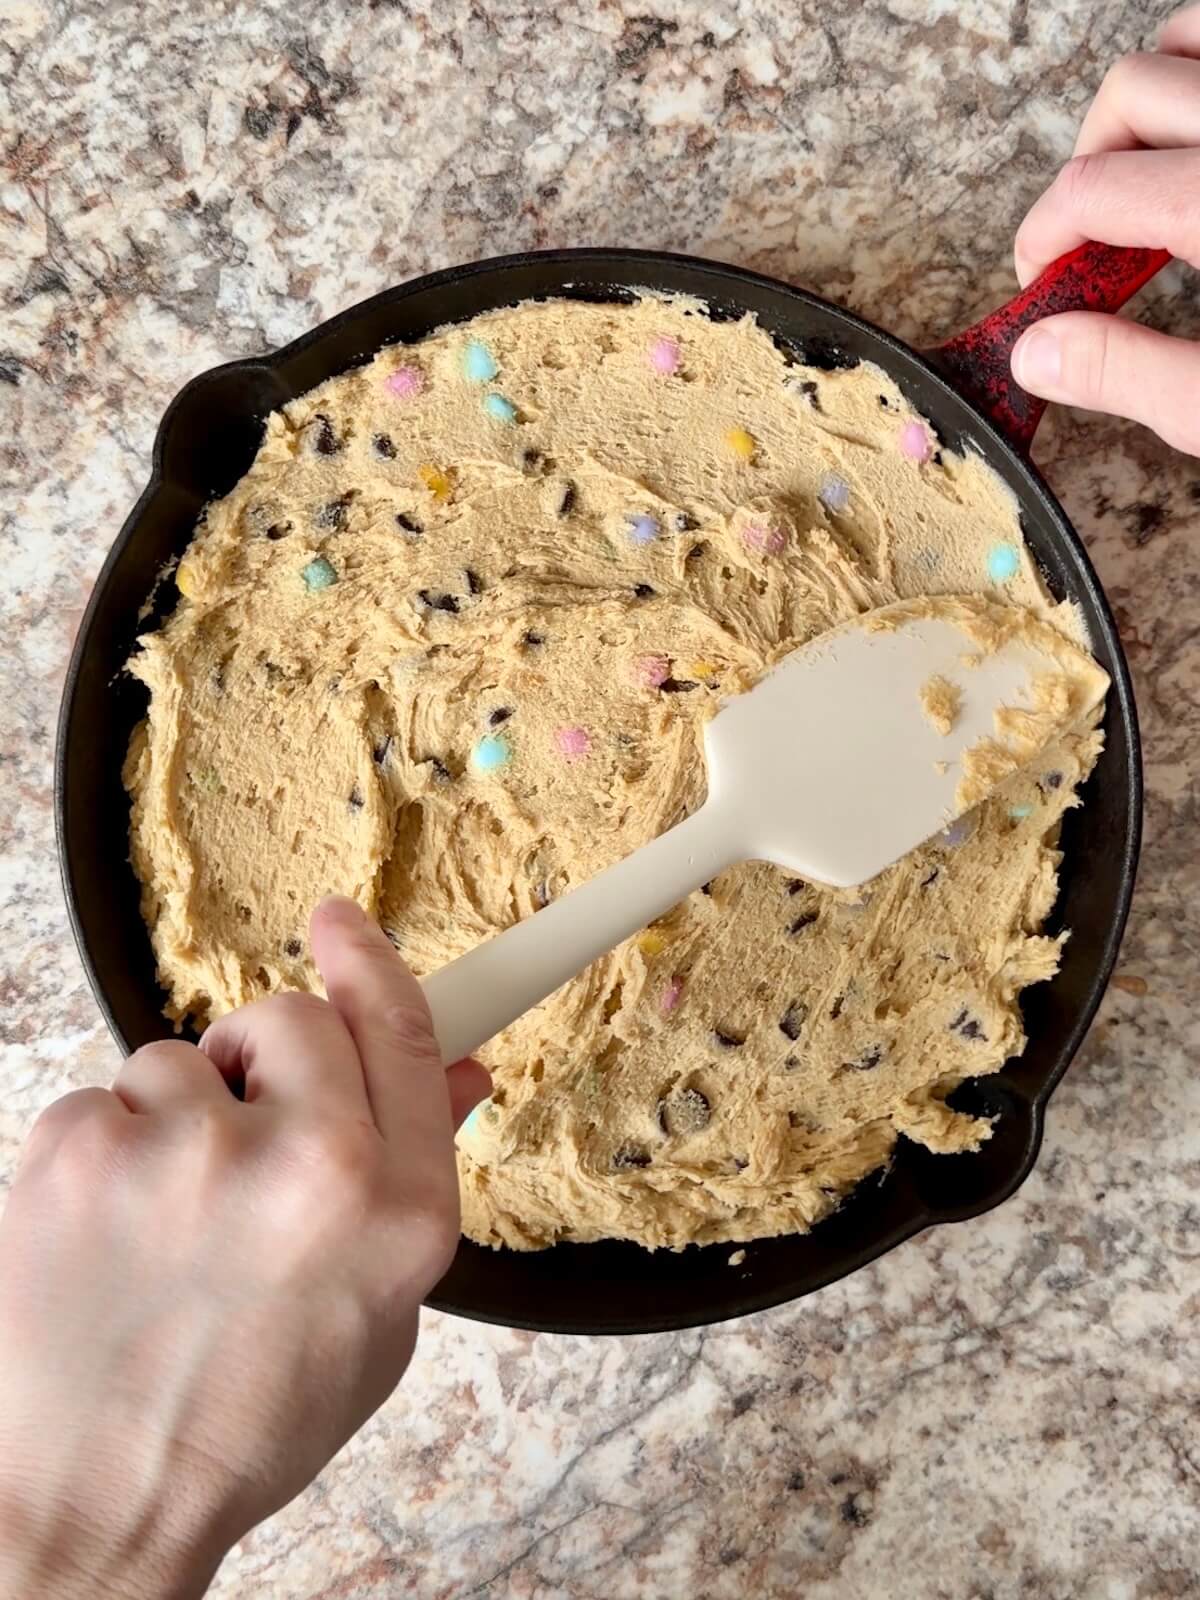
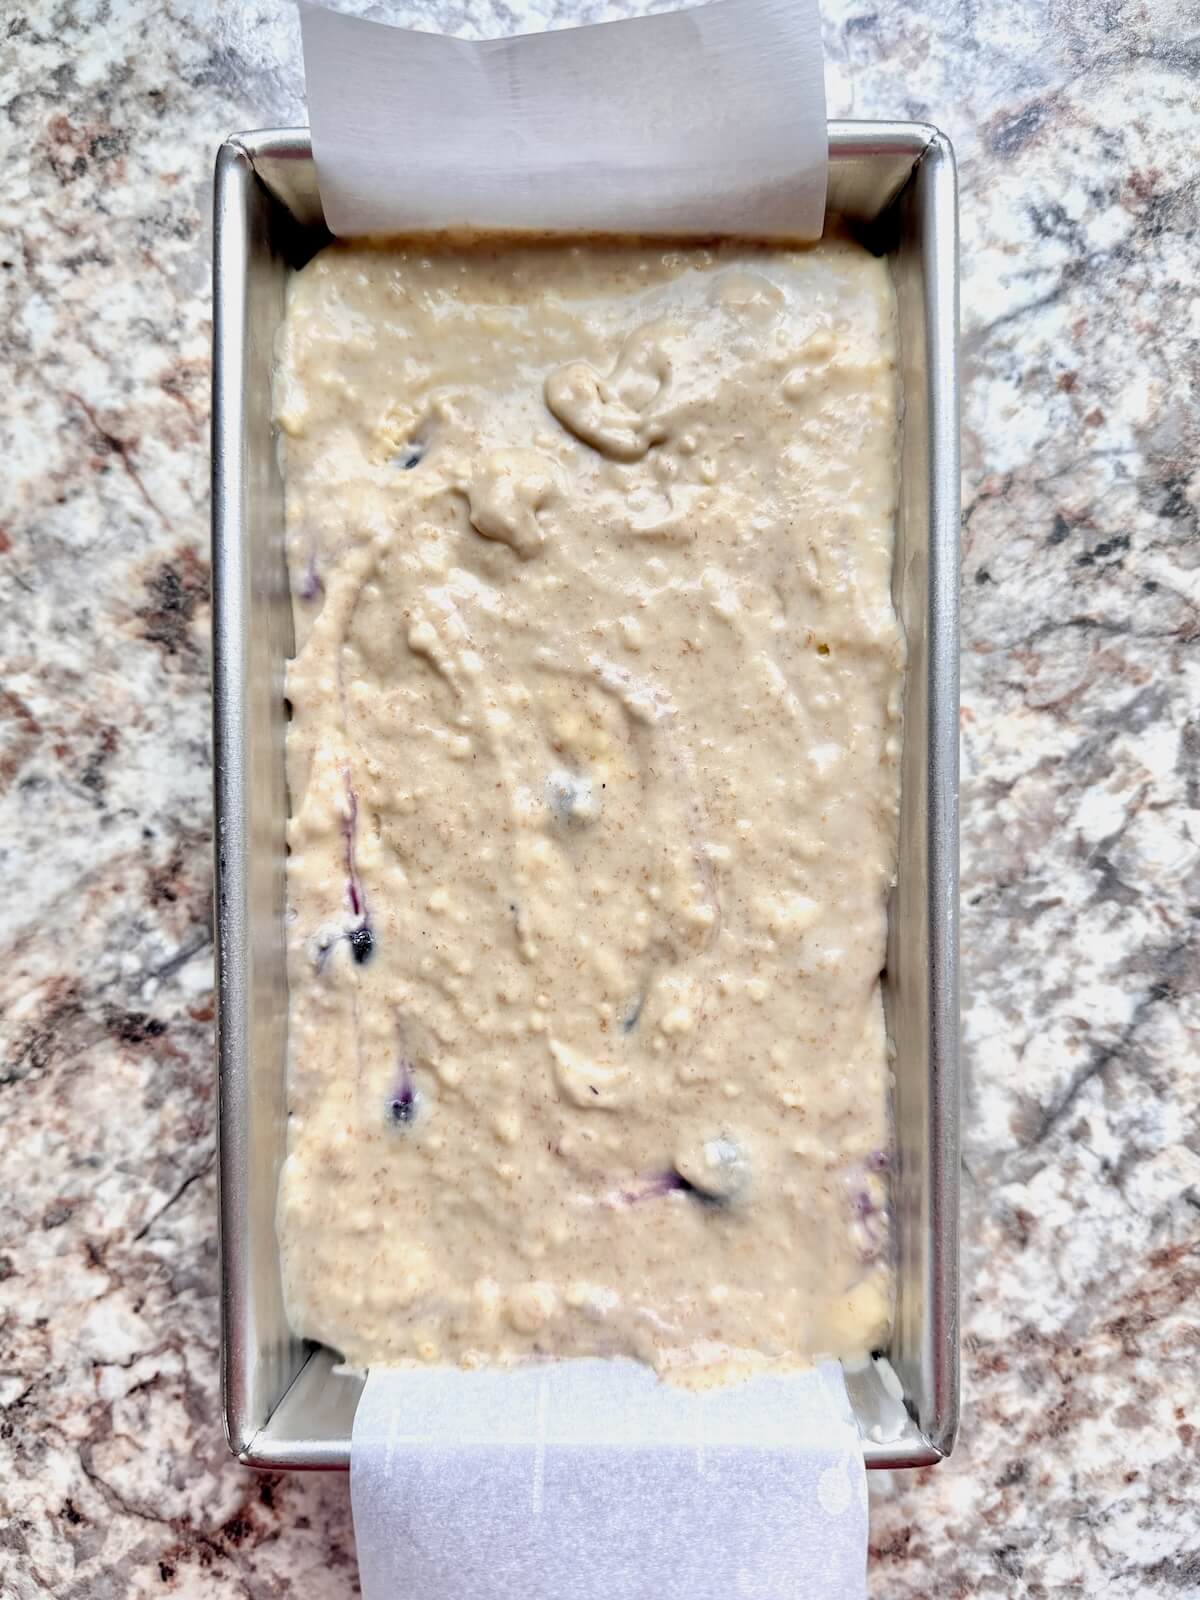
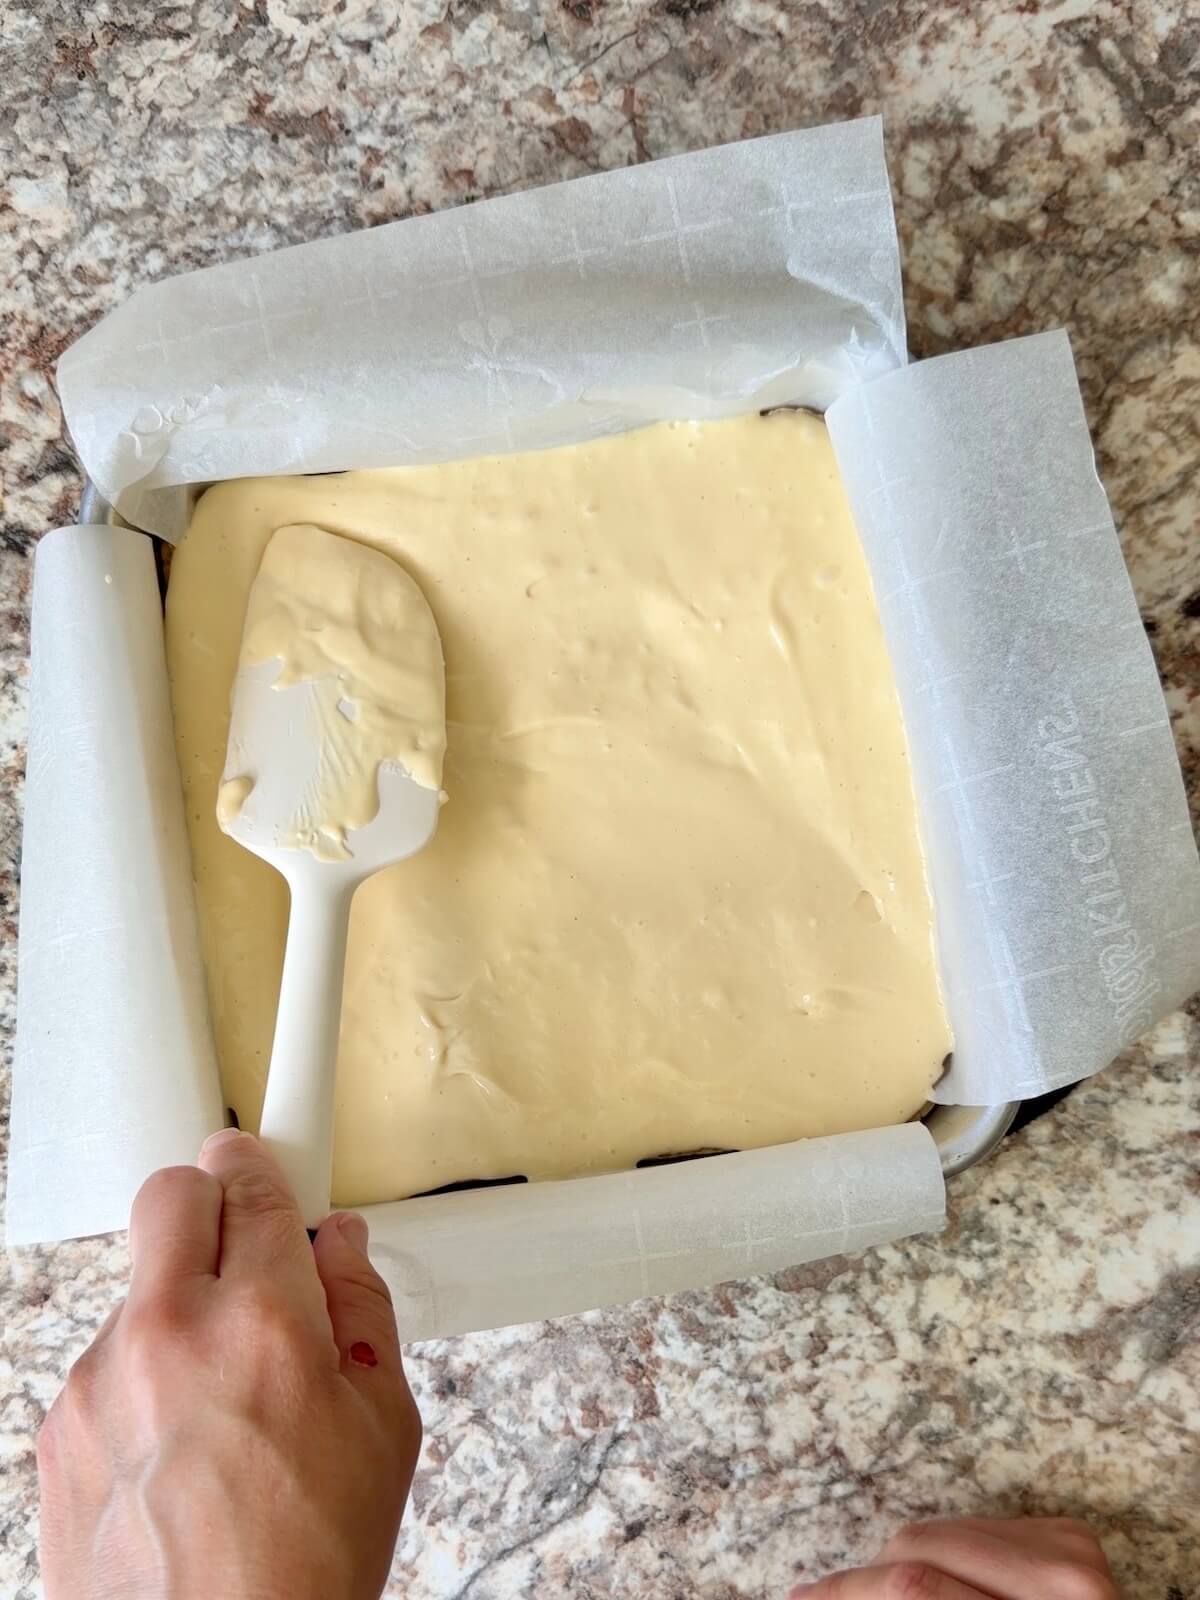
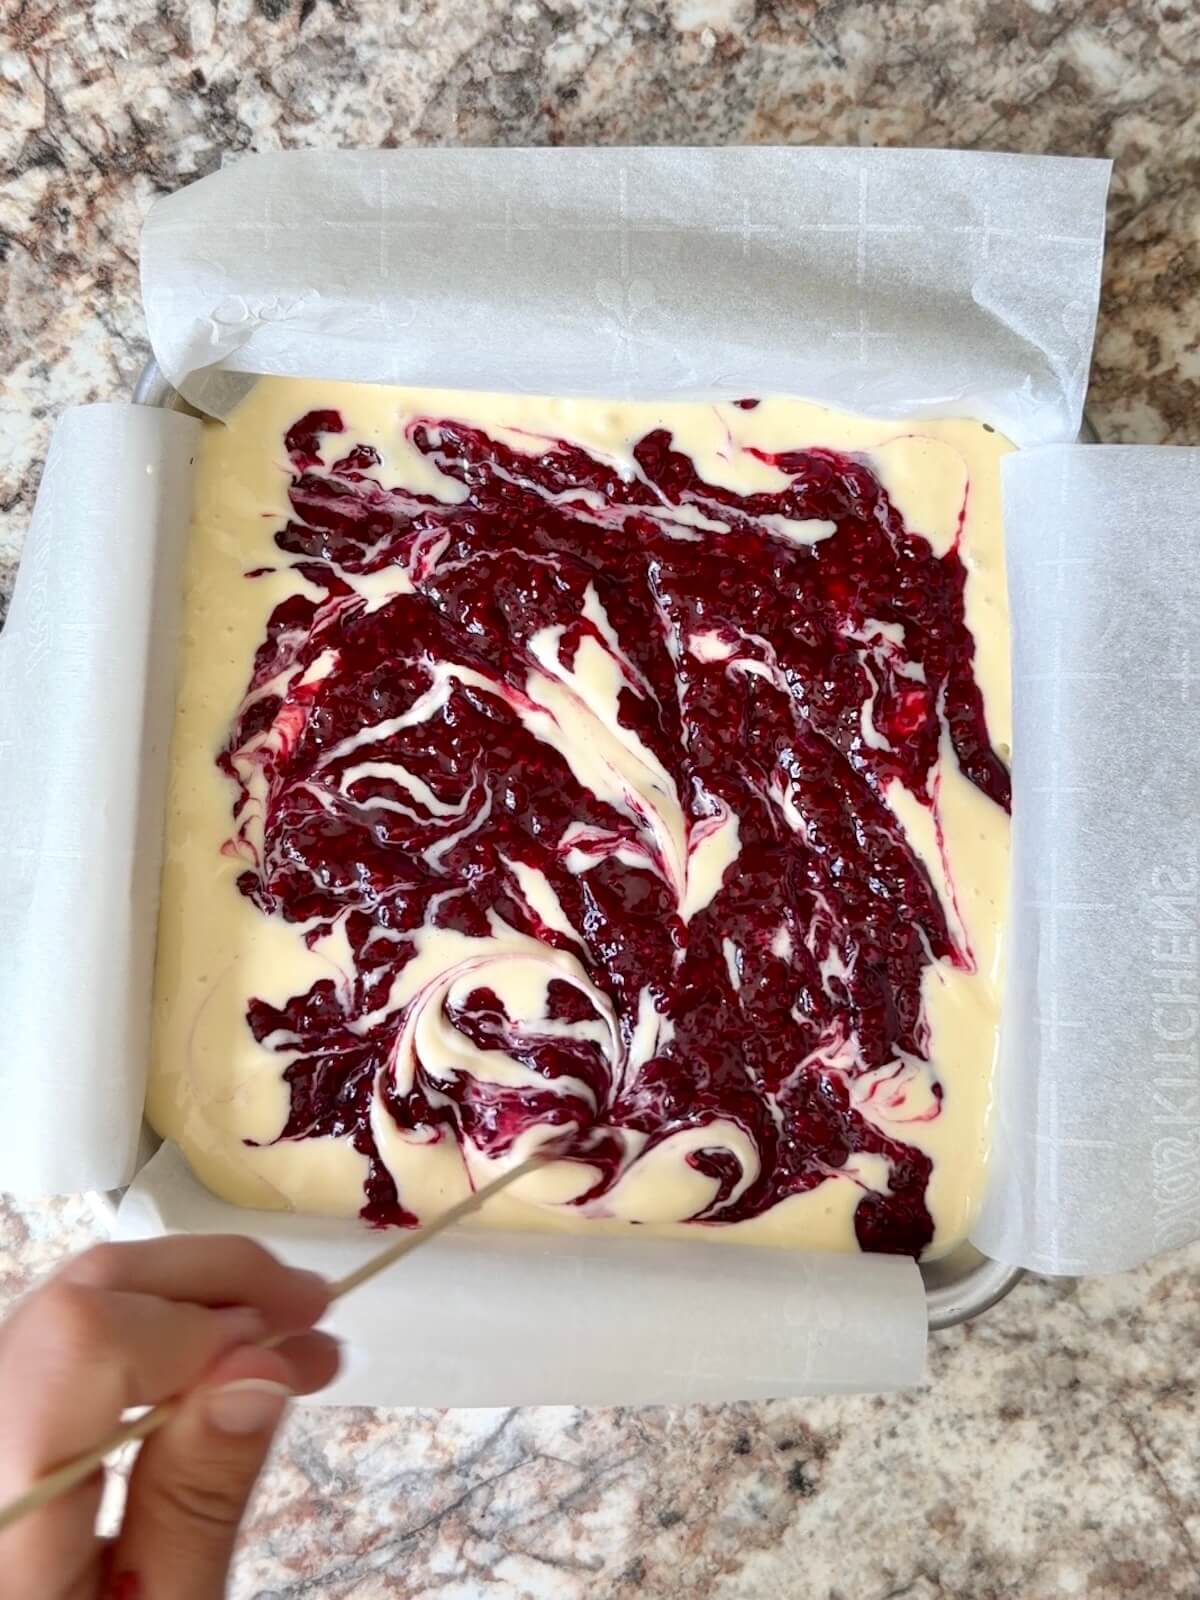
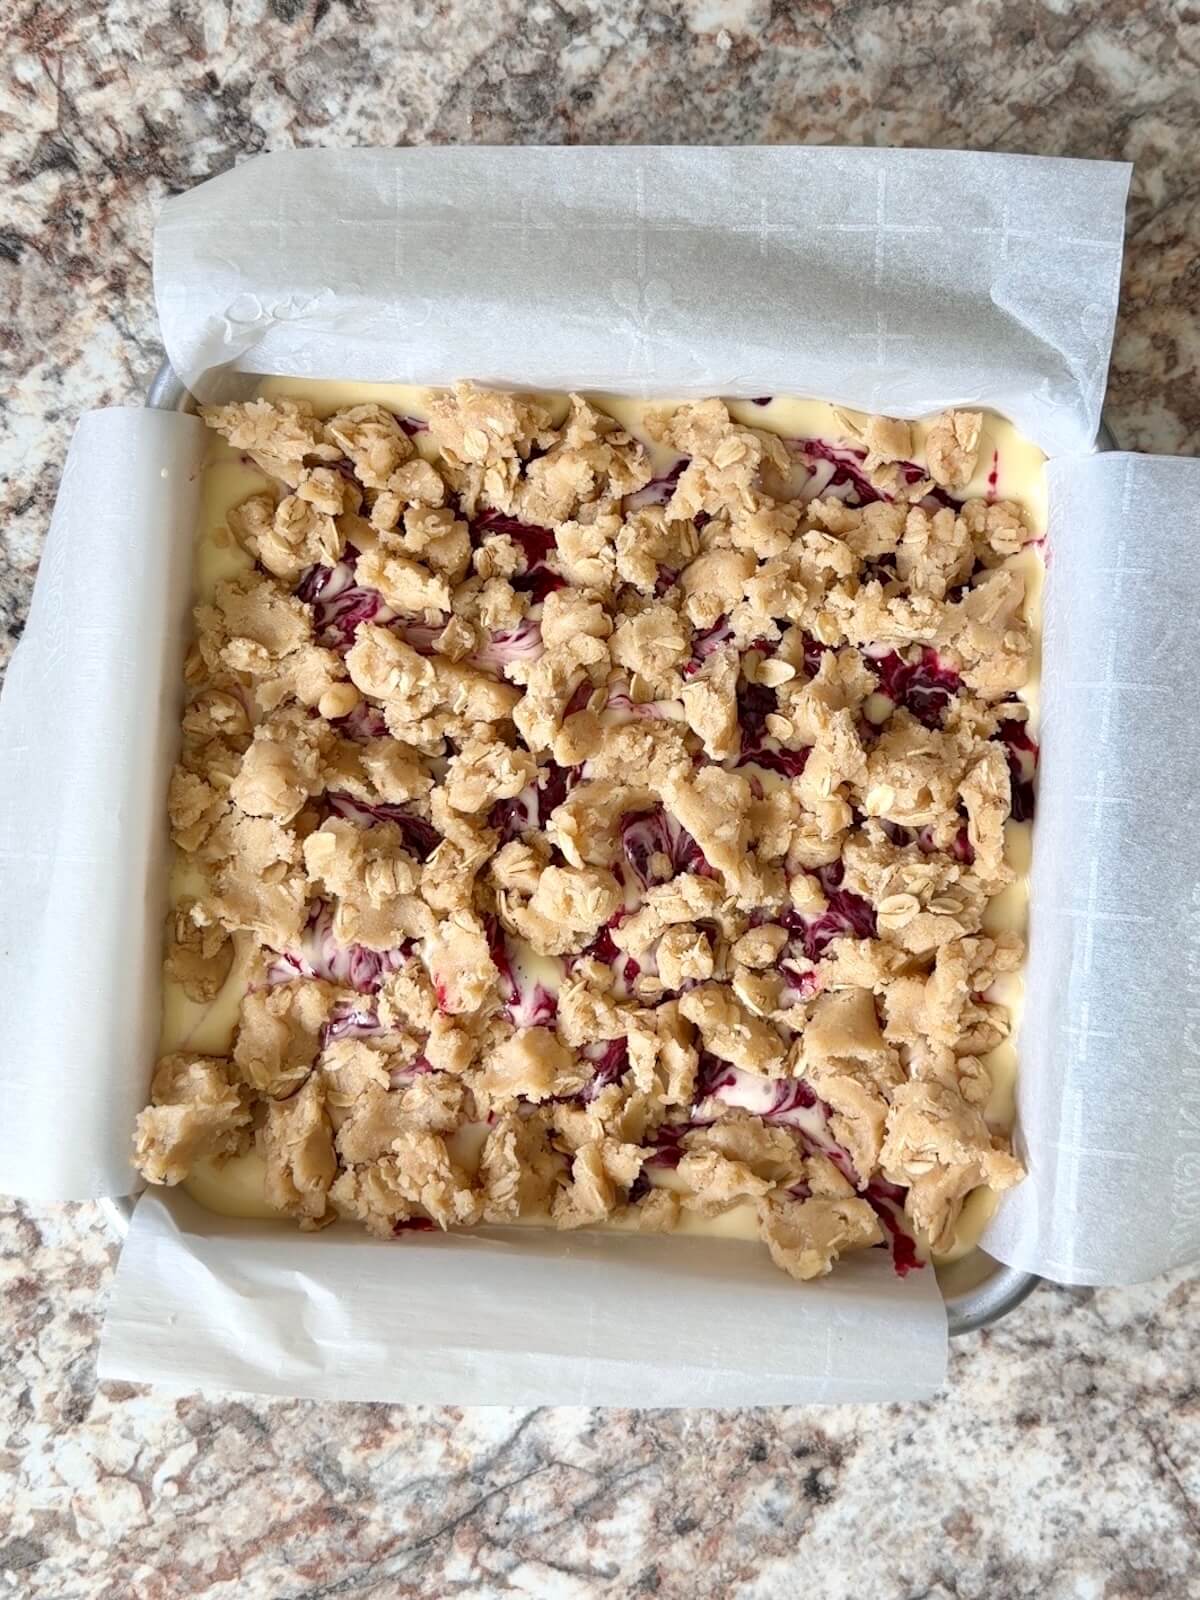
Step 4: Assemble. Spread cheesecake over crust, spoon raspberry sauce on top, and swirl gently. Sprinkle with reserved crumble.
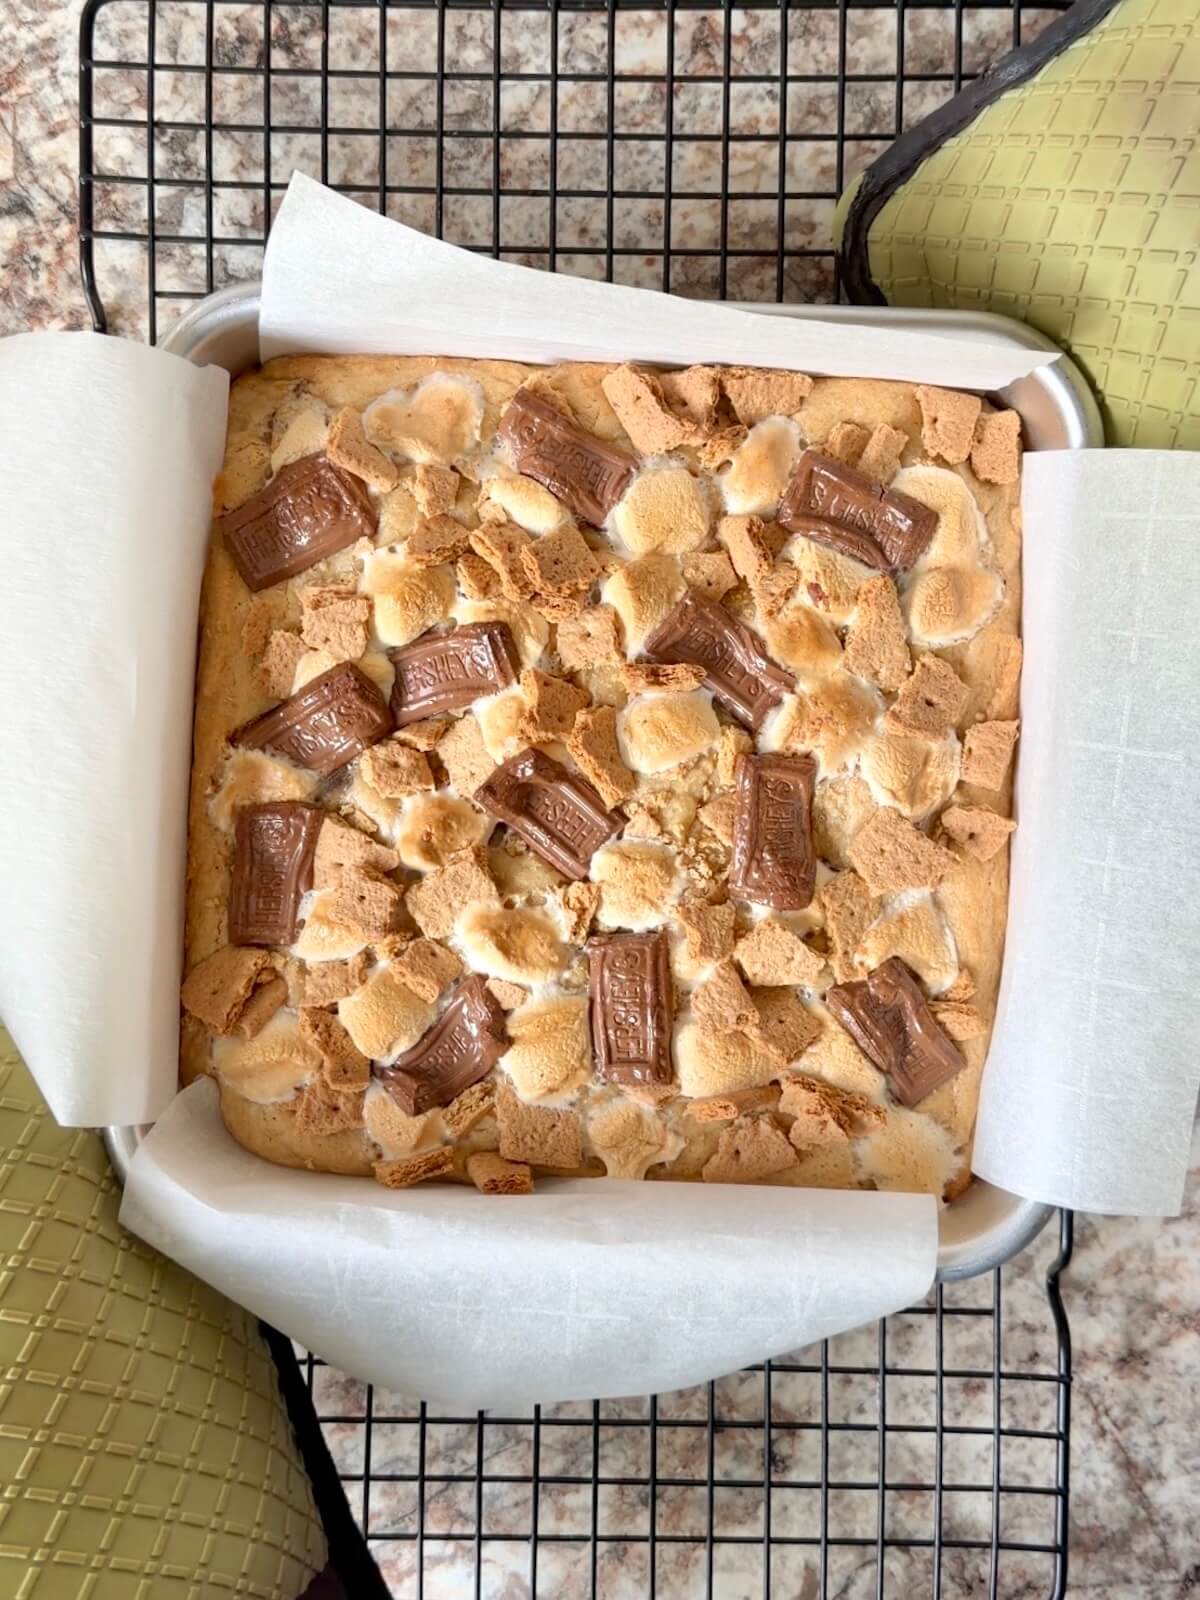
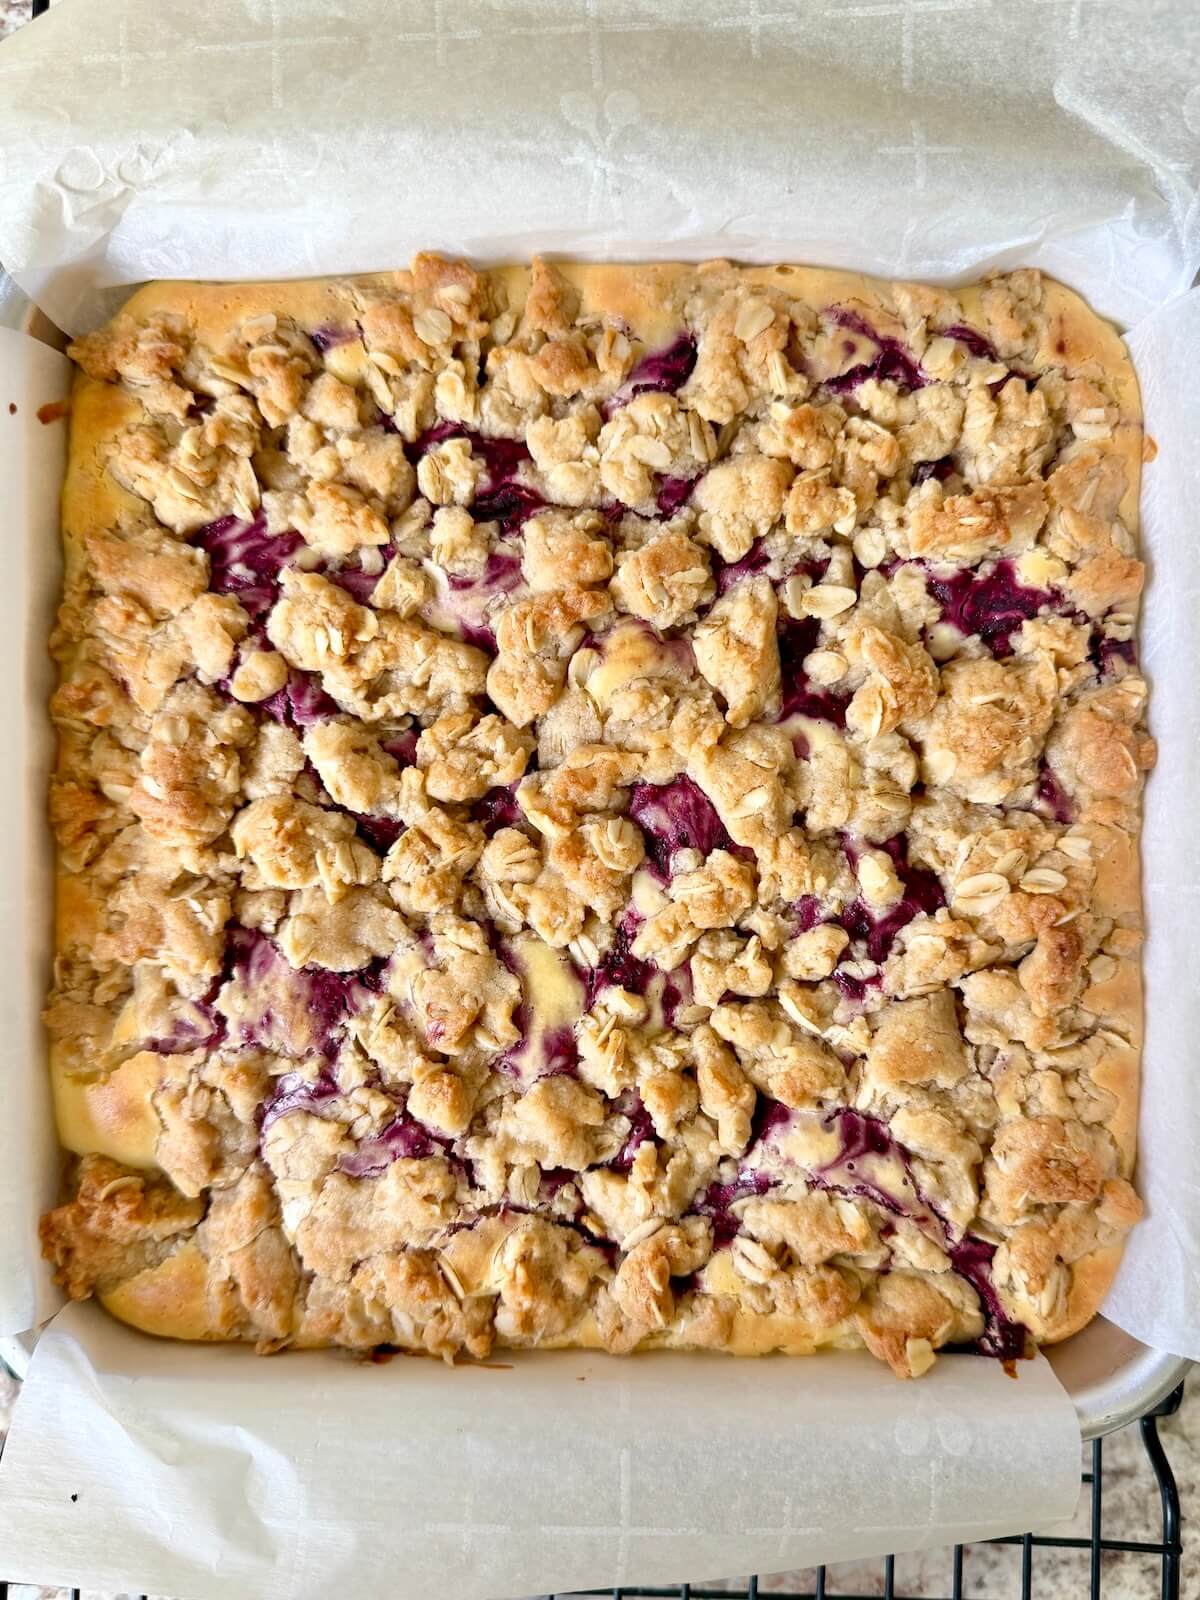
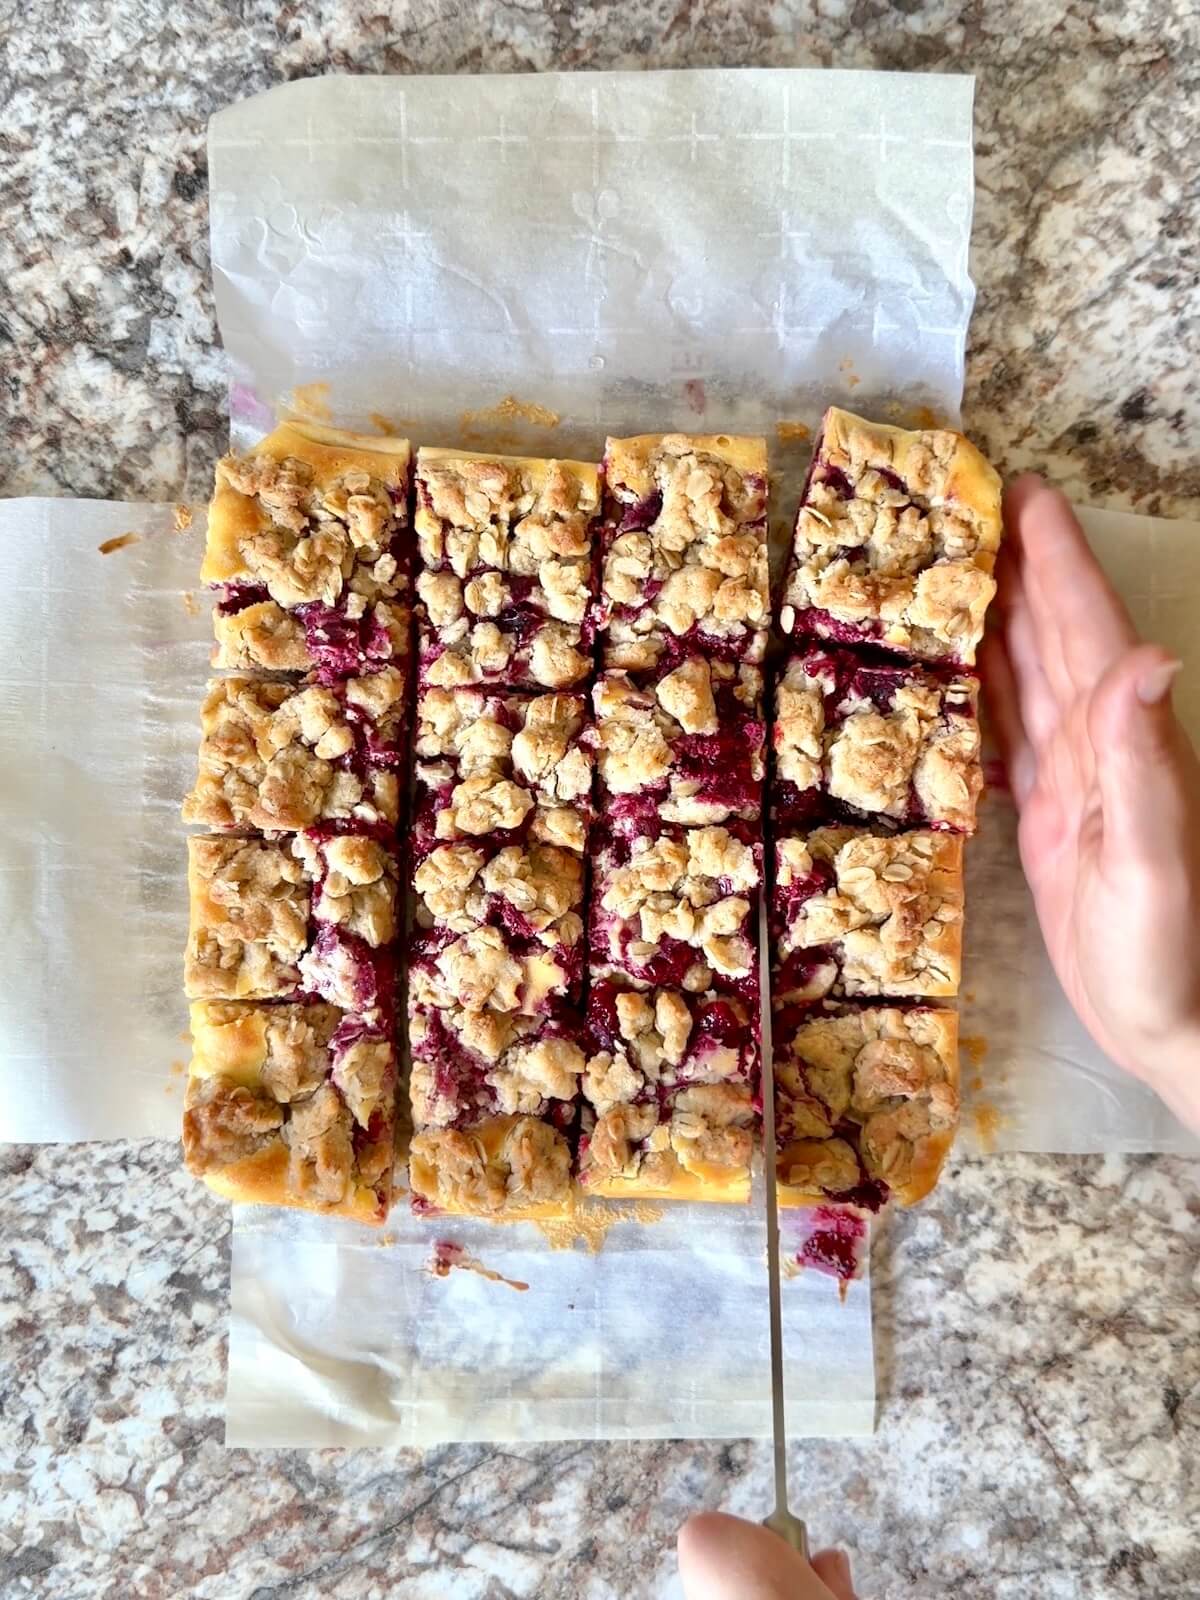
Step 5: Bake & cool. Bake at 350°F for 45–50 minutes until set with a slight jiggle in the center. Cool completely, then refrigerate before slicing into bars.
How to Store
Store sourdough raspberry cheesecake bars in an airtight container in the refrigerator for up to 4 days.
For longer storage, freeze in a freezer-safe container for up to 3 months. Thaw in the refrigerator before serving.

Are you tired of watching your sourdough discard go to waste?
It’s time to turn excess discard into something delicious with my new ebook - Everyday Sourdough!
Inside, you’ll find 27 tried-and-true sourdough discard recipes that will transform your leftover starter into mouthwatering creations your family and friends will love.
No more guilt about wasting your discard - with Everyday Sourdough, you have endless options to quickly make something amazing anytime.
Let's Connect!
Be sure to leave a comment below if you have any questions. You can also connect with me on Instagram, Facebook, Pinterest, or via email at [email protected].

📖 Recipe
Sourdough Raspberry Cheesecake Bars
Equipment
- Hand mixer or stand mixer
Ingredients
Crust & Crumble
- 1 cup (226 grams; 2 sticks) unsalted butter melted
- ½ cup (100 grams) granulated sugar
- ½ cup (100 grams) sourdough starter discard
- 1 teaspoon vanilla extract
- 2 cups (240 grams) all-purpose flour
- 1 cup (80 grams) rolled oats
- 1 teaspoon Diamond Crystal Kosher Salt reduce to ½ teaspoon if using Morton's brand or table salt
Raspberry Sauce
- 2 cups (280 grams) fresh or frozen raspberries may substitute with other berries
- ¼ cup (50 grams) granulated sugar
- 1 tablespoon lemon juice
- 1 tablespoon cornstarch
Cheesecake
- 8 ounces (226 grams) cream cheese softened
- ¼ cup (50 grams) granulated sugar
- 1 large egg
- 1 teaspoon vanilla extract
Instructions
- Preheat the oven to 350°F. Line an 8-inch square baking pan with parchment paper, leaving overhang on two sides for easy removal.
Make Crust & Crumble
- In a large bowl, whisk together the melted butter and sugar until smooth and slightly lighter in color. Whisk in the sourdough discard and vanilla. Add the flour, oats, and salt, then fold until a thick, crumbly dough forms.1 cup (226 grams; 2 sticks) unsalted butter, ½ cup (100 grams) granulated sugar, ½ cup (100 grams) sourdough starter discard, 1 teaspoon vanilla extract, 2 cups (240 grams) all-purpose flour, 1 cup (80 grams) rolled oats, 1 teaspoon Diamond Crystal Kosher Salt
- Reserve 1 cup of the crumble and refrigerate it for the topping. Press the remaining mixture firmly into the prepared pan. Bake for 15–20 minutes, or until set. Set aside to cool slightly.
Make Raspberry Sauce
- In a small saucepan over medium-low heat, combine raspberries and sugar. Cook, stirring and gently crushing the berries, until they break down and become syrupy, about 10 minutes.2 cups (280 grams) fresh or frozen raspberries, ¼ cup (50 grams) granulated sugar
- In a small bowl, whisk together the lemon juice and cornstarch. Remove the raspberry mixture from heat and stir in the cornstarch slurry. Continue stirring until thickened. Set aside to cool.1 tablespoon lemon juice, 1 tablespoon cornstarch
Make Cheesecake Filling
- In a medium bowl, beat the cream cheese and sugar until smooth. Add the egg and vanilla and mix until fully combined and creamy.8 ounces (226 grams) cream cheese, ¼ cup (50 grams) granulated sugar, 1 large egg, 1 teaspoon vanilla extract
Assemble and Bake
- Pour the cheesecake mixture over the partially baked crust and spread evenly. Spoon the raspberry sauce over the top and swirl gently with a knife or toothpick. Sprinkle the reserved crumble evenly over the top.
- Bake for 45–50 minutes, or until the top is golden and the center is just slightly jiggly.
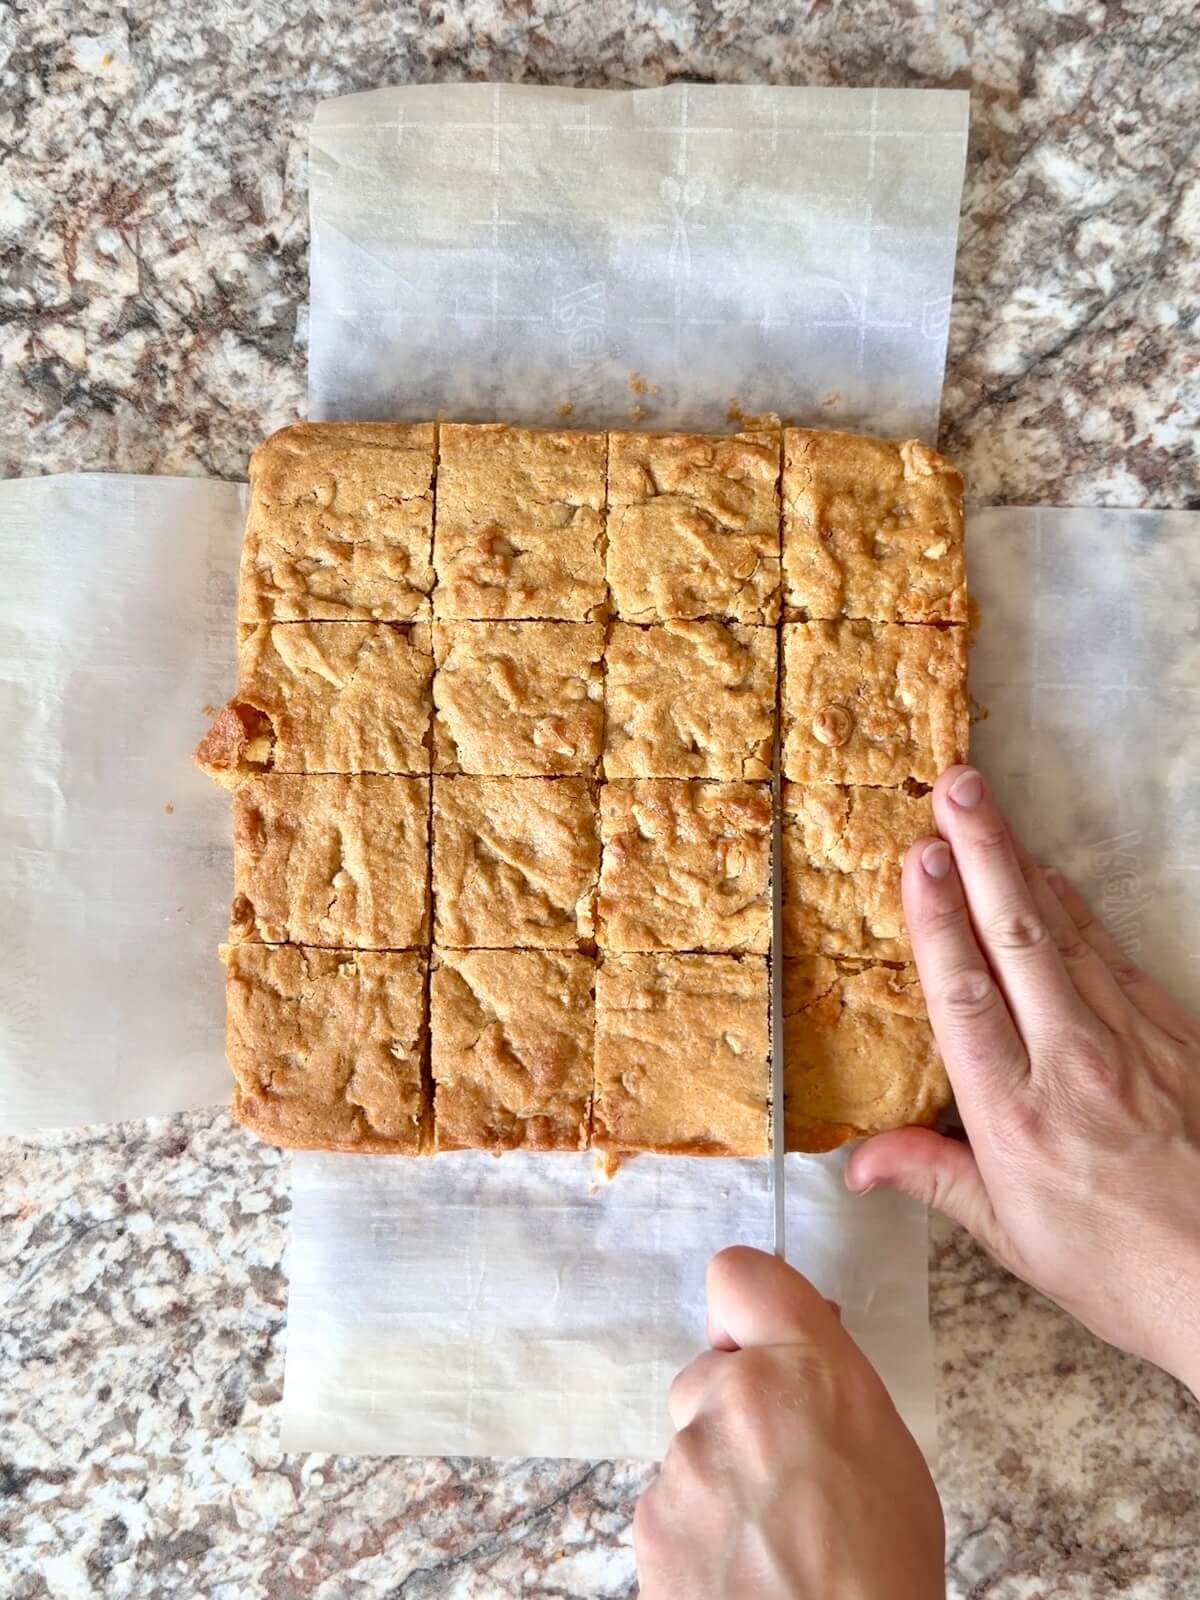
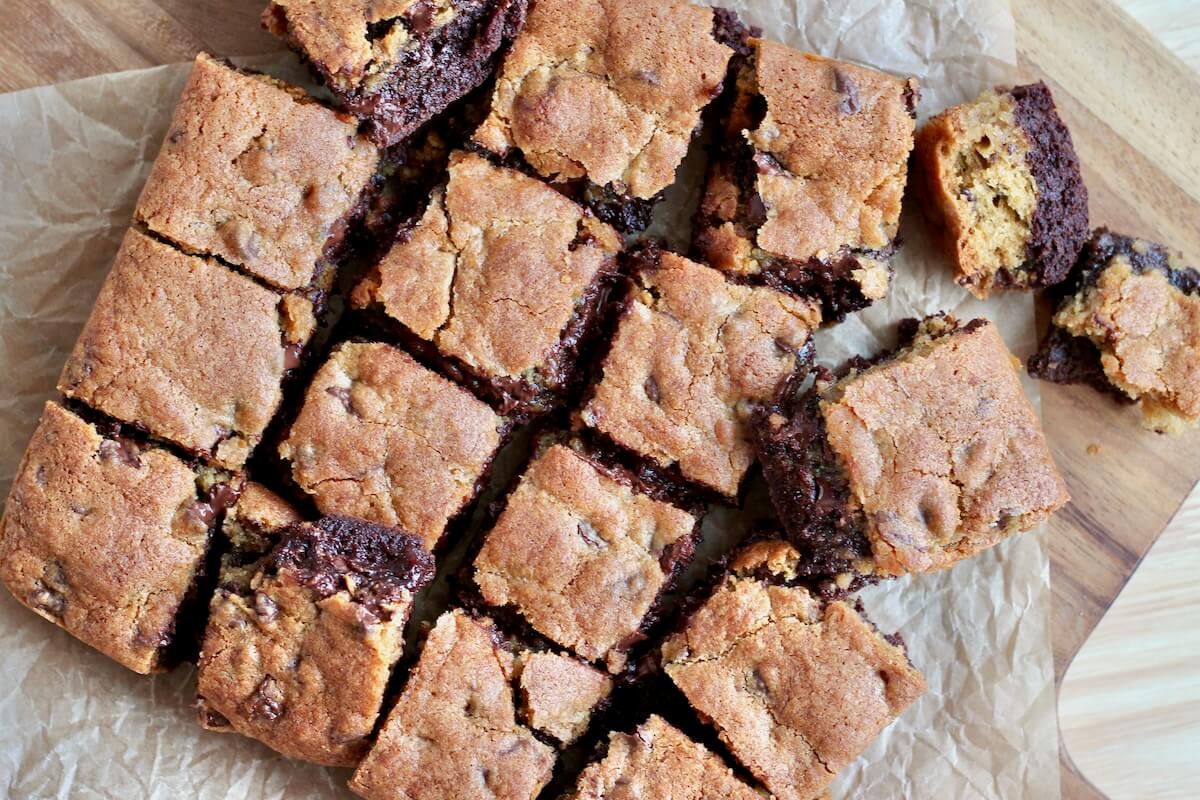
- Cool completely in the pan, then refrigerate before slicing into 16 bars for clean cuts.
Notes
- Storage: Store bars in an airtight container in the refrigerator for up to 4 days or freeze for up to 3 months.