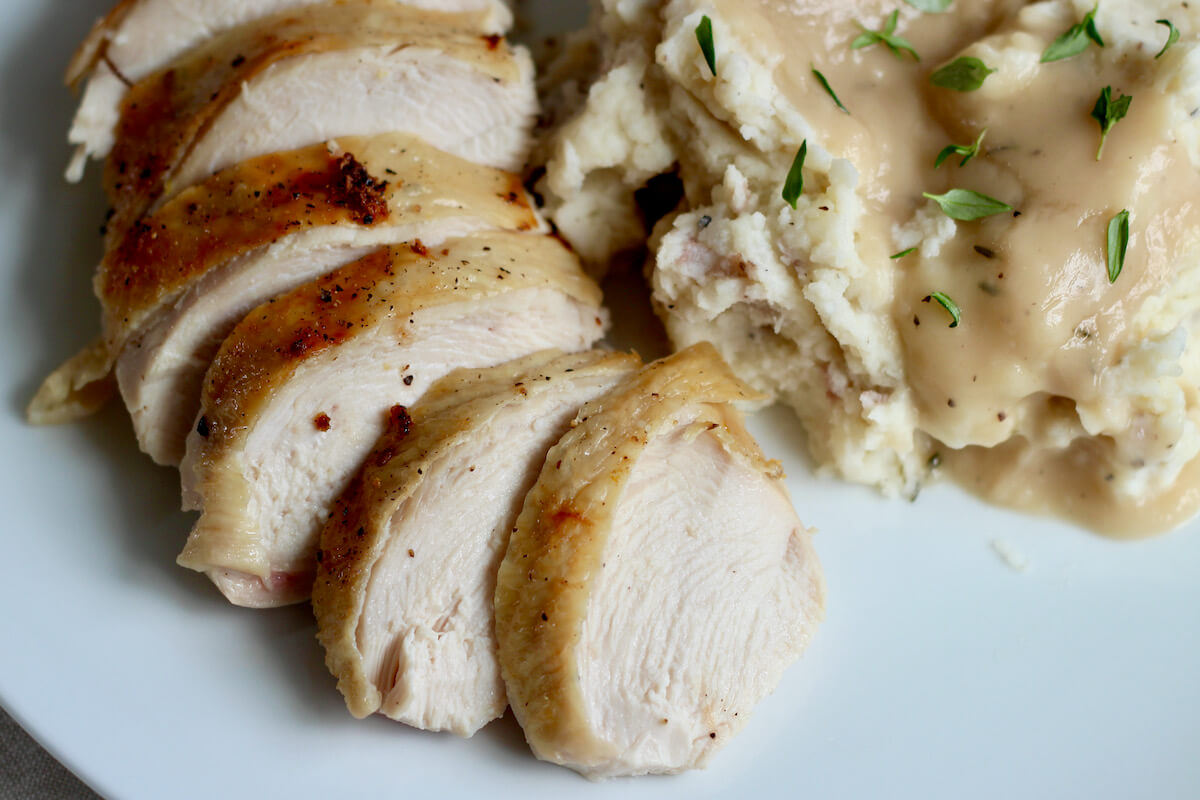
This Dry Brined Chicken is the most tender, juicy, and flavorful whole roasted chicken you’ll ever try. Brined for 24 hours in a lemon-garlic salt rub, this easy chicken recipe will change your roast chicken game forever.
If you’ve never tried dry brining chicken before, you’re not alone. It’s a technique that isn’t often used by home cooks, but it absolutely should be!
It’s no secret that roasted chicken can be hard to get just right. If your chicken often comes out dry, bland, and boring, give dry brining a try.
Dry brining is my secret to making the juiciest, most flavorful roasted chicken every single time. And the best part? This easy technique only takes 10 minutes of preparation.
In this recipe, we brine the chicken for 24 hours, then roast it low and slow. The result is perfectly cooked, moist chicken meat and crispy chicken skin.
Today, I’m walking you through how to make the best dry brined chicken, including which ingredients to use, tips that will guarantee your chicken turns out right the first time, and some of my favorite side dishes to serve with this easy roasted chicken recipe.
Disclaimer: Some links throughout this post are affiliate links. As an Amazon Associate, I earn from qualifying purchases. You can learn more by visiting my Affiliate Disclosure Page.
What is a Dry Brine?
Dry brining is the process of thoroughly salting meat with a salt rub for several hours, up to several days, before cooking. The most basic dry brine recipe for chicken consists of just kosher salt, but you can also add other ingredients for more flavor.
While dry brining is similar to wet brining, a technique in which you soak the meat in a liquid salt solution, I prefer to dry brine chicken for ease and convenience.
Why Dry Brine Chicken?
Brining helps with two very important things: flavor and moisture.
- Flavor- When you brine chicken, the salt on the meat's surface draws water out. Then, as the salt dissolves, both the water and the salt are drawn back into the meat. The result is a deeply flavorful, well-seasoned bird.
- Moisture- As the salt is drawn into the meat, it also breaks down protein in the muscle fibers. Doing so allows the muscle fibers to hold onto more water as they cook, leading to juicy, tender chicken.
Is a Dry Brine or a Wet Brine Better?
While opinions may differ on which brining method is better, I find that dry brining has several benefits.
Firstly, dry brining leads to better browning as the skin isn't soaked in a salt solution. The meat also retains more flavor because it isn't waterlogged. Finally, dry brining is more convenient because it takes up less space in the refrigerator.
Why You'll Love This Recipe
- Flavorful- The lemon garlic seasoning penetrates all the way through the meat for the most flavorful chicken ever.
- Tender & Juicy- Dry brining helps the chicken retain its natural juices, resulting in moist and tender meat.
- Crispy Skin- Air drying the chicken in the refrigerator allows the skin to dry out, resulting in crispy and golden brown skin when roasted.
- Easy to Make- With just a few minutes of prep and a few simple ingredients, you can easily make the best roasted chicken you’ll ever taste.
- No Special Equipment- Just a roasting pan and some butcher’s twine are all you need to make this easy dry brined chicken.
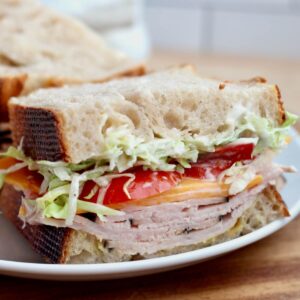
- Great for Meal Prep- Leftover roasted chicken can be used for various meals throughout the week, such as sandwiches, salads, or pasta dishes.
- Flexibility- The convenience of being able to brine the chicken up to 72 hours in advance gives you the freedom to cook dinner according to your schedule.
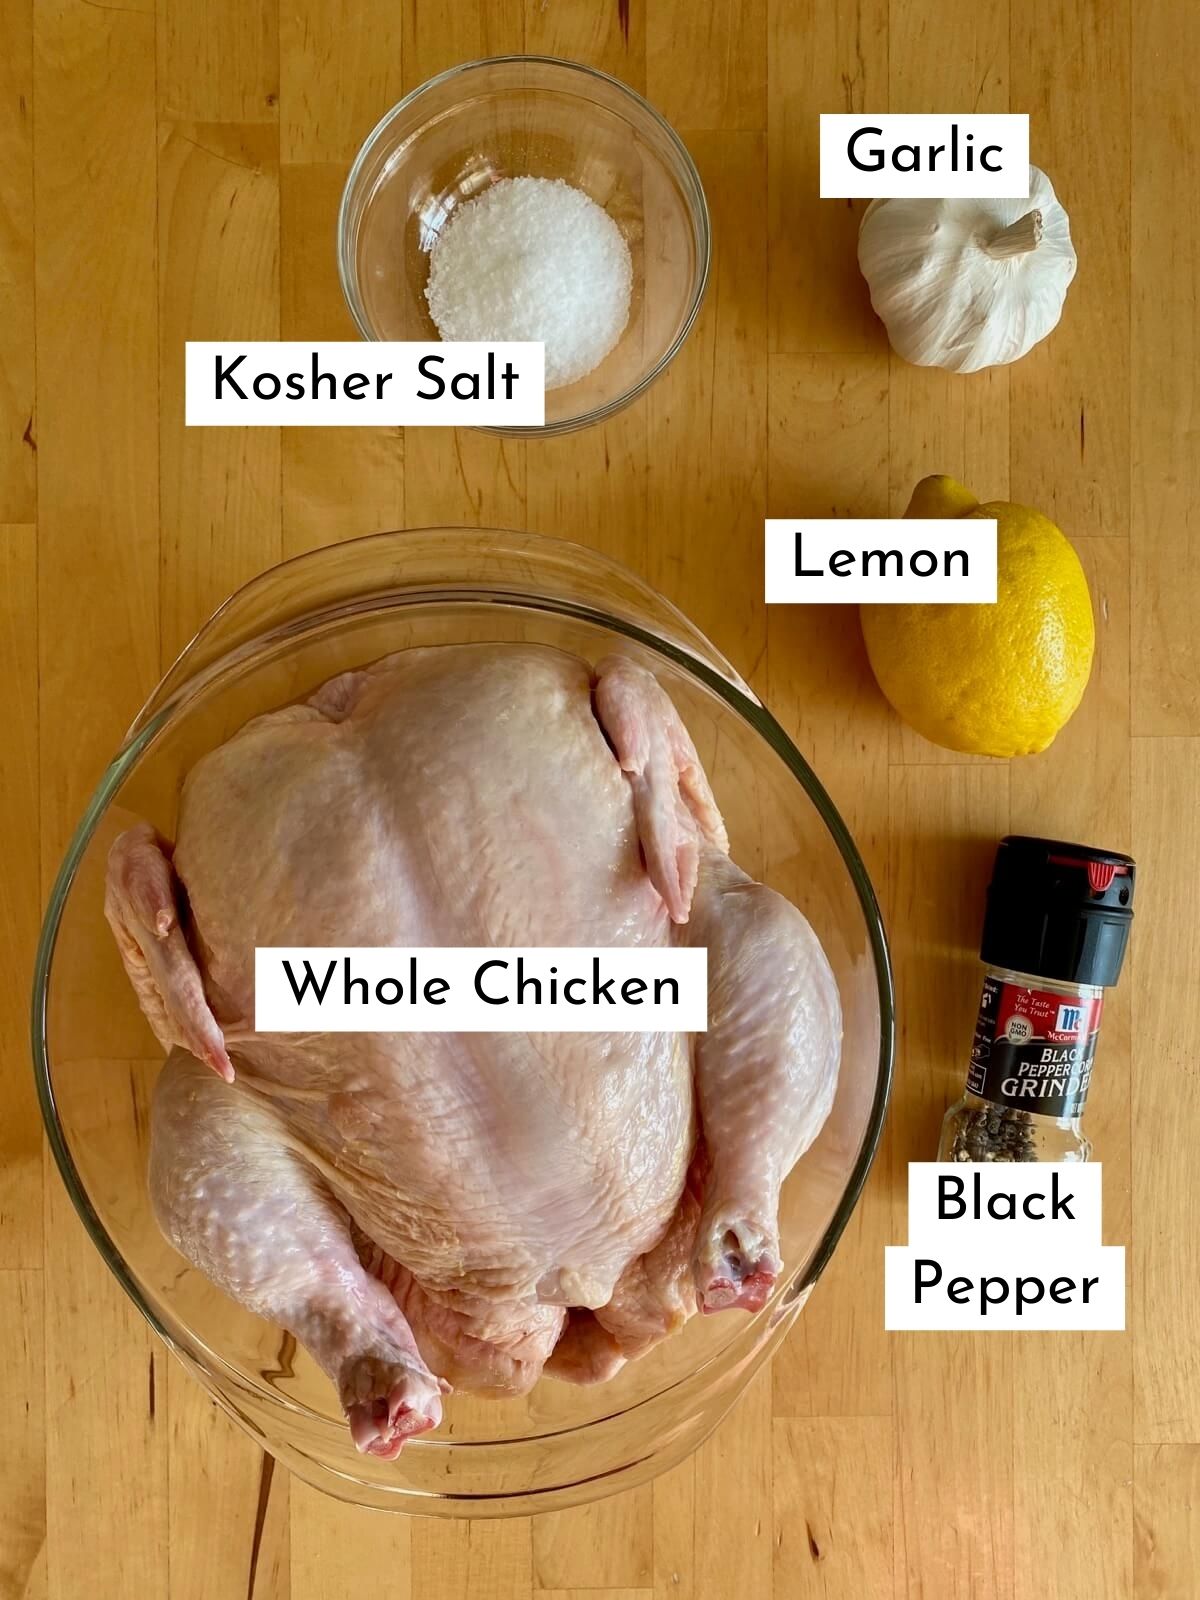
Ingredient Notes
Here are some notes on key ingredients. For a full list of ingredients, check out the recipe card below.
- Whole Chicken- Choose a fresh, high-quality whole chicken that weighs about 4 to 5 pounds.
- Kosher Salt- In general, you'll need about 1-2 tablespoons of kosher salt for every 5 pounds of chicken.
- Lemon Zest- Lemon zest adds a bright, citrusy flavor to the dry brine. Be sure to avoid the bitter white pith when zesting the lemon.
- Garlic- Grating the garlic cloves helps distribute the garlic flavor more evenly in the salt brine.
- Black Pepper- Use freshly ground black pepper for the best flavor.
- Lemon & Garlic- Save the zested lemon and a few garlic cloves for stuffing inside the cavity of the chicken before roasting. Stuffing the chicken with aromatics adds flavor and moisture.
🌱 Sustainability Tip: Opt for an organic, free-range, or locally-sourced whole chicken to support sustainable farming practices and reduce environmental impact.
Substitutions and Variations
Here are a few ways you can try customizing this dry brined roasted chicken recipe to fit your diet and taste preferences.
Substitutions
- Whole Chicken- Substitute chicken parts, like split chicken breasts, bone-in chicken thighs, or chicken drumsticks, for whole chicken if preferred. Adjust the cook time accordingly.
- Kosher Salt- Swap kosher salt for coarse sea salt or pink Himalayan salt. If your only option is table salt, reduce the amount to one tablespoon.
- Lemon Zest- Use orange zest or lime zest in place of lemon zest.
- Garlic- Replace freshly grated garlic with ½ teaspoon of garlic powder.
- Black Pepper- Omit the black pepper or use red pepper flakes for a spicy kick.
- Lemon & Garlic- Fresh herbs, onions, and apples can be substituted for lemon and garlic when stuffing the chicken.
Variations
- Herbed- Add fresh herbs like rosemary, thyme, or sage to the dry brine mixture for an aromatic twist.
- Spices- Get creative by adding your favorite spices to the dry brine. Try chili powder, cumin, smoked paprika, or cayenne pepper for a warm, smoky flavor.
- Cranberry-Orange- Swap the lemon zest for orange zest and add chopped fresh cranberries to the brine for a seasonal flavor that is perfect for the holidays.
- Mediterranean- Use Mediterranean herbs like oregano, basil, and thyme in the dry brine.
- Curry- Create a curry-inspired dry brine with spices like cumin, coriander, turmeric, curry powder, and garam masala.
Equipment Notes
Here are some notes on any special equipment I used to make this recipe.
- Roasting Pan with Rack- A roasting rack elevates the chicken, allowing heat to circulate for even cooking and crispier skin. If you don't have a roasting rack, you can improvise with a wire rack placed on a baking sheet.
- Butcher’s Twine- Trussing the chicken with twine helps the bird cook more evenly.
- Meat Thermometer- A meat thermometer ensures your chicken is perfectly cooked to 165°. Insert the thermometer away from the bone to get an accurate reading.
- Cutting Board & Carving Knife- A sturdy cutting board and sharp knife make the carving process easier and safer.
How to Dry Brine Chicken
Here is how to dry brine and roast a whole chicken.
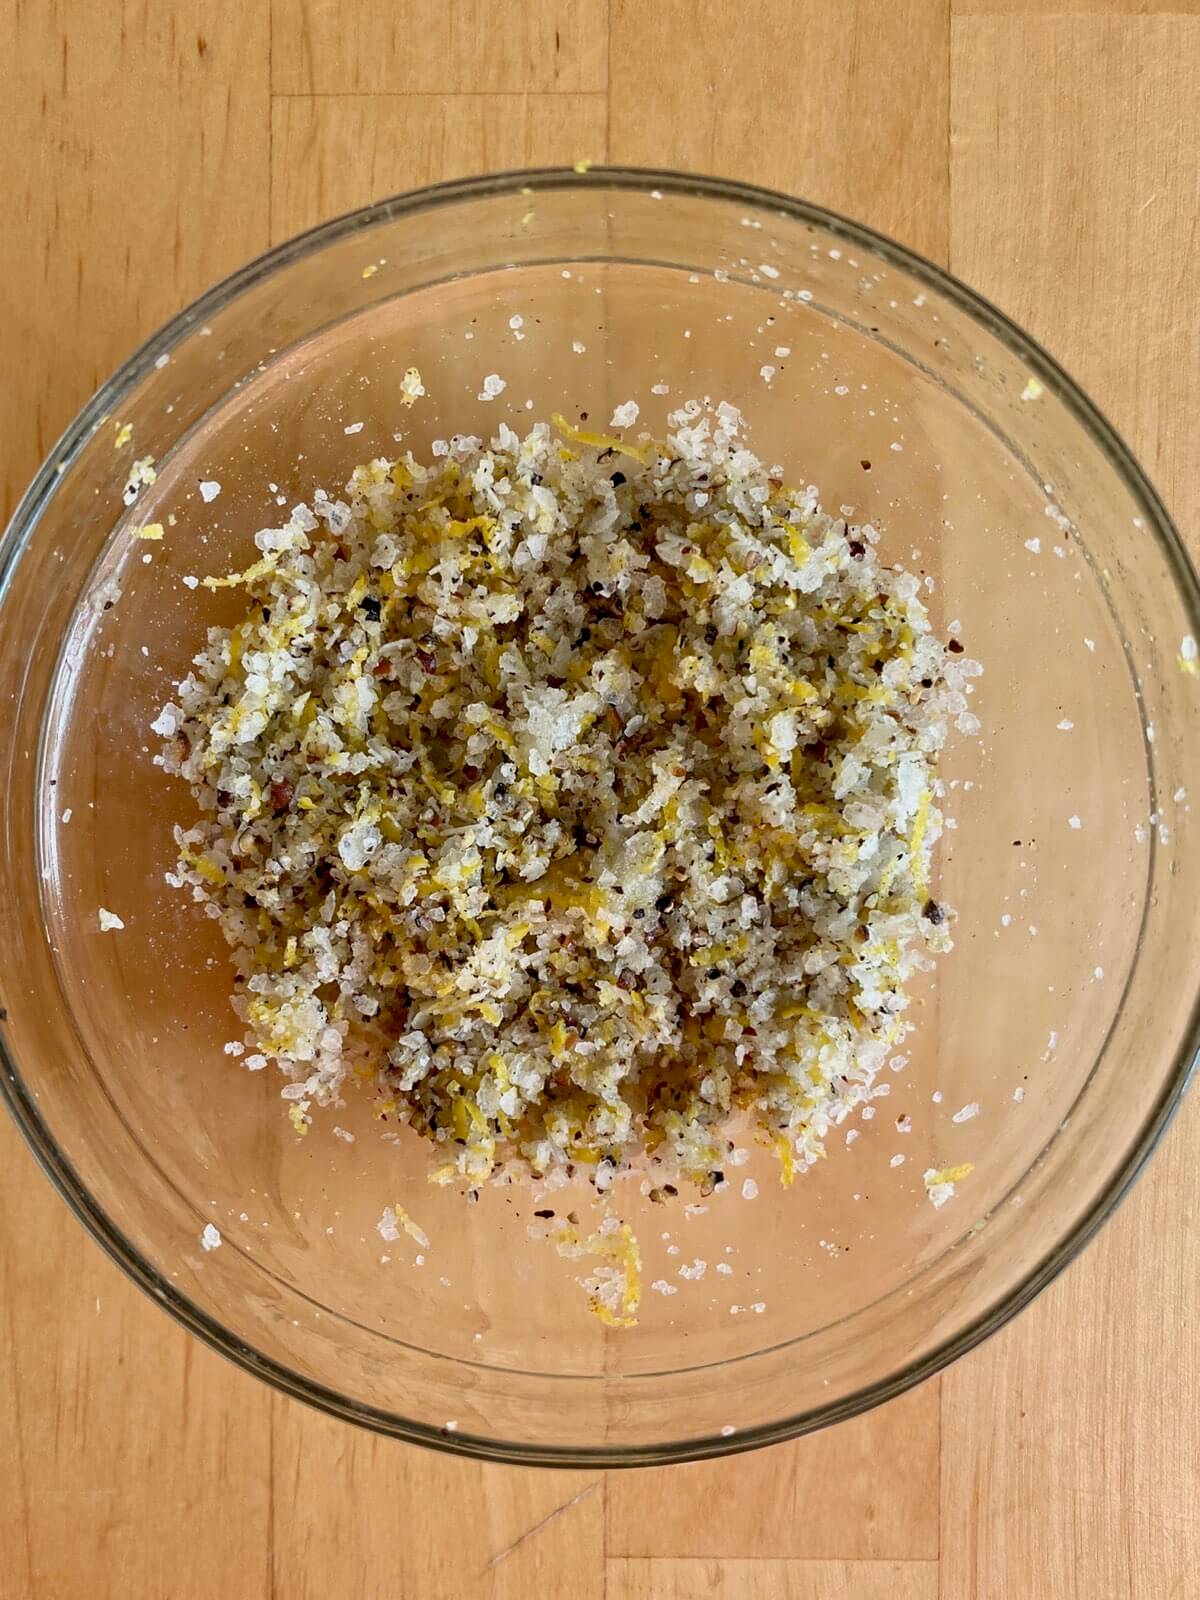
Step 1: Mix the dry brine. In a small bowl, combine the kosher salt, black pepper, lemon zest, and grated garlic. Save the lemon and a few garlic cloves to stuff the chicken with before roasting.
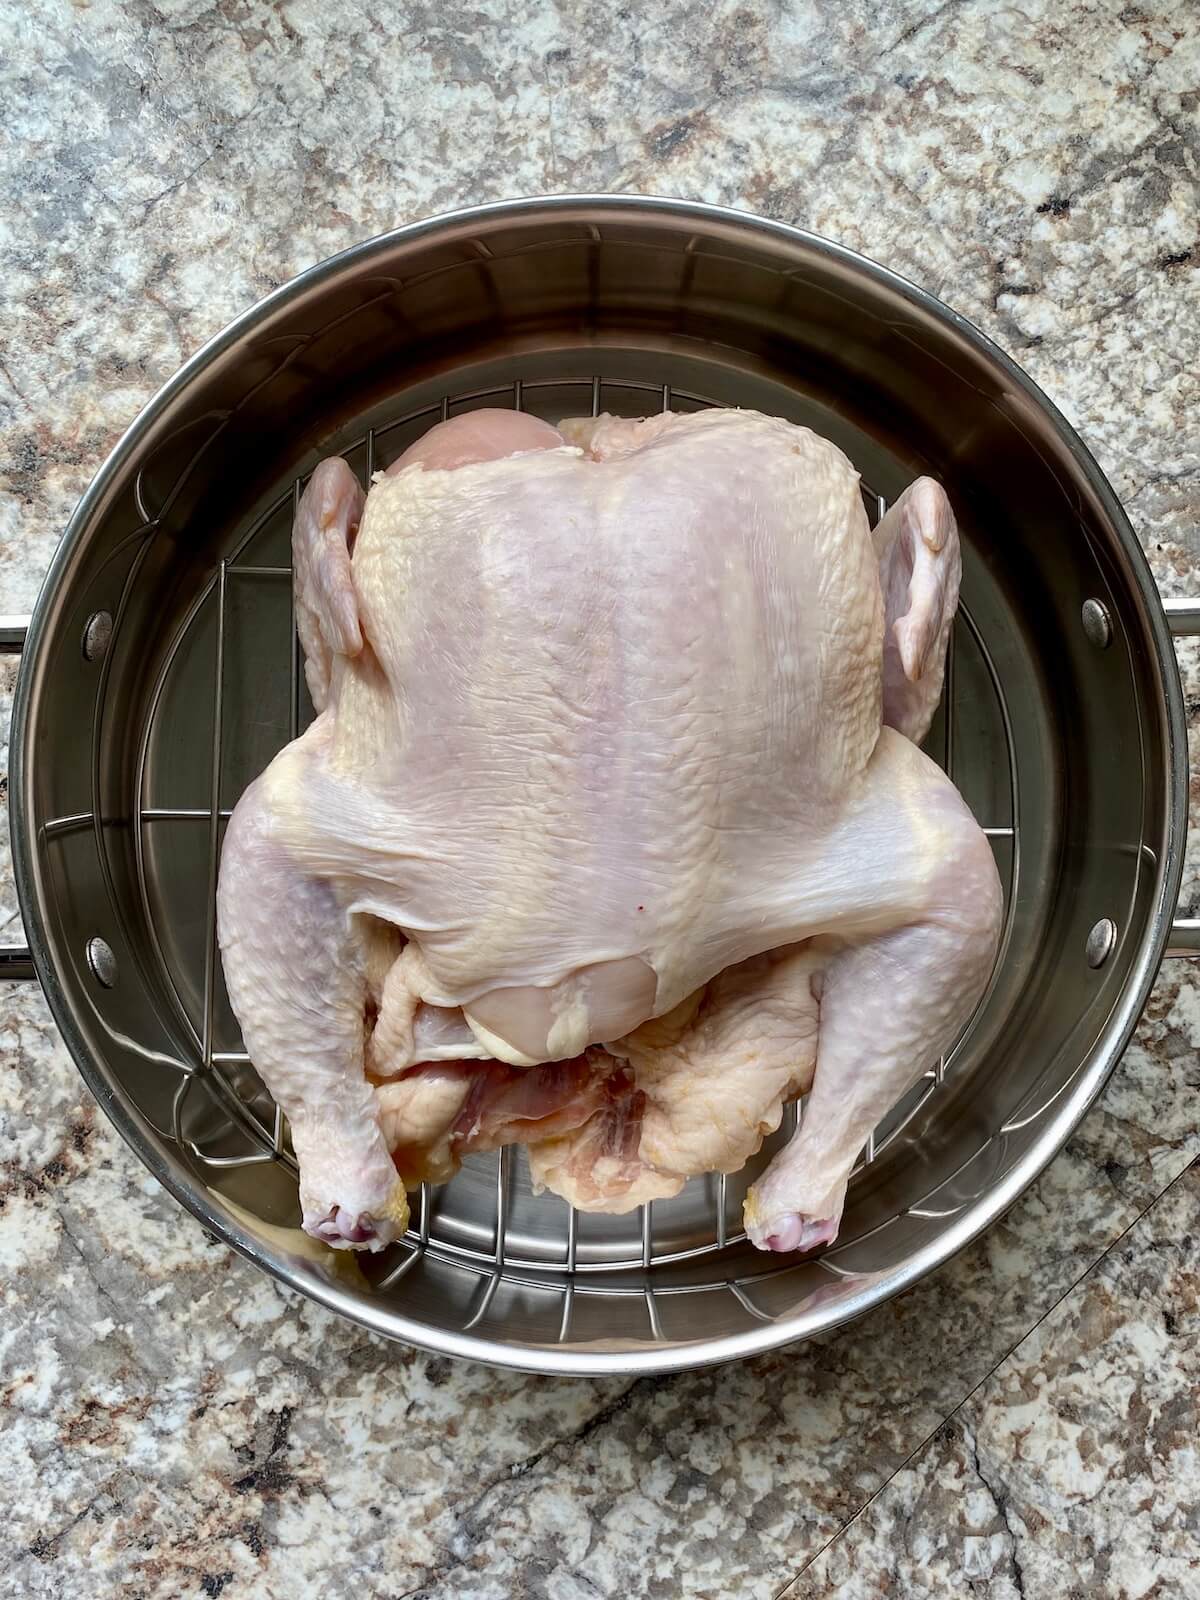
Step 2: Prepare the chicken. Prepare the chicken by removing any giblets and neck pieces that may be located inside the cavity. Pat the chicken dry inside and out and place it onto a roasting rack. If you don't have a roasting pan with a rack, you can use a baking sheet with a wire rack on it or create "foil balls" to lift the chicken off an oven-safe pan.
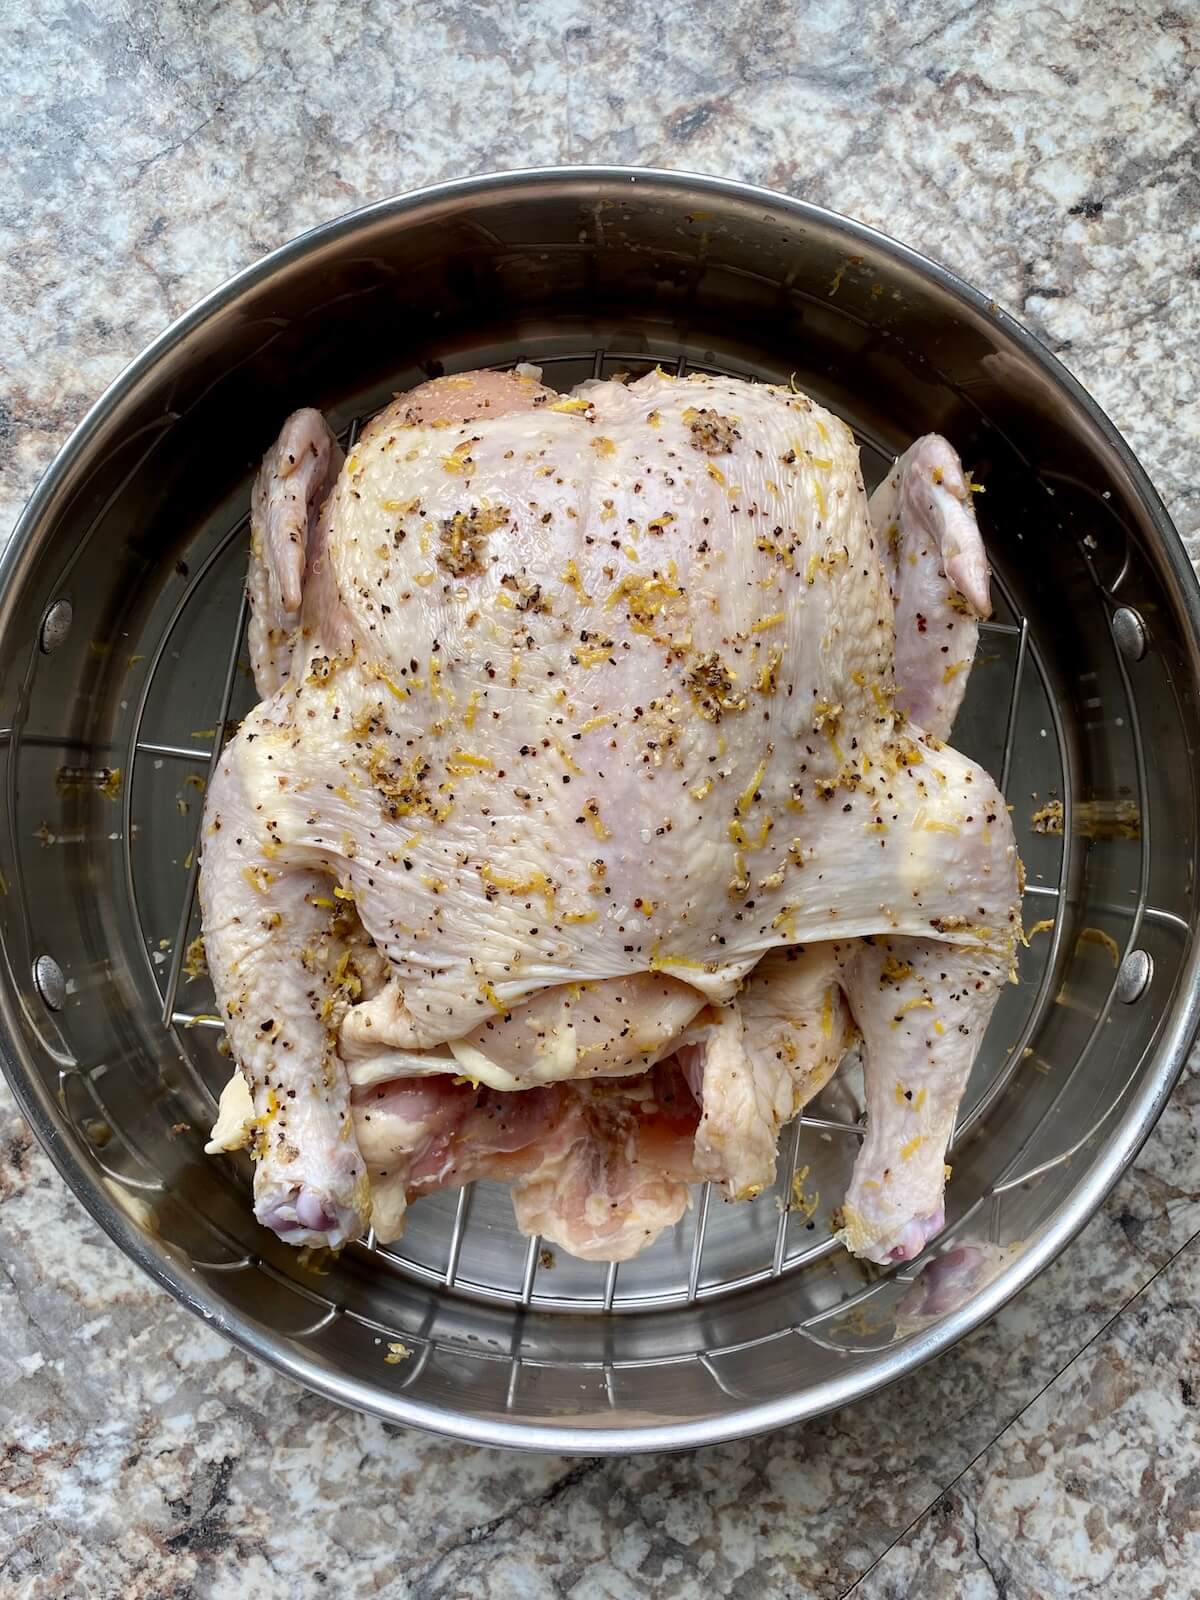
Step 3: Dry brine the chicken. Rub the lemon-garlic salt mixture all over the chicken, including inside the cavity. Place the chicken, uncovered, in the refrigerator to brine for 24-72 hours. Leaving it uncovered helps the skin dry out so it crisps up beautifully in the oven.
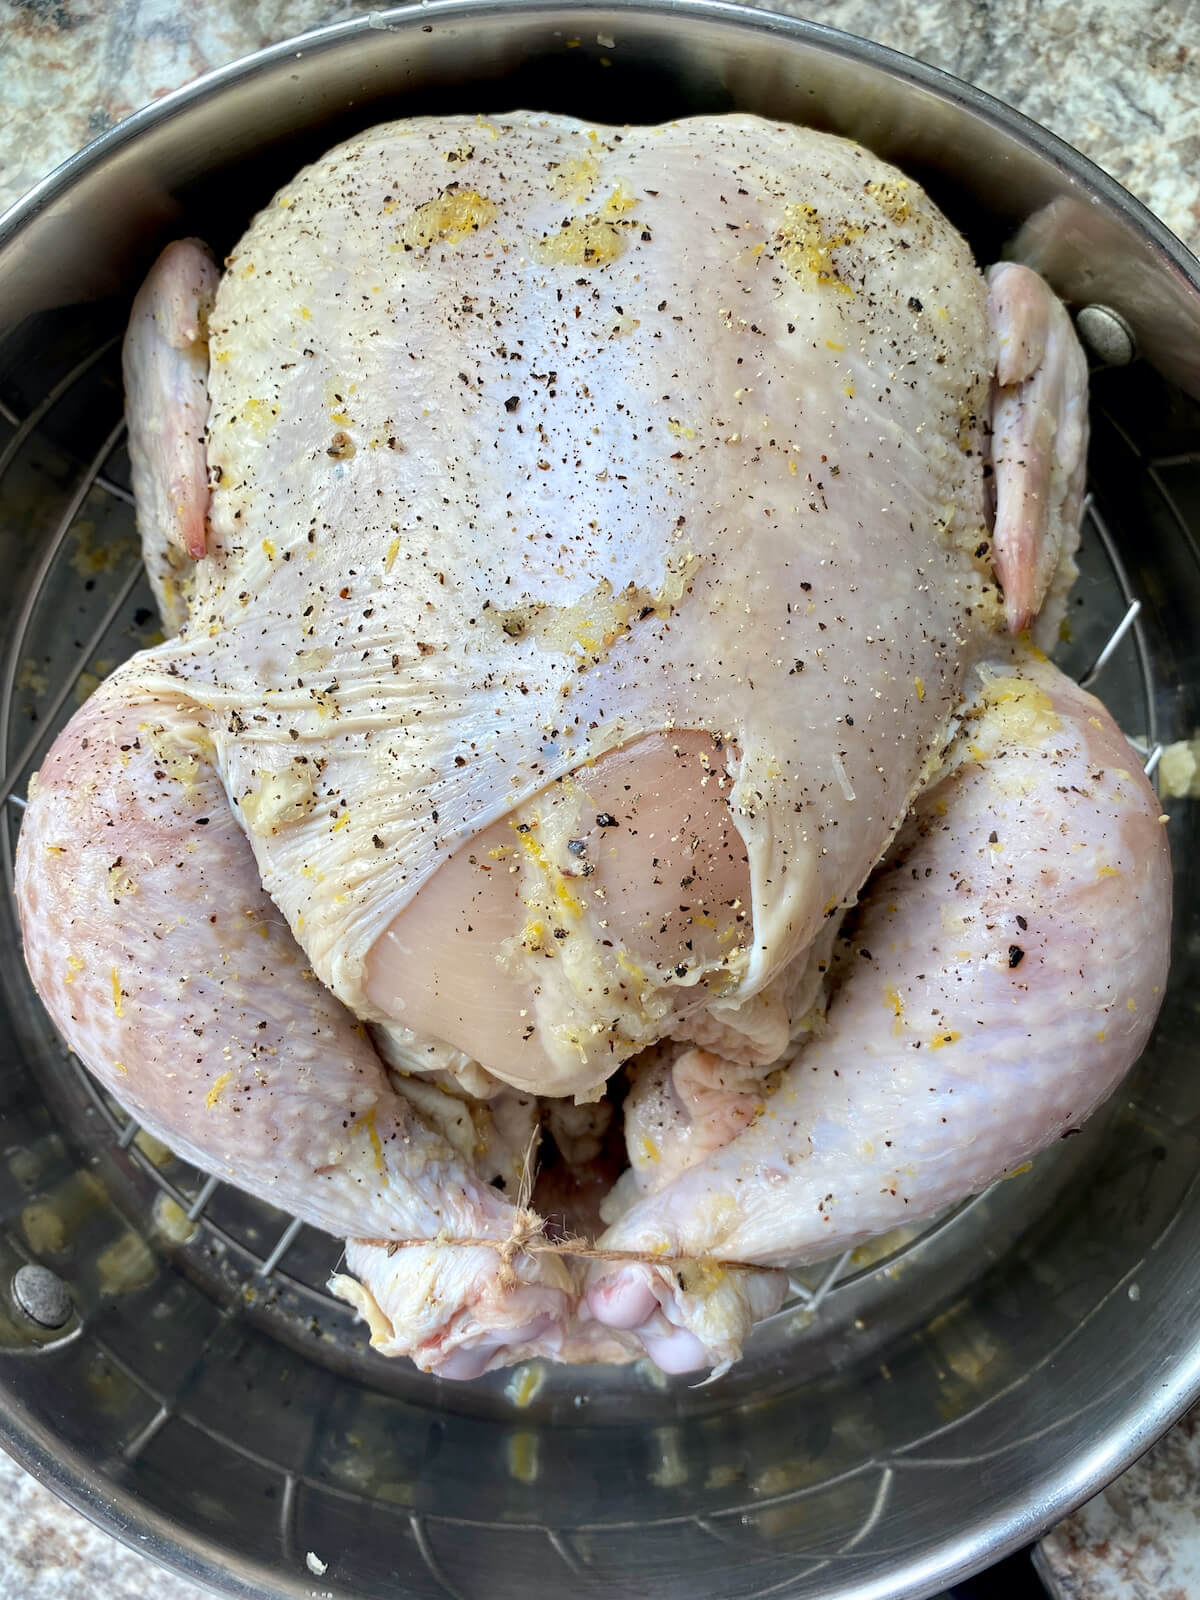
Step 4. Prepare chicken for roasting. Preheat the oven to 375°F. Take the chicken out of the fridge about 20 minutes before you're ready to roast to bring it closer to room temperature. Put a quartered lemon and a couple of crushed garlic cloves inside the chicken. To keep everything neat, tie the chicken's legs together with butcher’s twine.
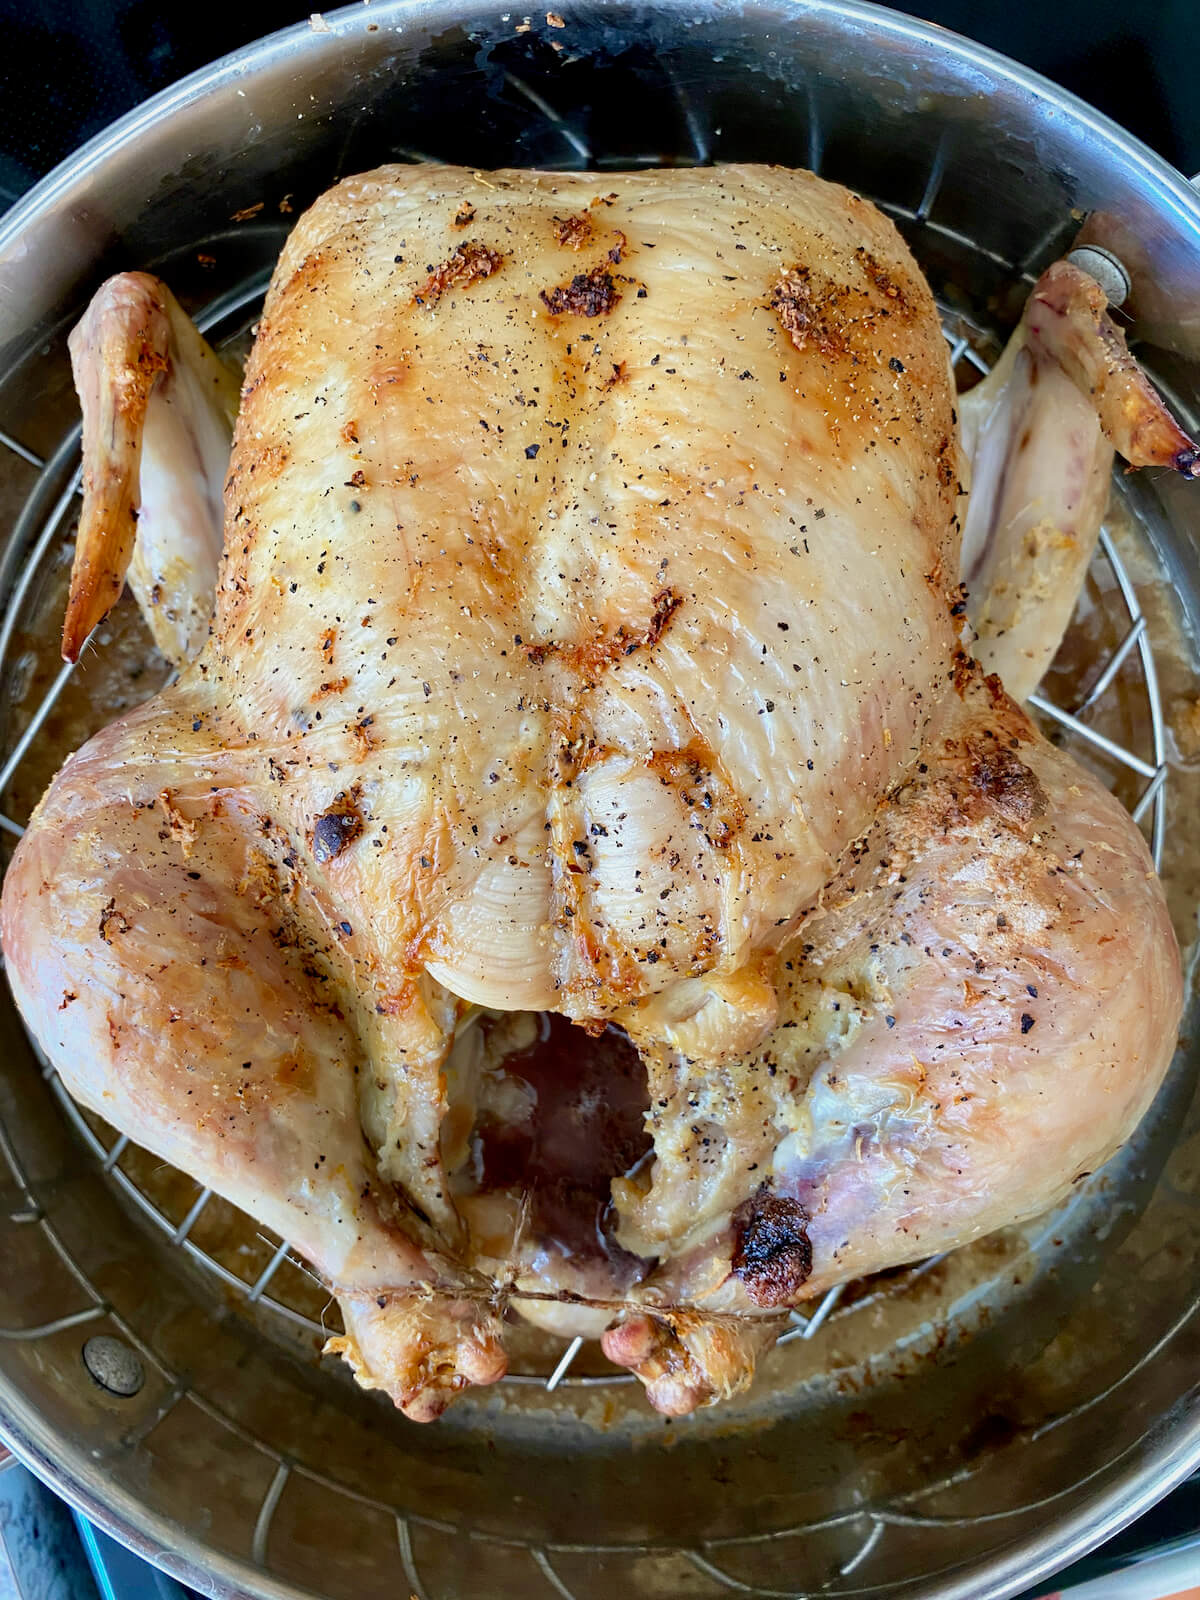
Step 5. Roast the chicken. Place the chicken in the preheated oven and roast for 1-½ to 2 hours or until a meat thermometer inserted into the thickest part of the thigh reads 165°F. Remove the chicken from the oven and tent it with foil. Let it rest for 15-20 minutes before carving to allow the juices to settle in the meat.
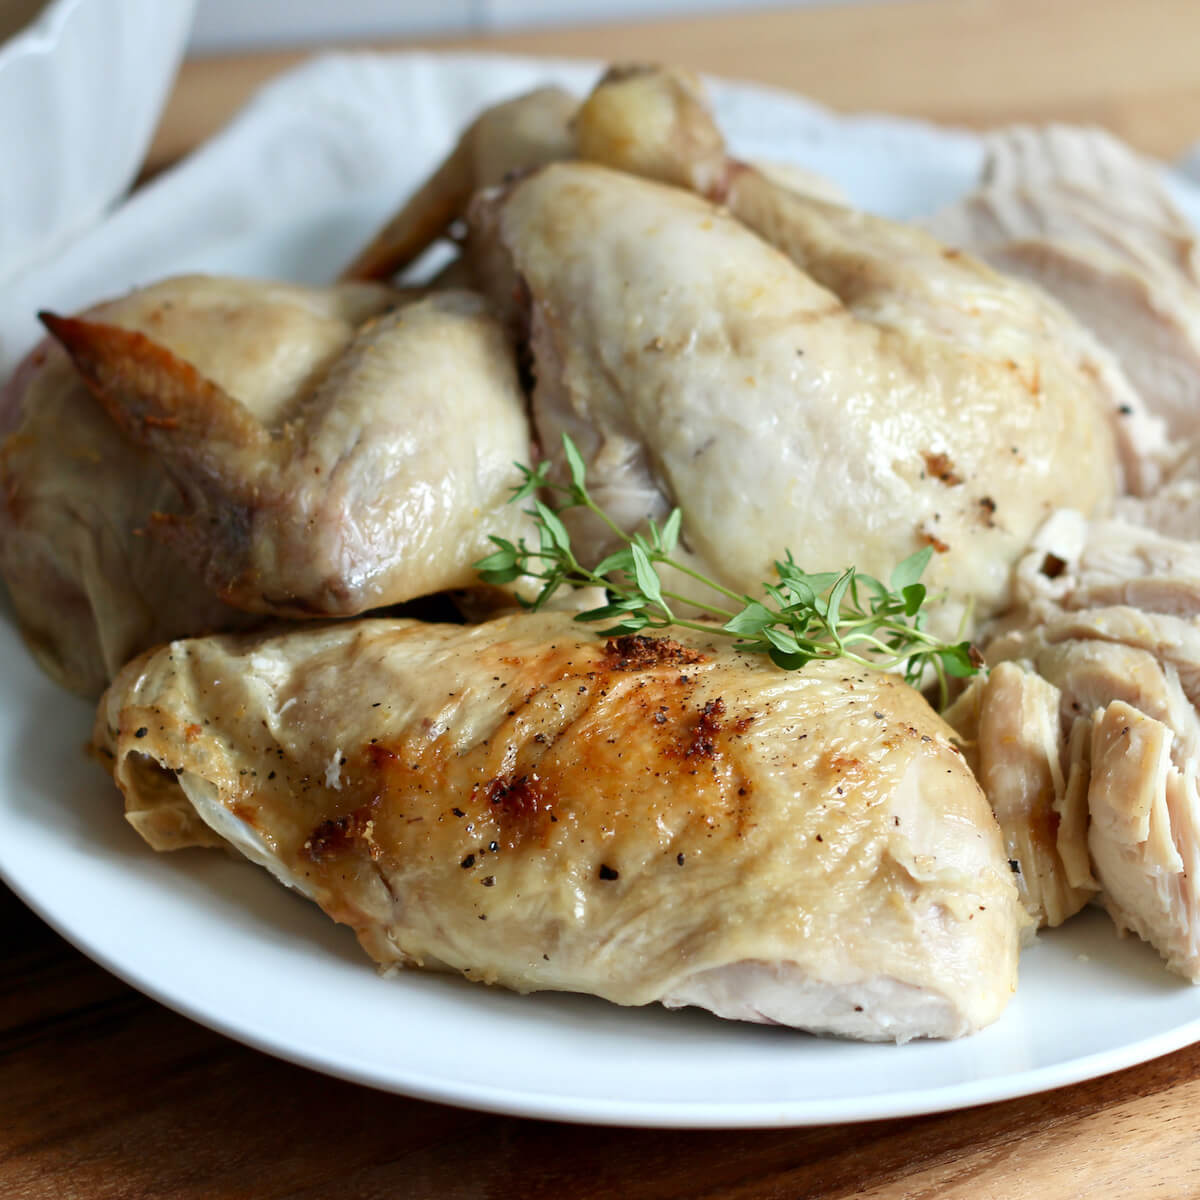
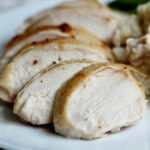
Step 6: Carve and serve. Use a sharp knife or kitchen shears to carefully separate the chicken into serving pieces. Start by removing the legs, then the wings, and finally, slice the breast meat. Arrange the chicken pieces on a platter and serve with your favorite side dishes.
Tips for Success
- Start with a fresh or thawed chicken. While you can brine frozen chicken, the brine will penetrate better if the chicken is fresh or thawed.
- Pat the chicken dry. Before applying the dry brine, make sure to pat the chicken dry with paper towels. This helps the seasonings adhere better to the surface and promotes crispy skin during roasting.
- Season the whole chicken. When applying the dry brine, ensure even coverage by rubbing the mixture thoroughly over the entire chicken, including the inside cavity.
- Use kosher salt. The bigger crystals make the brining process more gentle and effective, which means you’re less likely to end up with an overly salty chicken.
- Don’t rinse off the salt. There is no need to rinse the salt brine off before roasting. The chicken will soak up the right amount of seasoning, and the rest stays on the skin to make it tasty and crispy.
- Use a meat thermometer. To be sure your chicken reaches a perfect 165°F, use a meat thermometer. It's the best way to make sure your chicken is tender and juicy every single time.
- Rest before carving. After roasting, give the chicken a chance to rest for 15-20 minutes before carving. This allows the juices to redistribute, resulting in moister meat when served.
What to Serve With Dry Brined Chicken
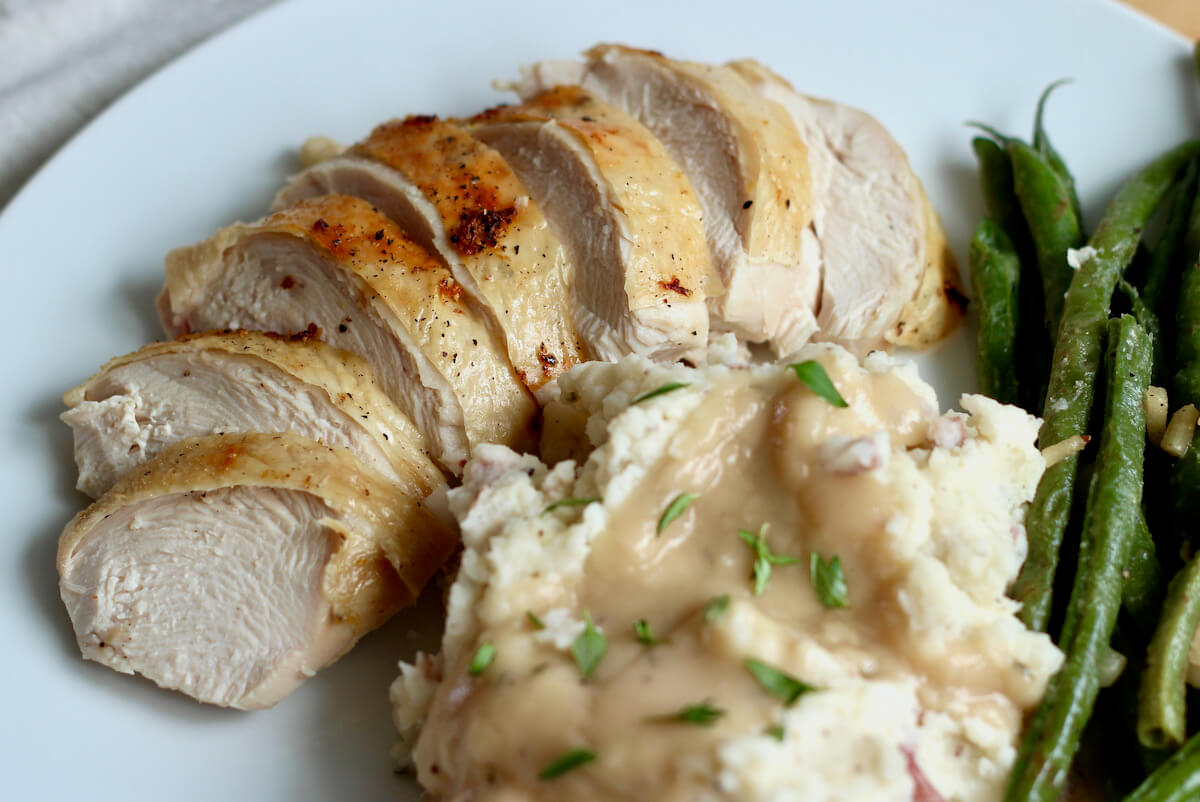
It really doesn’t get more versatile than a whole roasted chicken. From vegetables and salads to potatoes and pasta dishes, there are many side dishes that pair well with this lemon-garlic roasted chicken.
For a healthy, well-balanced meal, pair this dry brined chicken with roasted, steamed, or sautéed vegetables. A few of my favorite vegetable sides include sautéed garlic green beans, honey garlic brussels sprouts, sautéed asparagus, and sautéed butternut squash.
Roasted chicken also makes a tasty and healthy addition to your favorite salads. Try adding roasted chicken breast to caesar salad, spinach caprese salad, or arugula quinoa salad.
Finally, serve this roasted chicken alongside starchy side dishes for a hearty and satisfying meal. Baked potatoes, sage stuffing, cilantro lime rice, farro, roasted garlic alfredo, macaroni and cheese, and pesto rigatoni are all delicious options.

How to Use Leftover Dry Brined Chicken
Leftover lemon garlic roast chicken is one of the best ingredients to have in your refrigerator. You can easily transform leftover chicken into a variety of dishes, making for quick meal prep throughout the week.
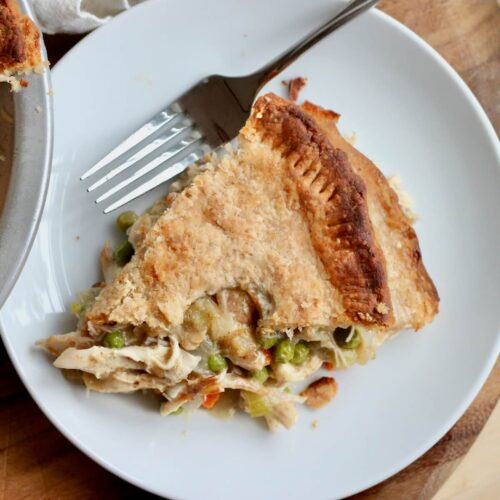
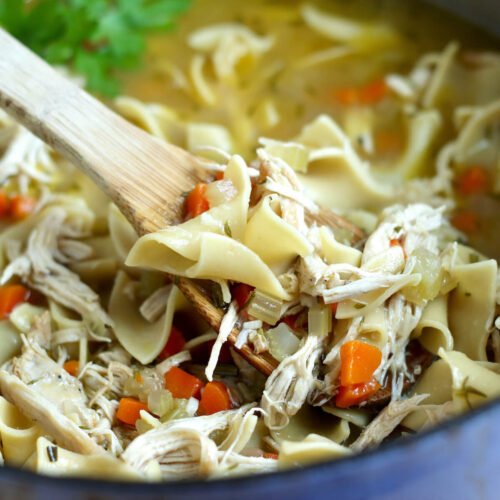
Repurpose leftover dry brined chicken into comforting soups, stews, and casseroles. Add shredded chicken to chicken noodle soup, chicken pot pie, buffalo chicken dip, or chicken broccoli lasagna.
Alternatively, use leftover roasted chicken as a topping for pizza, like in this buffalo chicken flatbread. It’s also great for making Mexican-inspired meals, such as tacos, nachos, quesadillas, burritos, and enchiladas.
Finally, make quick work of lunch by using leftover chicken to make sandwiches, wraps, and salads.
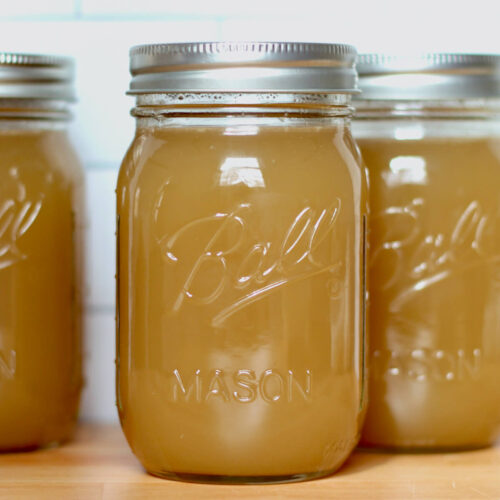
🍗 Quick Tip: Don’t toss those chicken bones! Instead, use them to create homemade chicken stock, which can be the base for flavorful soups, sauces, and gravies.
Storage and Reheating
How to Store
- Refrigerator- The USDA recommends storing cooked chicken in an airtight container in the refrigerator for 3-4 days. For better storage, it's a good idea to remove the chicken meat from the bones before refrigerating.
- Freezer- Freeze leftover roasted chicken in a freezer-safe plastic bag or container for up to 4 months.
How to Reheat
- Oven- Preheat the oven to 350°F. Spread the leftover chicken out evenly on a rimmed baking sheet. Cover loosely with aluminum foil and reheat for 10-15 minutes or until fully warmed through.
- Stovetop- Heat a small amount of water or broth in a skillet or saucepan over medium-low heat. Once simmering, add the chicken meat and simmer until hot. This method also works well with frozen chicken.
- Microwave- Place leftover chicken on a microwave-safe dish. Cover the dish with a lid or paper towel and microwave the chicken on half power (50%) for one minute. Continue heating on HIGH power in 30-second intervals until the chicken is hot.
Make Ahead
One of my favorite things about this dry brine chicken recipe is its flexibility. The raw chicken can be left in the refrigerator to brine for up to 72 hours, which means it’s perfect for making ahead.
Alternatively, roast the chicken and store it in the refrigerator for up to 2 days before serving. Then, reheat the whole chicken in a 350°F oven for approximately 25-30 minutes. Add a small amount of liquid to the roasting pan and cover the chicken with aluminum foil so it doesn’t dry out when reheating.
Frequently Asked Questions
A 2-hour dry brine can improve the chicken's texture and flavor by enhancing browning and tenderness. While not as effective as longer brining, it's still a good option when time is limited. For best results, consider the recommended 24-72 hour brining period.
There is no need to rinse the dry brine off the chicken. Rinsing makes the chicken wet, which can result in less crispy skin. The salt evenly dispurses throughout the meat naturally so the chicken won't be too salty.
While not essential, adding sugar to your dry brine mixture will enhance the flavor and browning of the chicken. Try adding ½ tablespoon of granulated sugar or brown sugar to this dry brine recipe to see how you like it.
Olive oil or butter can certainly be used in a dry brine. However, I find my chicken comes out perfectly moist and juicy even without any added oil.
Let's Connect!
Be sure to leave a comment below if you have any questions. You can also connect with me on Instagram, Facebook, Pinterest, or via email at [email protected].
More Chicken Recipes

📖 Recipe
Dry Brined Chicken
Ingredients
For the Lemon-Garlic Dry Brine
- 2 tablespoons kosher salt
- ½ tablespoon black pepper freshly cracked
- Zest from 1 lemon
- 2 cloves garlic grated
For the Roasted Chicken
- 1 4 to 5 pound whole chicken
- 1 whole lemon quartered
- 4 cloves garlic crushed
Instructions
- In a small bowl, combine the kosher salt, black pepper, lemon zest, and grated garlic. Save the lemon and a few garlic cloves to stuff the chicken with before roasting.2 tablespoons kosher salt, ½ tablespoon black pepper, Zest from 1 lemon, 2 cloves garlic
- Prepare the chicken by removing any giblets and neck pieces that may be located inside the cavity. Pat the chicken dry inside and out and place it onto a roasting rack. If you don't have a roasting pan with a rack, you can use a baking sheet with a wire rack on it or create "foil balls" to lift the chicken off an oven-safe pan.1 4 to 5 pound whole chicken
- Rub the lemon-garlic salt mixture all over the chicken, including inside the cavity. Place the chicken, uncovered, in the refrigerator to brine for 24-72 hours. Leaving it uncovered helps the skin dry out so it crisps up beautifully in the oven.
- Preheat the oven to 375°F. Take the chicken out of the fridge about 20 minutes before you're ready to roast to bring it closer to room temperature. Put a quartered lemon and a couple of crushed garlic cloves inside the chicken. To keep everything neat, tie the chicken's legs together with butcher’s twine.1 whole lemon, 4 cloves garlic
- Place the chicken in the preheated oven and roast for 1 ½ to 2 hours or until a meat thermometer inserted into the thickest part of the thigh reads 165°F. Remove the chicken from the oven and tent it with foil. Let it rest for 15-20 minutes before carving to allow the juices to settle in the meat.
- Use a sharp knife or kitchen shears to carefully separate the chicken into serving pieces. Start by removing the legs, then the wings, and finally, slice the breast meat. Arrange the chicken pieces on a platter and serve with your favorite side dishes.
Notes
- Don’t rinse off the salt. There is no need to rinse the salt brine off before roasting. The chicken will soak up the right amount of seasoning, and the rest stays on the skin to make it tasty and crispy.
- Quick Tip: Use a meat thermometer to ensure your chicken is cooked to a perfect 165°F.
- Storage: Store leftover chicken in an airtight container in the refrigerator for up to 4 days or in the freezer for up to 4 months.
- Make Ahead: Brine the chicken and refrigerate it up to 3 days before roasting.


Comments
No Comments