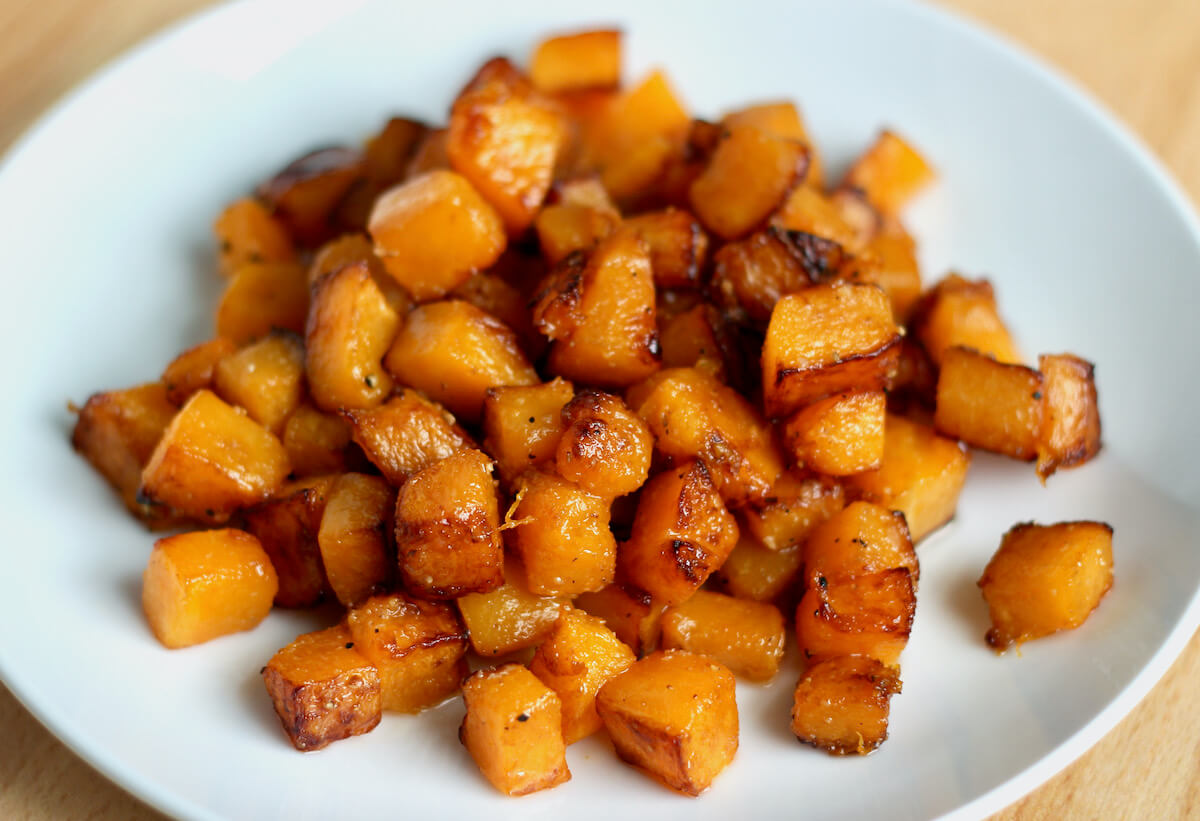
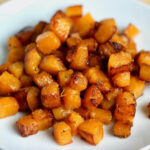
This Sautéed Butternut Squash is caramelized to perfection on the stovetop, then lightly seasoned with garlic, salt, and pepper. Made in only 25 minutes with just 5 ingredients, this quick and easy vegetable side dish recipe is ideal for a busy weeknight dinner.
Butternut squash is one of my favorite ingredients to use in fall and winter recipes. It's simple, versatile, and hearty enough to stand on its own.
With its sweet, nutty flavor and tender texture, this simple sautéed butternut squash is a dish that will quickly become a staple in your kitchen. Whether you're serving it as a side dish on Thanksgiving or adding it to your favorite recipes throughout the week, sautéed butternut squash with garlic is an easy and delicious way to enjoy this seasonal ingredient.
I chose to keep the seasonings to a minimum in this recipe to allow the natural sweetness of the squash to shine. However, this tasty winter squash pairs well with a lot of flavors. Feel free to use this recipe as a template and get creative.
So, if you're ready to learn how to sauté butternut squash on the stovetop, keep reading to learn everything you need to know to make this simple side dish recipe.
Disclaimer: Some links throughout this post are affiliate links. As an Amazon Associate, I earn from qualifying purchases. You can learn more by visiting my Affiliate Disclosure Page.
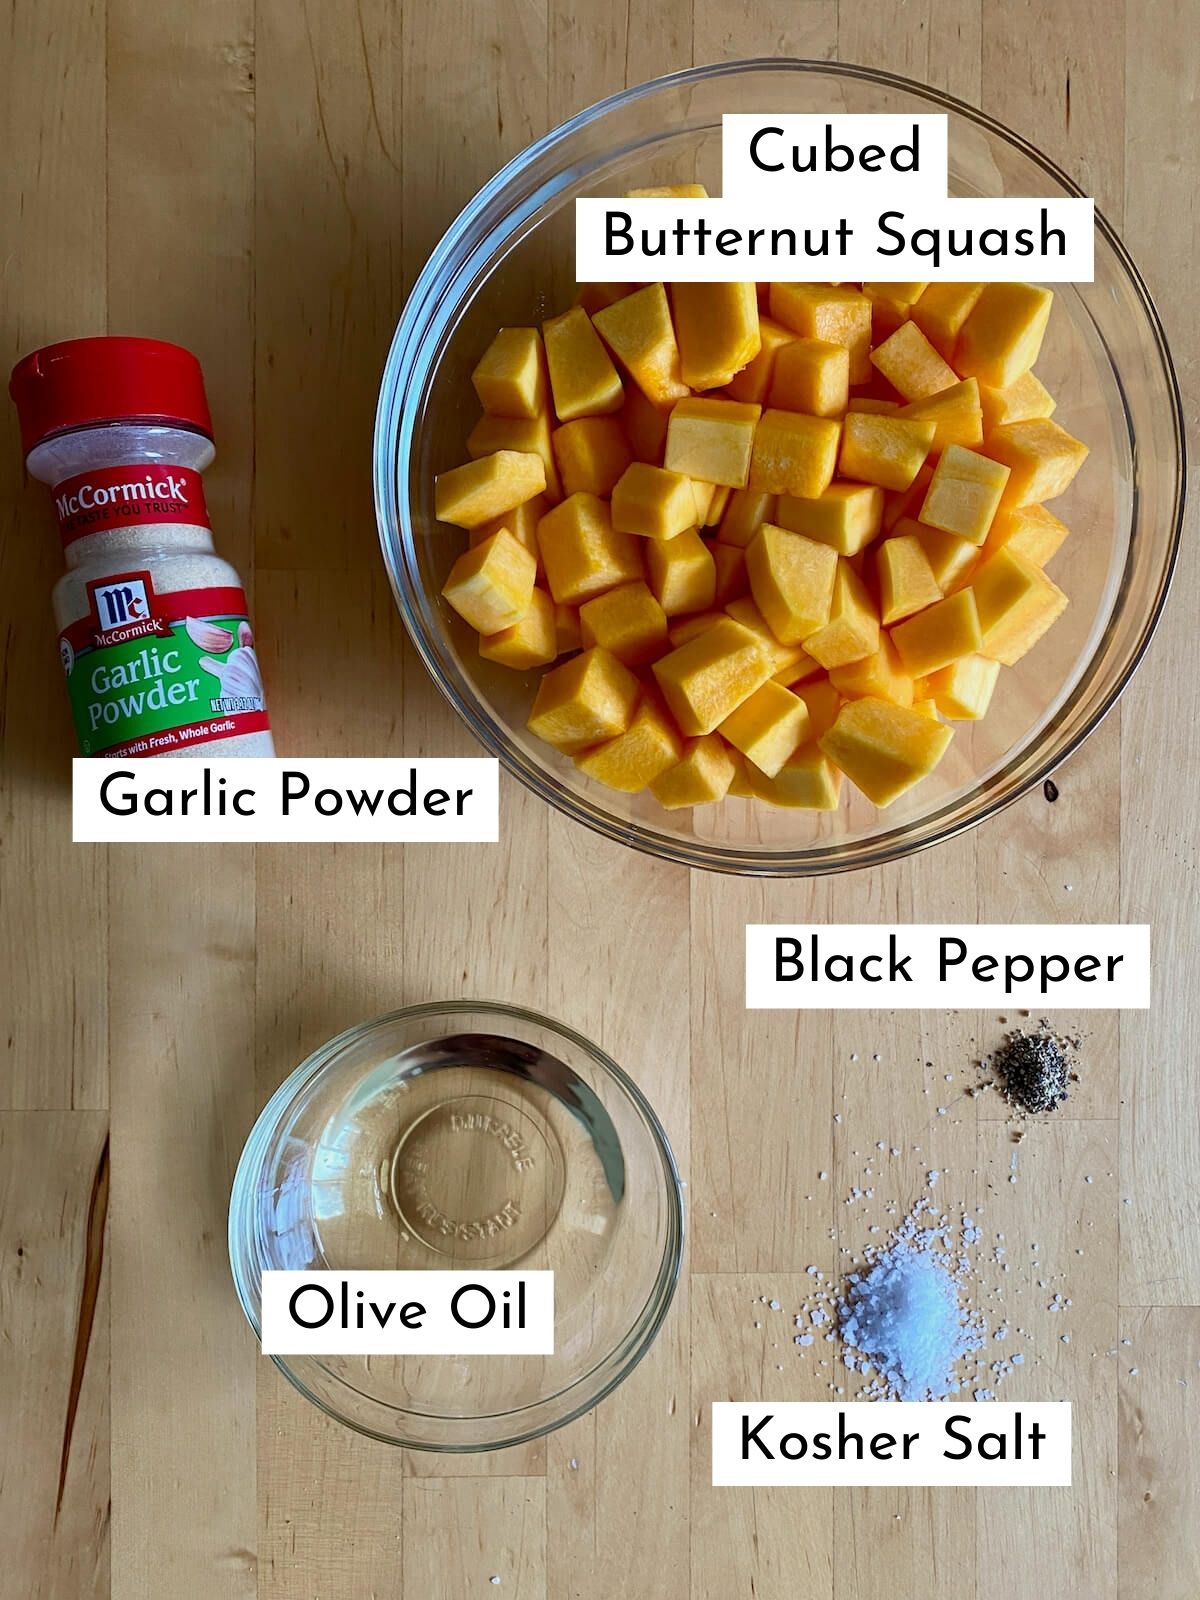
Ingredients & Substitutions
Here are some notes on the key ingredients. For the full list of ingredients, check out the recipe card below.
- Butternut Squash- I recommend cubing a whole butternut squash at home. It’s fresher, tastier, and cheaper than pre-cubed options. Look for squash with matte tan skin and no green or dark spots. It should feel firm; if it’s squishy or has soft spots, it’s past its prime.
- Olive Oil- Use light olive oil or another cooking oil with a high smoke point, such as canola oil, avocado oil, or sunflower oil. You can also use butter if preferred.
- Garlic Powder- Gives the squash a wonderful garlic flavor that pairs well with other savory dishes.
- Kosher Salt- Balances the sweetness of the butternut squash and adds flavor.
- Black Pepper- Adds flavor and a mild heat.
Tips for Success
- Cube your own butternut squash. Taking a few extra minutes to cube your own squash is worth it! Pre-cubed squash is often pricier, and freshly cut squash has more flavor and nutrients.
- Use the right type of skillet. Since cooked butternut squash is soft and can stick, a well-seasoned cast iron skillet is ideal. If you don’t have one, a Teflon-free non-stick skillet works too.
- Let the squash caramelize. Resist the urge to stir too often! Let the squash sear for 5-7 minutes before moving it to get that nice caramelization
- Mix up the seasonings. While I kept this recipe is simple, butternut squash is incredibly versatile. Try adding smoked paprika, rosemary, thyme, or onion powder for some extra flavor.
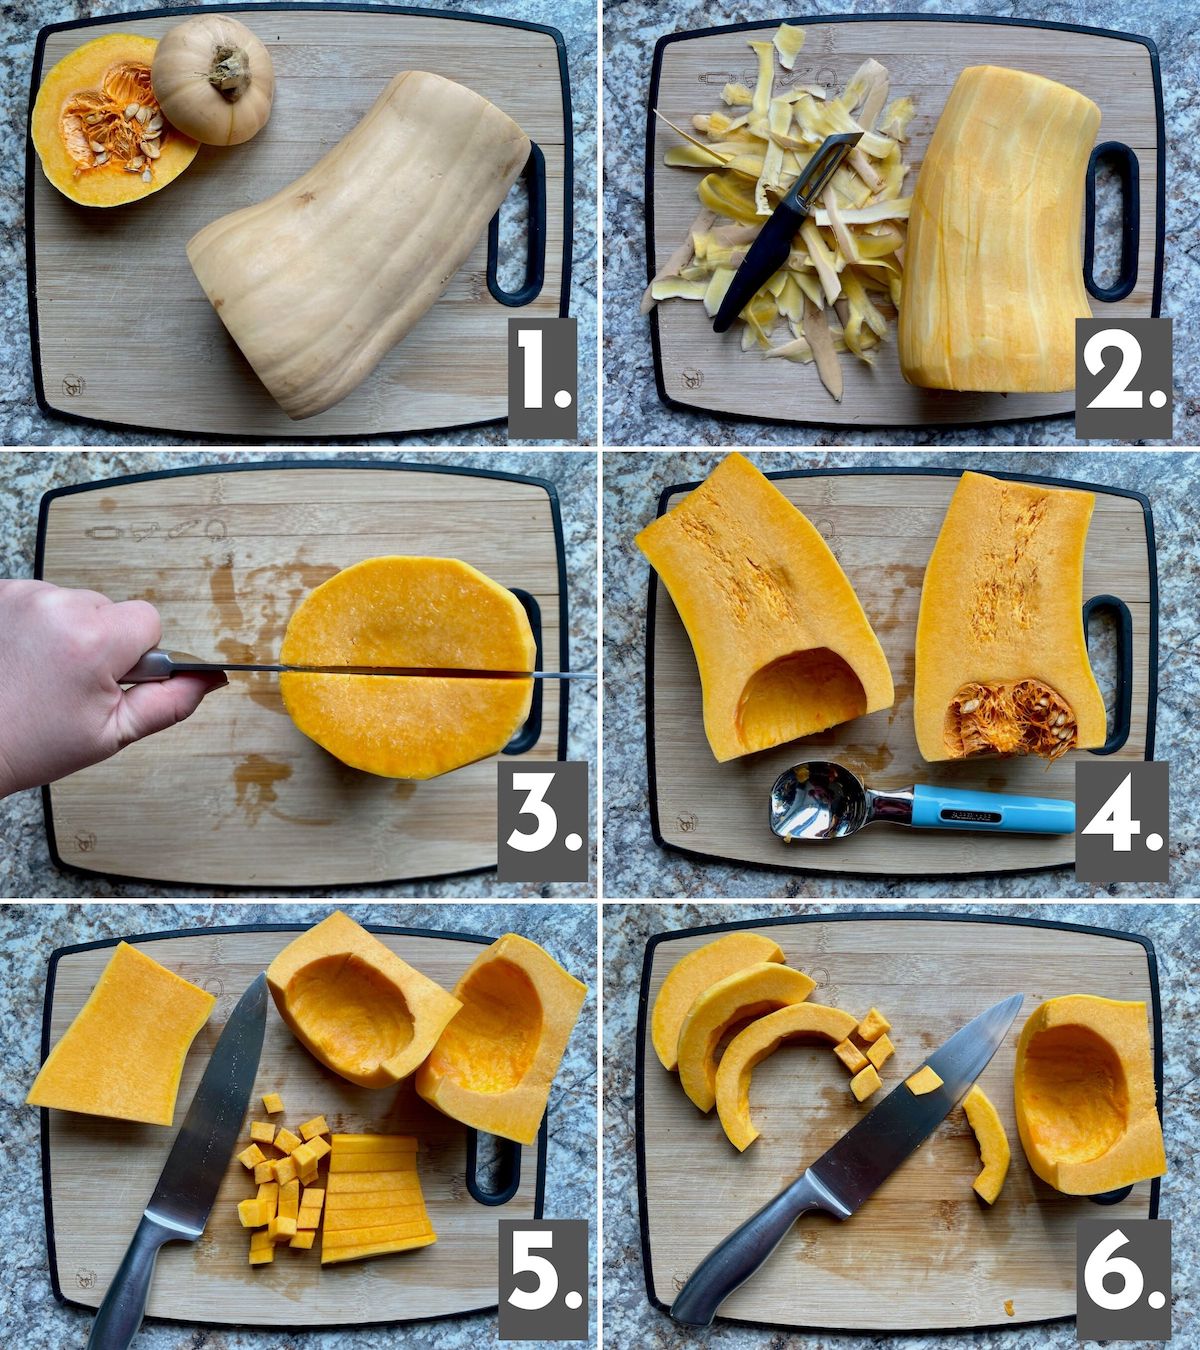
How to Peel and Cut Butternut Squash
Step 1: Remove the ends. Using a sharp chef's knife, remove about a ½-inch from both ends of the squash.
Step 2: Peel the squash. Secure the squash with one hand and use a sharp vegetable peeler in the other hand to remove the skin. Long strokes down the length of the squash typically work best.
Step 3: Cut the squash in half. Stand the squash upright on a cutting board. The squash should feel securely planted. Cut it in half lengthwise using a sharp chef's knife. If you're having trouble getting the knife through, very carefully use a meat mallet or similar tool to gently tap the knife through the squash.
Step 4: Remove the seeds. Use an ice cream scoop or metal spoon to remove the seeds and scrape out the stringy bits.
Step 5: Cut the squash into slices. Lay each half of the butternut squash cut side down on the cutting board. Going from top to bottom, cut the squash into ½-inch slices.
Step 6: Dice the squash. Once all of the butternut squash is sliced, cut each slice into ½-inch cubes.
How to Make Sautéed Butternut Squash
Here is how to sauté butternut squash on the stovetop.
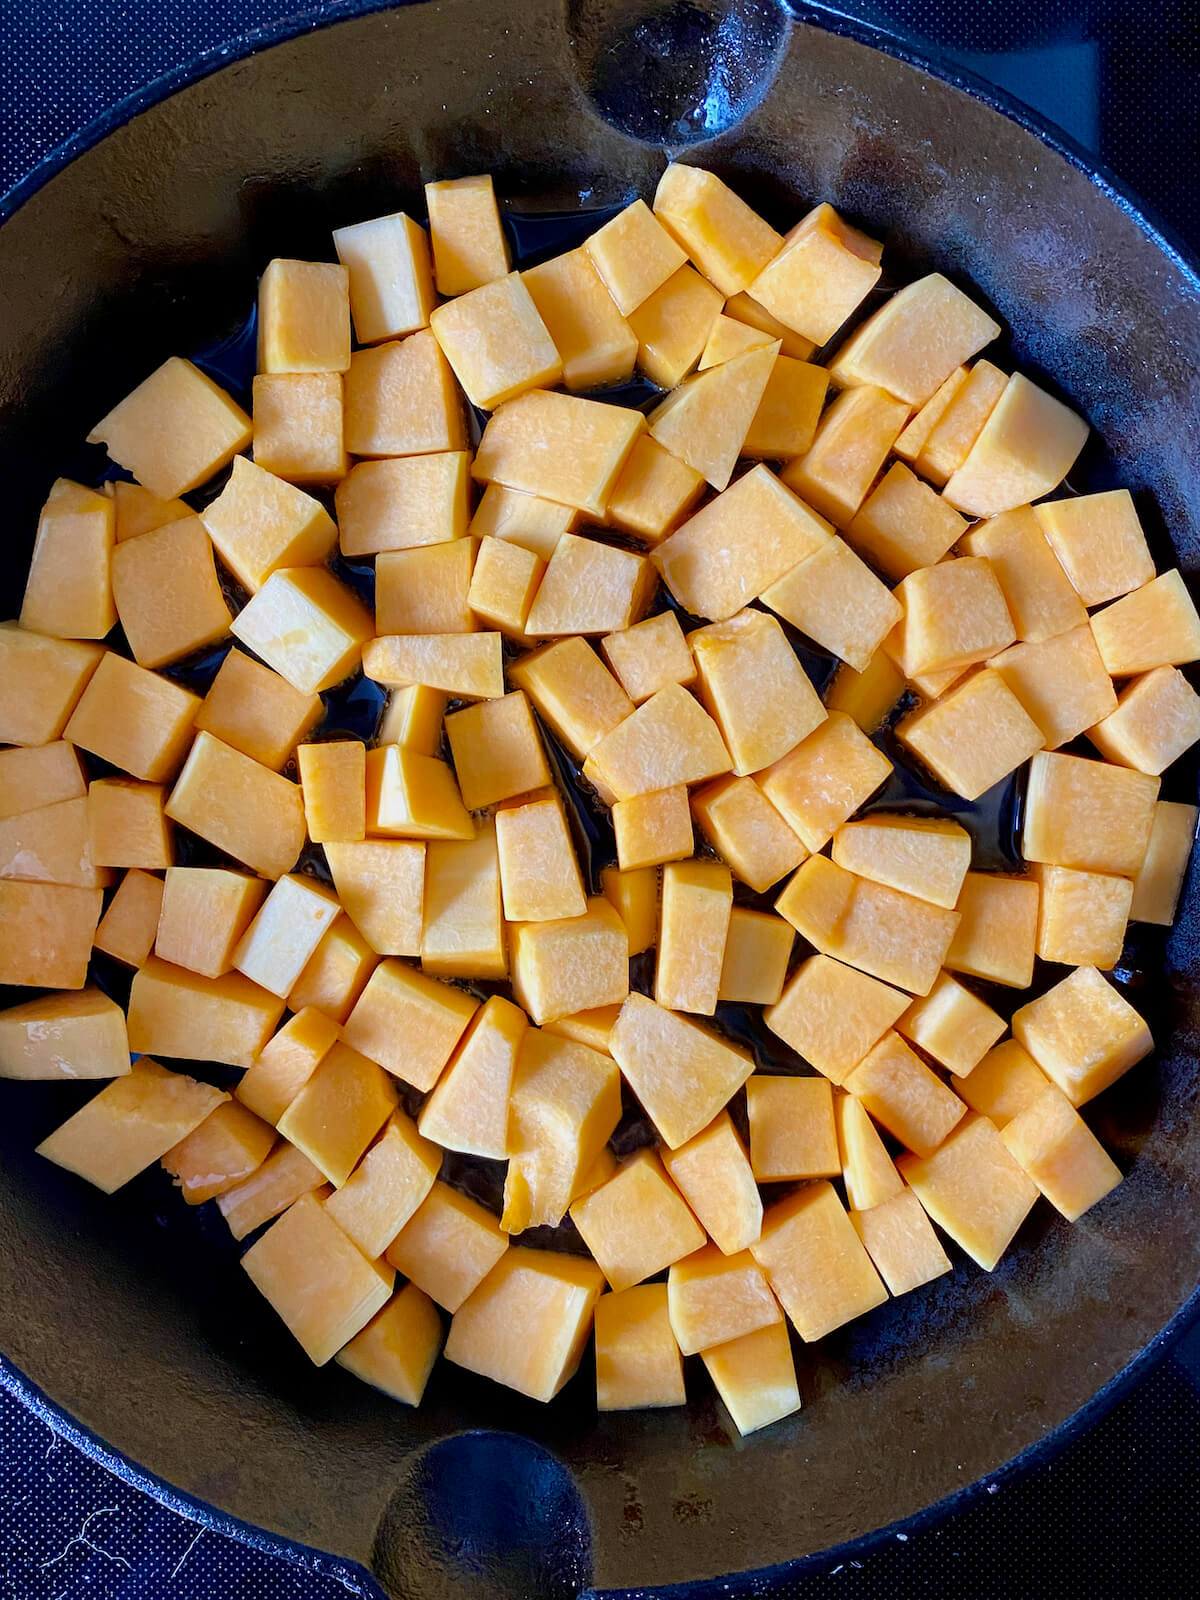
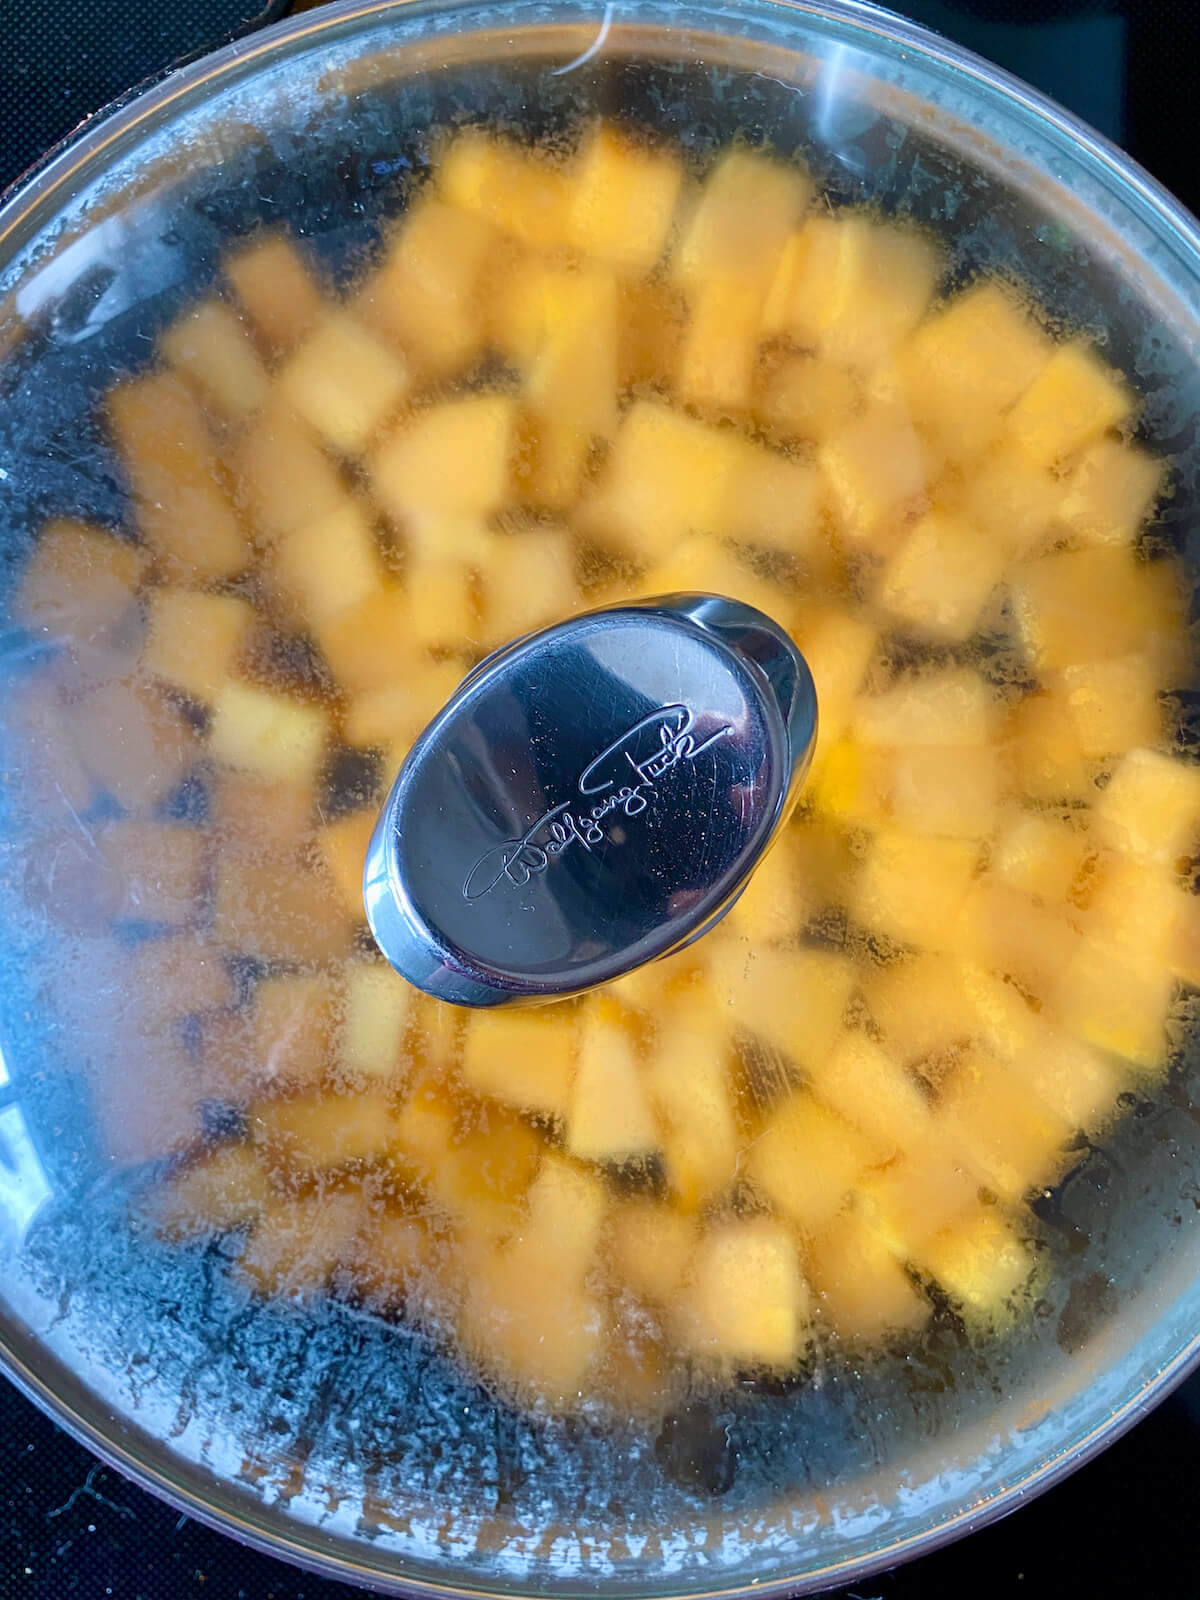
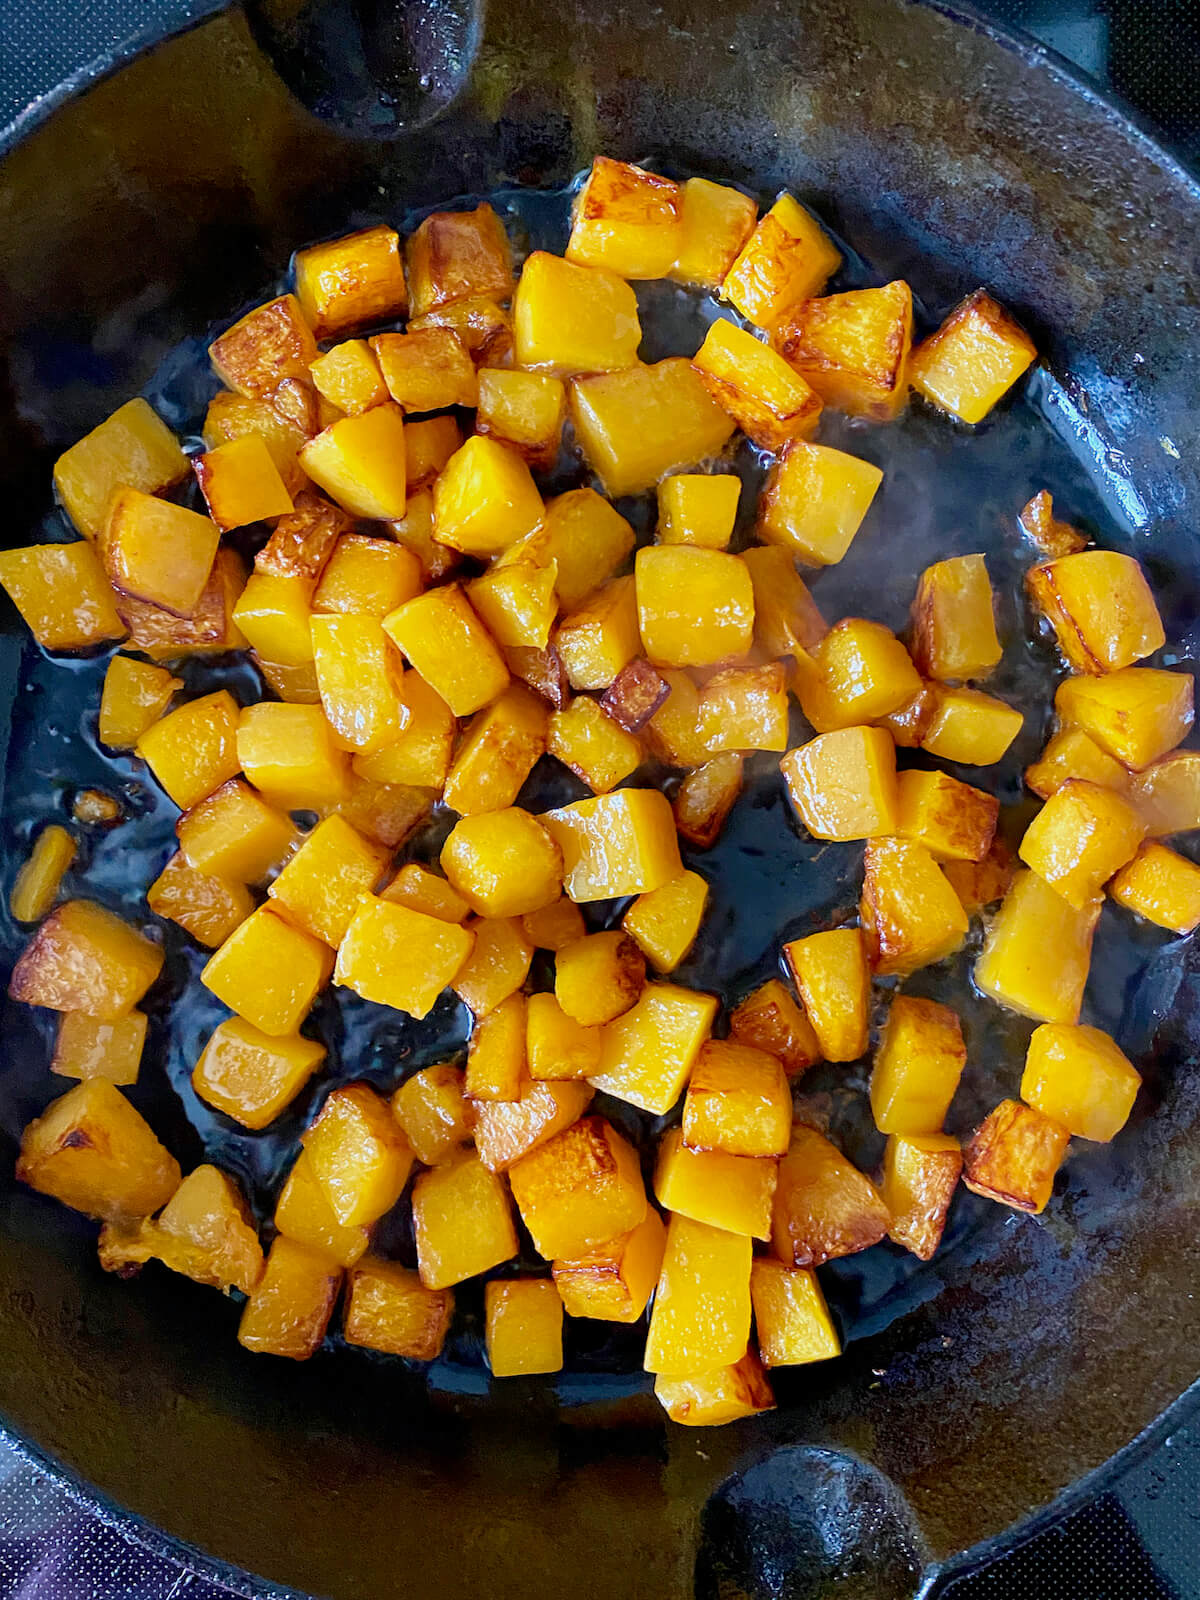
Step 1: Cook the squash. Heat olive oil over medium heat in a well-seasoned cast iron skillet or non-stick skillet. Add the cubed butternut squash to the skillet, spreading it out into a single layer. Cover the skillet with a lid and cook butternut squash for 5-7 minutes. The part of the squash touching the skillet should be nicely browned and caramelized. Stir the squash and reduce the heat to medium-low. Place the lid back on the skillet and cook for an additional 5 minutes or until the squash is soft and tender.
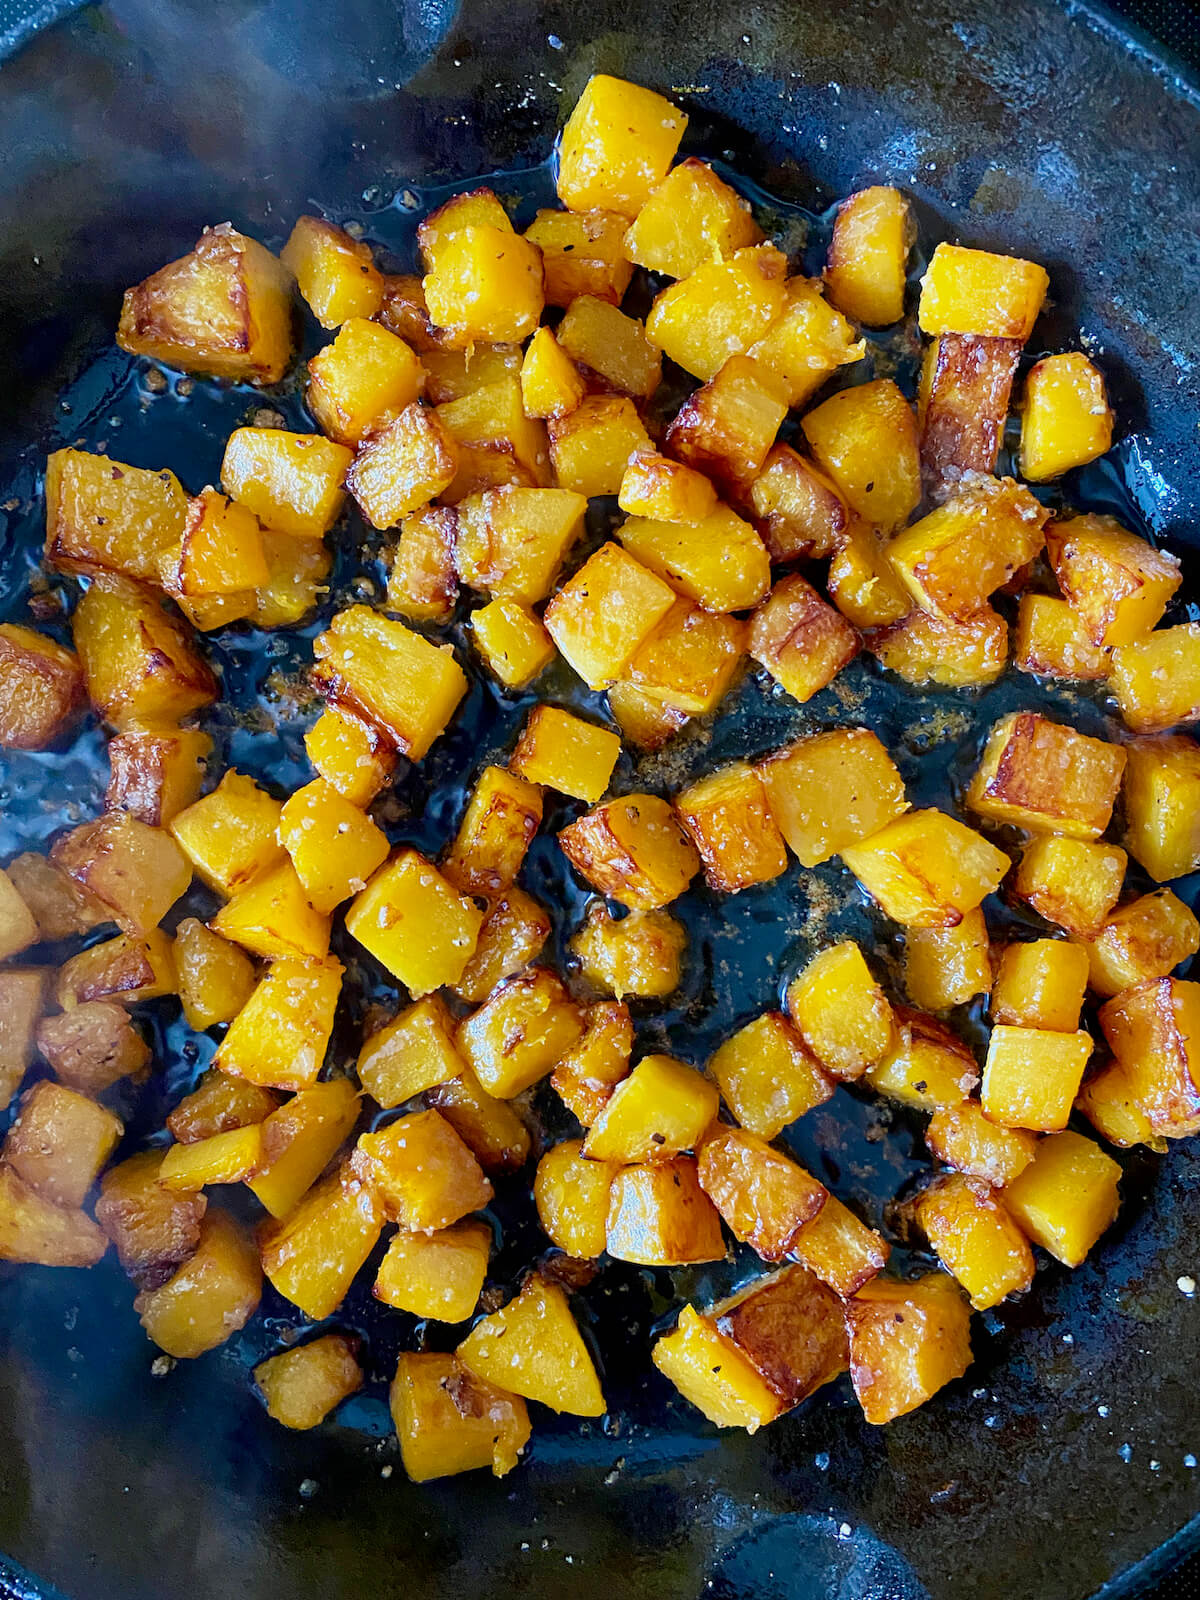
Step 2: Season the squash. Sprinkle the garlic powder, salt, and pepper evenly over the squash, stirring to ensure all of the squash is well-seasoned. Remove the skillet from the heat and serve.

Serving Suggestions
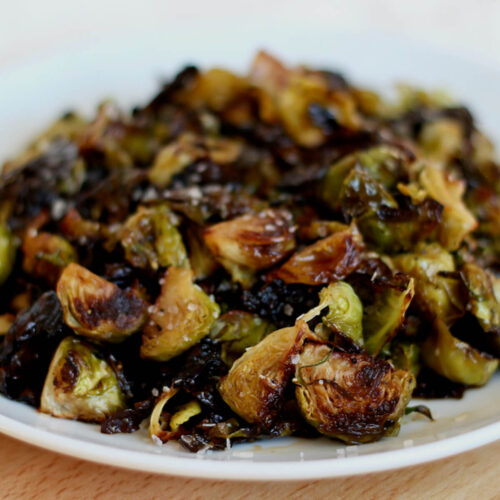
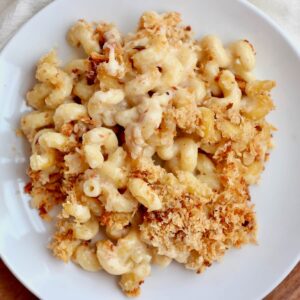
Serve this sautéed butternut squash with my braised turkey breast or whole roasted chicken for a hearty meal. It also pairs great with pan-seared chicken breast, macaroni and cheese, or roasted maple balsamic Brussels sprouts.
How to Store
Leftover sautéed butternut squash can be stored in an airtight container in the refrigerator for 3-5 days.
For longer storage, freeze it in a freezer-safe container for up to 3 months. Thaw overnight in the refrigerator before reheating in a skillet or the microwave.
Let's Connect!
Be sure to leave a comment below if you have any questions. You can also connect with me on Instagram, Facebook, Pinterest, or via email at [email protected].
📖 Recipe
Sautéed Butternut Squash
Ingredients
- 1 ½-2 pound whole butternut squash (approx. 3 cups cubed) peeled and cut into ½ to ¾-inch cubes
- 2 tablespoons light olive oil
- ½ teaspoon garlic powder
- ½ teaspoon kosher salt
- ¼ teaspoon black pepper
Instructions
- Heat olive oil over medium heat in a well-seasoned cast iron skillet or non-stick skillet. Add the cubed butternut squash to the skillet, spreading it out into a single layer. Cover the skillet with a lid and cook for 5-7 minutes. Stir the squash and reduce the heat to medium-low. Place the lid back on the skillet and cook for an additional 5 minutes or until the squash is soft and tender.
- Sprinkle the garlic powder, salt, and pepper evenly over the squash, stirring to ensure all of the squash is well-seasoned. Remove the skillet from the heat and serve.
Notes
- Quick Tip: Use a well-seasoned cast iron skillet or a Teflon-free non-stick skillet to ensure the cooked butternut squash does not stick to your pan.
- Storage: Store leftover cooked butternut squash in an airtight container in the refrigerator for up to 5 days or in the freezer for up to 3 months.
- Make Ahead: Butternut squash can be cubed and stored raw in the refrigerator for up to 7 days.

Comments
No Comments