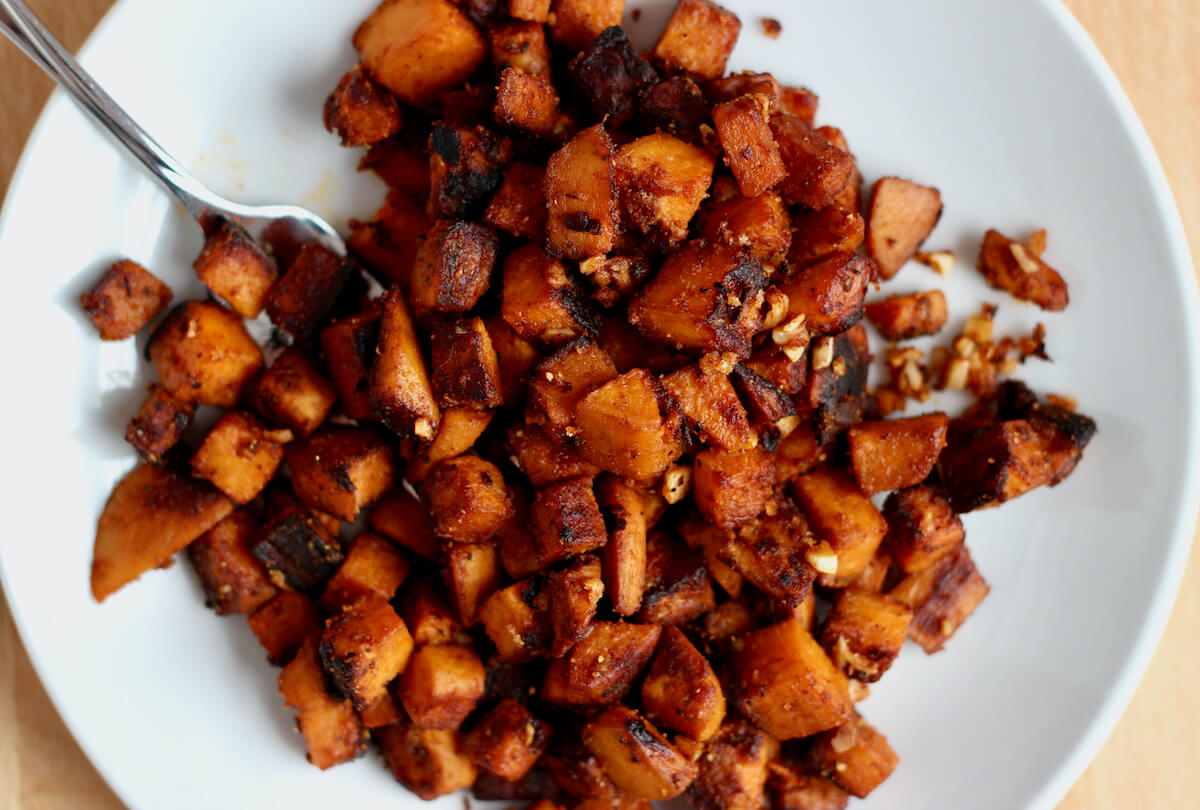
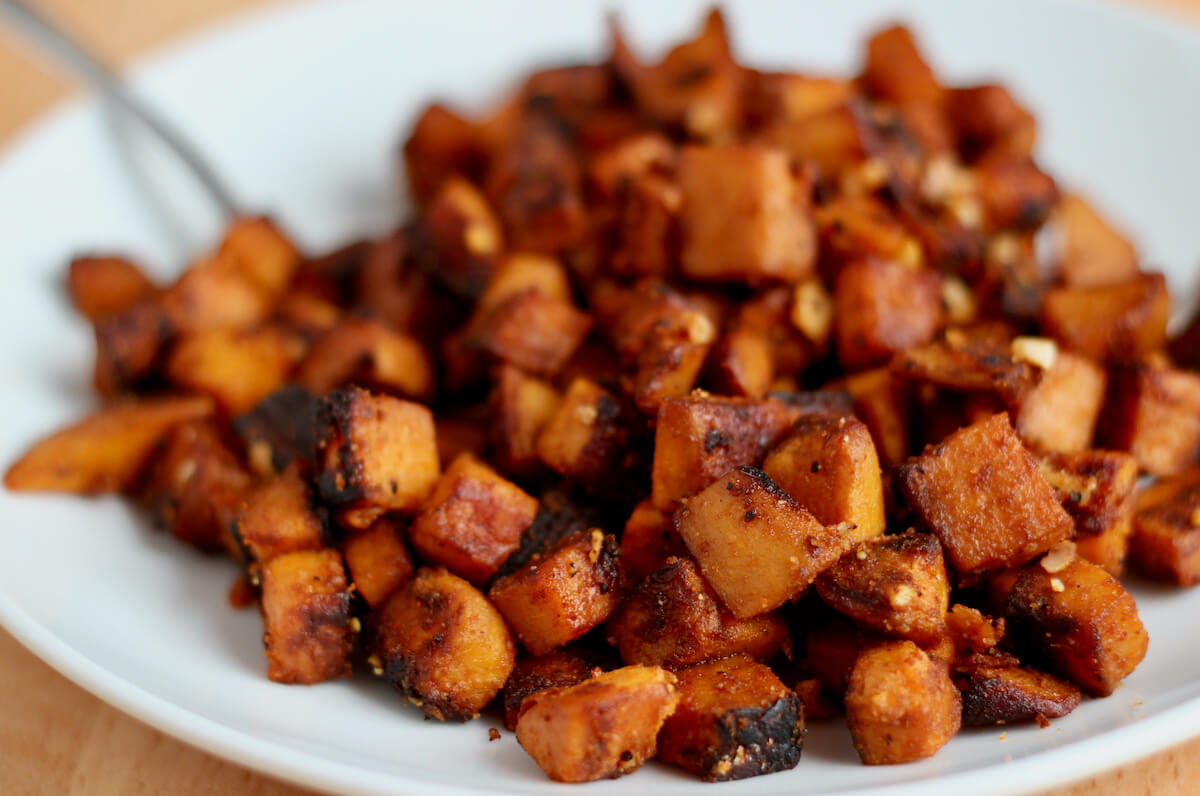
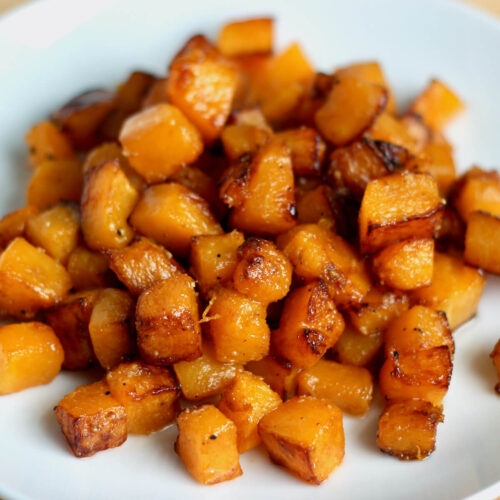
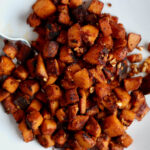
These Sautéed Sweet Potatoes are well-seasoned with lots of garlic, easy to make, and ready in just 30 minutes. A healthy and delicious vegetable side dish, these flavorful pan-fried sweet potatoes are made with only 8 ingredients and are perfect for a quick weeknight dinner.
Whenever I make dinner, I often use different cooking methods to make the meal come together more quickly.
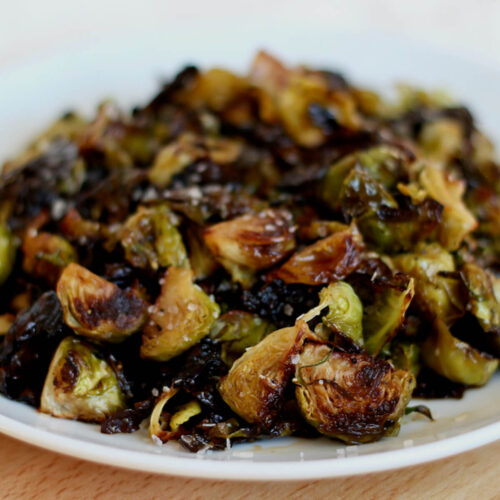
For instance, if I'm using my oven to cook a whole roasted chicken and a sheet pan of Brussels sprouts, then I can easily prepare my other side dishes on the stovetop.
These sautéed sweet potatoes are the perfect side dish to make when your oven is otherwise occupied. They're quick, easy, and perfectly seasoned. And they pair well with a variety of meats, vegetables, and other sides.
I love sautéing sweet potatoes in a cast iron skillet because it's naturally non-stick, cooks evenly, and caramelizes them really well. But, you can also use a Teflon-free non-stick skillet if you prefer.
So, if you want to learn how to sauté sweet potatoes on the stove, keep reading for all of my best tips and tricks.
Disclaimer: Some links throughout this post are affiliate links. As an Amazon Associate, I earn from qualifying purchases. You can learn more by visiting my Affiliate Disclosure Page.
Ingredients & Substitutions
Here are some notes on the key ingredients. For the full list of ingredients, check out the recipe card below.
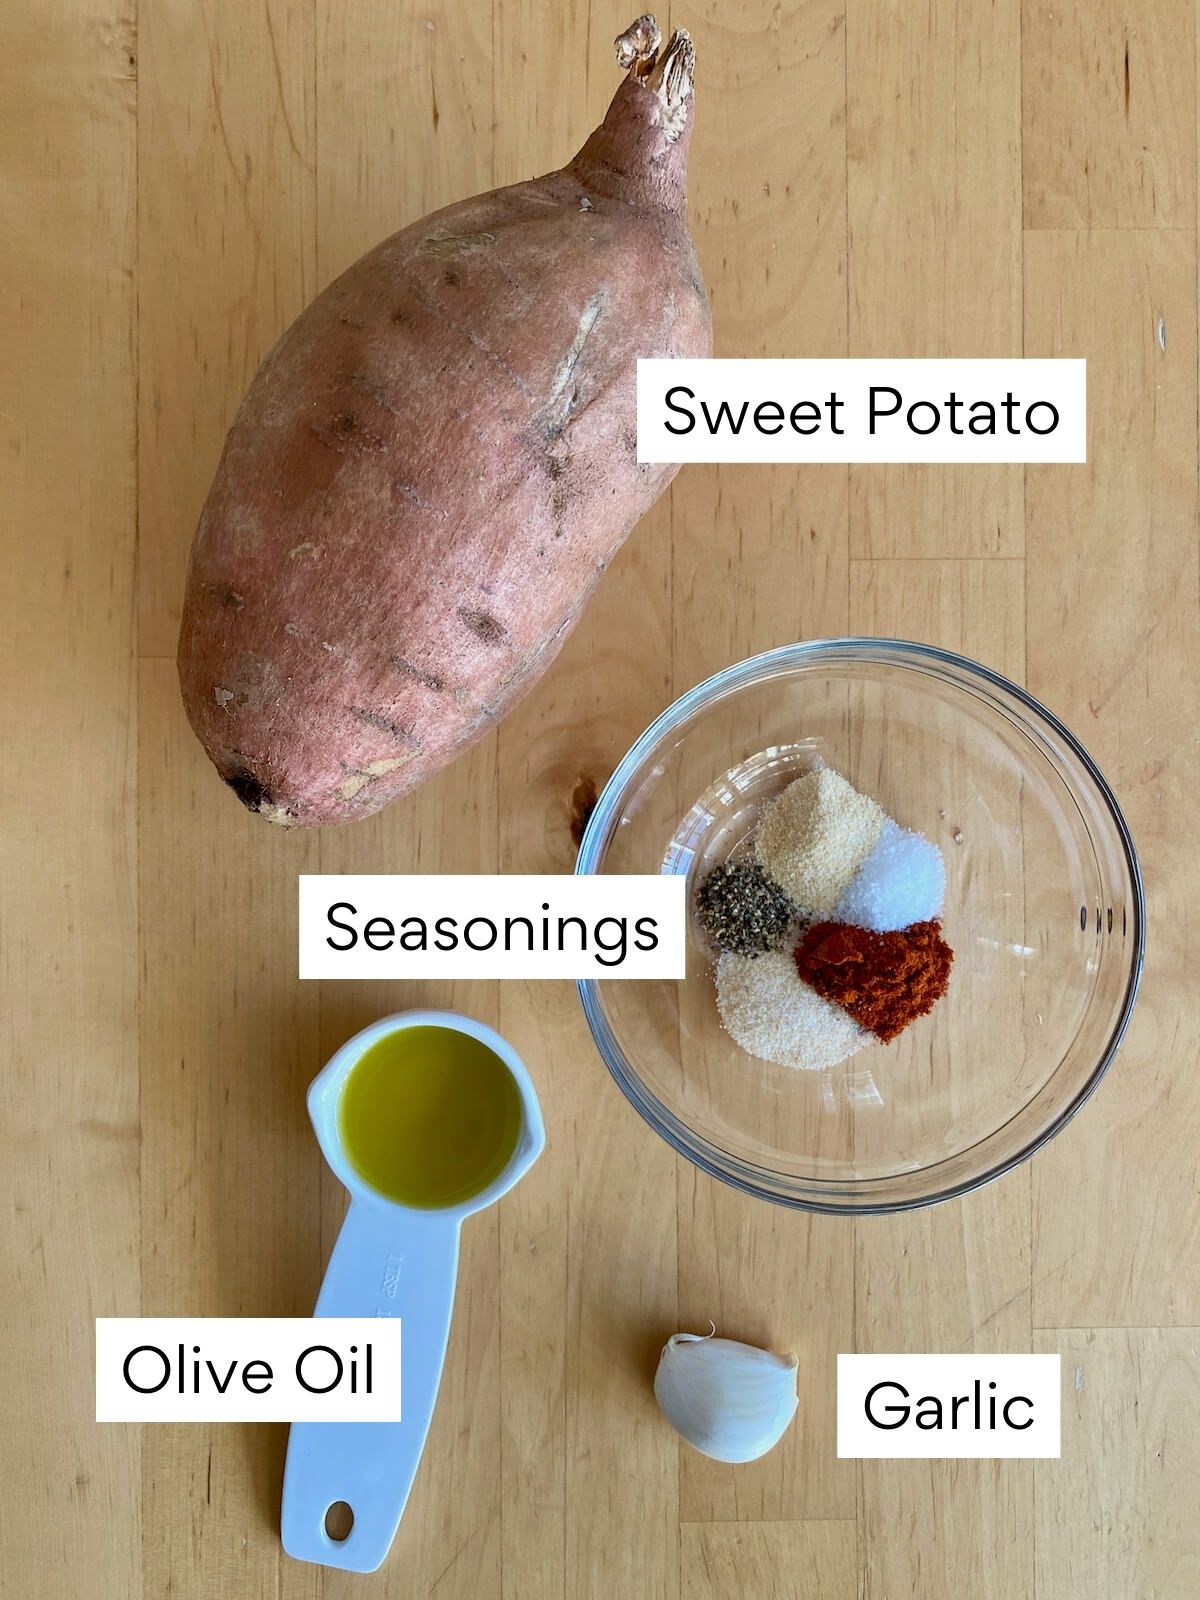
- Sweet Potatoes- Peel and dice into ½-inch cubes for quick, even cooking. You can also use diced pumpkin, butternut squash, acorn squash, or carrots with this method, though the cooking time may vary.
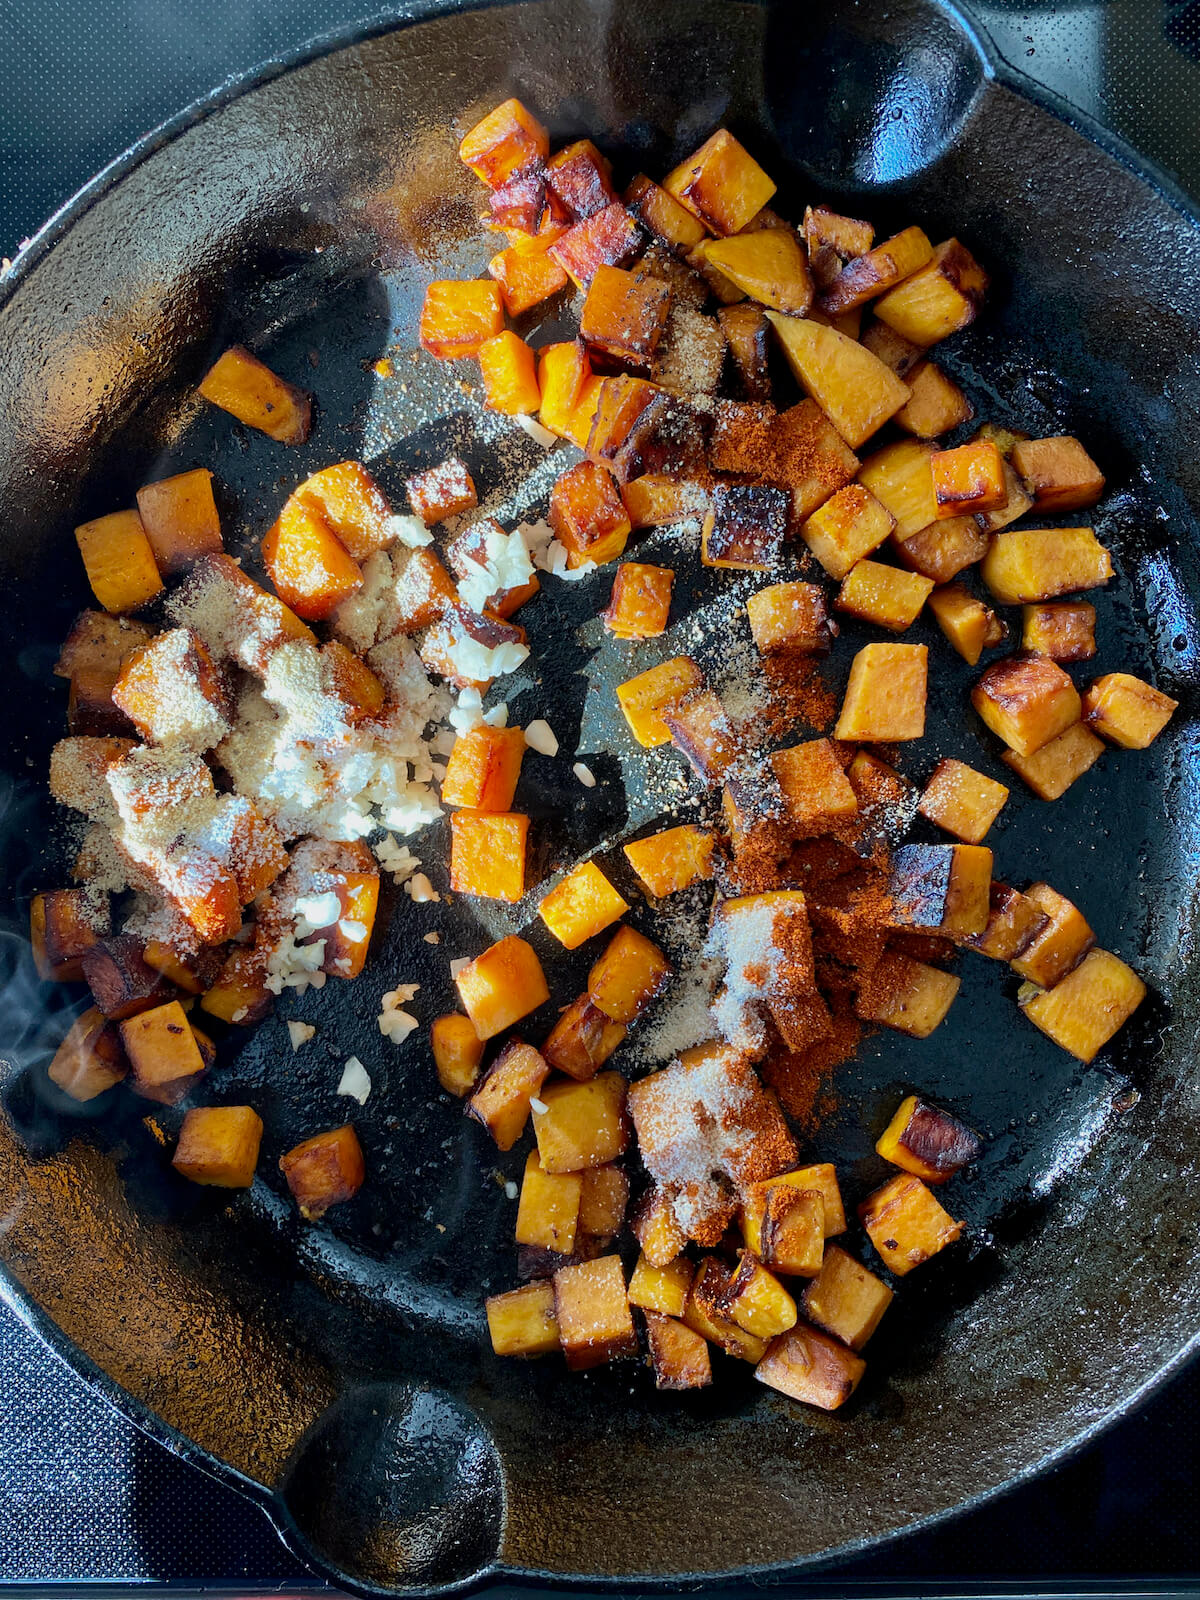
- Garlic- Fresh minced garlic adds bold flavor, but you can swap it for an extra ½ teaspoon of garlic powder or skip it entirely. Garlic-infused olive oil also works great for sautéing the sweet potatoes.
- Olive Oil- Any high-heat, neutral oil works, but I usually use olive oil. If you prefer butter, mix it with a bit of oil to keep it from burning.
- Seasonings- I love using a mix of smoked paprika, garlic powder, onion powder, salt, and black pepper, as the smoked paprika complements sweet potatoes perfectly. Feel free to swap in any seasoning blend you prefer!
- Water- A small amount of water creates steam to help the potatoes cook through without burning. You can also use vegetable broth, chicken stock, or turkey stock for added flavor.
Tips for Success
- Cut the sweet potatoes into small, uniform pieces. Cutting the sweet potatoes into uniform ½-inch cubes ensures they cook quickly and evenly.
- Choose the right type of skillet. Use a well-seasoned cast iron skillet or a Teflon-free non-stick skillet to ensure the cooked sweet potatoes do not stick to your pan.
- Use enough oil. Don't shy away from using enough oil to coat the bottom of the skillet. The oil prevents the sweet potatoes from sticking and helps them brown.
- Don't overcrowd the skillet. Use a large skillet so you can spread the cubed sweet potatoes out into an even layer. Overcrowding the pan may prevent the sweet potatoes from cooking evenly.
- Resist the urge to stir too much. We want to brown and caramelize the sweet potatoes to give them lots of flavor.
How to Make Sautéed Sweet Potatoes
Here is how to make these sautéed sweet potatoes with garlic.
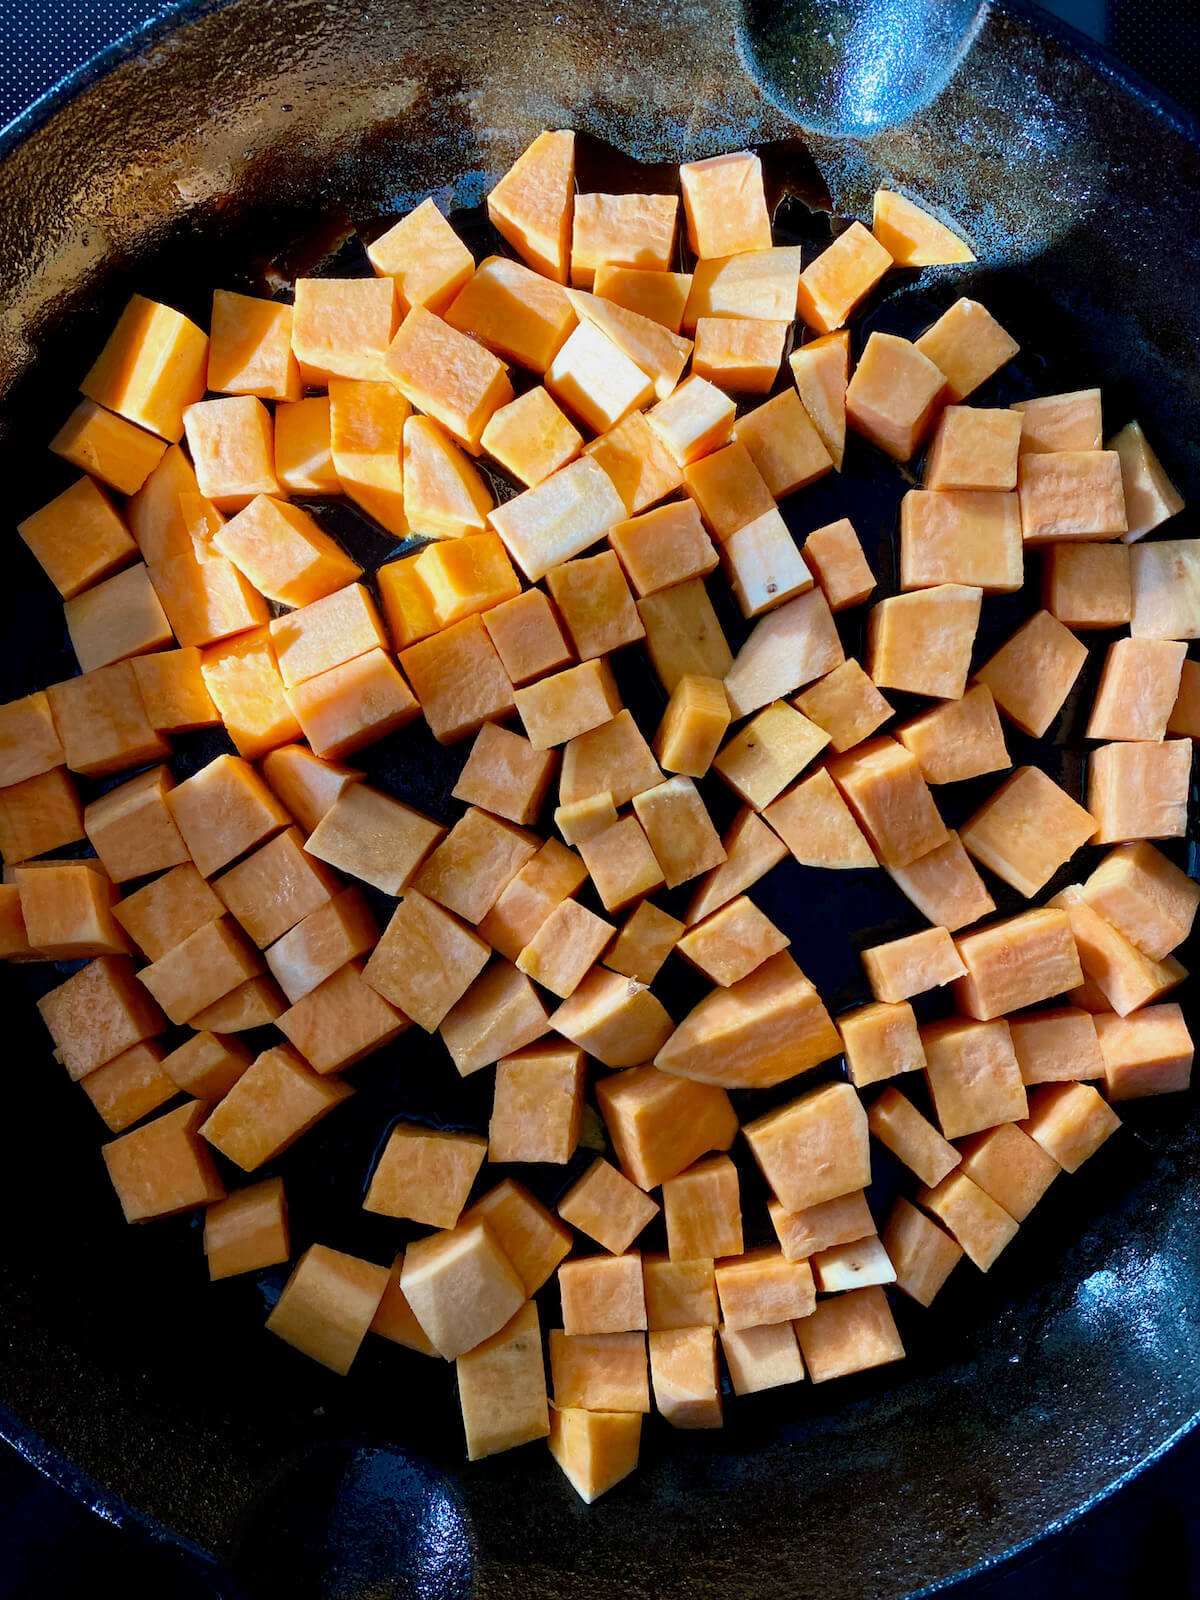
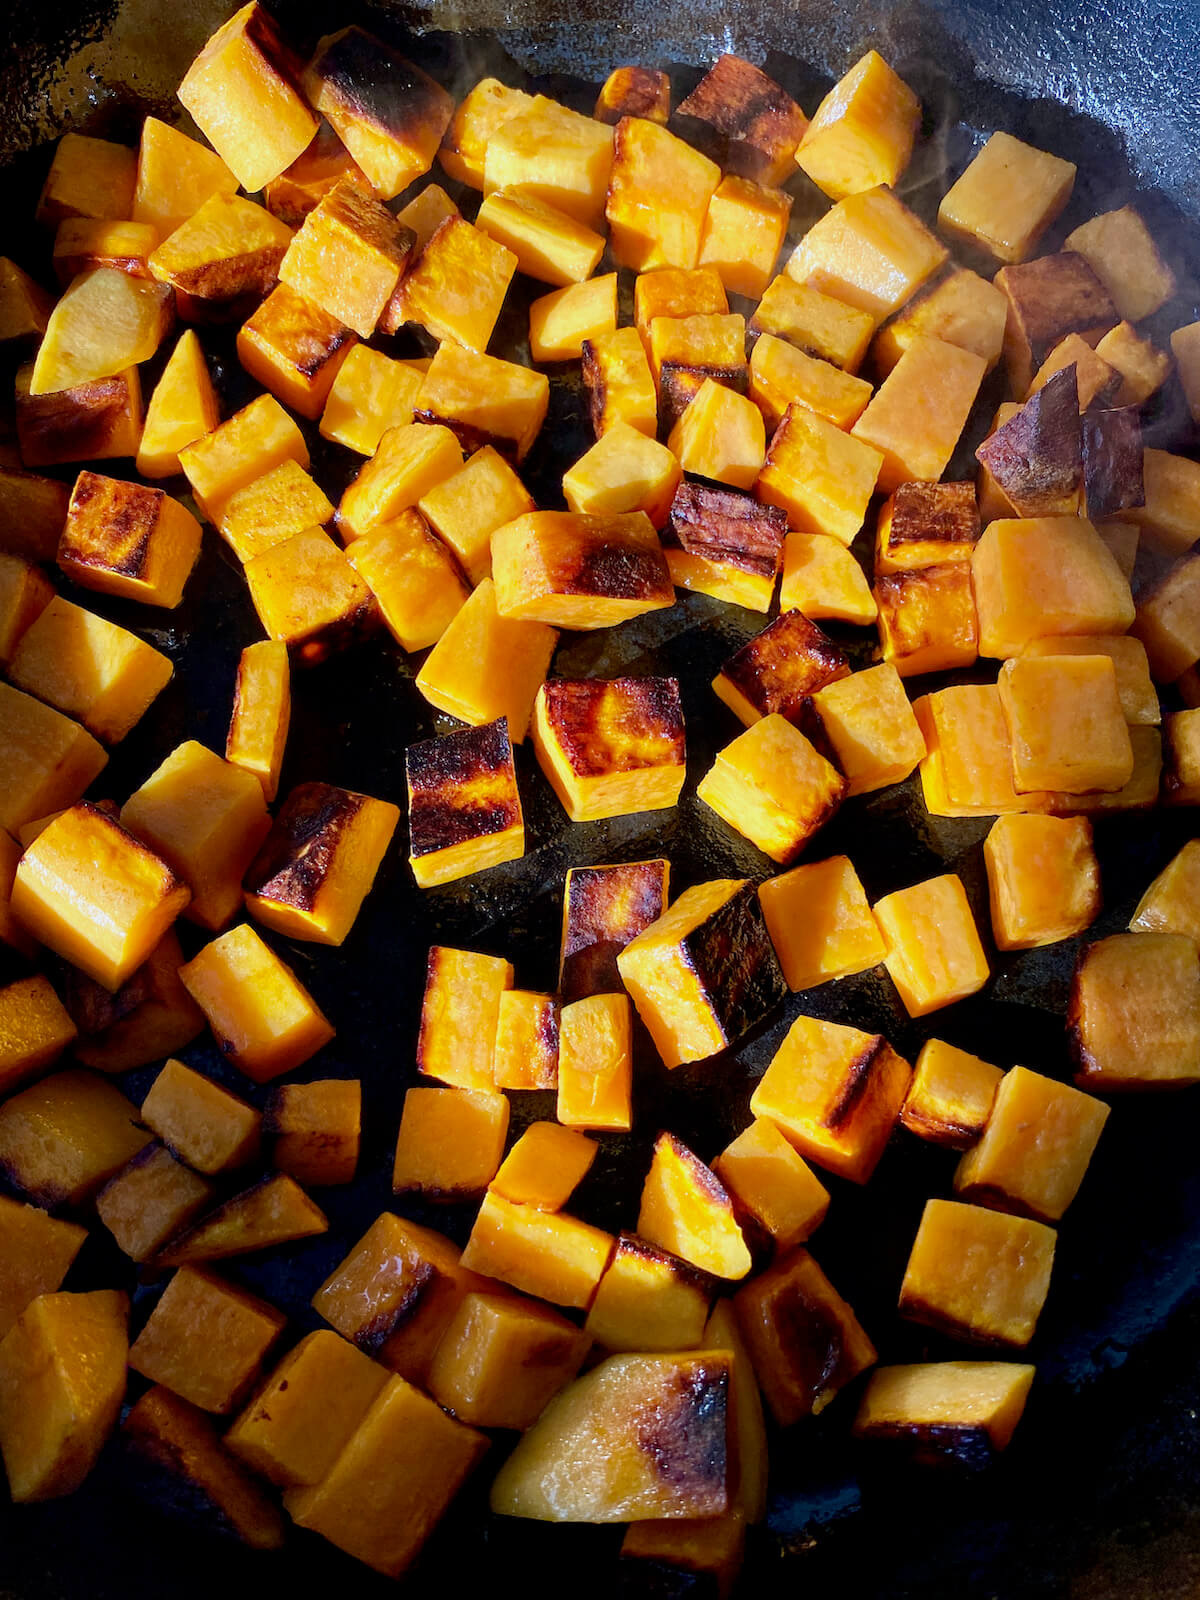
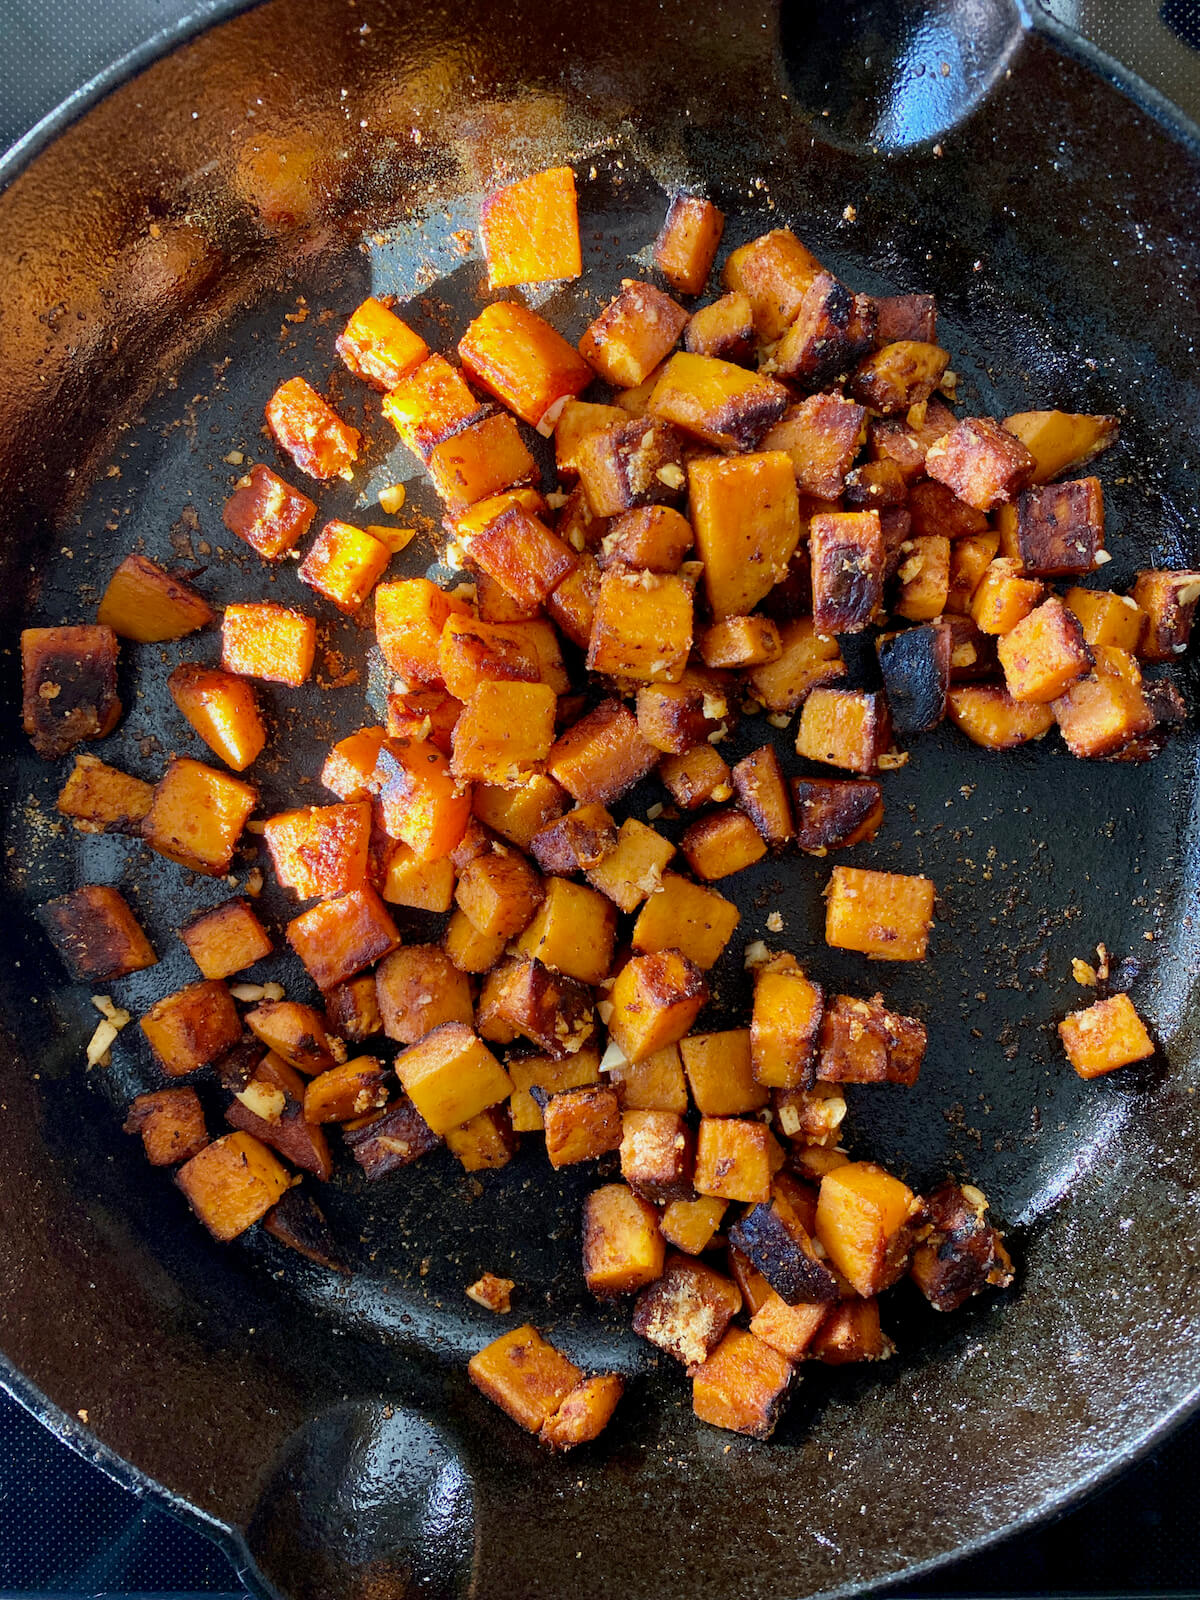
Step 1: Sauté sweet potatoes. Heat olive oil over medium heat in a well-seasoned cast iron skillet or non-stick skillet. Once hot, add sweet potatoes to the skillet, spreading them out into a single layer. Cover the skillet with a lid, reduce the heat to medium-low, and cook for 5-7 minutes. Stir the sweet potato and pour the water into the skillet. Quickly cover again with the lid and cook for an additional 5-7 minutes or until the potatoes are soft and tender.
Step 2: Season sweet potatoes. Sprinkle the seasonings evenly over the sweet potato, stirring to coat. Add the minced garlic and sauté for an additional 1-2 minutes. Remove the skillet from the heat and serve.
How to Store
Store leftovers in an airtight container in the refrigerator for 3-5 days.
You can freeze cooked sweet potatoes for up to a year for longer storage. However, for the best quality, try to use them within 3 months. Thaw overnight in the fridge or use the microwave before reheating.
What to Serve With Sautéed Sweet Potatoes
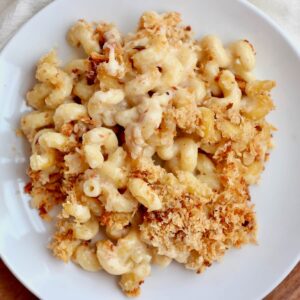
Sautéed sweet potatoes are a versatile side dish that pairs well with many main courses and other sides. My favorites include lemon-garlic roasted chicken, pan-seared chicken breast, and sourdough baked macaroni and cheese.
Let's Connect!
Be sure to leave a comment below if you have any questions. You can also connect with me on Instagram, Facebook, Pinterest, or via email at [email protected].

📖 Recipe
Sautéed Sweet Potatoes
Equipment
- 10-inch cast iron skillet with lid
Ingredients
- 2 tablespoons light olive oil
- 2 large sweet potatoes peeled and cut into ½-inch cubes
- ¼ cup water
- 1 teaspoon kosher salt
- 1 teaspoon smoked paprika
- ½ teaspoon garlic powder
- ½ teaspoon onion powder
- ¼ teaspoon black pepper
- 2 cloves garlic minced
Instructions
- Heat olive oil over medium heat in a well-seasoned cast iron skillet or non-stick skillet. Once hot, add sweet potatoes to the skillet, spreading them out into a single layer. Cover the skillet with a lid, reduce the heat to medium-low, and cook for 5-7 minutes. Stir the sweet potato and pour the water into the skillet. Quickly cover again with the lid and cook for an additional 5-7 minutes or until the potatoes are soft and tender.2 tablespoons light olive oil, 2 large sweet potatoes, ¼ cup water
- Sprinkle the seasonings evenly over the sweet potato, stirring to coat. Add the minced garlic and sauté for an additional 1-2 minutes. Remove the skillet from the heat and serve.1 teaspoon kosher salt, 1 teaspoon smoked paprika, ½ teaspoon garlic powder, ½ teaspoon onion powder, ¼ teaspoon black pepper, 2 cloves garlic
Notes
- Quick Tip: Use a well-seasoned cast iron skillet or a Teflon-free non-stick skillet to ensure the cooked sweet potato does not stick to your pan.
- Storage: Store leftover sautéed sweet potatoes in an airtight container in the refrigerator for up to 5 days or in the freezer for up to one year.
- Make Ahead: Peel and cut raw sweet potatoes into cubes and store them in an airtight container in the refrigerator with ice water for up to 4 days before cooking.


Comments
No Comments