Learn how to make butter in a jar from scratch with this easy homemade mason jar butter recipe. All you need is heavy cream, a jar, and a little arm power to shake up fresh butter the old-fashioned way. It's perfect for beginners and a fun activity for kids.
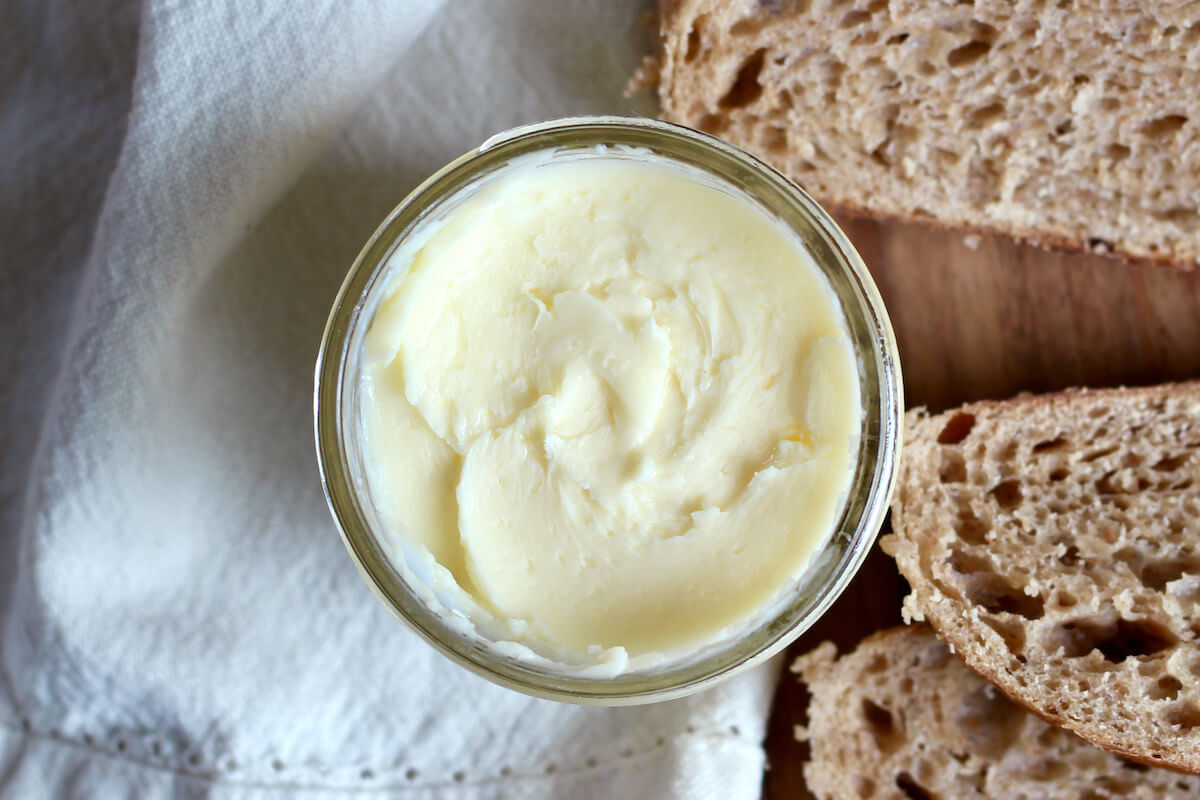
While butter can be made in a variety of ways, I love the simplicity of making homemade butter in a jar. This old-fashioned butter making technique is so easy, you can even get the kids involved (with adult supervision, of course)!
Made with just one ingredient and ready in about 20 minutes, you'll love how fresh, creamy, and delicious this homemade mason jar butter tastes.
Plus, you have complete control over the quality of the ingredients. By using fresh, high-quality cream without additives, you'll create the best homemade butter you've ever tasted.
Today, I’m walking you through the entire butter making process including the best ingredients to use, tips to help you make this mason jar butter recipe successfully the first time, and some ways you can customize this butter to make it your very own.
Disclaimer: Some links throughout this post are affiliate links. As an Amazon Associate, I earn from qualifying purchases. You can learn more by visiting my Affiliate Disclosure Page.
Why You'll Love This Recipe
- Simple & Fresh- Homemade butter tastes fresher than store-bought butter, especially if using high-quality heavy cream without any added stabilizers.
- Beginner-Friendly- This recipe requires only a few basic ingredients, a jar, and a bowl. Each step in the recipe is simple and straightforward, making it accessible to people with all levels of cooking experience.
- Ready in 20 Minutes- Just 10 minutes of shaking, a little kneading, and you're ready to serve your own fresh butter to your family and friends.
- Fun Activity for Kids- Churning butter with kids is a fun and educational way to teach them about where their food comes from. It's hands-on and gets them active!
- Nostalgic Scratch-Cooking- If you share my passion for learning about old-fashioned cooking techniques, you'll love making homemade butter by hand. It's a fun and easy way to connect with the past while creating something delicious.
- Customizable- Add salt, garlic, herbs, honey, or anything else you want! Homemade butter is easy to customize to suit your tastes.
Ingredient Notes
Here are some notes on the key ingredients. For the full list of ingredients, check out the recipe card below.
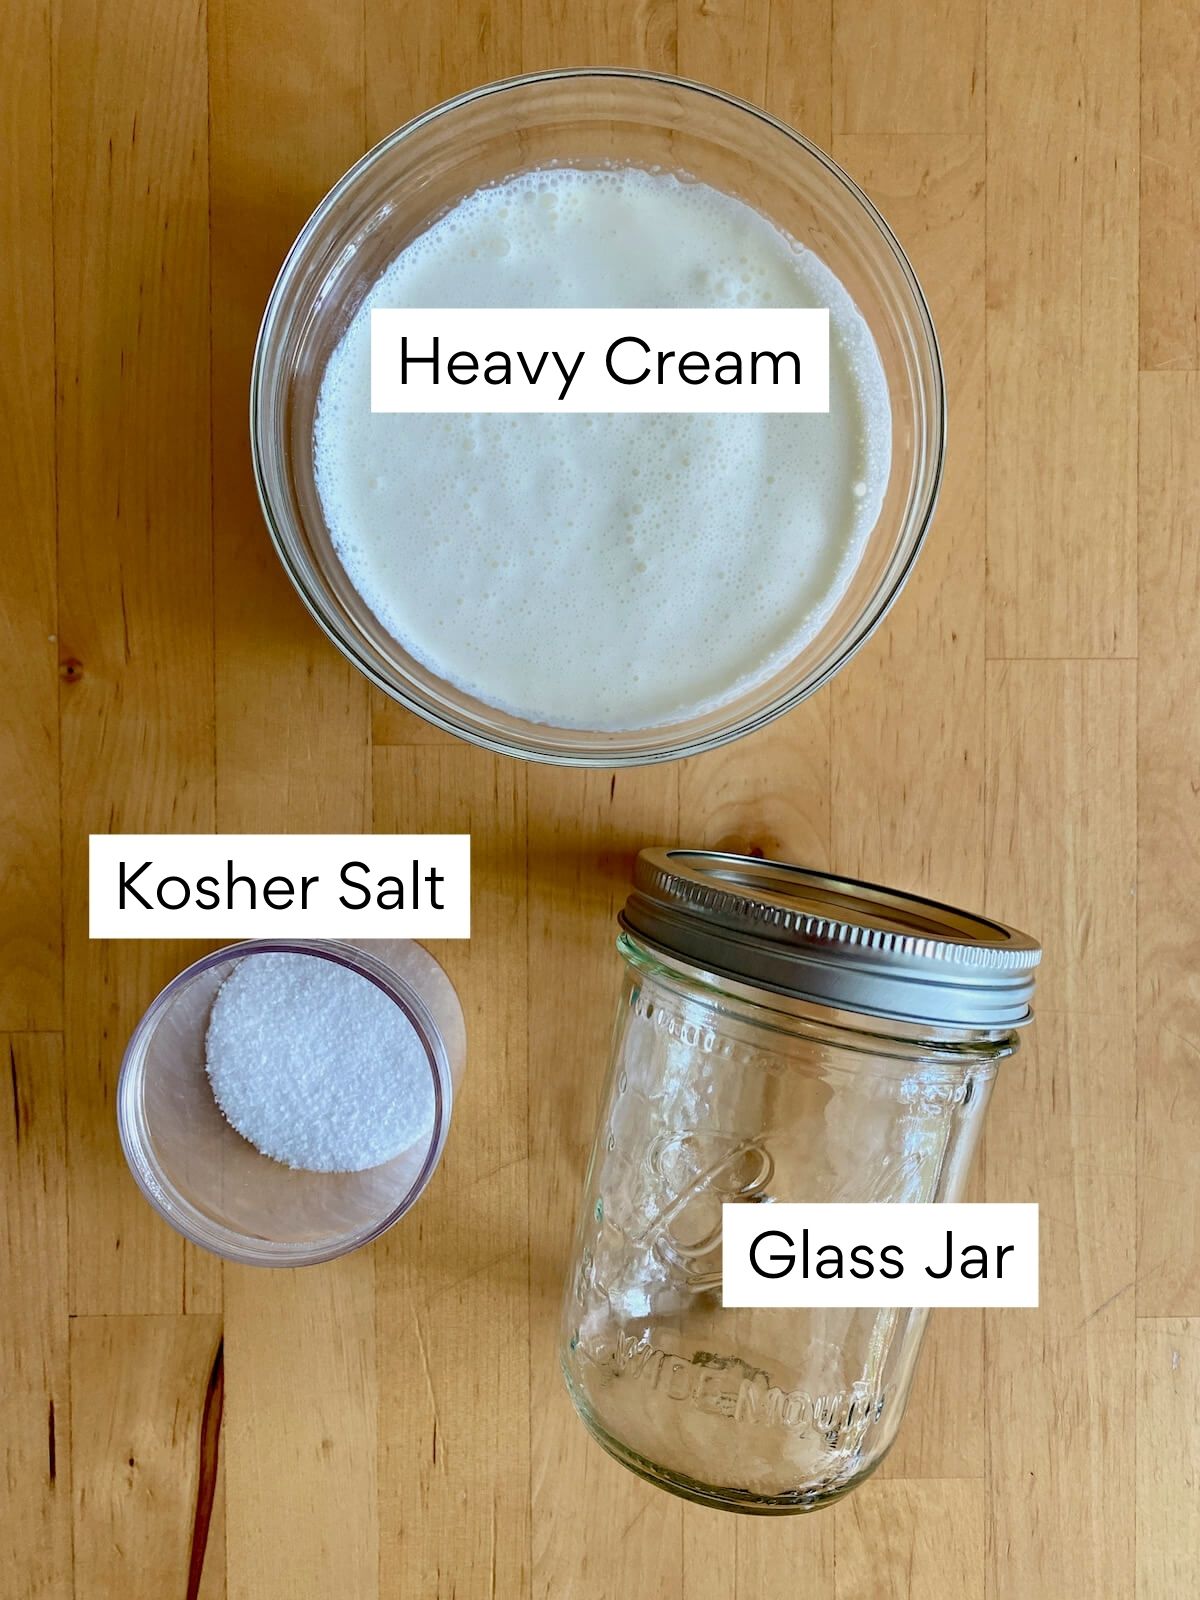
- Heavy Cream- For the freshest, creamiest, and richest butter, choose high-quality heavy cream with a fat content of around 36% or higher. Avoid ultra-pasteurized cream, as it may not churn effectively into butter.
- Kosher Salt- Adding kosher salt enhances the flavor of the butter and makes salted butter. If you prefer unsalted butter, omit the salt altogether.
- Ice Water- Preparing an ice bath before making the butter is essential to cool and solidify the butter after churning, making it easier to knead.
🌱 Sustainability Tip: Whenever possible, choose locally-sourced, organic heavy cream. Not only does it taste fresher, but by supporting local farmers, you reduce the carbon footprint associated with food transportation.
Substitutions and Variations
Here are a few ways you can try customizing this easy homemade butter recipe to fit your diet and taste preferences.
Substitutions
- Heavy Cream- If heavy cream isn't available, whipping cream or heavy whipping cream can be used. While the fat content of whipping cream is slightly lower, you should still be able to use it to make butter.
- Kosher Salt- Sea salt, pink Himalayan salt, or table salt can be used in place of kosher salt. Look for salt that does not contain added sugar or anti-caking agents.

Variations
When it comes to making flavored compound butter, the possibilities are truly endless. Here are some of my favorite ways to dress up this homemade butter recipe.
- Herbs- Add dried or fresh parsley, cilantro, dill, chives, thyme, rosemary, or sage to make herbed compound butter.
- Garlic- Minced or roasted garlic gives butter a bold flavor that's perfect for making garlic bread!
- Honey- A little honey mixed with butter is delicious smeared on cornbread or biscuits.
- Citrus- Grated lemon, lime, or orange zest give homemade butter a tart, citrusy flavor.
- Pesto- Make your own pesto butter by mixing this easy homemade butter with rich and flavorful basil pesto.
- Cinnamon Sugar- Add cinnamon and brown sugar for a delicious breakfast butter that pairs well with French toast casserole, waffles, pancakes, and more.
- Spiced- Spices like cinnamon, nutmeg, and ginger give the butter a warm and cozy flavor that's perfect for the holidays.
How to Make Butter in a Jar with Cream
Here is how to make fresh butter at home.
Step 1: Prepare the ice bath. Prepare an ice bath by filling a mixing bowl with 1 cup of ice and 4 cups of cold water. This will be used later to knead the butter.
Step 2: Fill the mason jar. Pour the heavy cream into the glass mason jar, filling it up to no more than halfway. Leaving room in the jar allows the cream to churn and turn into butter.

Step 3: Shake the jar. Securely close the mason jar with its lid and shake it vigorously for about 10-12 minutes. At first, you'll hear the cream sloshing around, but after around 5 minutes, it will turn into whipped cream and become quiet. Around the 10-minute mark, you'll hear the butter thumping against the jar and buttermilk sloshing around, indicating that the butter is done!

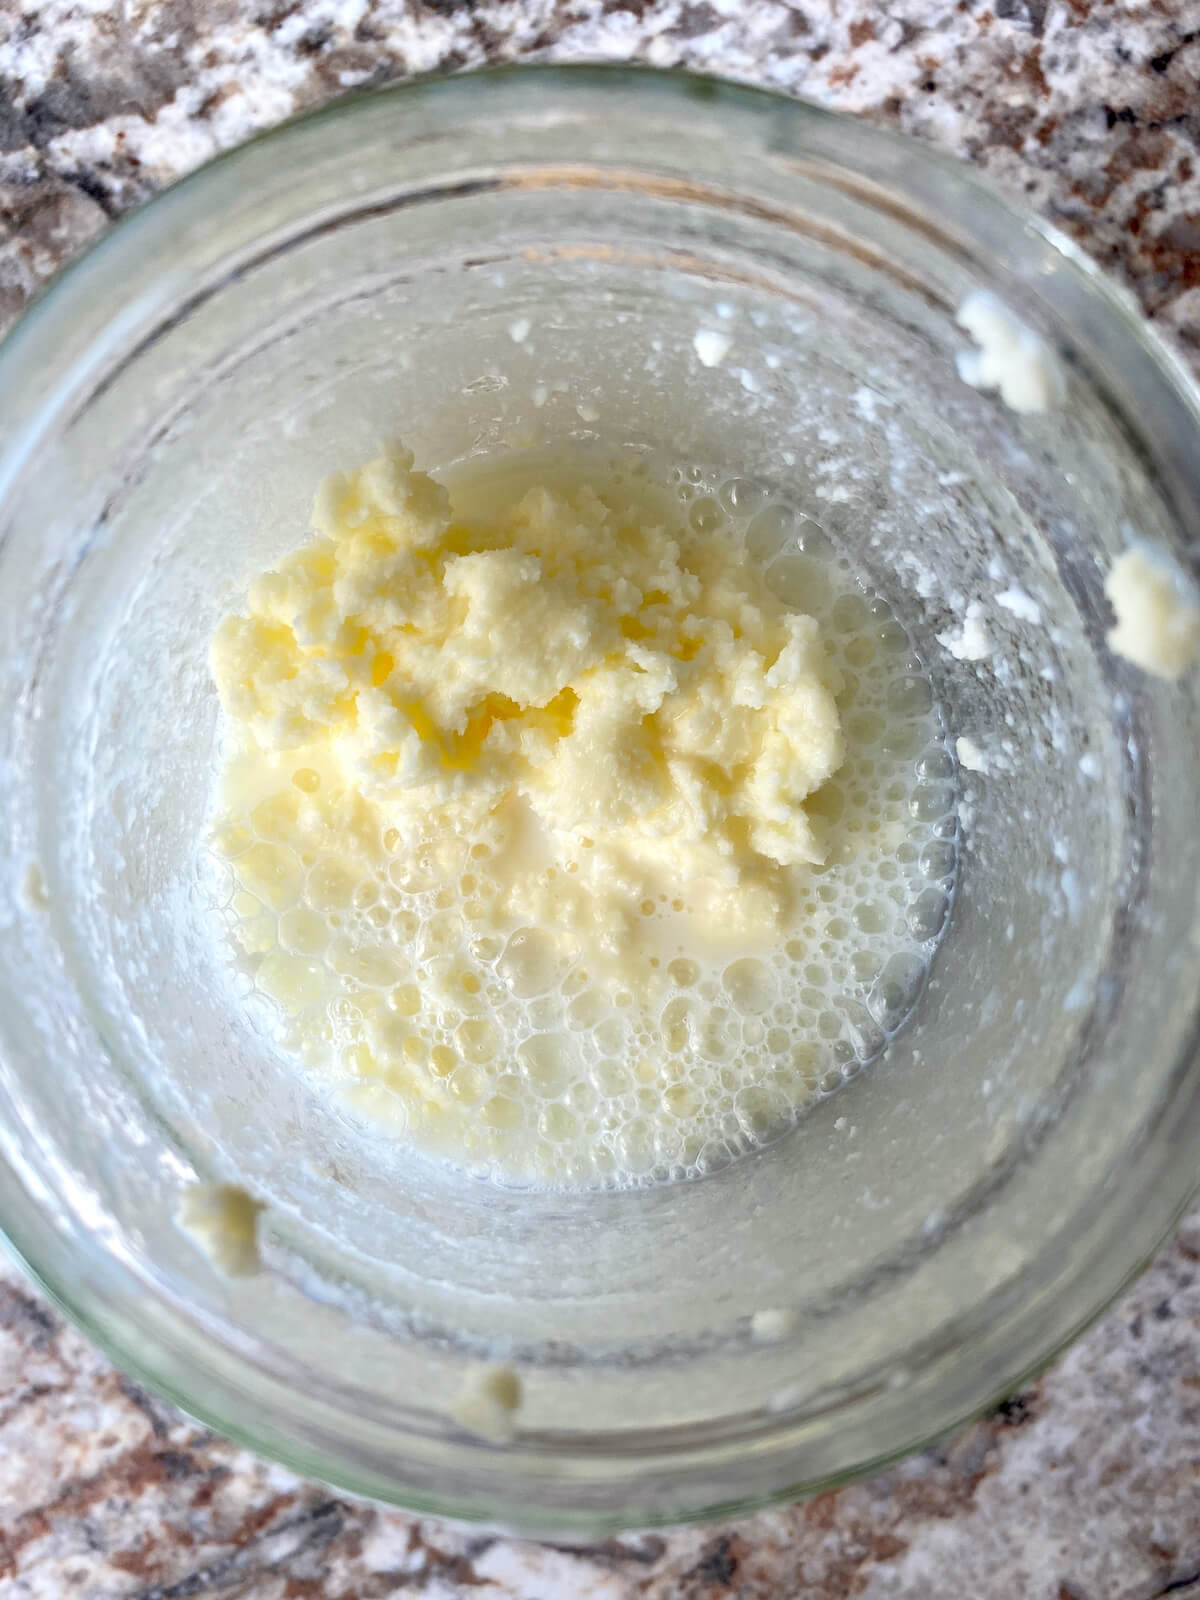
Step 4: Pour off the buttermilk. Pour the buttermilk into a separate bowl and save it for other recipes like pancakes or biscuits. Over the sink, remove the butter from the jar and gently squeeze it together to remove excess buttermilk.
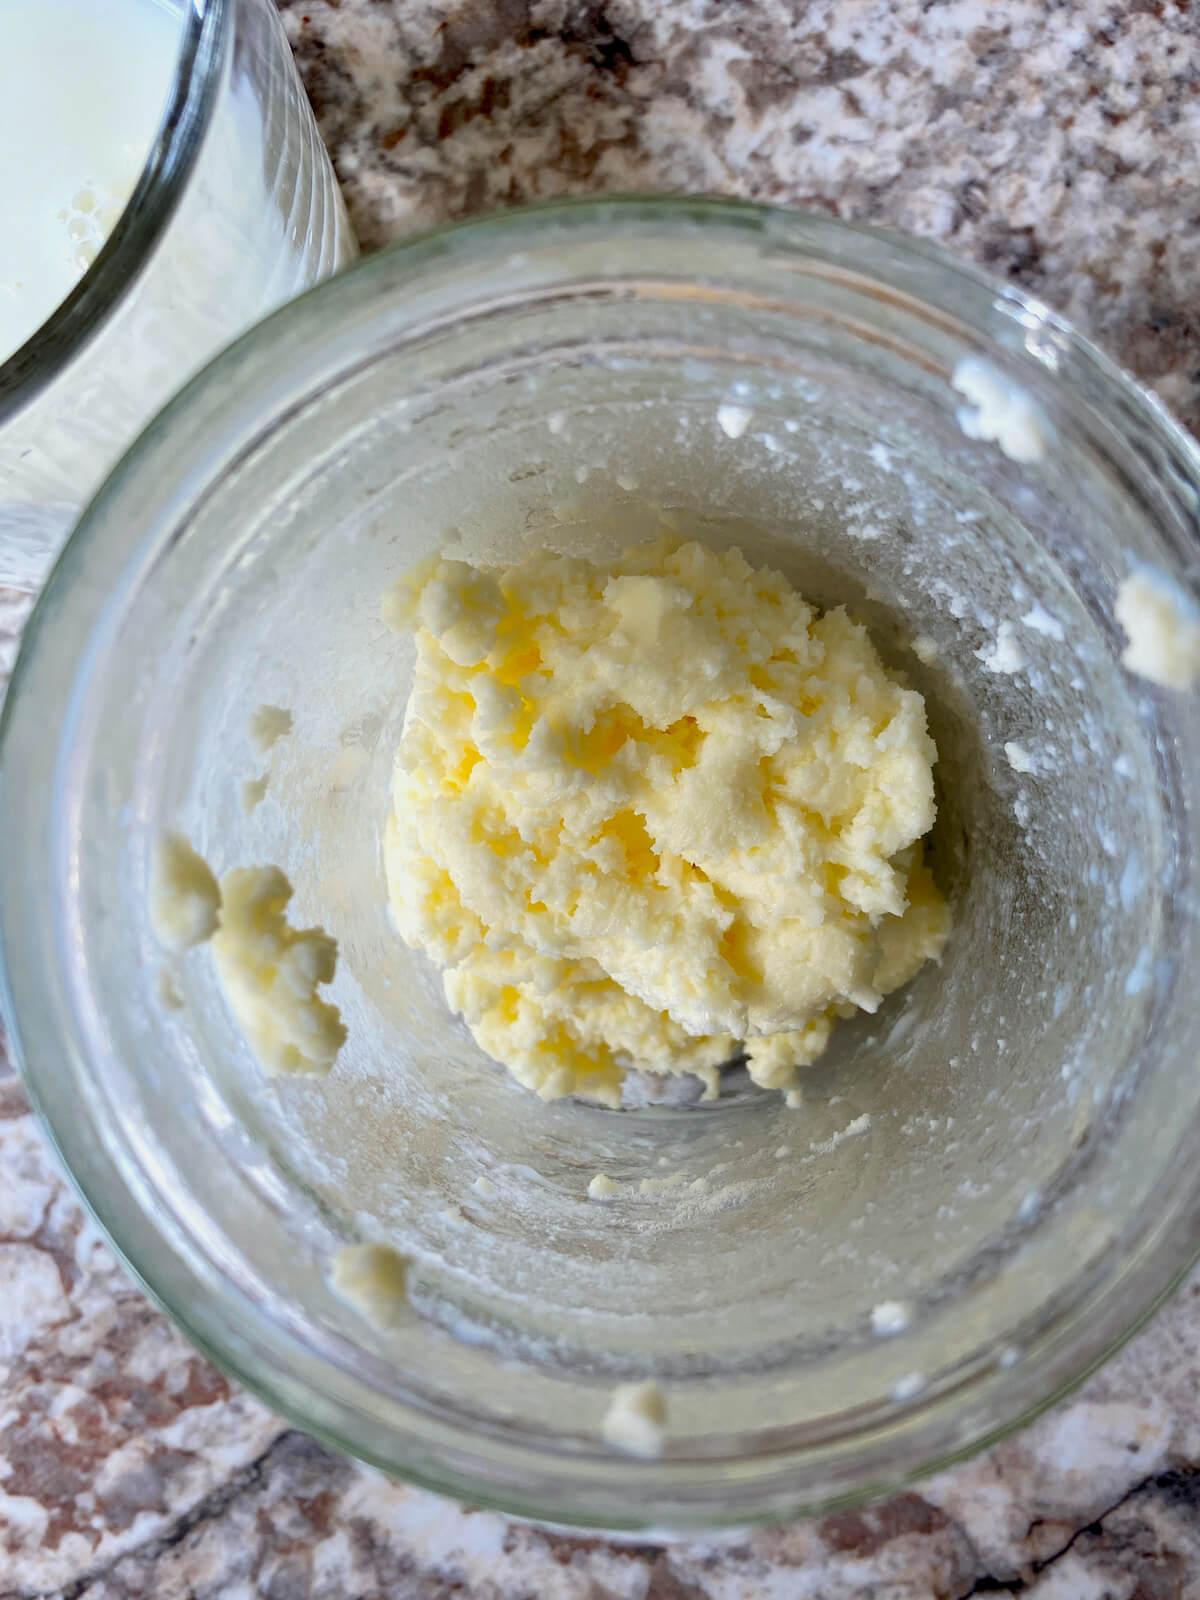
Step 5: Knead the butter. Place the butter into the prepared ice bath and gently knead it, further removing any remaining buttermilk. Once the butter is cohesive and free of excess liquid, take it out of the ice bath and gently squeeze it to remove the water. If desired, add ¼ teaspoon of kosher salt and knead it into the butter.


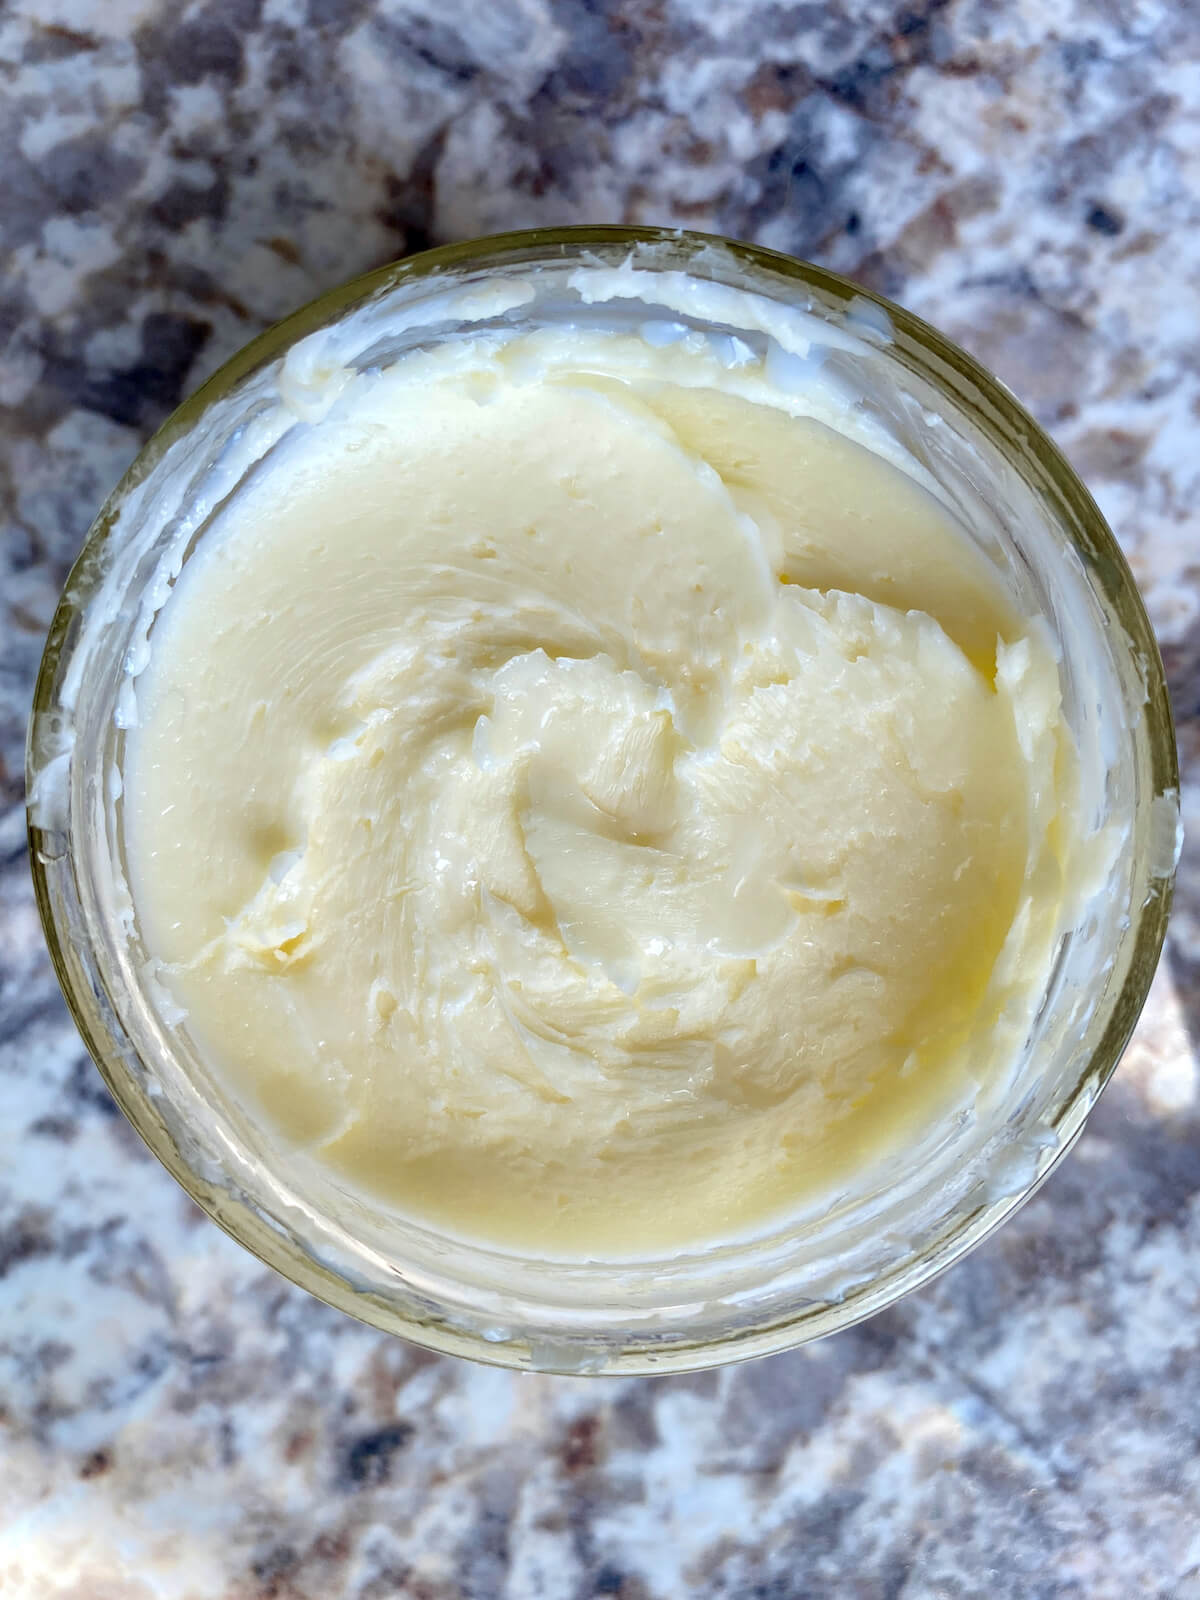
Step 6: Store the butter. Store the homemade butter in a glass mason jar or wrap it tightly in beeswax wrap, plastic wrap, or parchment paper. Keep it in the refrigerator for up to 3 weeks or freeze it for up to 9 months.
Tips for Success
Learn how to make homemade butter successfully the first time using these tried and true tips.
- Choose fresh, high-quality cream. Fresh cream without any added ingredients results in the freshest-tasting, richest, and creamiest homemade butter.
- Allow the cream to warm slightly. Let the heavy cream sit out on the counter for 20-30 minutes before making butter. According to New England Cheese Making Supply Company, butter is best made when the temperature of the cream is between 50-60°F.
- Fill the jar no more than halfway. Leave enough room in the jar for the cream to churn effectively.
- Be patient. Shake the mason jar vigorously for about 10-12 minutes. It may take some time to see the cream transform into butter, so be patient and keep shaking until you hear the distinct thumping sound.
- Don't discard the buttermilk. Reserve it for other recipes like pancakes, biscuits, or salad dressings.
- Label and store the butter. Store the homemade butter in a glass mason jar or wrapped tightly in beeswax wraps, parchment paper, or plastic warp. Label the container with the preparation date for easy reference.
How to Use Homemade Butter in a Jar
Homemade butter can be used in the same way as store-bought butter. However, because its flavor is fresher and more delicious, I recommend using it in dishes where its taste will shine and be highlighted.
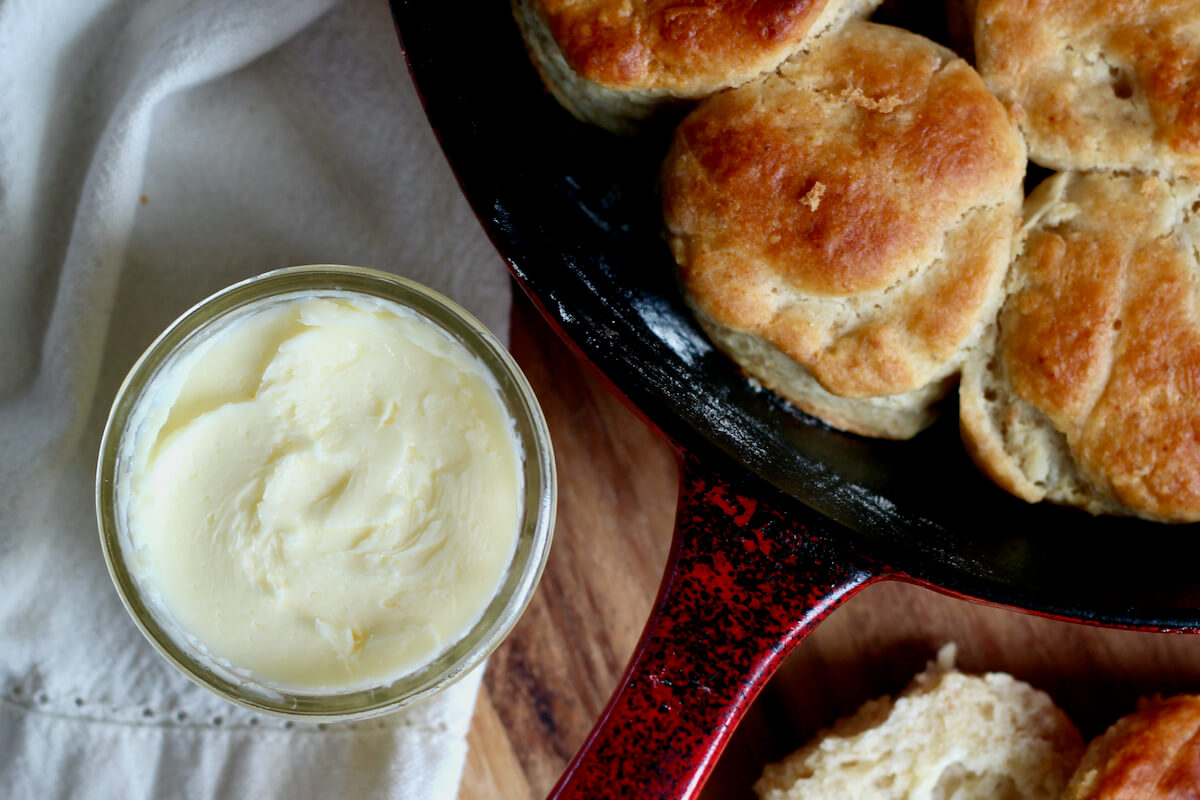
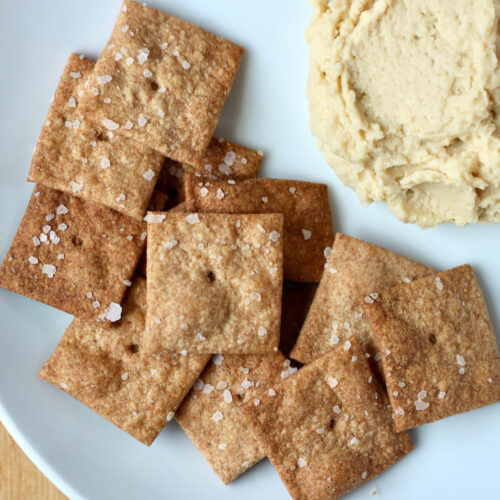
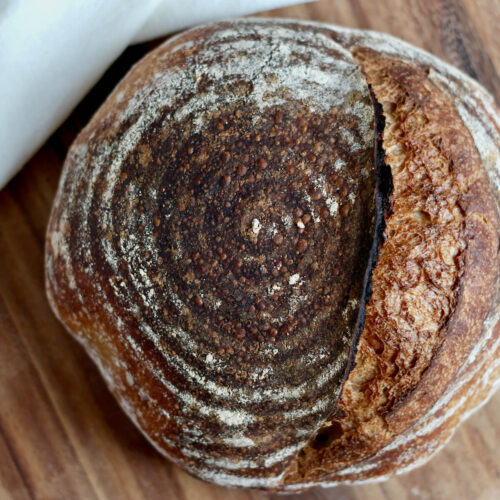
Spread this homemade mason jar butter on all kinds of bread and bread products for a comforting treat. Sourdough bread, jalapeño cheddar bread, biscuits, naan bread, and crackers are some of my favorites.
Creamy homemade butter also pairs well with a variety of breakfast foods. Smear it on waffles, pancakes, French toast, sourdough pumpkin muffins, or blueberry chocolate chip muffins. Or mix it into scrambled eggs or a frittata to give them a buttery flavor.
Finally, this simple butter will take all of your favorite side dishes to the next level. Add it to mashed potatoes, macaroni and cheese, honey roasted Brussels sprouts, or sautéed butternut squash to give it that special touch.
How to Store
- Refrigerator- Store homemade butter in the refrigerator for 2-3 weeks. It's best stored in a glass jar or wrapped tightly in parchment paper, beeswax wrap, or plastic wrap. Remember to label the butter with the preparation date and check for signs of spoilage.
- Freezer- Properly stored, homemade butter can stay fresh in the freezer for up to 9 months. When you're ready to use the frozen butter, simply thaw it in the refrigerator overnight or at room temperature for a few hours.
How To Tell If Your Homemade Butter Has Gone Bad
- Mold- A definite sign that your butter has gone bad is visible mold on the surface of the butter. If you see mold, discard the butter immediately.
- Smell- If the butter smell sour or rancid, it's a good indication it is no longer good to eat.
- Taste- Similar to smell, if the butter tastes rancid, sour, or just "off" in some way, it's likely bad.
- Discoloration- If you notice any unusual color changes in the butter, such as yellow or brown spots, it may be a sign of spoilage. Fresh butter should have a consistent creamy light yellow color.
- Texture- Spoiled butter may develop a slimy or greasy texture, which is different from the smooth and creamy texture of fresh butter.
Make Ahead
Homemade butter can easily be made ahead of time since it lasts for 3 weeks in the refrigerator and 9 months in the freezer.
Making butter in advance is a great way to have a supply of fresh, delicious butter readily available for various dishes and recipes. It's also ideal if you're planning a party or giving homemade butter as a gift around the holidays.
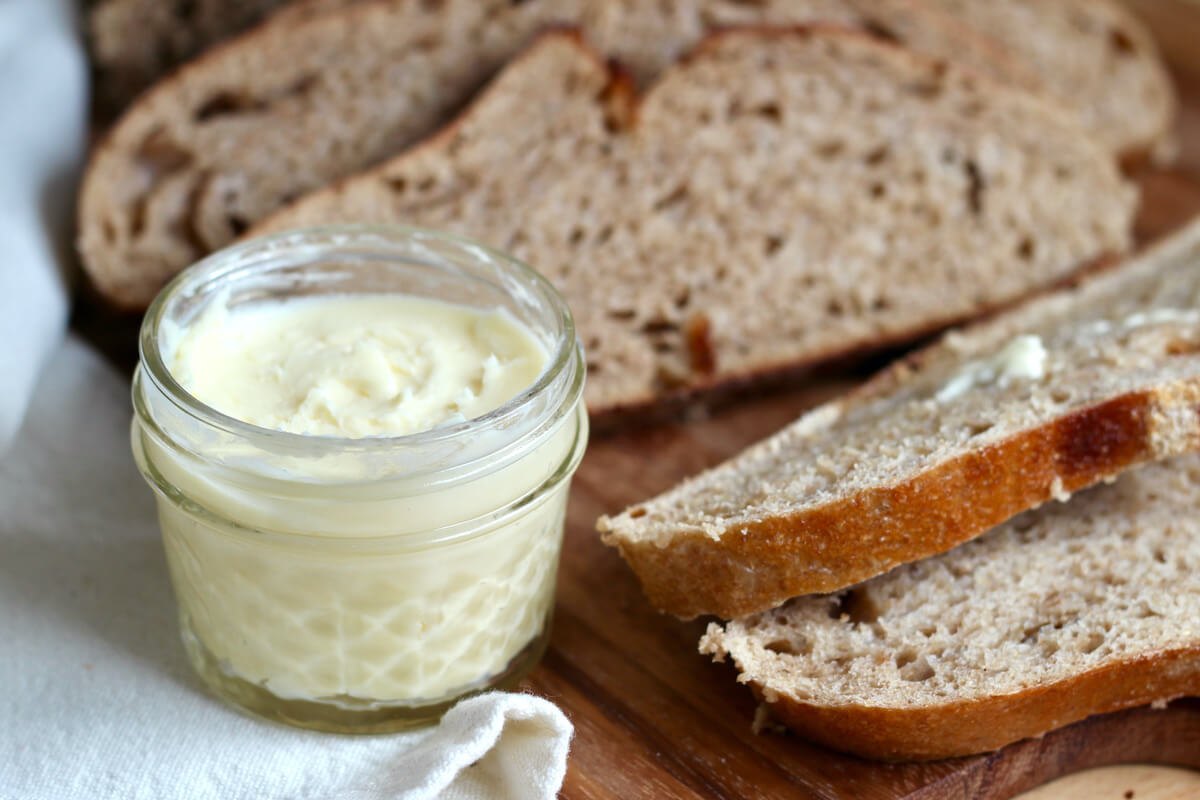
🎁 DIY Edible Gift Idea: Homemade butter in a jar makes a delightful and thoughtful gift for any occasion. Whether it's the holiday season or a friend's birthday, you can't go wrong with delicious edible gifts.
Frequently Asked Questions
In my experience, 8 fluid ounces of heavy cream makes about 3.2 ounces of butter. So, to make one pound (16 ounces) of butter, you would need about 40 fluid ounces (5 cups) of heavy cream.
Homemade butter allows you to control the quality of ingredients, making it a healthier choice if you choose high-quality heavy cream without added stabilizers. It's free from additives and preservatives found in some store-bought butter.
The cost-effectiveness of homemade butter varies. Compared to cheap, low-quality butter, it may be more expensive. However, when comparing to premium artisanal butter, it can be more cost-effective. Other factors like experience and quality control should also be considered alongside cost.
If you want to make butter from whole milk, you need to use raw milk. Raw milk is essential, as pasteurized and homogenized milk won't separate into cream for butter-making. While making butter from whole milk is possible, it may not be as efficient or yield as much butter as using heavy cream.
Leftover buttermilk is a valuable byproduct that you can use in various recipes like pancakes, biscuits, salad dressings, and smoothies. Don't let it go to waste!
Certainly! You can make butter in a stand mixer or food processor by churning heavy cream until it separates into butter and buttermilk.
Let's Connect!
Be sure to leave a comment below if you have any questions. You can also connect with me on Instagram, Facebook, Pinterest, or via email at [email protected].
📖 Recipe
How to Make Butter in a Jar
Equipment
- One pint glass mason jar
Ingredients
- 1 cup ice
- 4 cups cold water
- 8 fluid ounces heavy cream between 50-60℉
- ¼ teaspoon kosher salt optional
Instructions
- Prepare an ice bath by filling a mixing bowl with 1 cup of ice and 4 cups of cold water. This will be used later to knead the butter.1 cup ice, 4 cups cold water
- Pour the heavy cream into the glass mason jar, filling it up to no more than halfway. Leaving room in the jar allows the cream to churn and turn into butter.8 fluid ounces heavy cream
- Securely close the mason jar with its lid and shake it vigorously for about 10-12 minutes. At first, you'll hear the cream sloshing around, but after around 5 minutes, it will turn into whipped cream and become quiet. Around the 10-minute mark, you'll hear the butter thumping against the jar and buttermilk sloshing around, indicating that the butter is done!
- Note: The time it takes to turn the cream into butter may vary depending on how vigorously you shake the jar, so be patient and keep shaking until you hear the distinct thumping sound.
- Pour the buttermilk into a separate bowl and save it for other recipes like pancakes or biscuits. Over the sink, remove the butter from the jar and gently squeeze it together to remove excess buttermilk.
- Place the butter into the prepared ice bath and gently knead it, further removing any remaining buttermilk.
- Once the butter is cohesive and free of excess liquid, take it out of the ice bath and gently squeeze it to remove the water.
- If desired, add ¼ teaspoon of kosher salt and knead it into the butter.¼ teaspoon kosher salt
- Store the homemade butter in a glass mason jar or wrap it tightly in plastic wrap or parchment paper. Keep it in the refrigerator for up to 3 weeks or freeze it for up to 9 months.
Notes
- Note: 8 ounces of heavy cream makes about 3 ounces of butter (about 6 tablespoons).
- Quick Tip: Use fresh and high-quality heavy cream for the best results.
- Storage: Store in an airtight container in the refrigerator for up to 3 weeks or in the freezer for up to 9 months.




Comments
No Comments