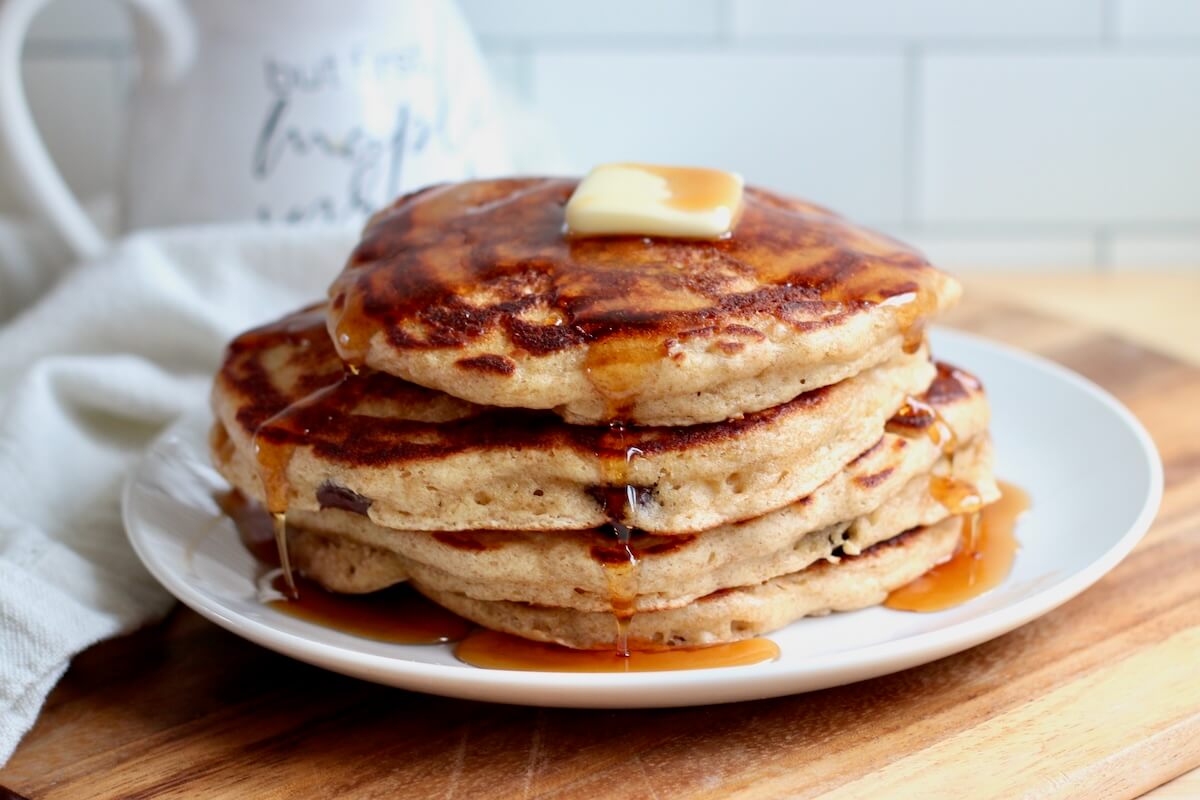
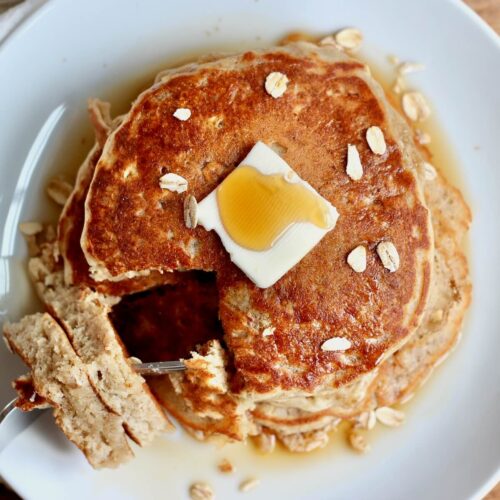
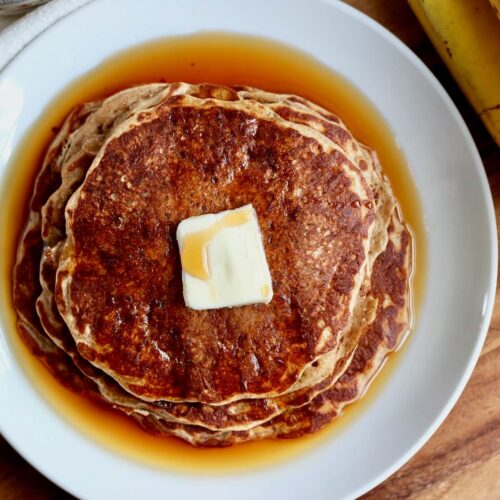
These Sourdough Buttermilk Pancakes are soft, fluffy, and golden with crispy edges. Made in one bowl with buttermilk and discard, they're easy to make and come together in just 30 minutes.
When I first started my sourdough baking journey, I spent a lot of time experimenting with sourdough discard recipes. These sourdough buttermilk pancakes were one of the first recipes I shared here on the blog, and they’ve remained a staple ever since.
Over the years, I’ve made a few small tweaks to the recipe, so I’m giving this post a little refresh with new photos and updated instructions. I reduced the butter slightly and changed the method to make these pancakes in one bowl (because who wants extra dishes on a Sunday morning?).
These pancakes are an easy way to use up discard and are flexible enough to work with what you have on hand. I usually make them with buttermilk, but if I’m out, a simple mix of milk and Greek yogurt works beautifully.
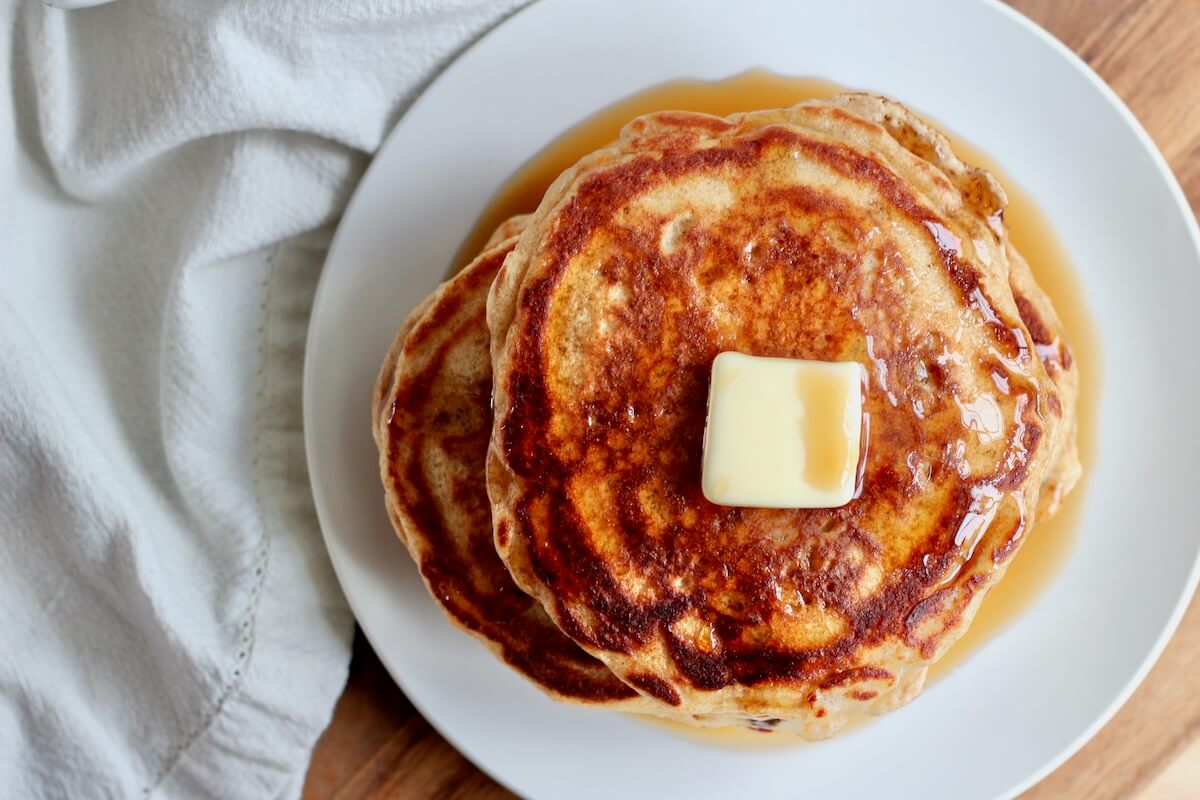
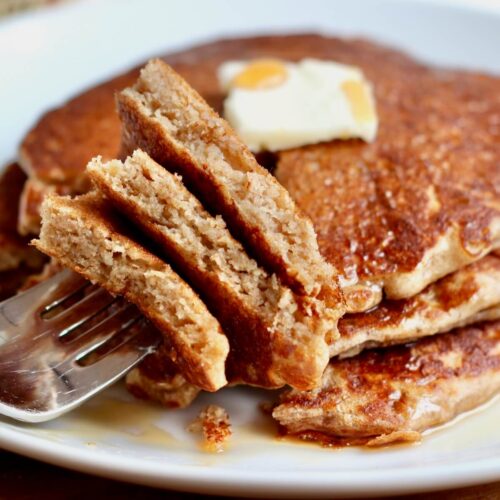
They cook up soft and fluffy with golden brown edges, making them perfect for a slow weekend breakfast. Enjoy them plain, topped with maple syrup, or loaded with your favorite mix-ins. They're sure to become a staple in your house, too!
Disclaimer: Some links throughout this post are affiliate links. As an Amazon Associate, I earn from qualifying purchases. You can learn more by visiting my Affiliate Disclosure Page.
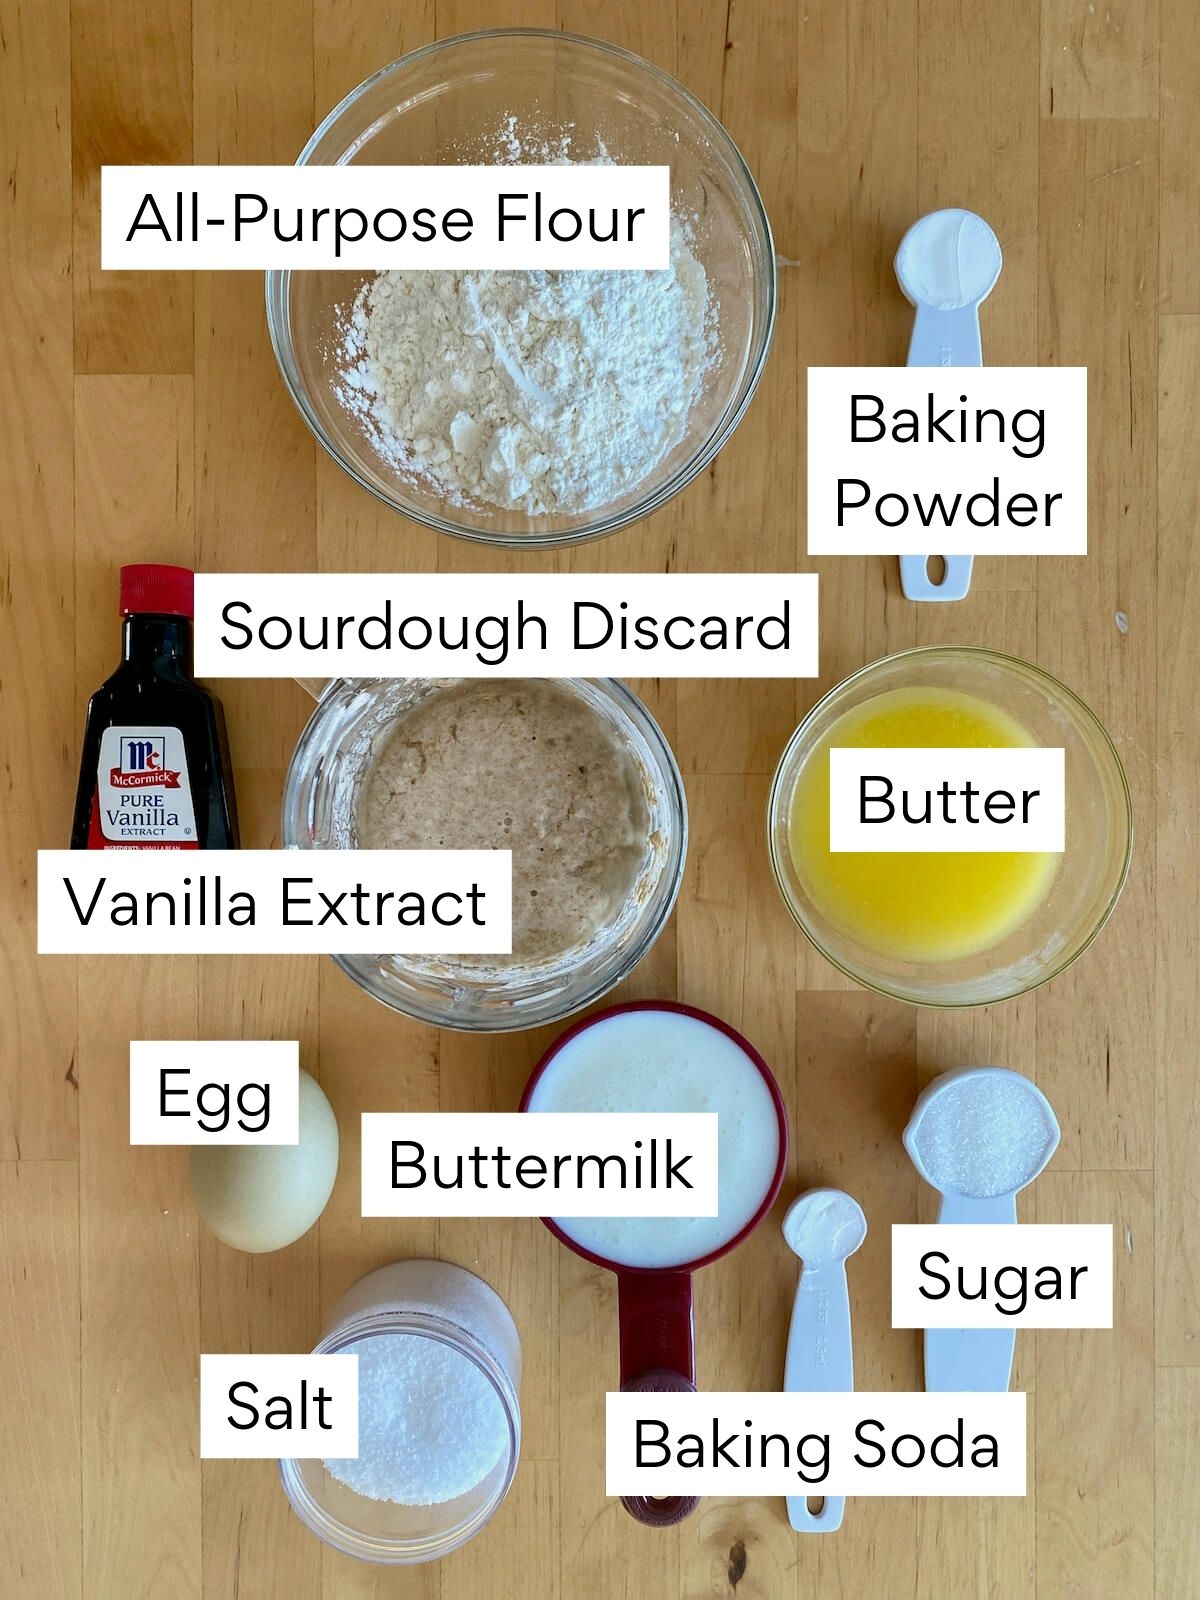
Ingredients & Substitutions
Here are some notes on key ingredients. For a full list of ingredients, check out the recipe card below.
- Sourdough Discard- Adds a delicious tangy flavor, extra moisture, and is a great way to use up extra discard.
- Buttermilk- Adds tang and reacts with the baking soda for fluffy pancakes. Substitute with ½ cup plain Greek yogurt mixed with ½ cup milk.
- All-Purpose Flour- For the best results, measure your flour with a food scale or use the spoon-and-level method. You can replace up to ⅓ of the flour with whole wheat flour if desired, or try my sourdough whole wheat pancakes.
- Butter- Adds flavor and helps create crispy, golden edges. Neutral oil can be used instead.
- Granulated Sugar- Adds a hint of sweetness. Swap with brown sugar, honey, or maple syrup, or leave it out.
- Baking Powder & Baking Soda- Help the pancakes rise and create a fluffy texture.
- Kosher Salt- Enhances flavor. I use Diamond Crystal (2.8 grams per teaspoon). If you use Morton’s or table salt, use half as much.
Mix-Ins Ideas
Try adding up to one cup of these mix-ins to your sourdough pancake batter for extra flavor:
- Fresh or frozen berries (blueberries, raspberries, strawberries)
- Chocolate chips or chunks (dark, milk, or white)
- Sliced or mashed banana
- Chopped nuts (walnuts, pecans, almonds)
- Shredded coconut
- Mini marshmallows, chocolate chips, and crushed graham crackers
- Diced apples and cinnamon
- Warm spices like pumpkin pie spice
Tips for Success
- Mix gently. Fold the dry ingredients into the wet ingredients until just combined. A few lumps are okay—overmixing can lead to dense, tough pancakes.
- Adjust the heat as needed. Make sure your skillet or griddle is preheated before adding the batter, then adjust the heat as needed to cook the pancakes evenly without burning them.
- Let the batter rest. Resting the batter for a few minutes gives the flour time to hydrate and helps create softer, fluffier pancakes.
- Watch for bubbles. When bubbles begin to form on the surface and the edges look set, it’s time to flip the pancakes.
- Keep pancakes warm. If making a large batch, place cooked pancakes in a 200°F oven to keep them warm while you finish cooking.
How to Make Sourdough Buttermilk Pancakes
These buttermilk sourdough pancakes come together so easily in one bowl! Follow along with the step-by-step photos below, and check out the recipe card at the end of the post for the full instructions.
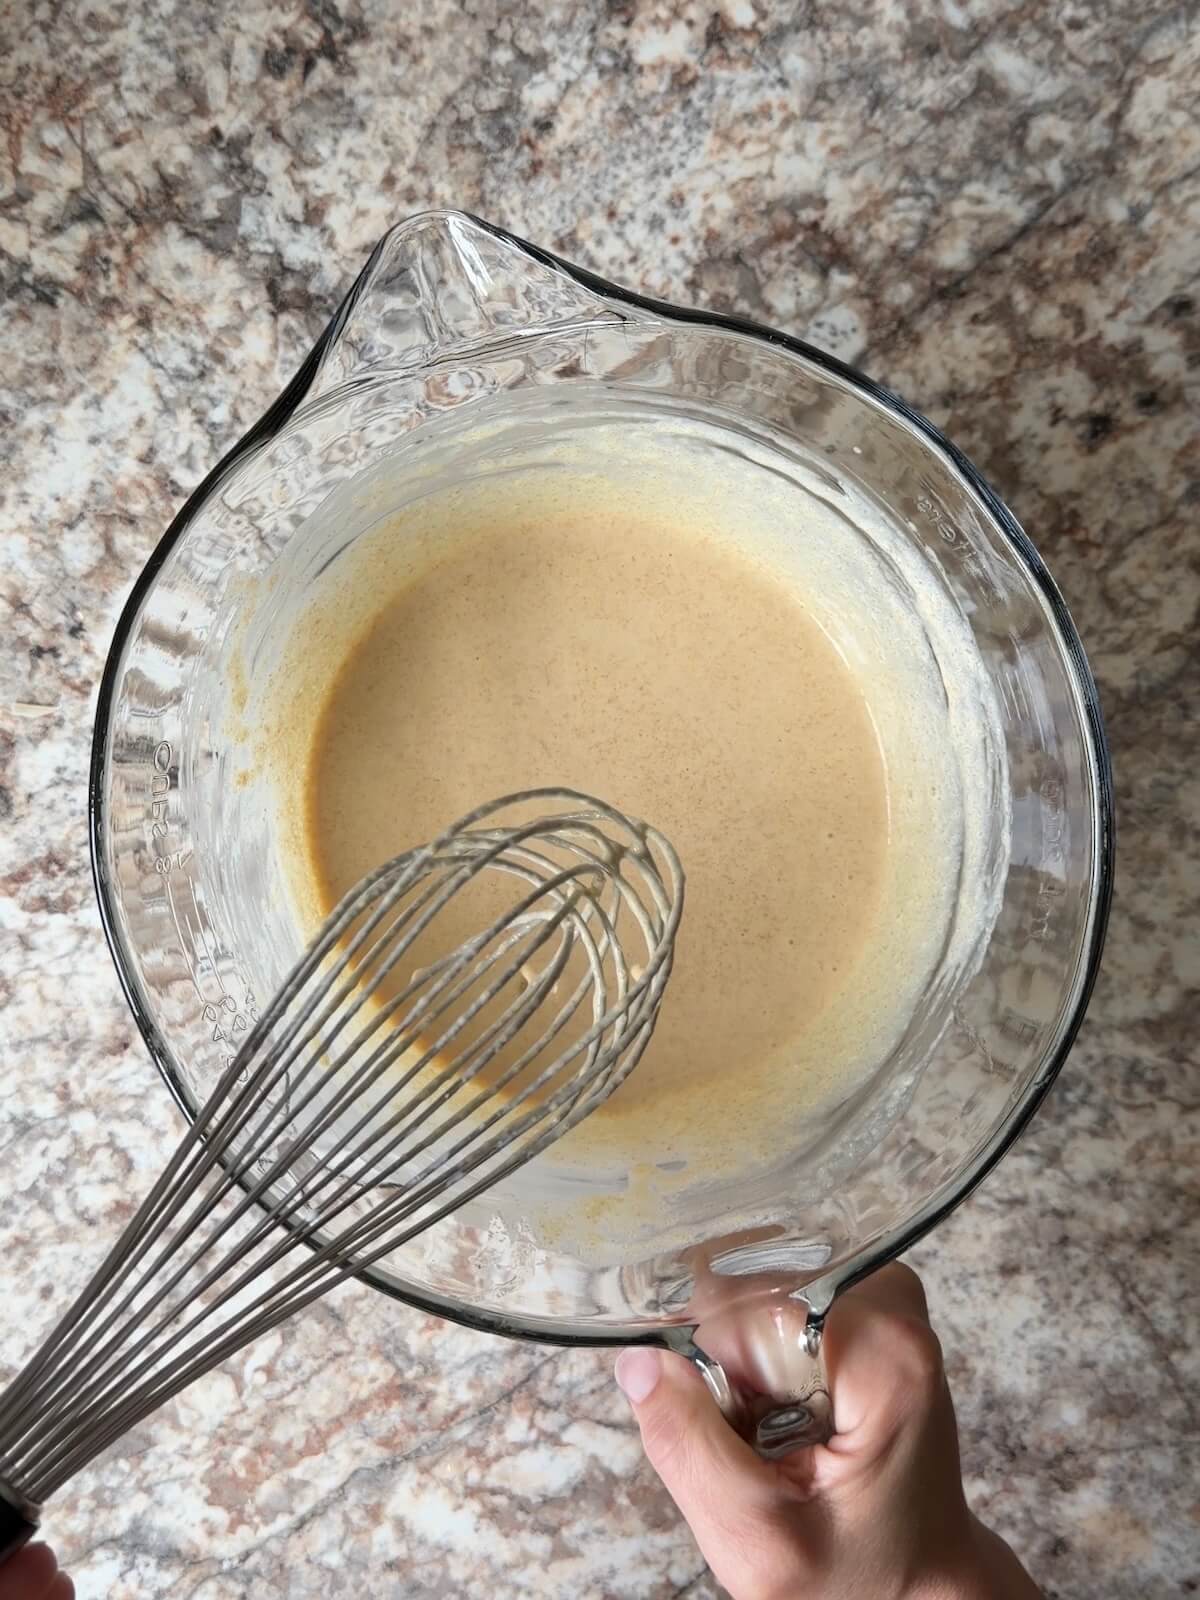
Step 1: Whisk wet ingredients. In a large mixing bowl, whisk the eggs until smooth. Add the buttermilk, sourdough discard, melted butter, and vanilla. Whisk until combined.
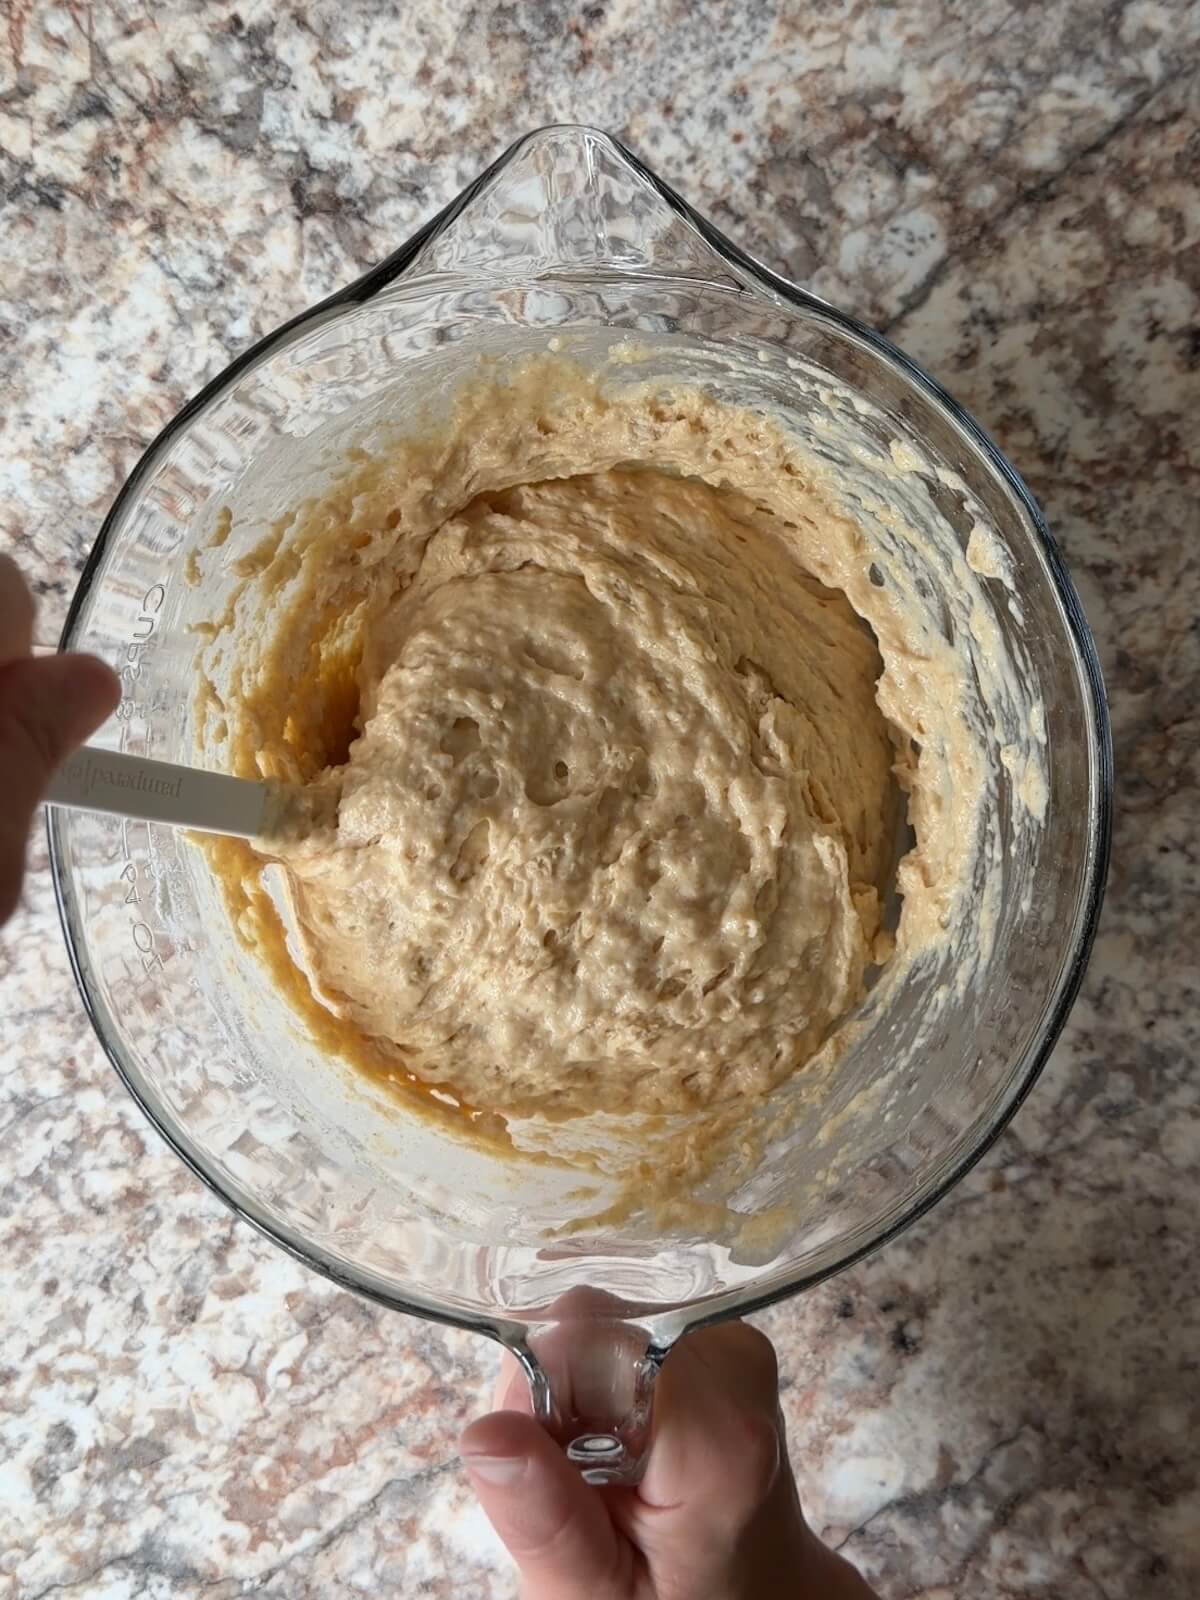
Step 2: Mix batter. Add the flour, sugar, baking powder, baking soda, and salt to the bowl. Gently fold until just combined.
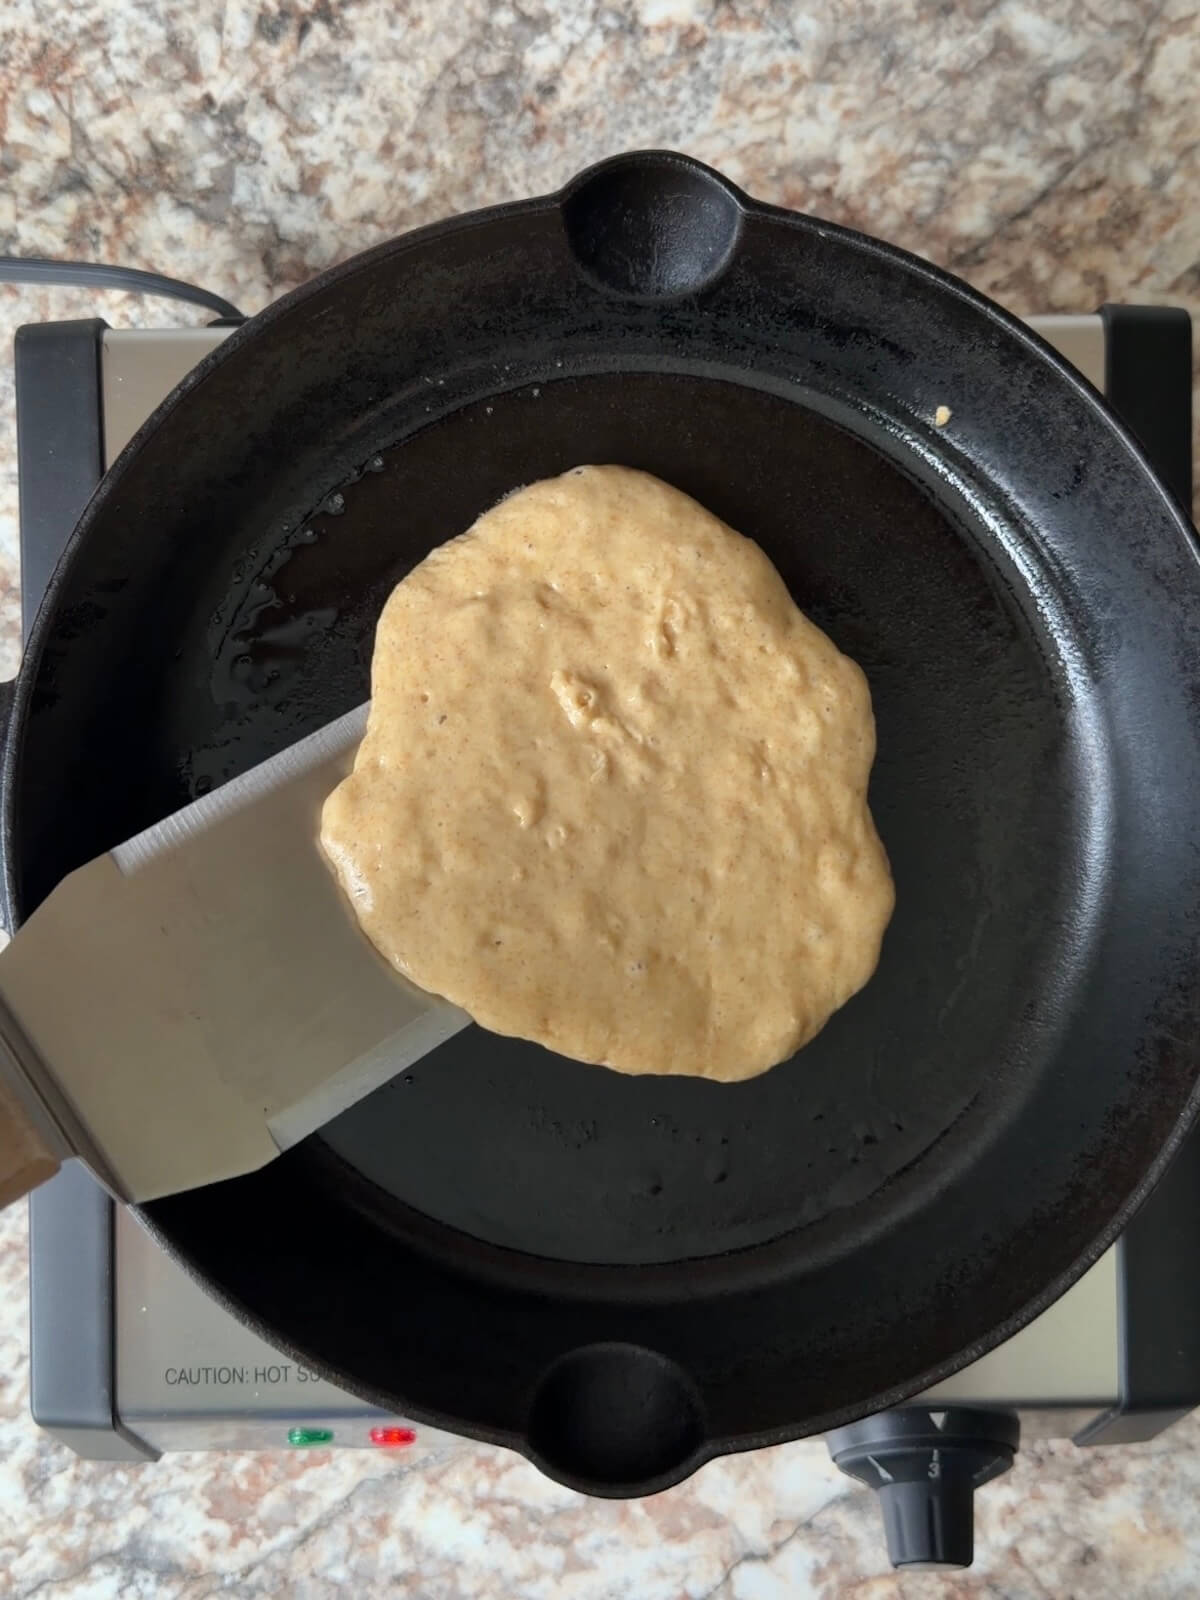
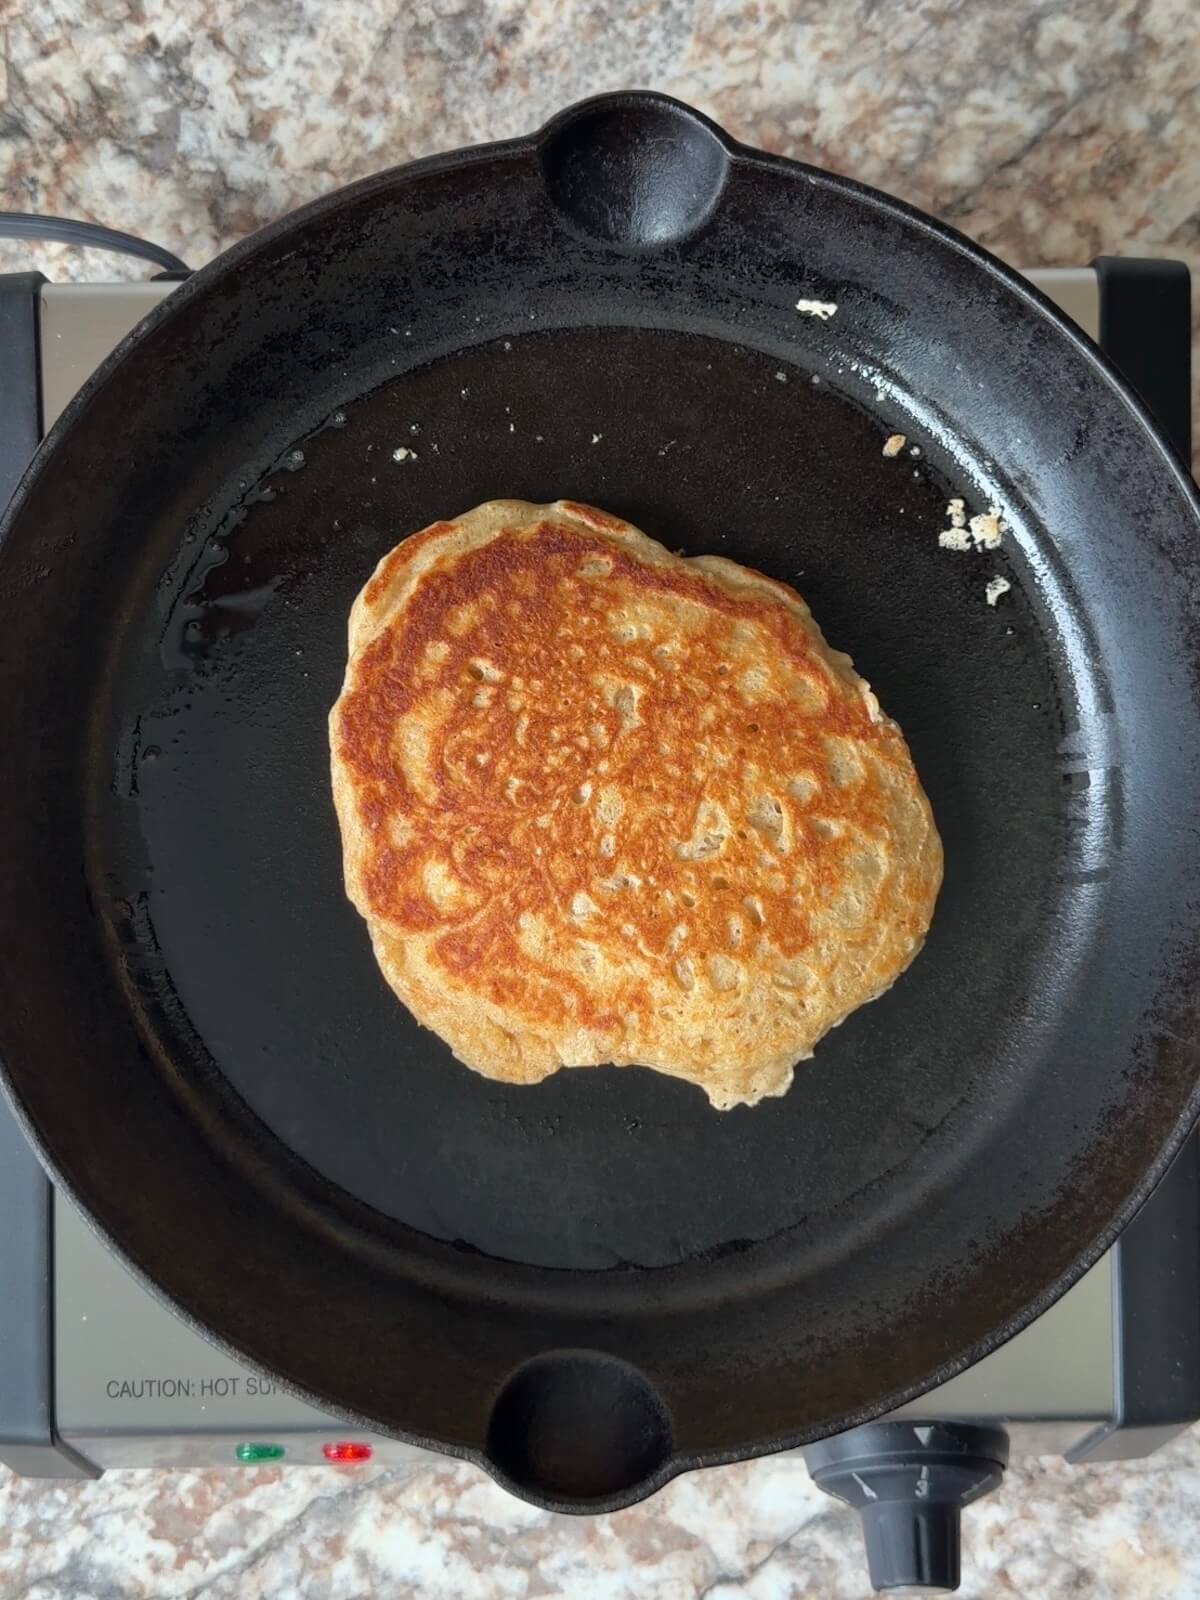
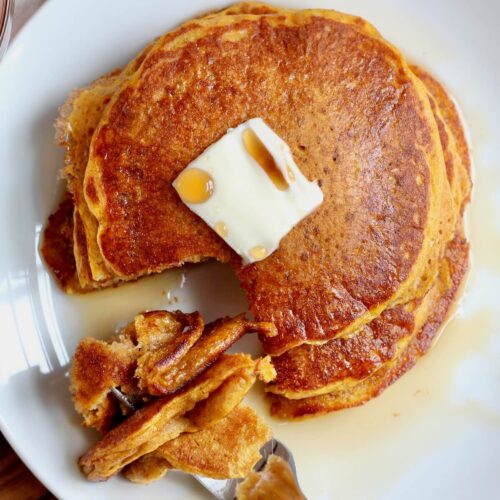
Step 3: Cook pancakes. Heat skillet or griddle. Scoop about ¼ cup of batter per pancake onto the skillet. Cook for 2–3 minutes, until bubbles form and the edges are set. Flip and cook for another 1–2 minutes, until golden brown.
How to Store
Store leftover sourdough pancakes in an airtight container in the refrigerator for up to 4–5 days.
For longer storage, place pancakes in a freezer-safe container or bag with parchment paper between layers to prevent sticking. Freeze for up to 2 months. Reheat in the toaster, oven, or microwave until warmed through.

Are you tired of watching your sourdough discard go to waste?
It’s time to turn excess discard into something delicious with my new ebook - Everyday Sourdough!
Inside, you’ll find 27 tried-and-true sourdough discard recipes that will transform your leftover starter into mouthwatering creations your family and friends will love.
No more guilt about wasting your discard - with Everyday Sourdough, you have endless options to quickly make something amazing anytime.
Let's Connect!
Be sure to leave a comment below if you have any questions. You can also connect with me on Instagram, Facebook, Pinterest, or via email at [email protected].
More Sourdough Pancake Recipes
📖 Recipe
One-Bowl Sourdough Buttermilk Pancakes
Equipment
- 10-inch cast iron skillet or griddle, or a non-stick skillet
Ingredients
- 2 large eggs
- 1 cup (240 grams) buttermilk or ½ cup plain Greek yogurt mixed with ½ cup milk
- 1 cup (200 grams) sourdough starter discard
- 4 tablespoons (57 grams, ½ stick) unsalted butter melted (plus more for skillet)
- 2 teaspoons vanilla extract
- 1 ½ cups (180 grams) all-purpose flour
- 2 tablespoons (25 grams) granulated sugar
- 2 teaspoons baking powder
- 1 teaspoon baking soda
- 1 teaspoon Diamond Crystal Kosher Salt reduce to ½ teaspoon if using Morton's brand or table salt
Instructions
- In a large mixing bowl, whisk the eggs until smooth. Add the buttermilk (or ½ cup plain Greek yogurt mixed with ½ cup milk), sourdough discard, melted butter, and vanilla extract. Whisk until everything is well combined.2 large eggs, 1 cup (200 grams) sourdough starter discard, 1 cup (240 grams) buttermilk, 4 tablespoons (57 grams, ½ stick) unsalted butter, 2 teaspoons vanilla extract
- Add the flour, sugar, baking powder, baking soda, and salt directly to the bowl with the wet ingredients. Gently fold the batter together with a rubber spatula until just combined. A few small lumps are okay—avoid overmixing, which can make the pancakes less fluffy. Let the batter rest for 5 minutes while the skillet heats.1 ½ cups (180 grams) all-purpose flour, 2 tablespoons (25 grams) granulated sugar, 2 teaspoons baking powder, 1 teaspoon Diamond Crystal Kosher Salt, 1 teaspoon baking soda
- Heat a skillet, griddle, or cast iron pan over medium heat. Once hot, reduce the heat to medium-low and lightly grease the surface with butter.
- Scoop about ¼ cup of batter onto the skillet for each pancake. Cook for 2–3 minutes, or until bubbles begin to form on the surface and the edges look set. Flip and cook for another 1–2 minutes, until golden brown and cooked through.
- Transfer the pancakes to a plate and serve warm with your favorite toppings.
Notes
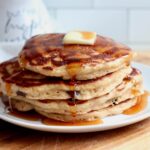
- Mix-In Ideas: Fold up to 1 cup of mix-ins into the batter, like chocolate chips, fresh or frozen berries (don’t thaw frozen ones), or chopped bananas.
- Storage: Store in an airtight container in the refrigerator for up to 5 days or in the freezer for up to 2 months. Warm before serving.


Kait petrie says
Wow looks so delicious!!
Ashley Petrie, RDN, LDN says
Thanks!
L.S. says
I needed to use up some buttermilk, and this recipe came up in a search.
I appreciate that you weighed the oat flour, which I made myself from toasted oatmeal. These are going in the freezer, so i slightly under-cooked them.
Solid recipe, very easy to split for 3 waffles. And my kitchen smells like vanilla.
Ashley Petrie, RDN, LDN says
Thank you so much! Homemade toasted oat flour sounds heavenly; I definitely need to try that. I hope you enjoy them 🙂
Josi says
easy and so yummy! Ran out of butter so substituted with plain greek yogurt. Very light and fluffy!
Ashley Petrie, RDN, LDN says
Hi Josi! So glad you enjoyed! And good to know that subbing the butter out for Greek yogurt works. 🙂
Debra Carral says
I hadn’t tried sourdough pancakes yet, but my husband specifically requested buttermilk pancakes this morning and I picked this recipe out of all of the recipes out there. I’m glad I chose yours!! They were delicious, light, and fluffy! I did change a couple of things, I used 1 tbsp sugar instead of 2, I used half AP and half whole wheat flour, and I used 1/2 the butter in the batter and supplemented with a bit of avocado oil. The batter made enough for us to freeze some and enjoy them another day. Thanks!!
Ashley Petrie, RDN, LDN says
Hi Debra! I'm so glad you and your husband enjoyed them. And I love the healthy modifications you made. Thanks for sharing! 🙂
Annette Murray says
These were the fluffiest biggest sourdough buttermilk pancakes I’ve ever made! I was a little concerned at first when I made the batter. It seemed pretty lumpy and thick. I used all the ingredients you said I went ahead and made it and It wasdelicious. I recommend This recipe as a keeper recipe.
Ashley Petrie, RDN, LDN says
Hi Annette! So glad you enjoyed them and thanks for the great review! 🙂
Zann Breen says
Awesome recipe….i make my own butter, so the fresh buttermilk is really great in these pancakes. Thank you
Ashley Petrie, RDN, LDN says
Love this! So glad you enjoyed them 🙂