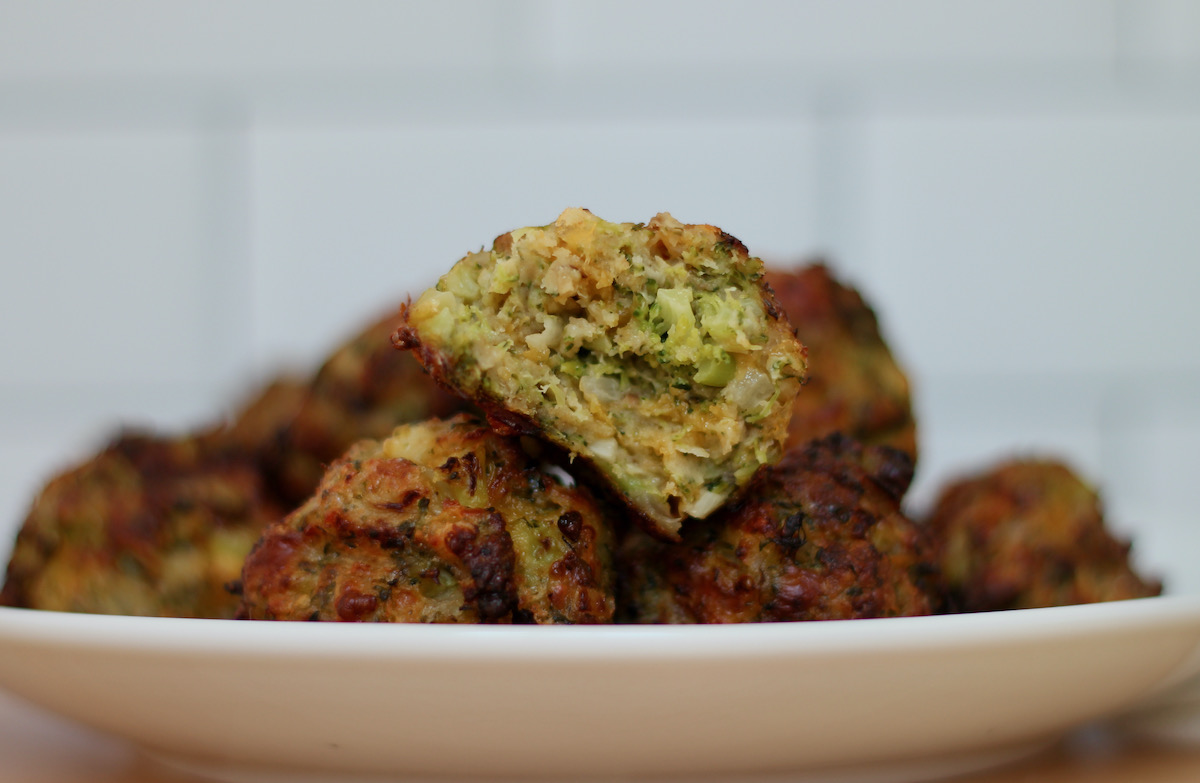
Air Fryer Broccoli Bites are so cheesy, crispy, and easy to make. Made using fresh broccoli, cheddar cheese, parmesan cheese, and eggs, these dippable bites are ready in just 30 minutes. They're perfect for a quick and delicious appetizer, snack, or meatless side dish.

Broccoli is one of those vegetables that you either love or you hate. While I'm in the former camp, I know many people feel pretty "meh" about this little green vegetable.
Well, this recipe is here to change that.
Cheese makes everything taste better and broccoli is no exception. These air-fried broccoli bites are so cheesy, crispy, and delicious that even the pickiest eaters will love them. They're the perfect way to sneak a few extra vegetables into your day.
These broccoli bites are also wonderfully versatile. I love using them as a quick snack or as a fun, dippable appetizer for parties and holidays. Better yet, keep a batch in your freezer for a super simple lunch or busy weeknight dinner side dish.
So, if you're ready to get snacking on some crispy air fryer broccoli bites, keep reading to learn how to make these tasty treats at home.
Disclaimer: Some links throughout this post are affiliate links. As an Amazon Associate, I earn from qualifying purchases. You can learn more by visiting my Affiliate Disclosure Page.
Why You'll Love This Recipe
- Easy to Make- The air fryer makes these broccoli bites so quick and easy. In less than 30 minutes, you can have a tasty and nutritious snack ready for yourself or the kids. They're the perfect size for a quick bite on-the-go or for school lunchboxes.
- Healthy- I'm always looking for new ways to sneak in extra vegetables. Each cheesy broccoli bite contains about 100 calories, 5 grams of protein, and 1 gram of fiber. Perfect for when you just need a little something to carry you through from lunch to dinner.
- Crispy & Cheesy- Melty cheese in the middle, crispy cheese on the outside? Yes, please! Air frying these cheesy broccoli bites means we get a deliciously crispy crust with ease.
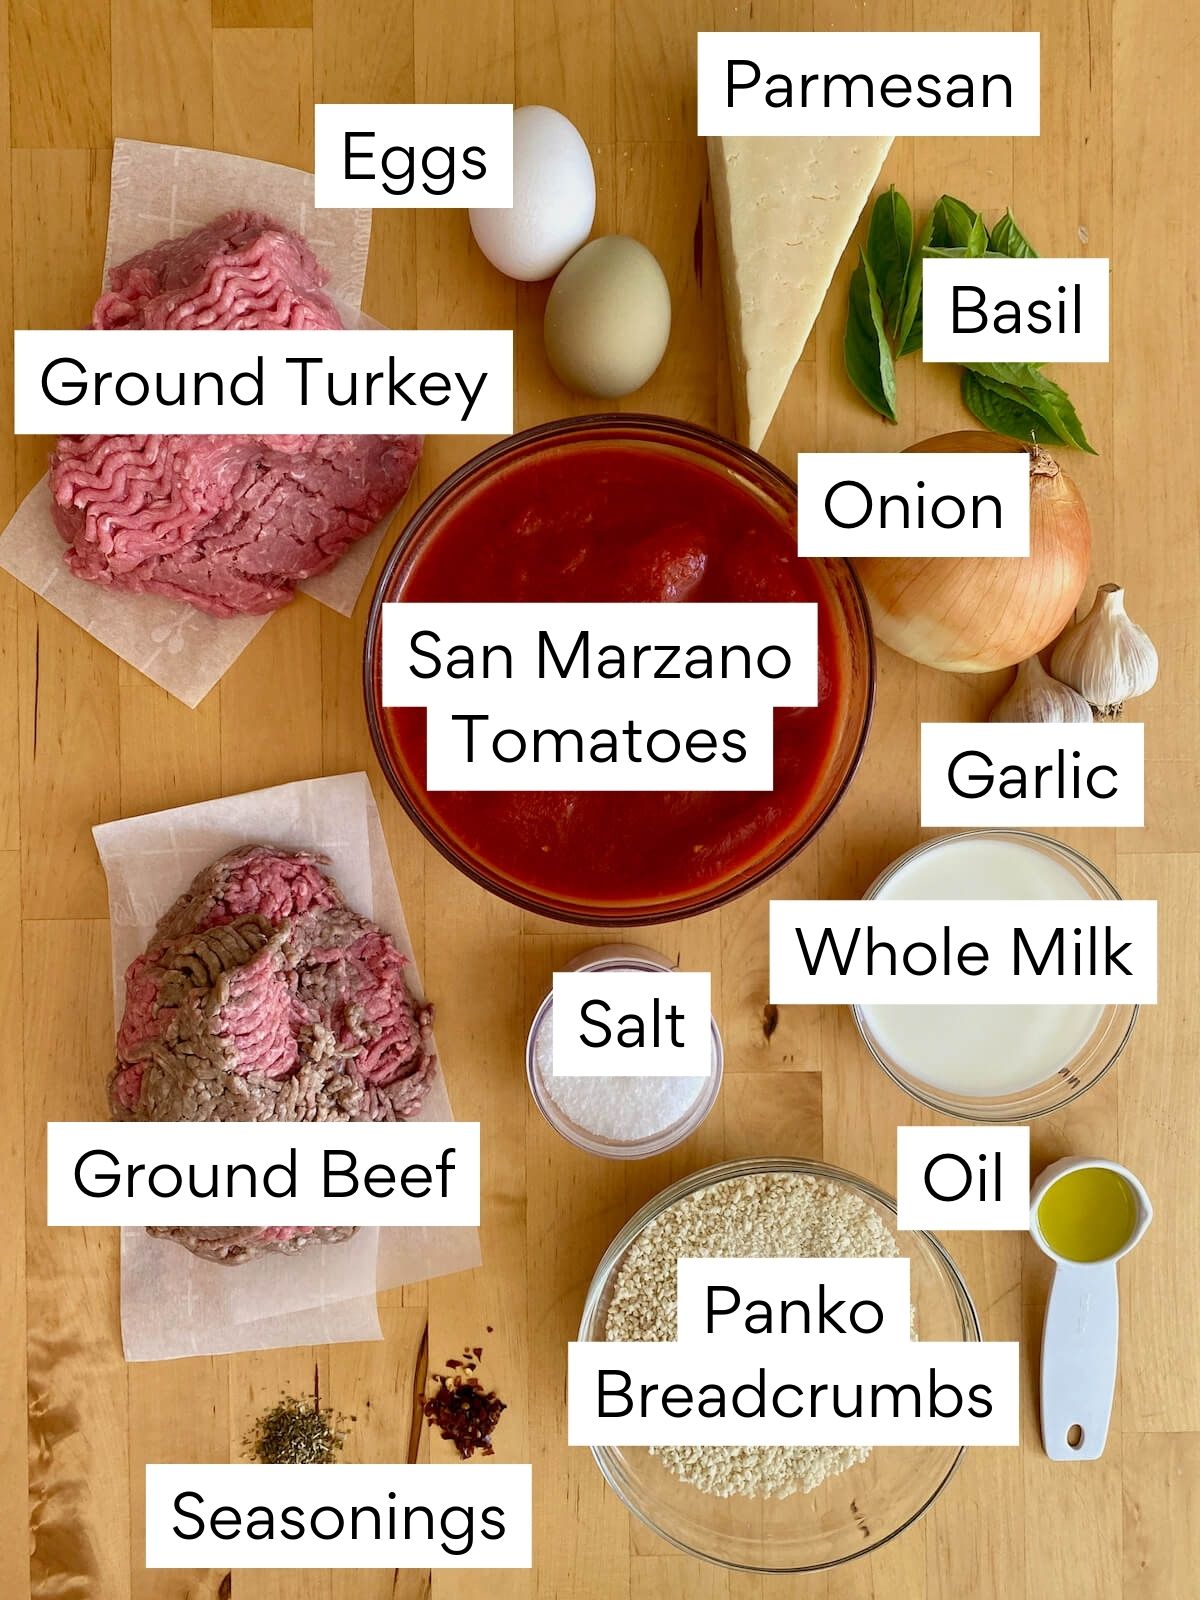
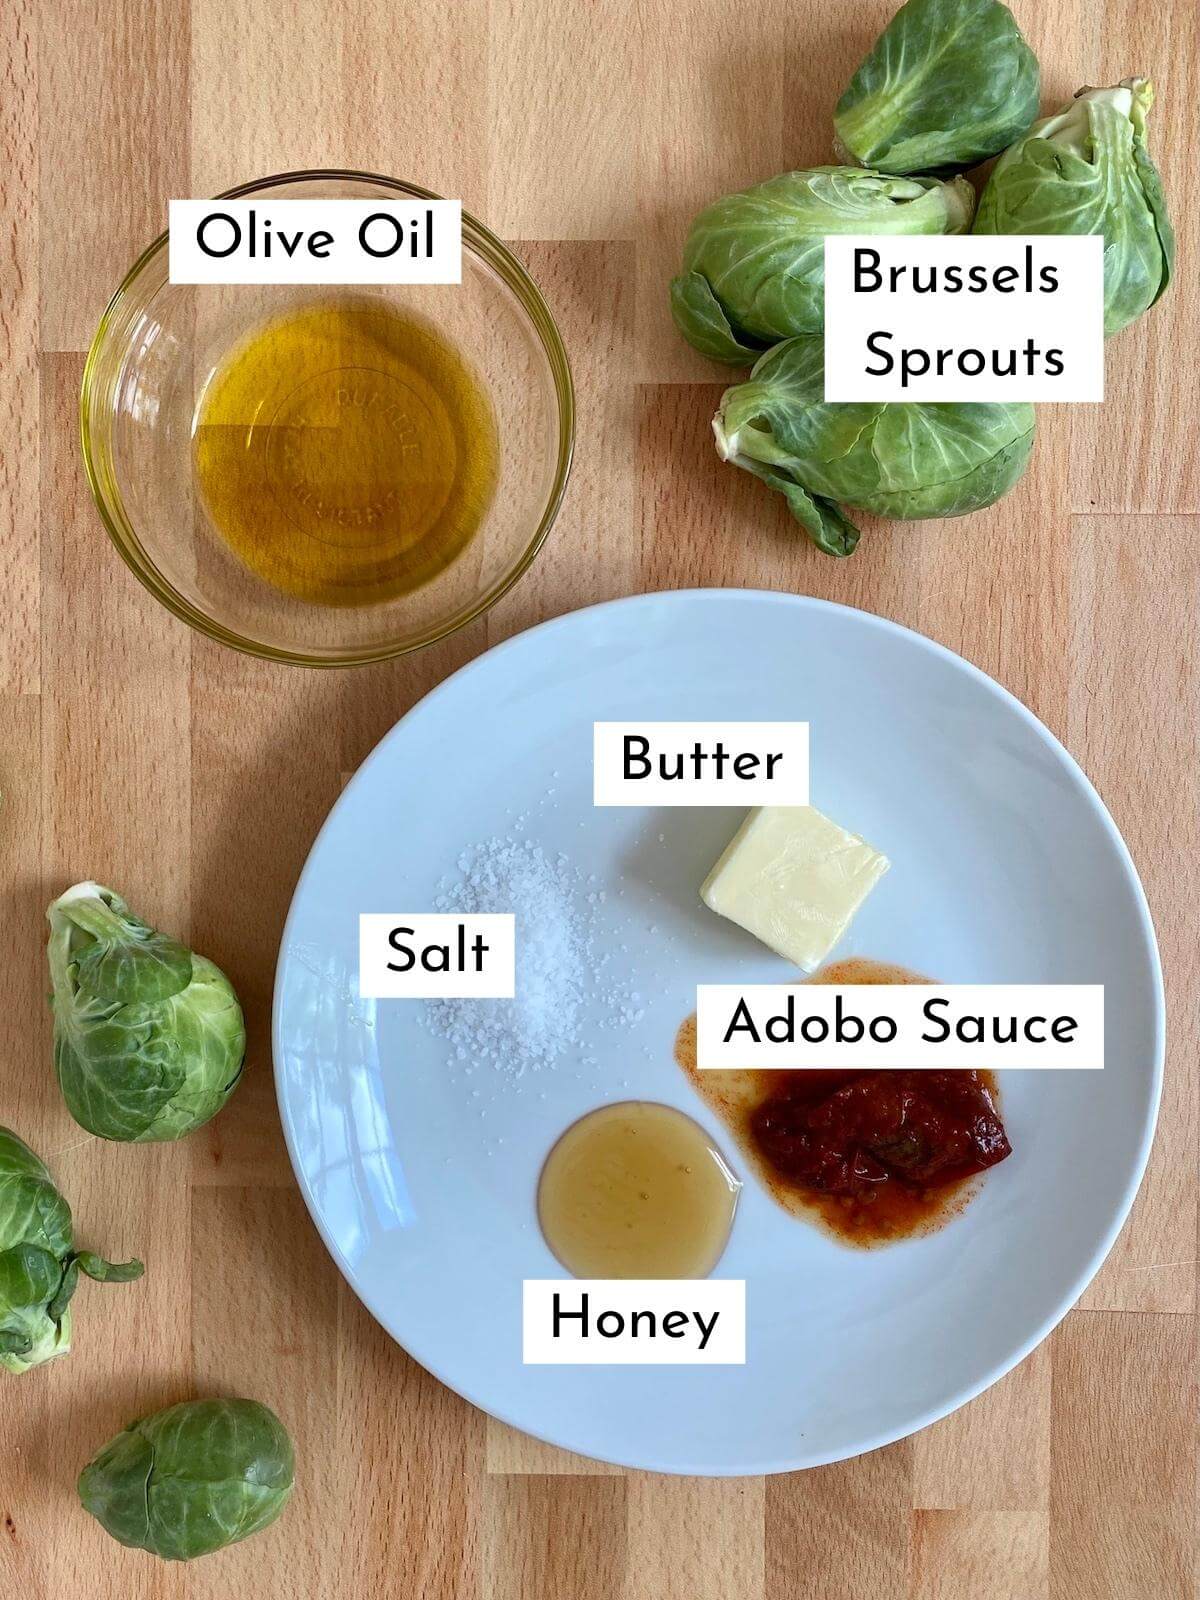
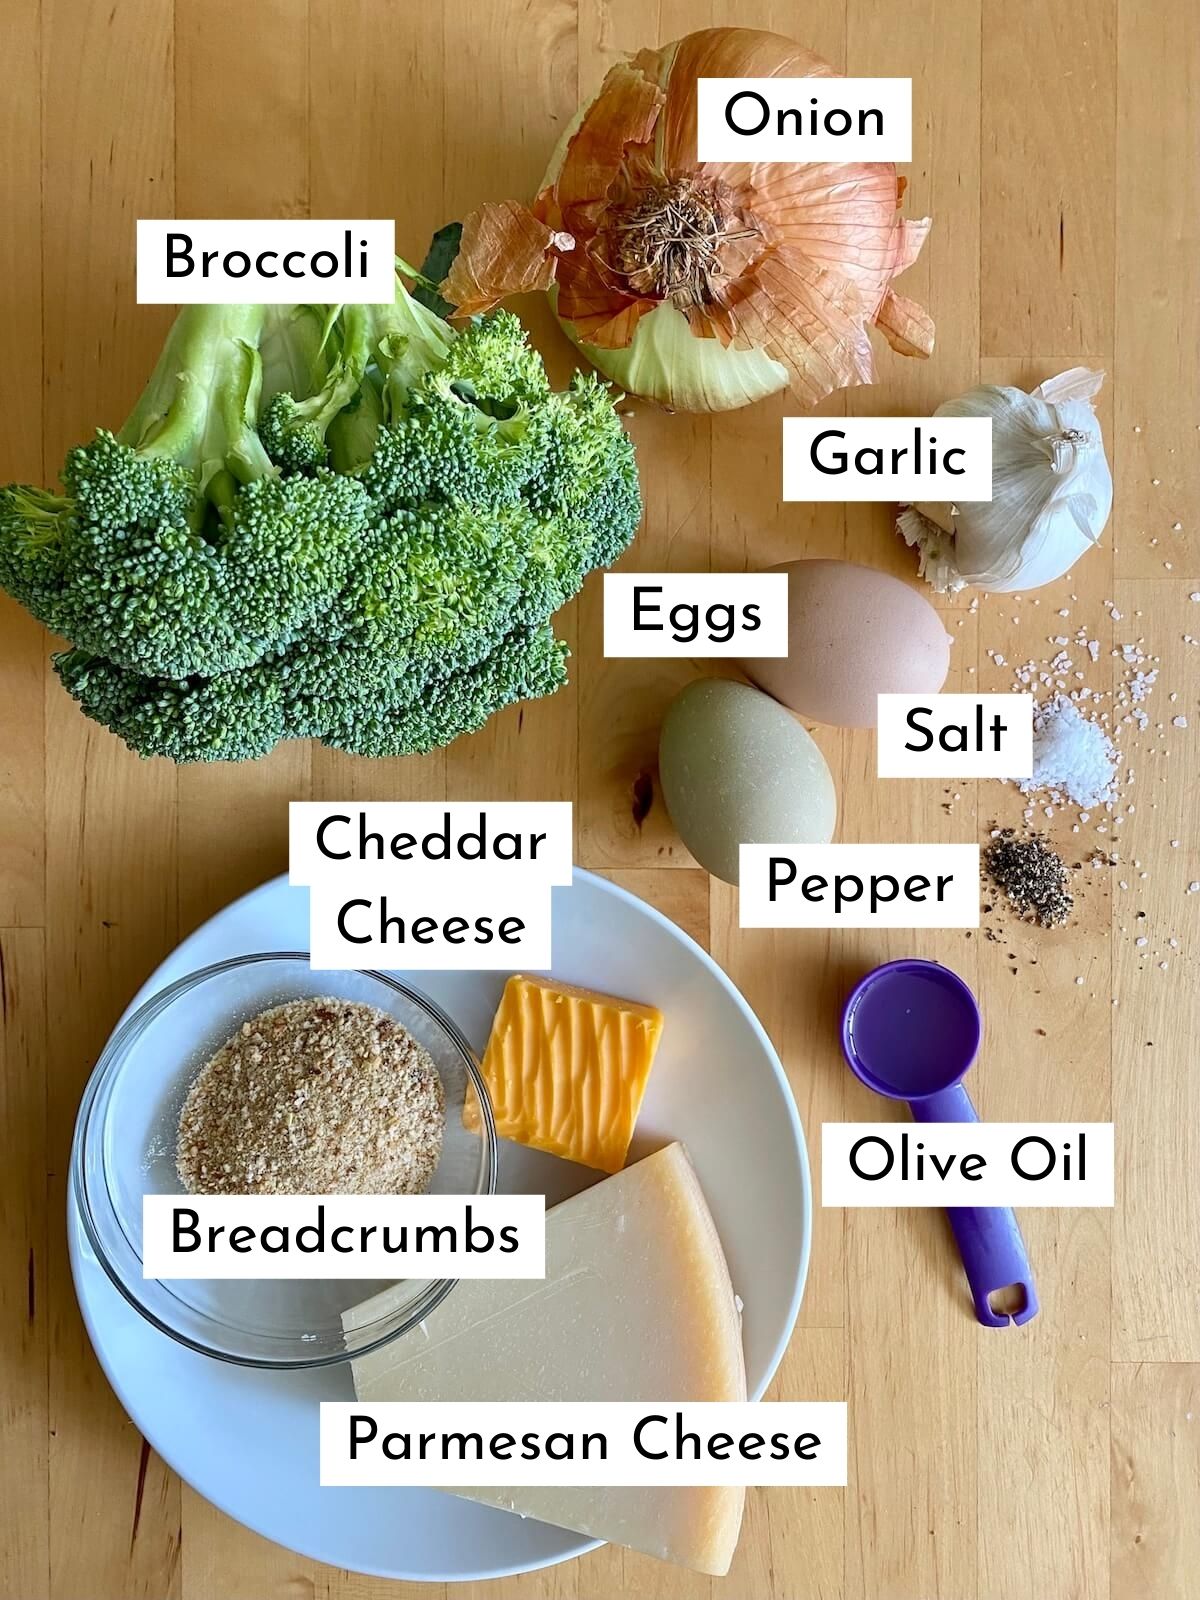
Ingredient Notes
Here are some notes on key ingredients. For a full list of ingredients, check out the recipe card below.
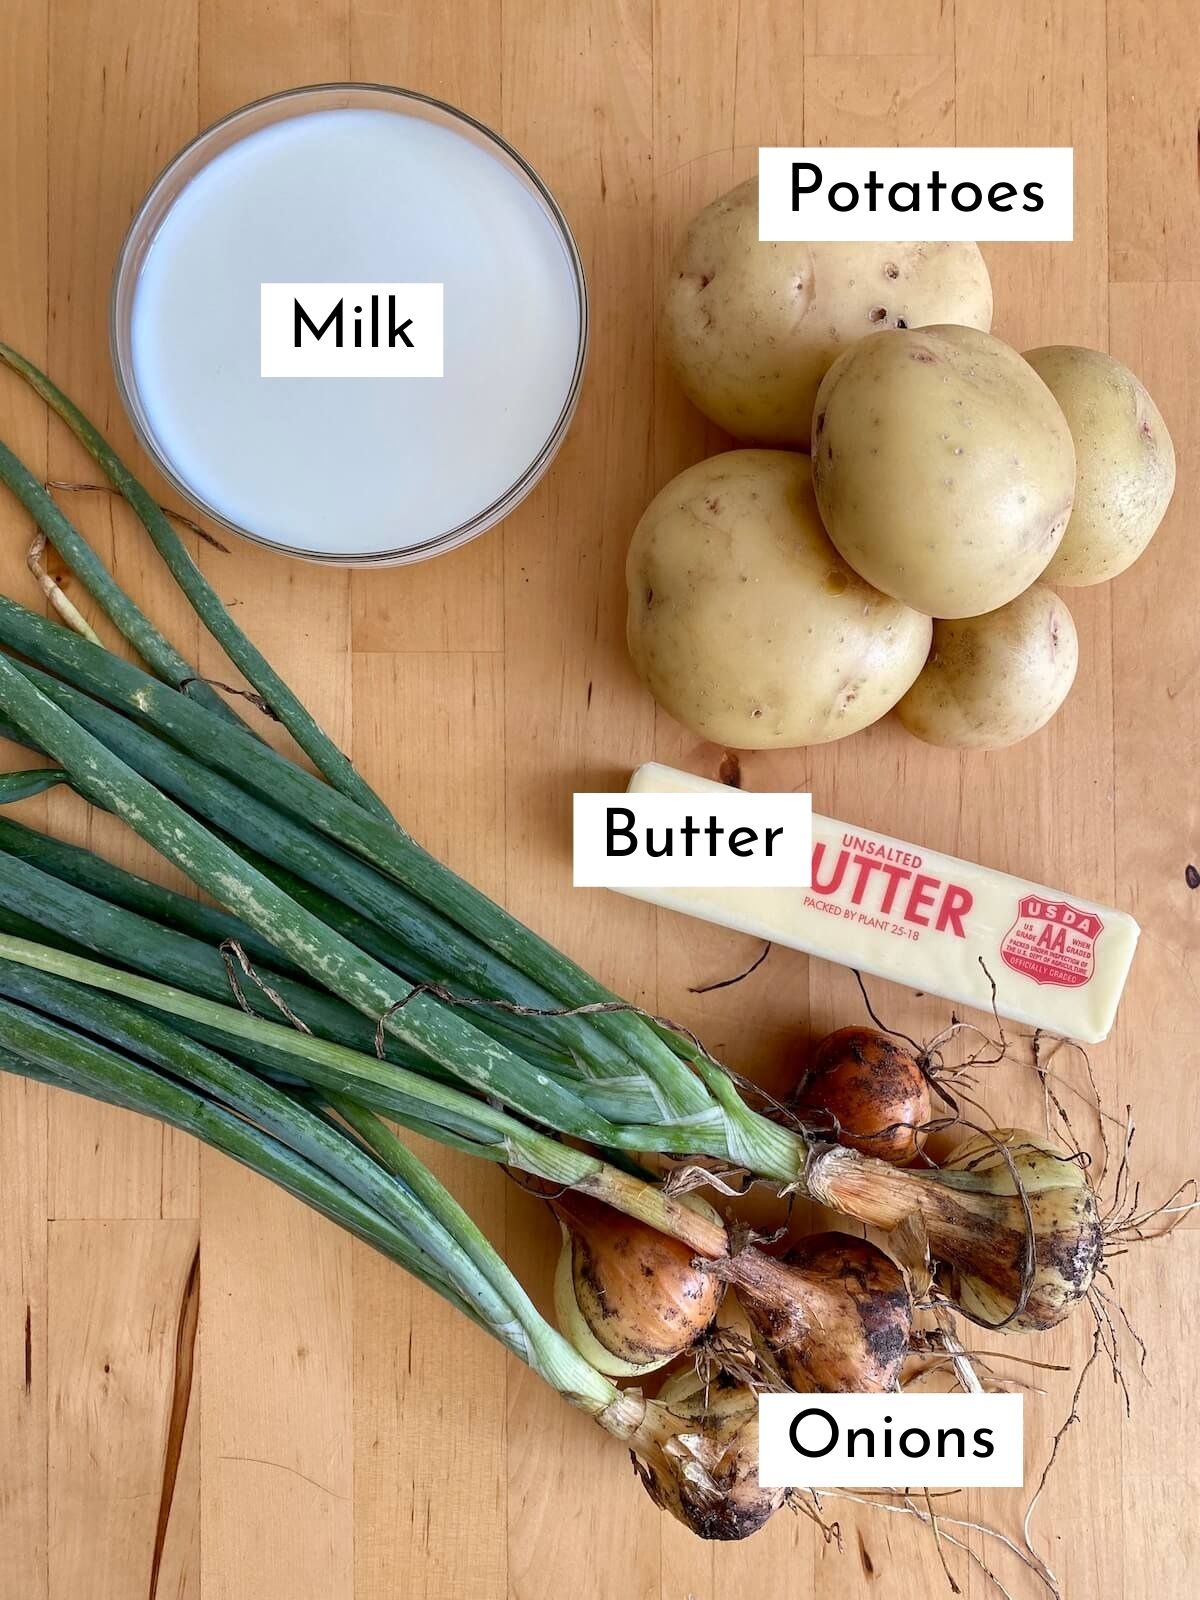
- Broccoli Florets- I use fresh broccoli that I chop up really small and sauté with onion and garlic. Fresh broccoli has less moisture than frozen broccoli does so, no worrying about your batter being too wet. Two and a half cups of chopped broccoli is about one medium-sized head.
- Onion- Finely chopping and sautéing the onion gives these broccoli bites a delicious onion flavor without being overwhelming.
- Garlic- Fresh minced garlic also adds a lovely flavor to these crispy broccoli balls. The finer you mince the garlic, the more it will blend into the batter.
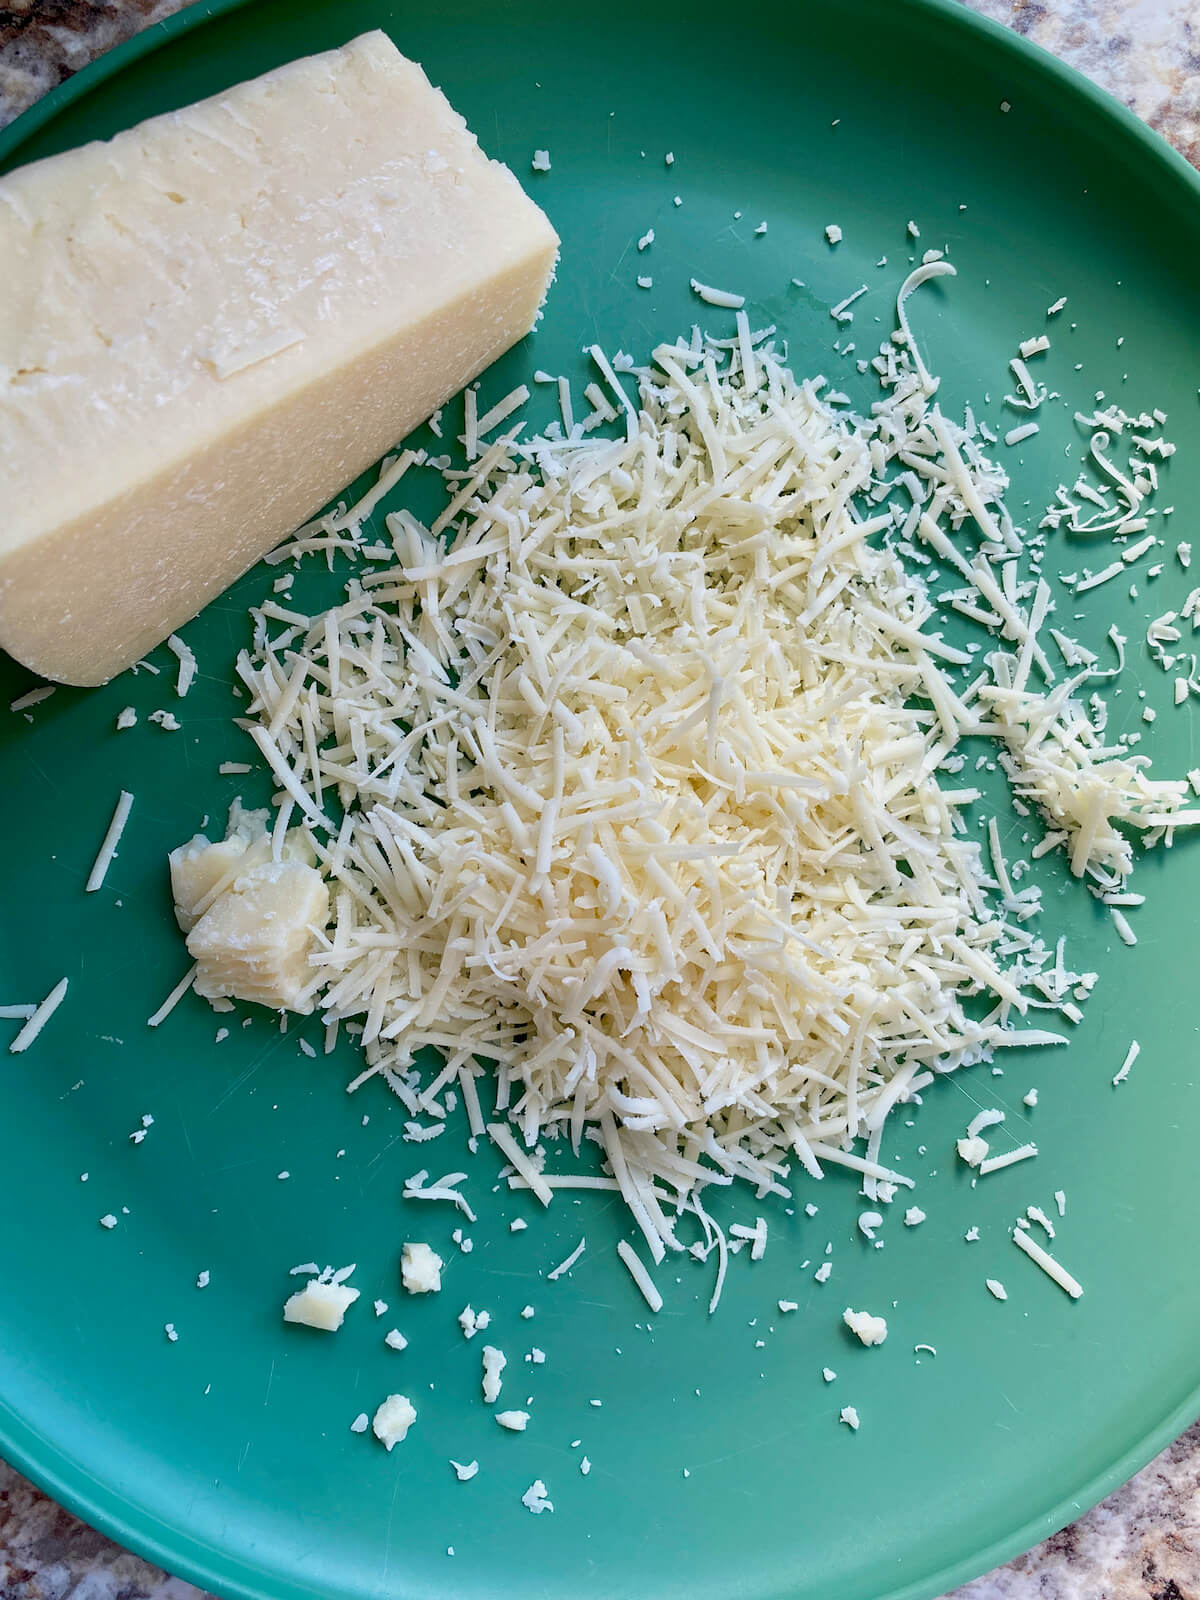
- Cheddar Cheese- Broccoli and cheddar cheese go together like peanut butter and jelly. I use freshly grated cheddar cheese to ensure it melts properly.
- Parmesan Cheese- Tangy and nutty, parmesan cheese adds a little bit of complexity to the overall flavor of these cheesy broccoli bites. Again, I recommend freshly grating your own cheese for the best flavor.
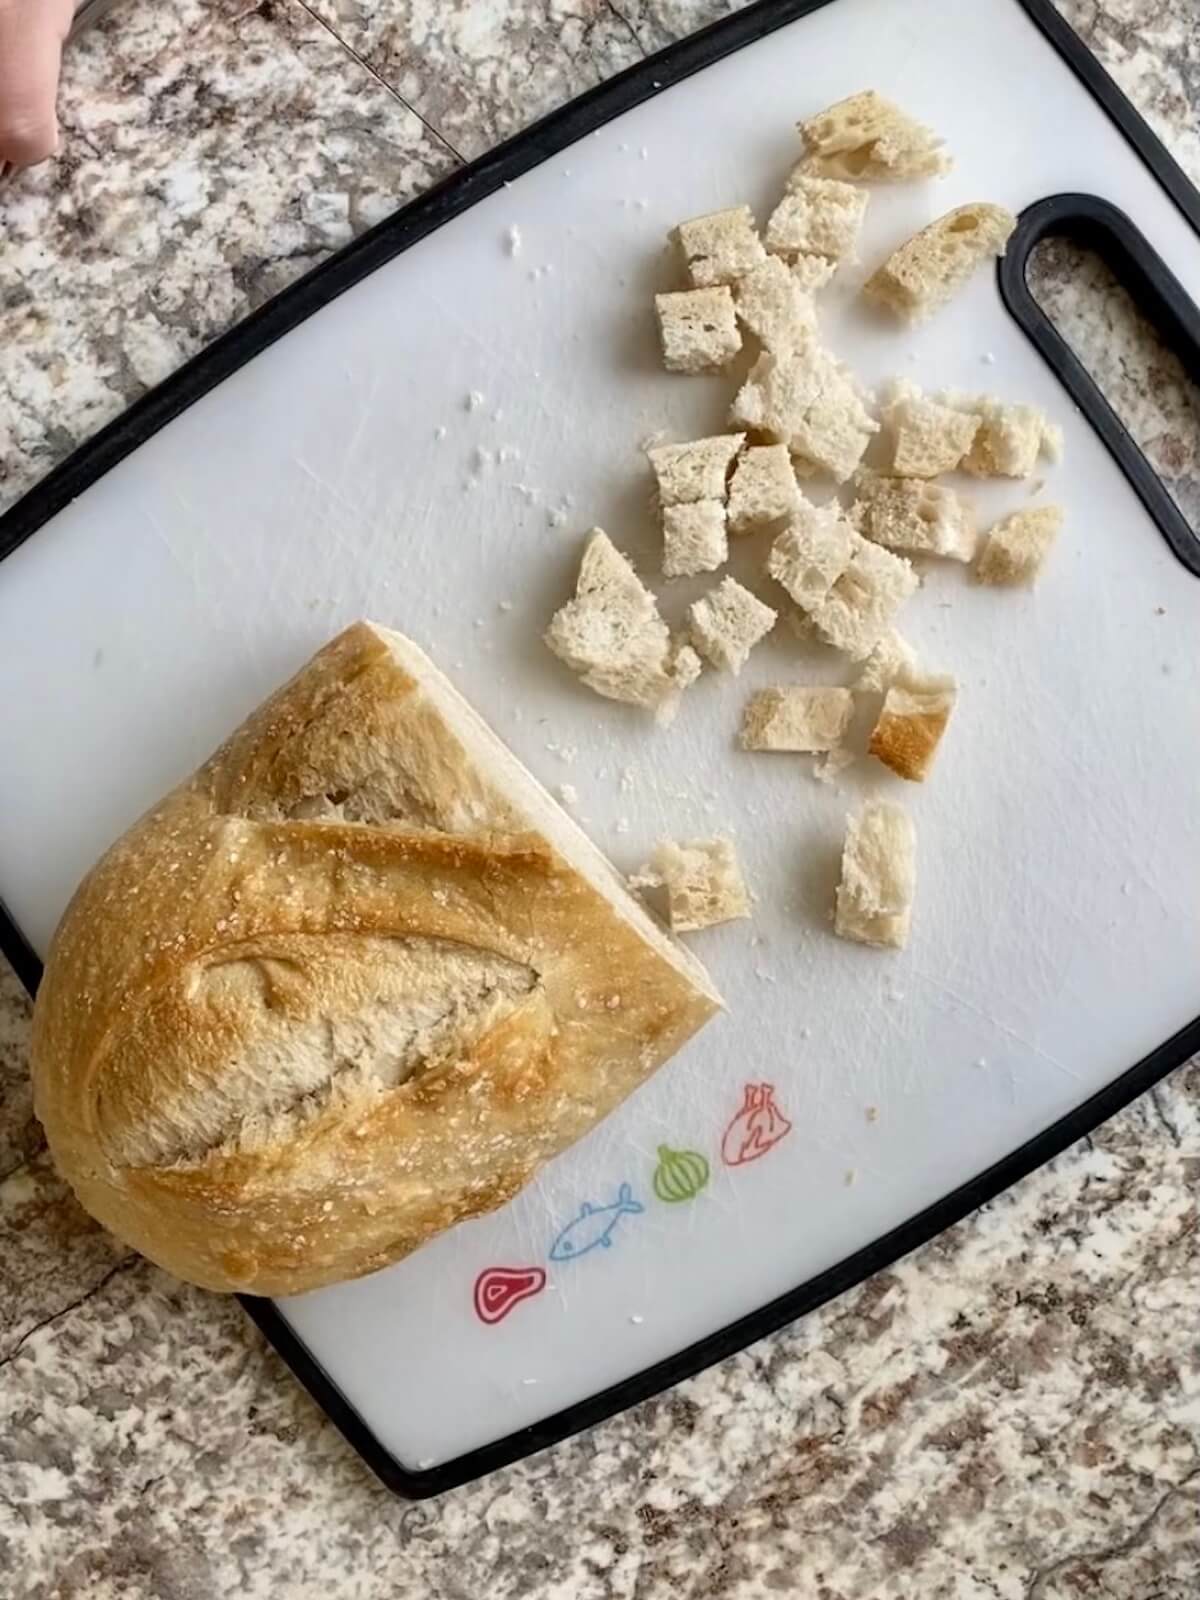
- Breadcrumbs- I used regular plain breadcrumbs to make these, but panko breadcrumbs or homemade sourdough breadcrumbs can work as well. Breadcrumbs are necessary to help bind the broccoli bites together.
- Egg- Another ingredient that helps bind everything together, eggs also add a little protein to each bite.
🌱 Sustainability Tip: Hate throwing out a bunch of broccoli stems? Use them! Broccoli stems can be used to make vegetable stock, cooked into stir-fries, or even added raw to salads.
Step by Step Instructions
Here is how to make these air fryer broccoli bites.
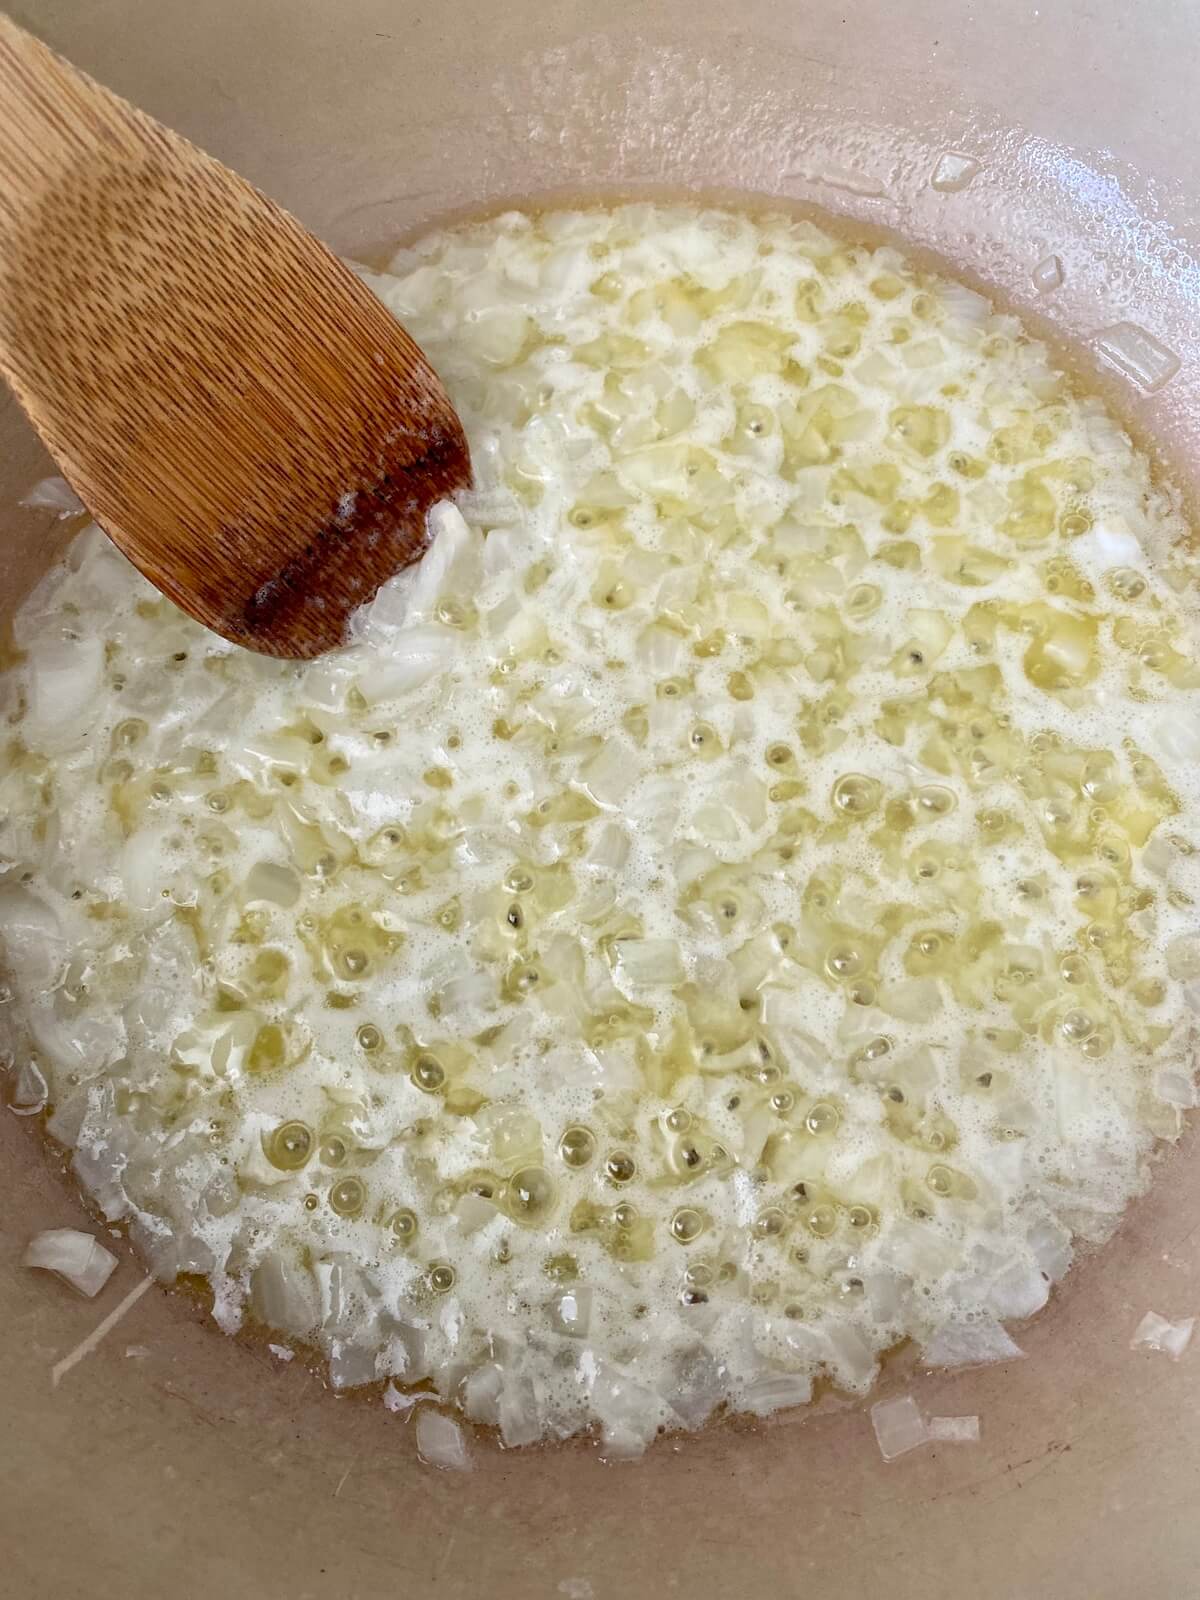
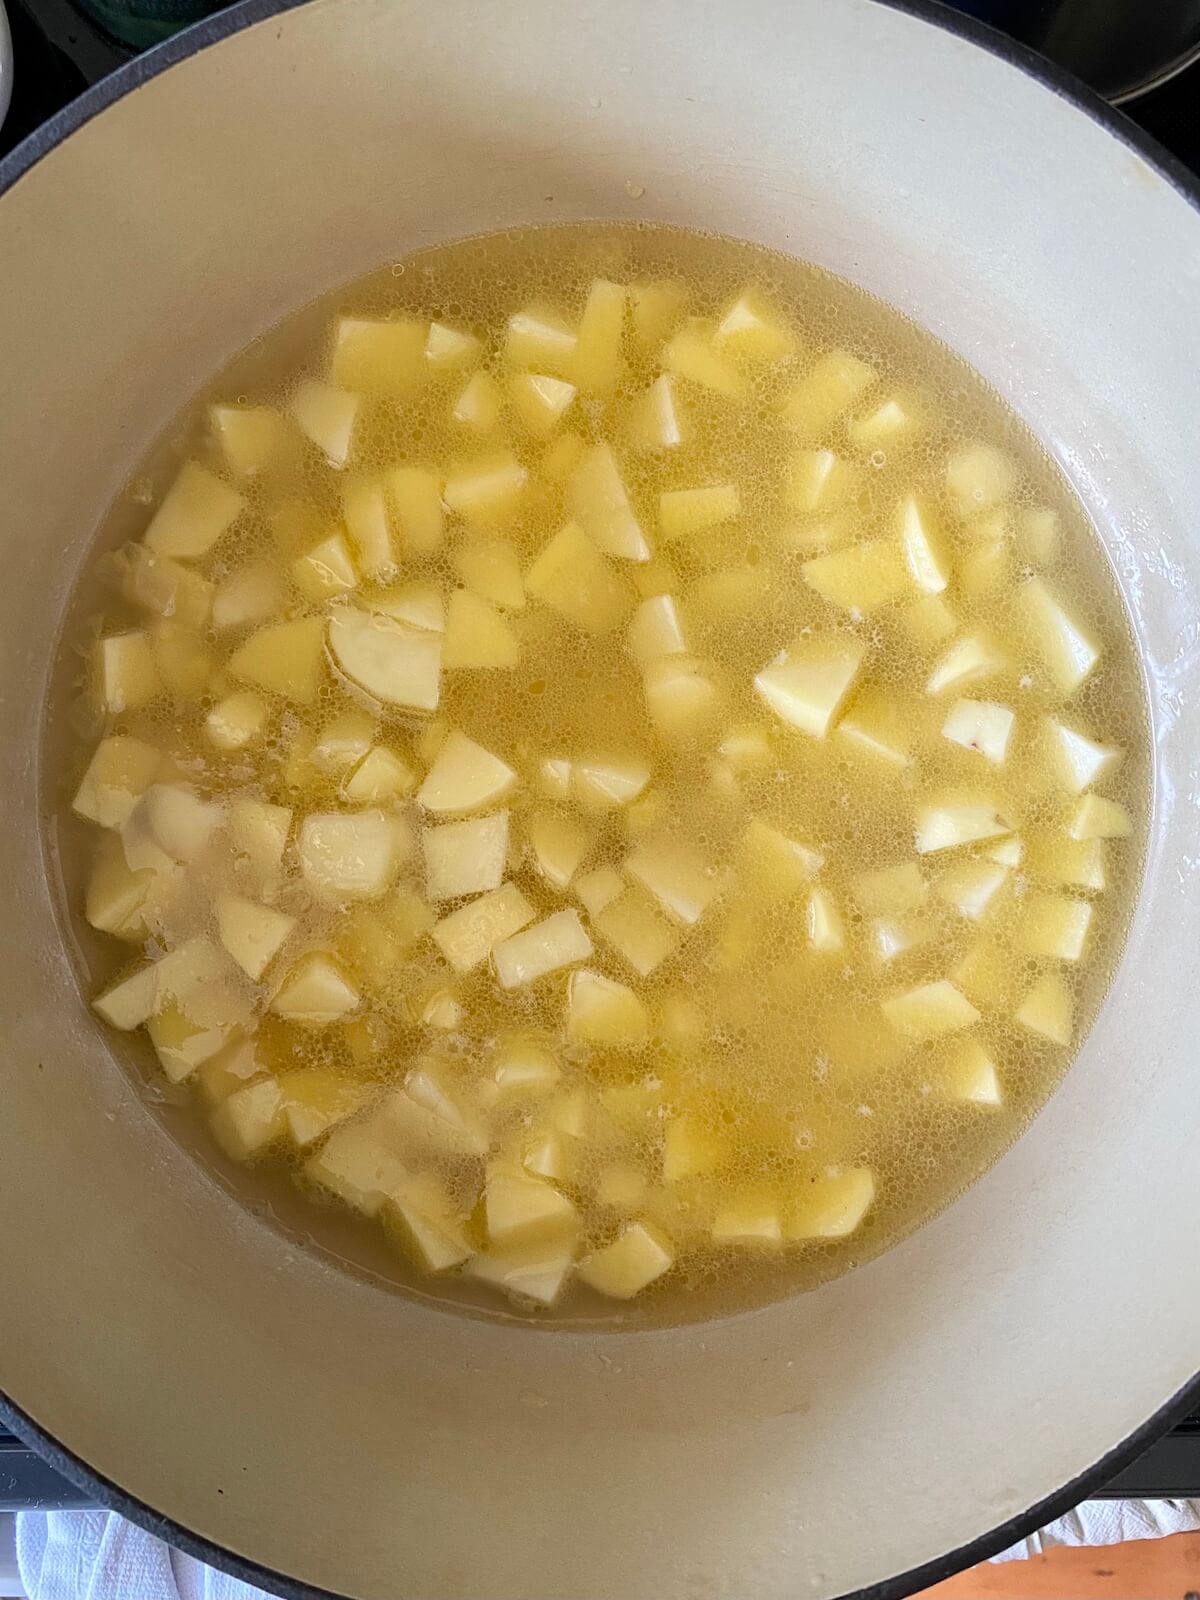
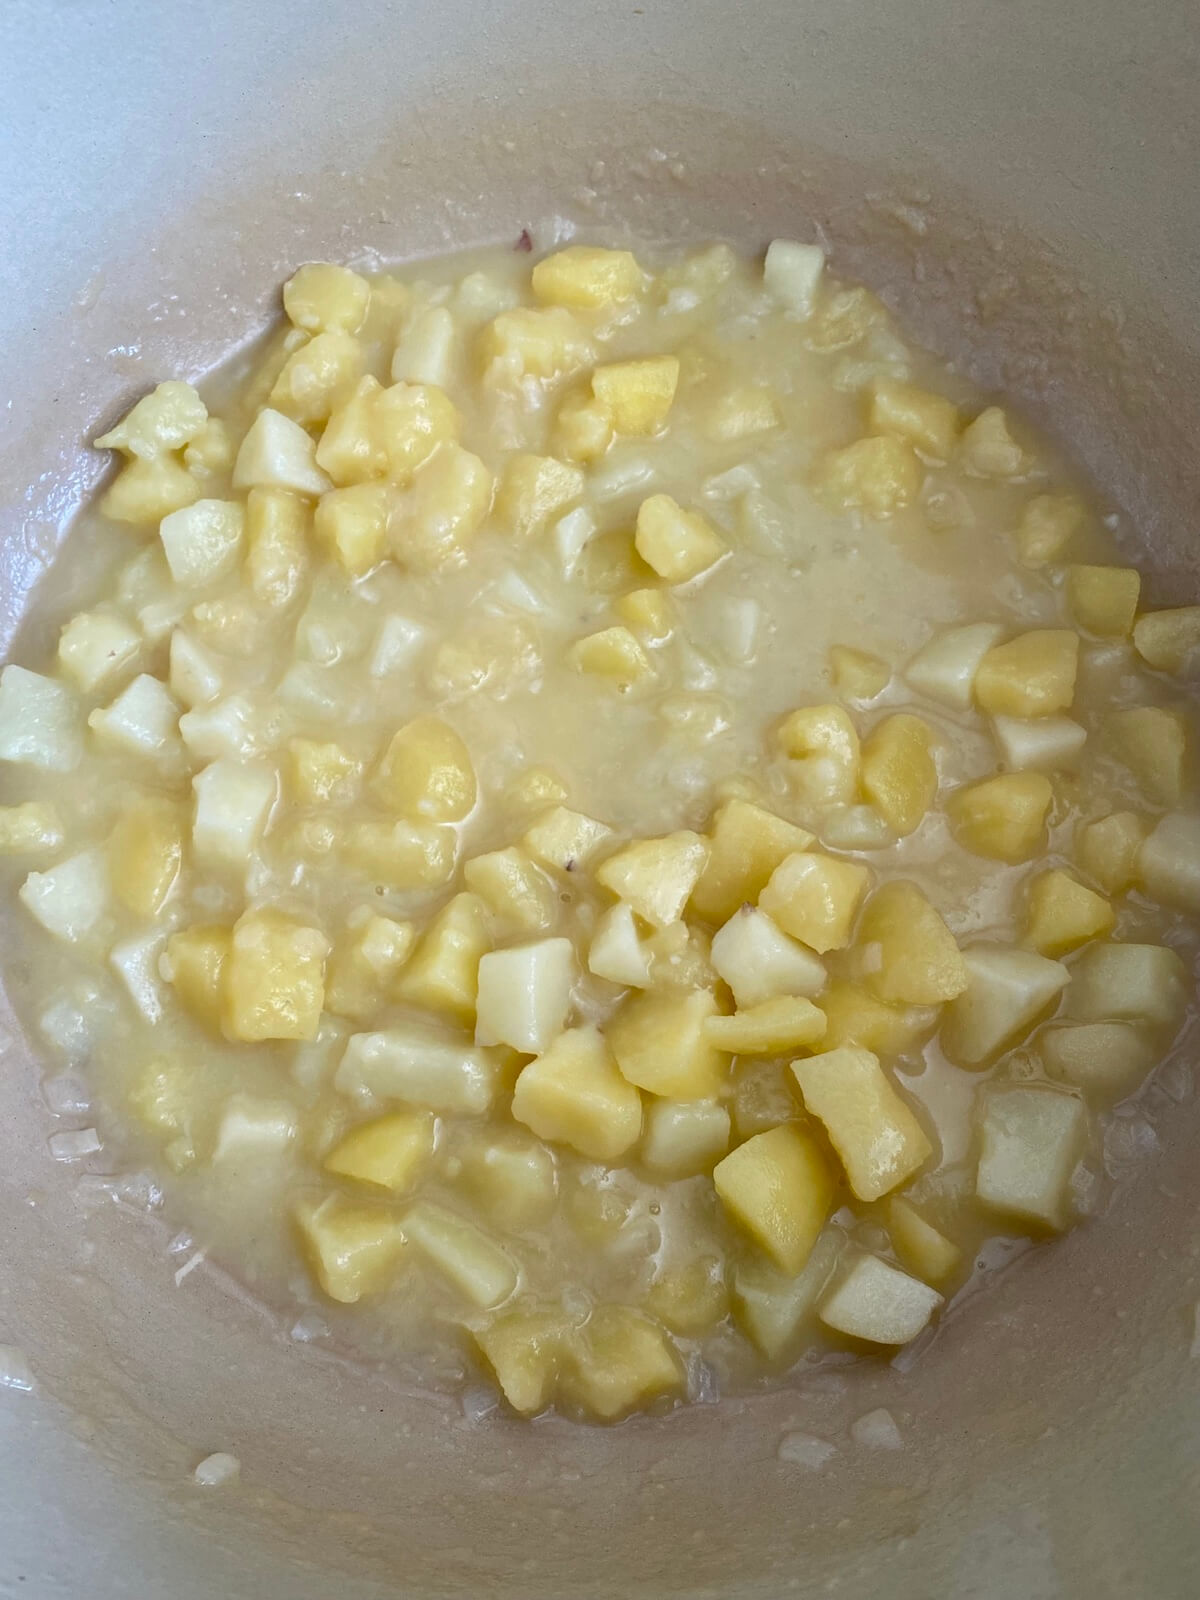
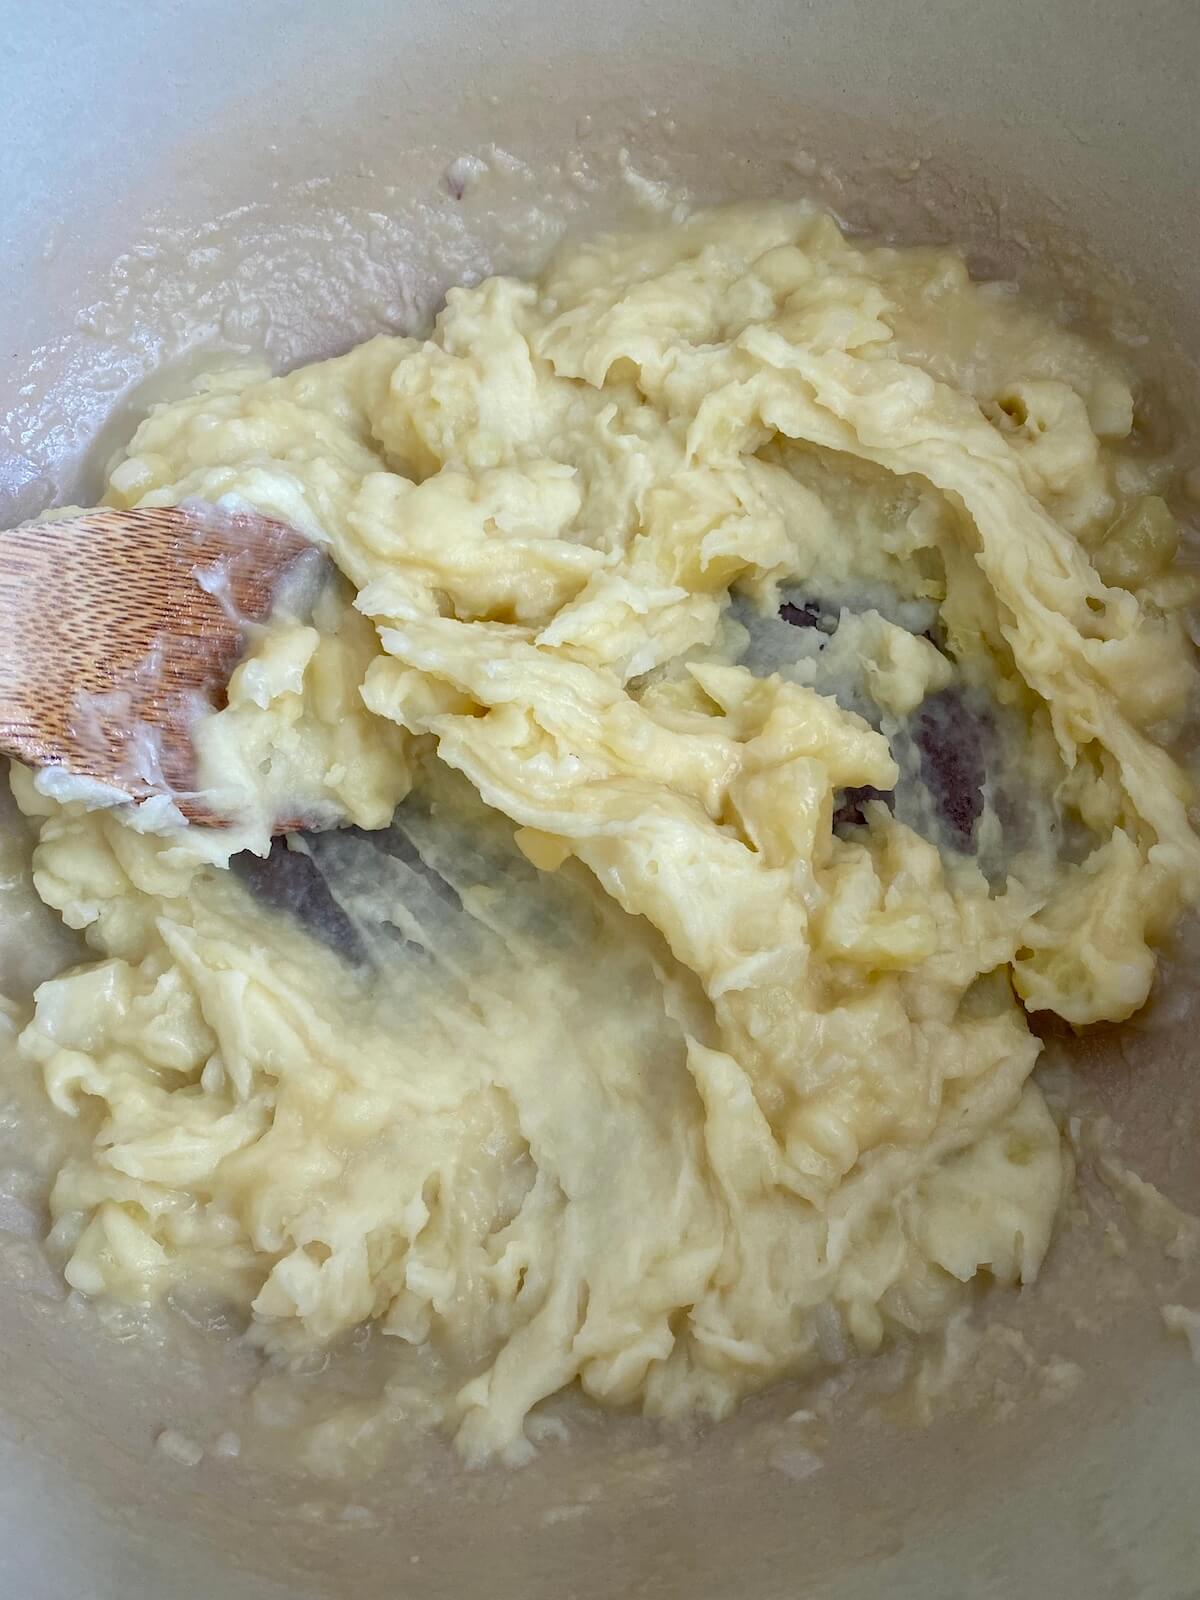
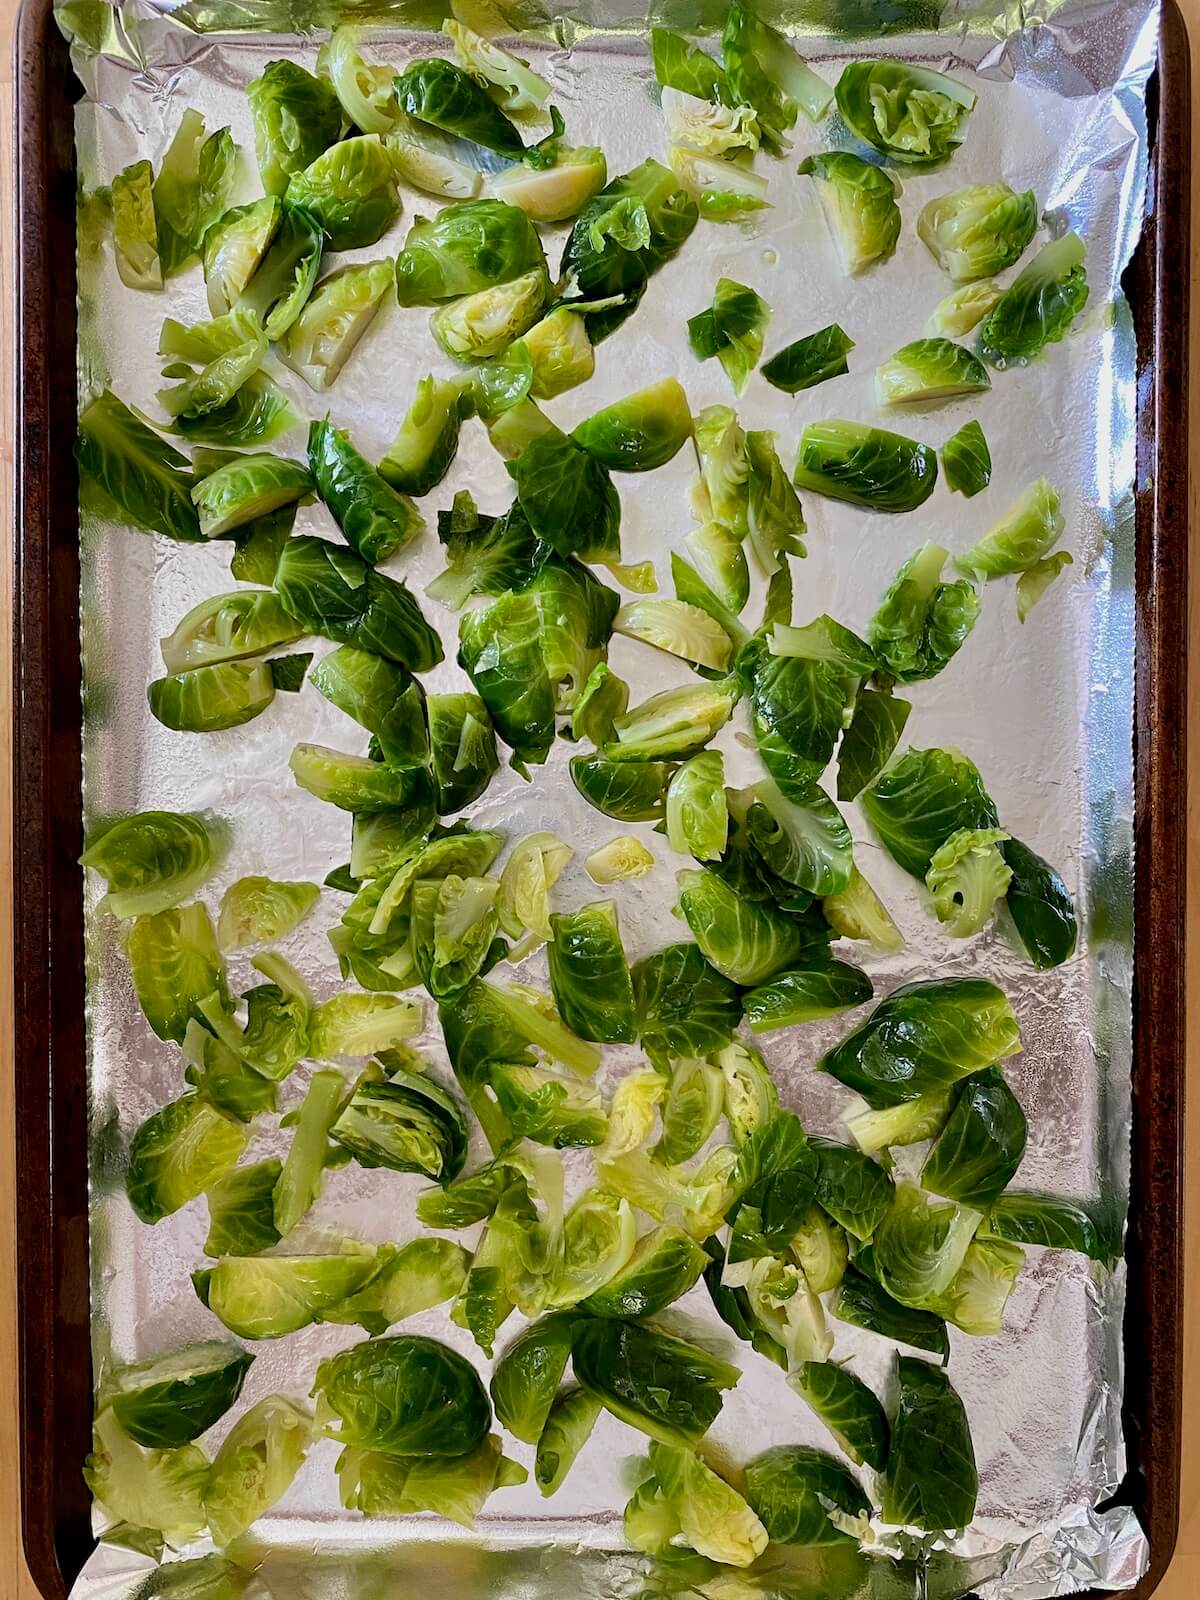
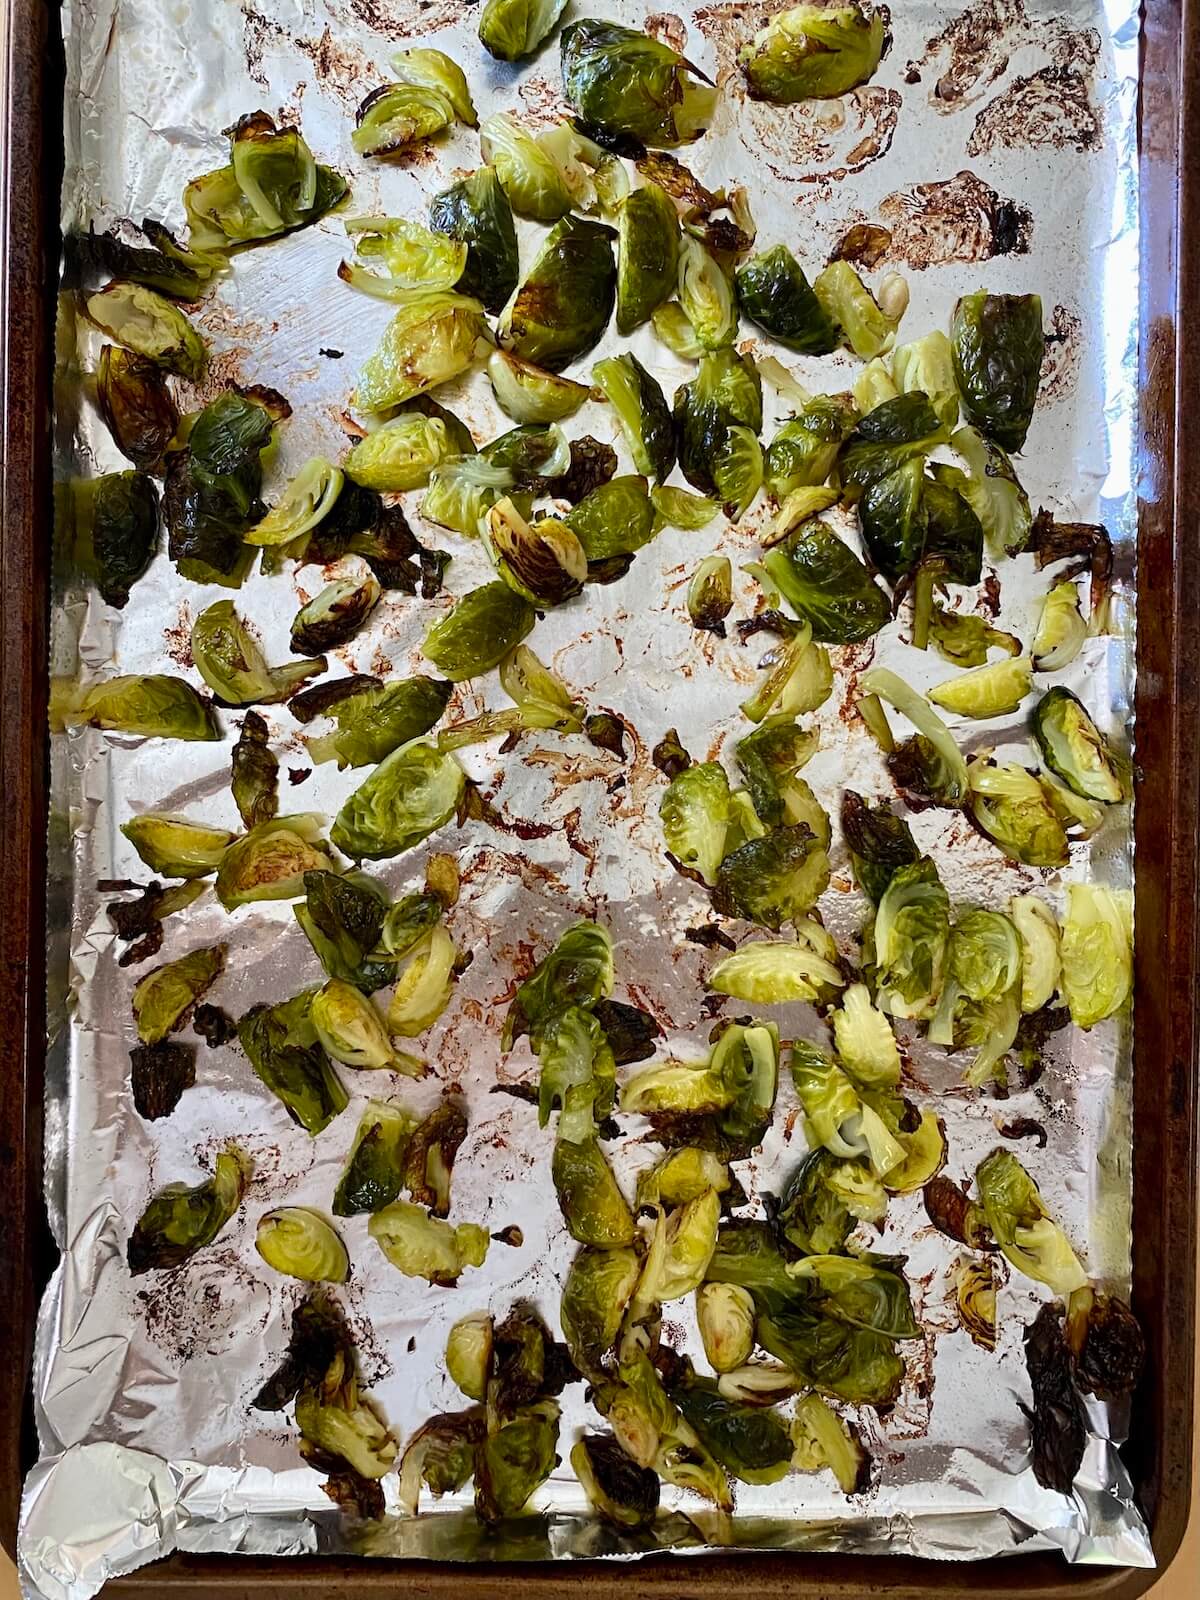
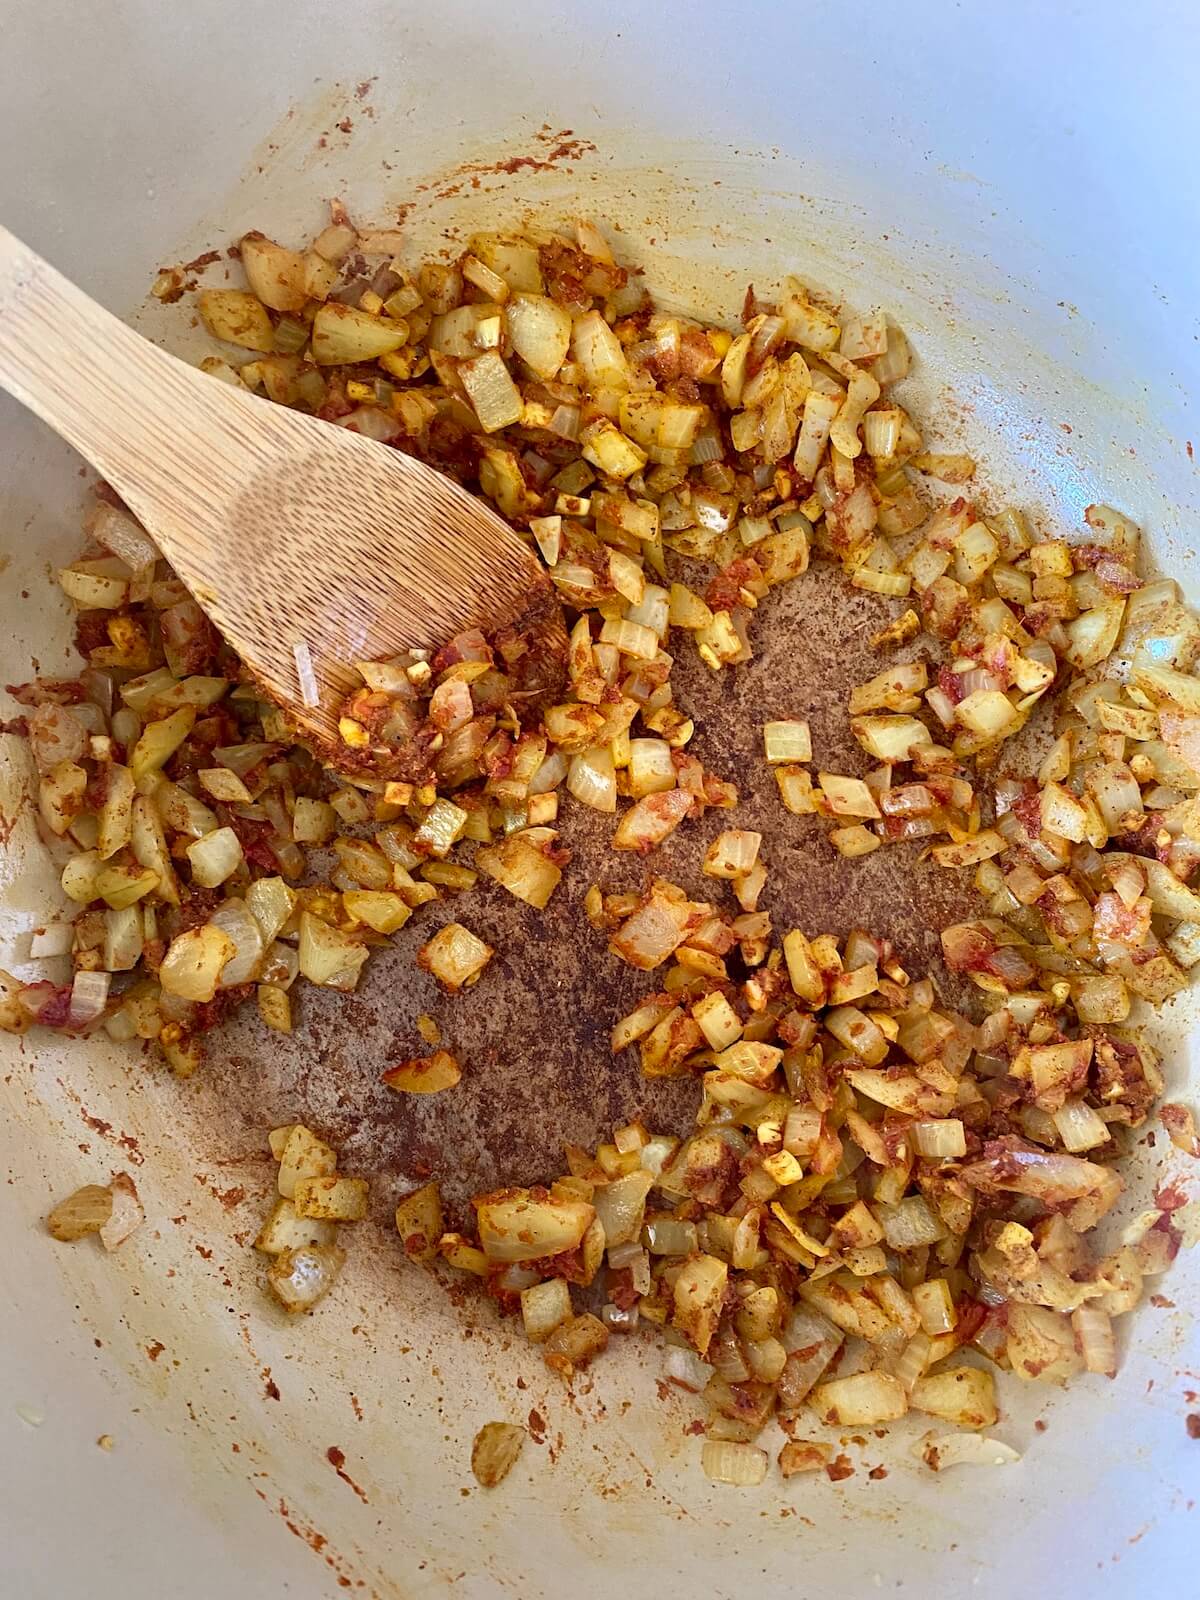
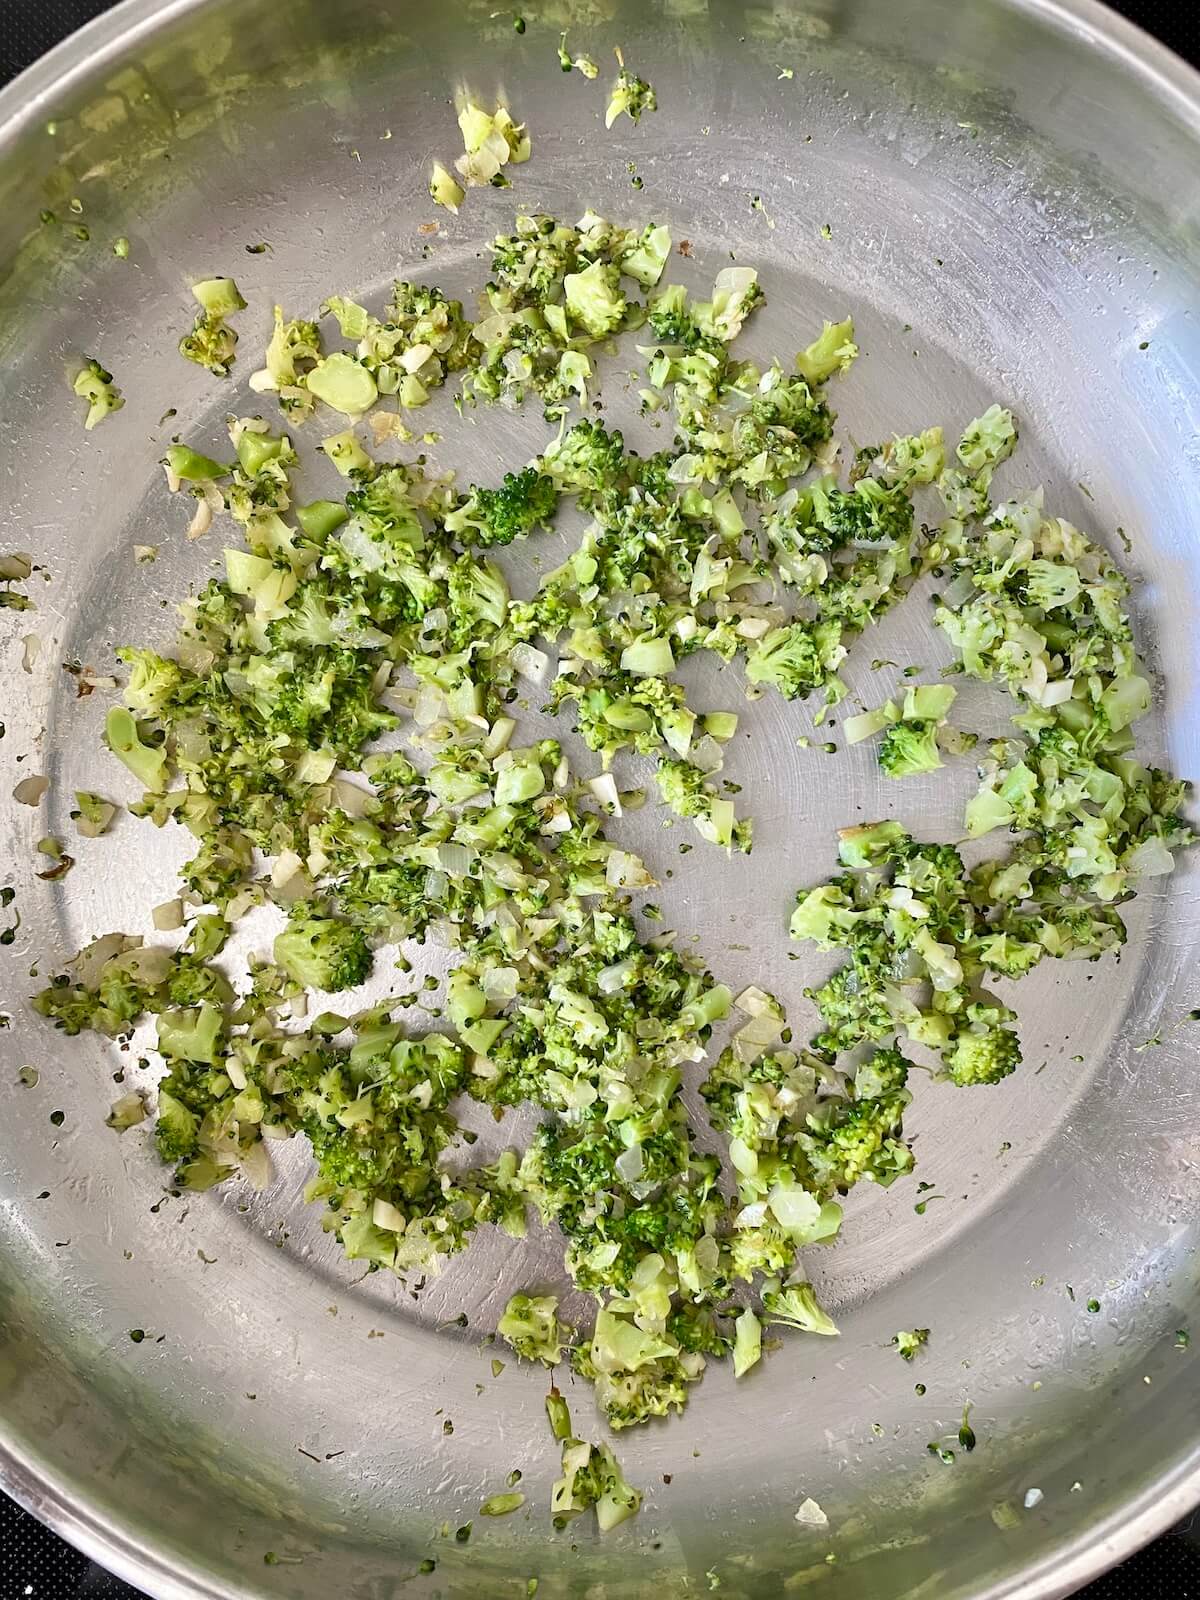
Step 1: Cook the vegetables. Heat olive oil over medium-low heat in a large skillet or sauté pan. Add the broccoli, onion, garlic, and salt to the skillet and cook, stirring occasionally, until the vegetables are very soft and tender (about 10 minutes). Remove from heat and set aside for 5 minutes to cool slightly.
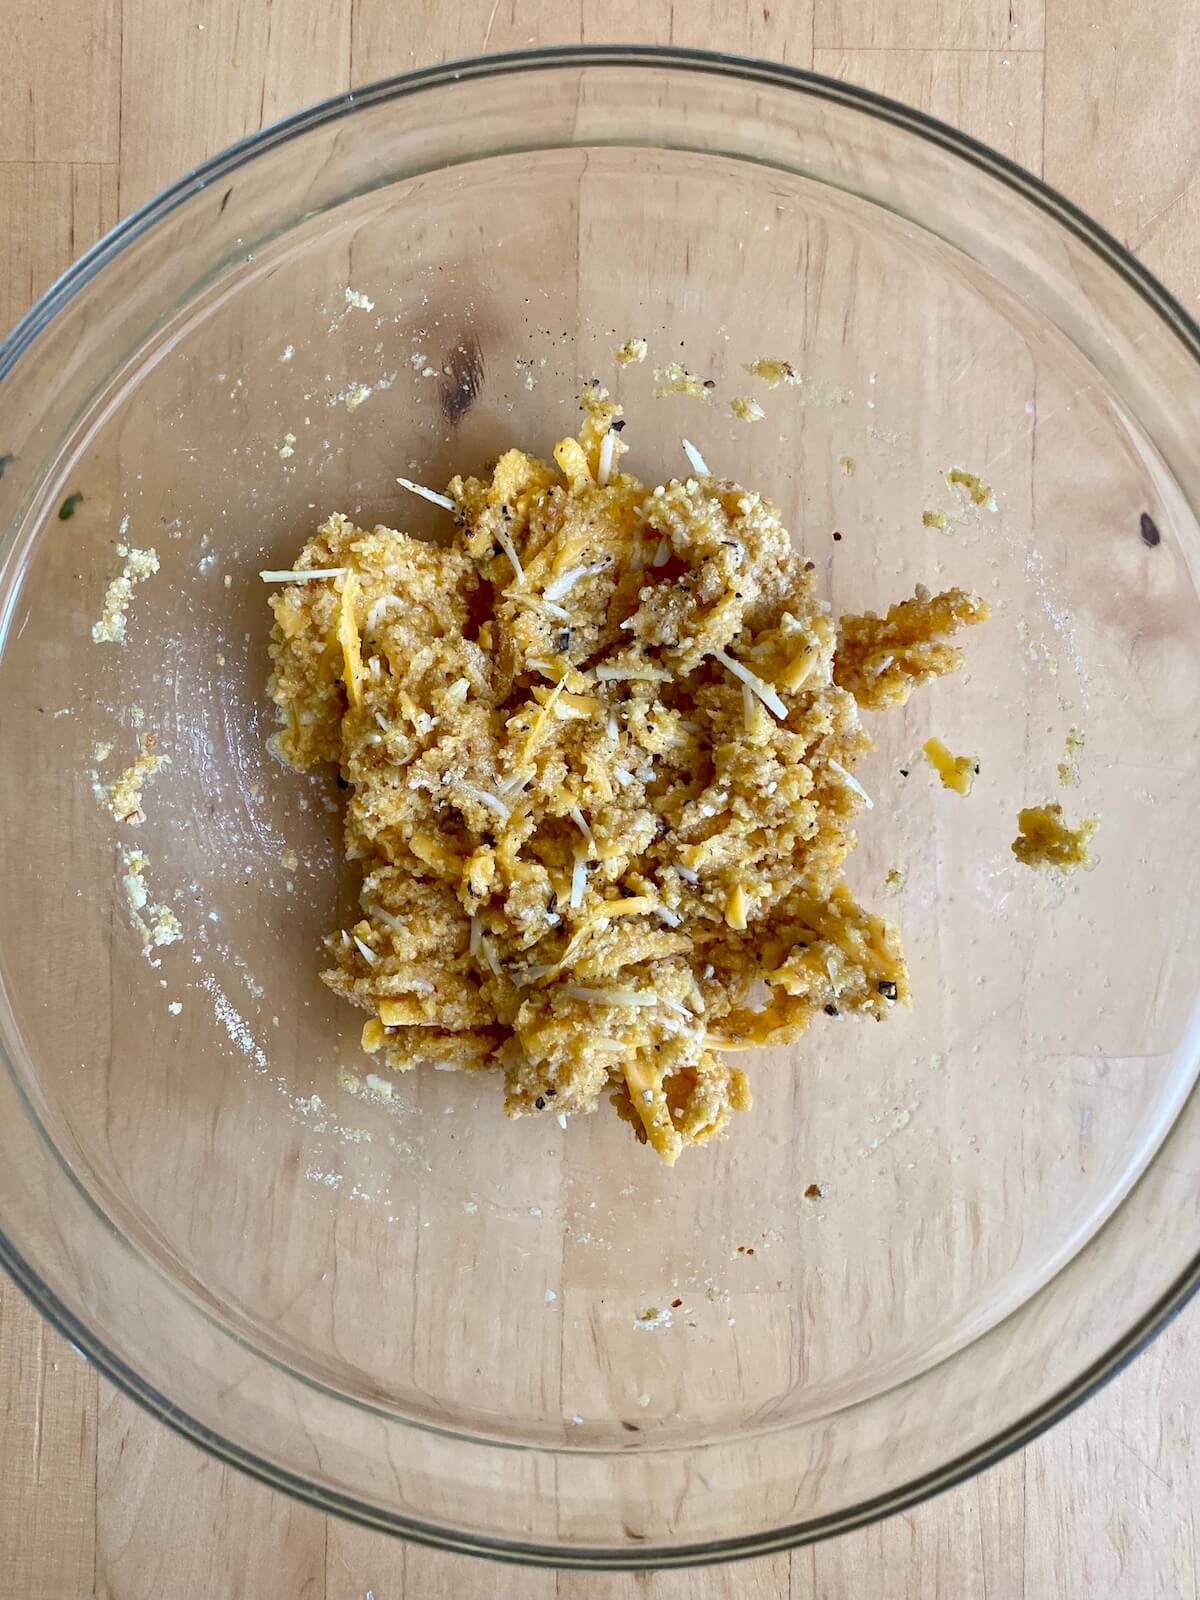
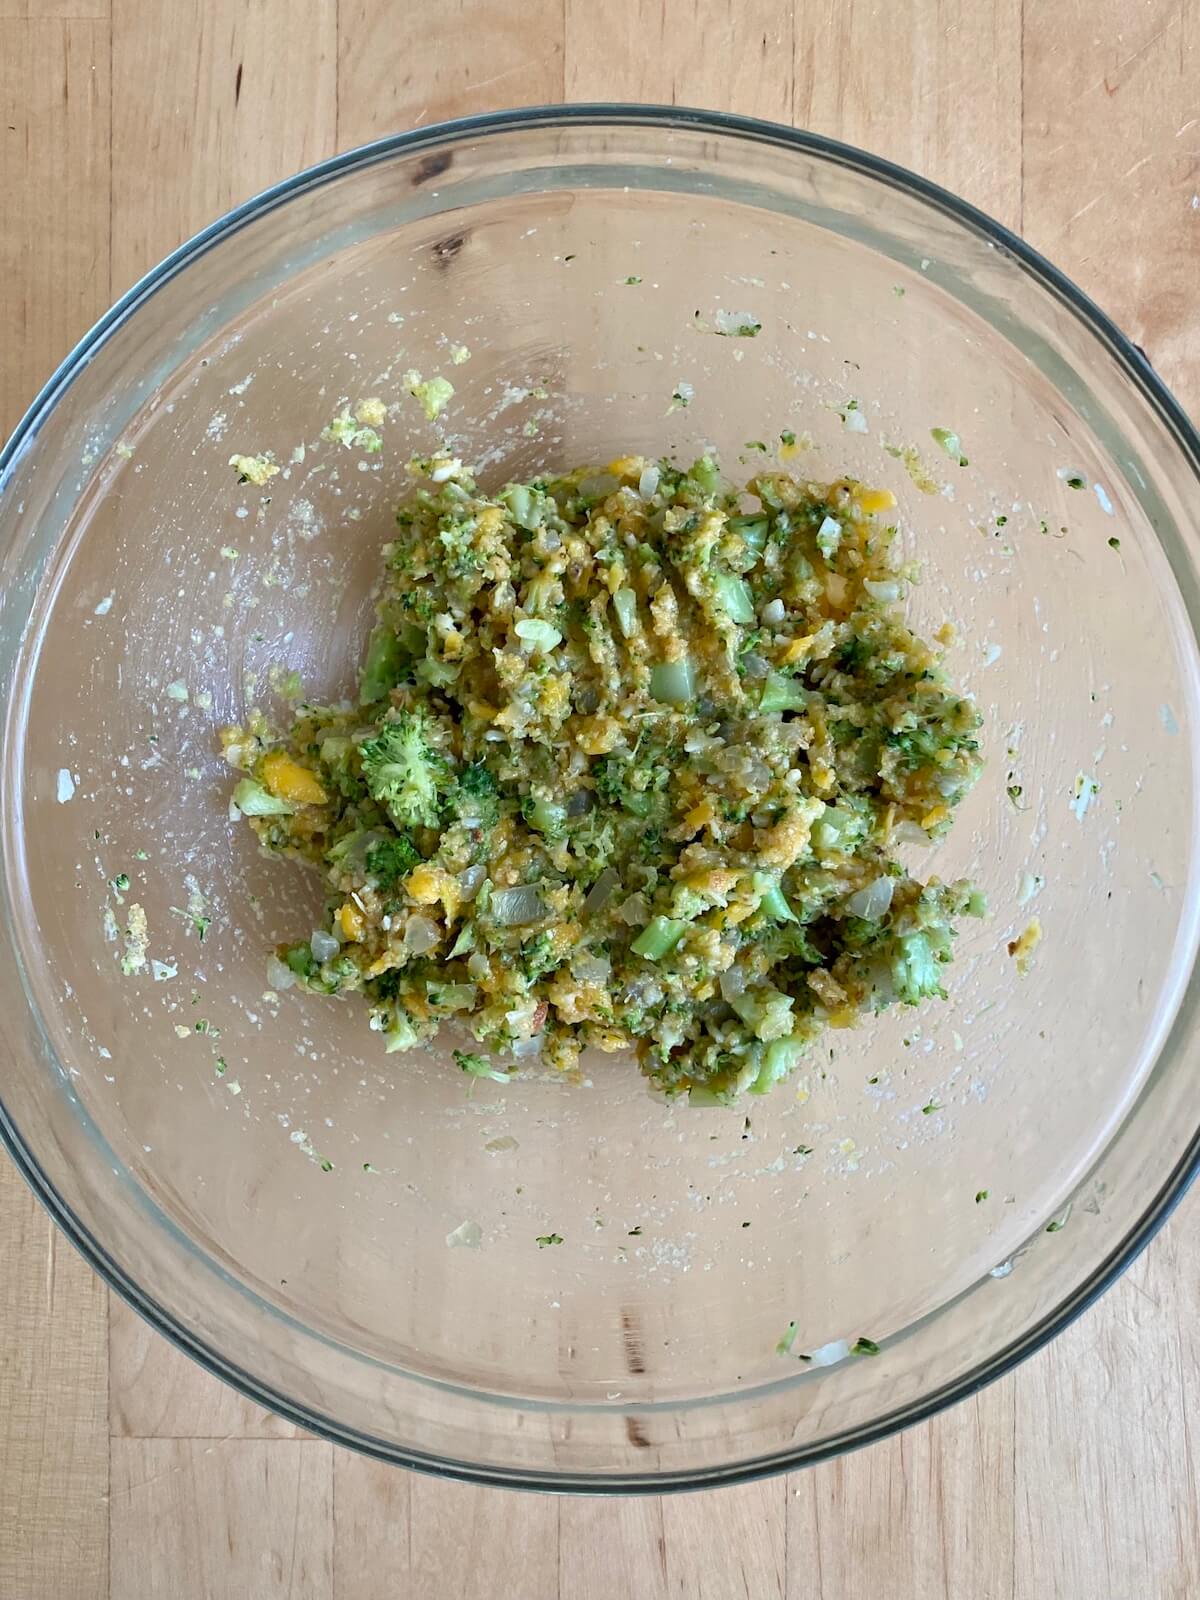
Step 2: Prepare the filling. While the vegetables are cooking, mix together the egg, cheddar cheese, parmesan cheese, breadcrumbs, and black pepper in a large mixing bowl. Add the vegetable mixture to the cheese and breadcrumbs and stir well to combine.
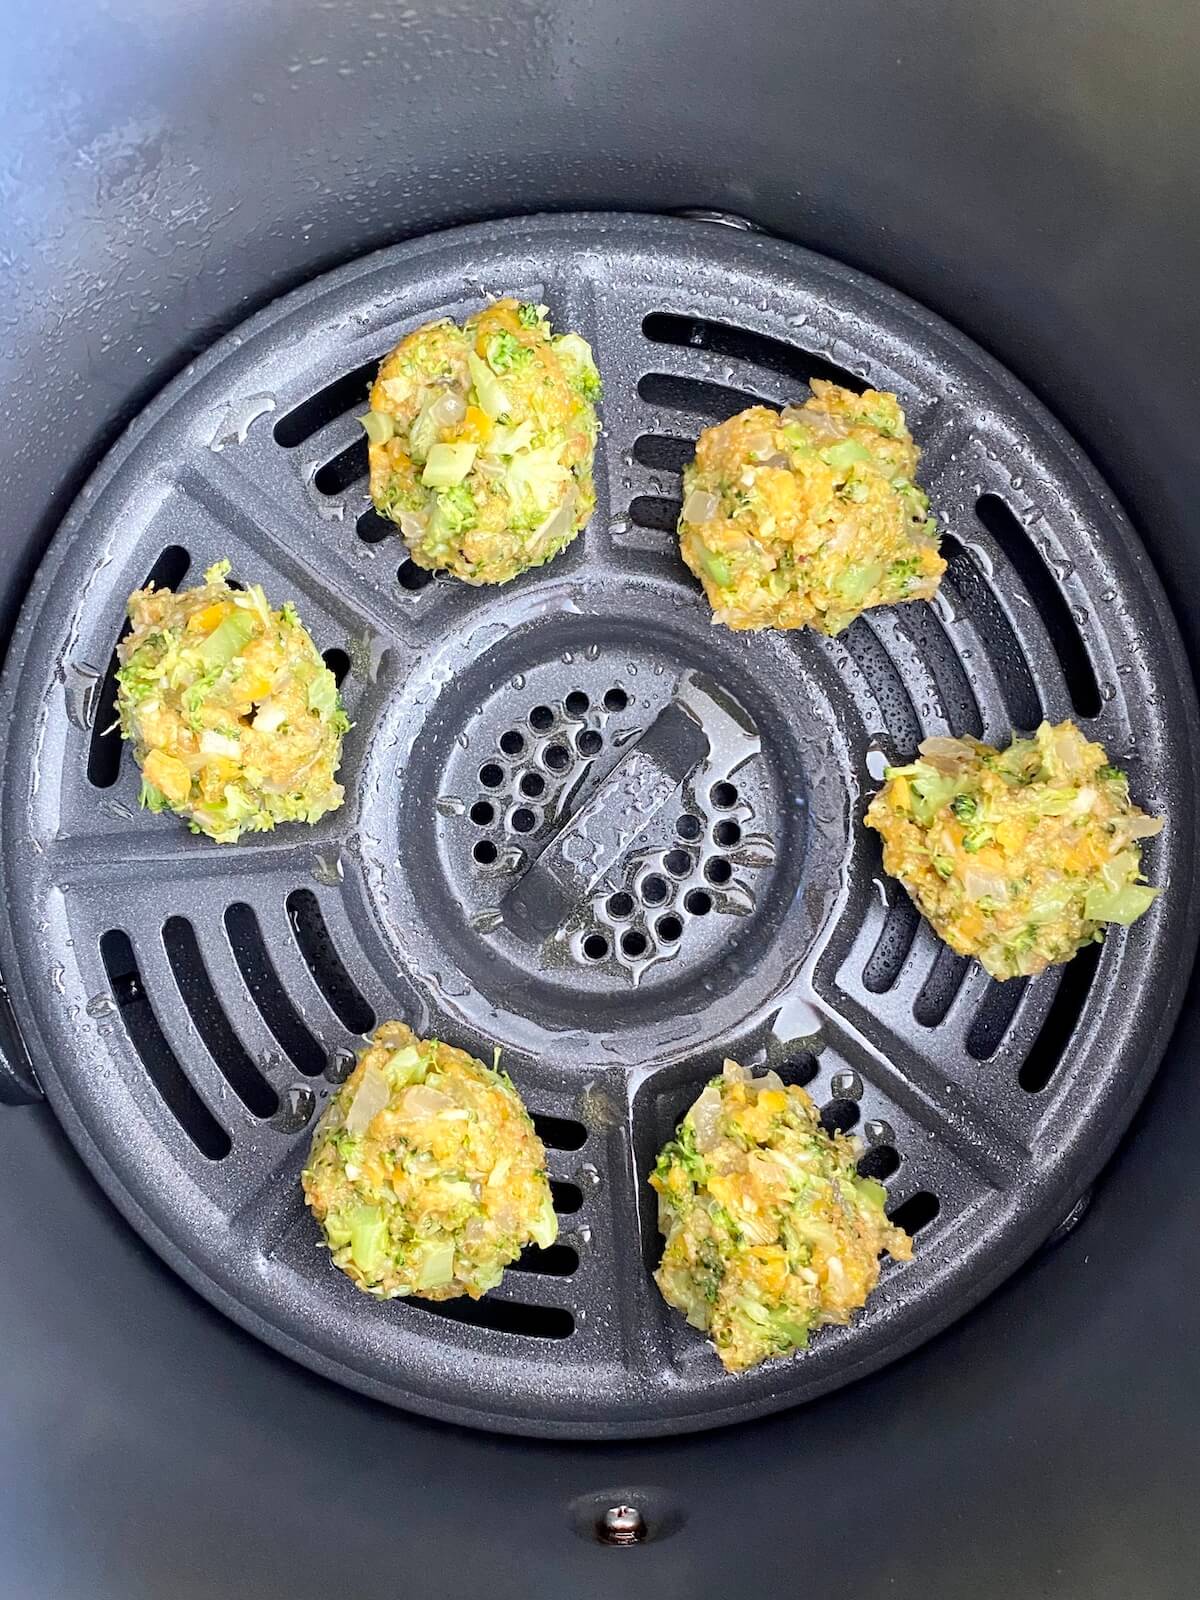
Step 3: Roll into balls and air fry. Portion the broccoli bite mixture into 12 equal-sized balls (approximately the size of a golf ball). Lightly spray the air fryer basket with cooking spray and preheat the air fryer to 390°F. Place the broccoli bites inside the air fryer basket and cook for 8-10 minutes, flipping halfway through.
Tips for the Best Air Fryer Broccoli Bites
- Cut the vegetables small. Finely chopping the broccoli, onion, and garlic means they'll cook more quickly and blend more easily into the broccoli bite mixture.
- Use freshly grated cheese. Pre-grated cheese is often coated in anti-caking agents to prevent the cheese from clumping together. These anti-caking agents also stop the cheese from melting as easily as freshly grated cheese does. For the meltiest, cheesiest, freshest tasting broccoli bites, shred your own cheese from the block.
- Multitask. While the broccoli is cooking, take that time to shred the cheeses and mix the rest of the ingredients together. That way, as soon as the broccoli is ready, you can add it to the bowl and start air frying up some delicious broccoli bites.
- Don't let the broccoli dry out too quickly. If you notice the broccoli is starting to dry out and burn before it is soft enough, add a teaspoon or two of water and cover it with a lid. Just make sure you allow all of the water to cook off before adding the broccoli to the breadcrumb mixture.
Substitutions and Variations
Here are a few ways you can customize this air fryer broccoli bites recipe to fit your diet and taste preferences.
Substitutions
- Broccoli- If you want to use frozen broccoli, you'll need approximately 10 ounces of frozen chopped broccoli to equal 2 ½ cups of fresh. You could also get creative and use other vegetables. Cauliflower, shredded zucchini, or spinach would all be delicious.
- Onion- Substitute the fresh onion for 1 tablespoon of onion powder or 2 tablespoons of dried onion flakes. Alternatively, you can use shallots or green onion in place of the yellow onion.
- Garlic- One teaspoon of garlic powder can be substituted for 4 cloves of fresh garlic.
- Cheddar Cheese- Lots of cheeses can be used in place of cheddar cheese in these air fryer broccoli bites. Try colby cheese, mozzarella cheese, gouda, havarti, or even american cheese.
- Parmesan Cheese- Asiago or pecorino romano cheeses are going to be the closest you'll get to parmesan cheese, flavor-wise. You can also use nutritional yeast in place of the parmesan, if preferred.
- Breadcrumbs- Regular or panko breadcrumbs can be used in this recipe. Additionally, fresh breadcrumbs, different types of flour, ground nuts, crushed chips or pretzels, or nutritional yeast can also be used in place of the breadcrumbs.
- Eggs- All out of eggs? Try substituting the egg with flaxseed, ricotta cheese, Greek yogurt, or even mashed potatoes.
- Olive Oil- Any neutral-flavored oil or even butter, if you prefer, can work in this recipe.
Variations
- Gluten-Free- Making these air fryer broccoli cheese bites gluten-free is simple. Just swap the traditional breadcrumbs for your favorite gluten-free breadcrumbs and you're all set. Try Aleias Gluten-Free Breadcrumbs.
- Vegan- While these broccoli bites are already vegetarian, making them vegan isn't too hard. To keep things simple, I recommend swapping the cheddar cheese for dairy-free cheddar cheese. Additionally, use nutritional yeast or dairy-free parmesan cheese in place of the parmesan cheese. Finally, swap the eggs for flax eggs (2 tablespoons ground flaxseed + 5 tablespoons water).
- Spicy- Kick it up a notch by adding a few shakes of red pepper flakes or cayenne pepper powder.
What to Serve With Air Fryer Broccoli Bites
These broccoli cheese bites are delicious as a snack all on their own. And they're even better with a dipping sauce or condiment. But, let's not overlook them as a side dish or even a meatless main dish option at dinner time. Here are a few of my favorite ways to eat these air fryer broccoli bites.
Dipping Sauces
- Marinara Sauce
- Ketchup
- Sriracha Aioli
- Dijon or Honey Mustard
- Ranch Dressing
- Mayonnaise
- Salsa
- Cheese Sauce
- Greek Yogurt or Sour Cream

Main Dishes
- Roasted Chicken
- Turkey Burgers
- Hotdogs or Hamburgers
- Pork Chops
- Steak Tips
- Potato Soup
- Chicken Noodle Soup
- Macaroni and Cheese
Side Dishes
- Rice, Quinoa, Farro, or Couscous
- Spaghetti with Red Sauce
- Baked Potato or Sweet Potato
- Sautéed, Steamed, or Roasted Vegetables
- Leafy Green Salad
Storage and Reheating
How to Store
- Refrigerator- Store broccoli bites in an airtight container in the refrigerator for up to 3 days.
- Freezer- Broccoli bites are super freezer-friendly. First, flash freeze them on a baking sheet. Then, once frozen, place them in a freezer-safe storage bag or container and keep them frozen for up to 3 months.
How to Reheat
Leftover air fryer broccoli bites are rare in my house because it's so hard not to gobble up the whole plate as soon as they're done. However, if you have a few extra you want to store, here are a few tips to help you do so.
Note: If your broccoli bites are frozen, I recommend thawing them first in the refrigerator. Otherwise, you may need to add additional time to each reheating method below.
- Air Fryer- Place broccoli bites in the basket of your air fryer and heat at 350°F for 1-2 minutes per side.
- Oven- Preheat the oven to 350°F and place the broccoli bites on a rimmed baking sheet. Bake for approximately 10 minutes or until warmed through.
- Stovetop- Lightly oil a skillet and warm broccoli bites over medium-low heat until crispy and heated through.
- Microwave- Place broccoli bites on a microwave-safe plate and heat on half-powder in 30-second intervals until warmed through.

Frequently Asked Questions
Broccoli bites are a healthier alternative to French fries or tater tots when served as a side dish. Snacking on broccoli bites is also a fantastic way to sneak a few extra vegetables into your day. Each broccoli bite contains approximately 100 calories, 5 grams of protein, and 1 gram of fiber.
When testing this recipe, I found that 4-5 minutes per side in a basket air fryer was perfect. If you have an oven-style air fryer, they may take a few minutes longer to become brown and crispy.
Yes! Make a batch or two of broccoli bites and freeze the balls before air frying. That way, you can have hot, fresh broccoli bites whenever an unexpected guest stops by or you need to throw dinner together last minute. When air frying from frozen, add a few extra minutes per side.


📖 Recipe

Air Fryer Broccoli Bites
Equipment
Ingredients
- 2 tablespoons olive oil
- 2 ½ cups broccoli finely chopped
- ½ large yellow onion finely minced
- 4 cloves garlic finely minced
- ½ teaspoon salt
- 2 eggs
- 1 cup cheddar cheese shredded
- ¼ cup parmesan cheese grated
- ½ cup breadcrumbs
- ¼ teaspoon black pepper
Instructions
- Heat olive oil over medium-low heat in a large skillet or sauté pan. Add the broccoli, onion, garlic, and salt to the skillet and cook, stirring occasionally, until the vegetables are very soft and tender (about 10 minutes). Remove from heat and set aside for 5 minutes to cool slightly.2 tablespoons olive oil, 2 ½ cups broccoli, ½ large yellow onion, 4 cloves garlic, ½ teaspoon salt
- While the vegetables are cooking, mix together the eggs, cheddar cheese, parmesan cheese, breadcrumbs, and black pepper in a large mixing bowl. Add the vegetable mixture to the cheese and breadcrumbs and stir well to combine.2 eggs, 1 cup cheddar cheese, ¼ cup parmesan cheese, ½ cup breadcrumbs, ¼ teaspoon black pepper
- Portion the broccoli bite mixture into 12 equal-sized balls (approximately the size of a golf ball). Lightly spray the air fryer basket with cooking spray and preheat the air fryer to 390°F. Place the broccoli bites inside the air fryer basket and cook for 8-10 minutes, flipping halfway through.