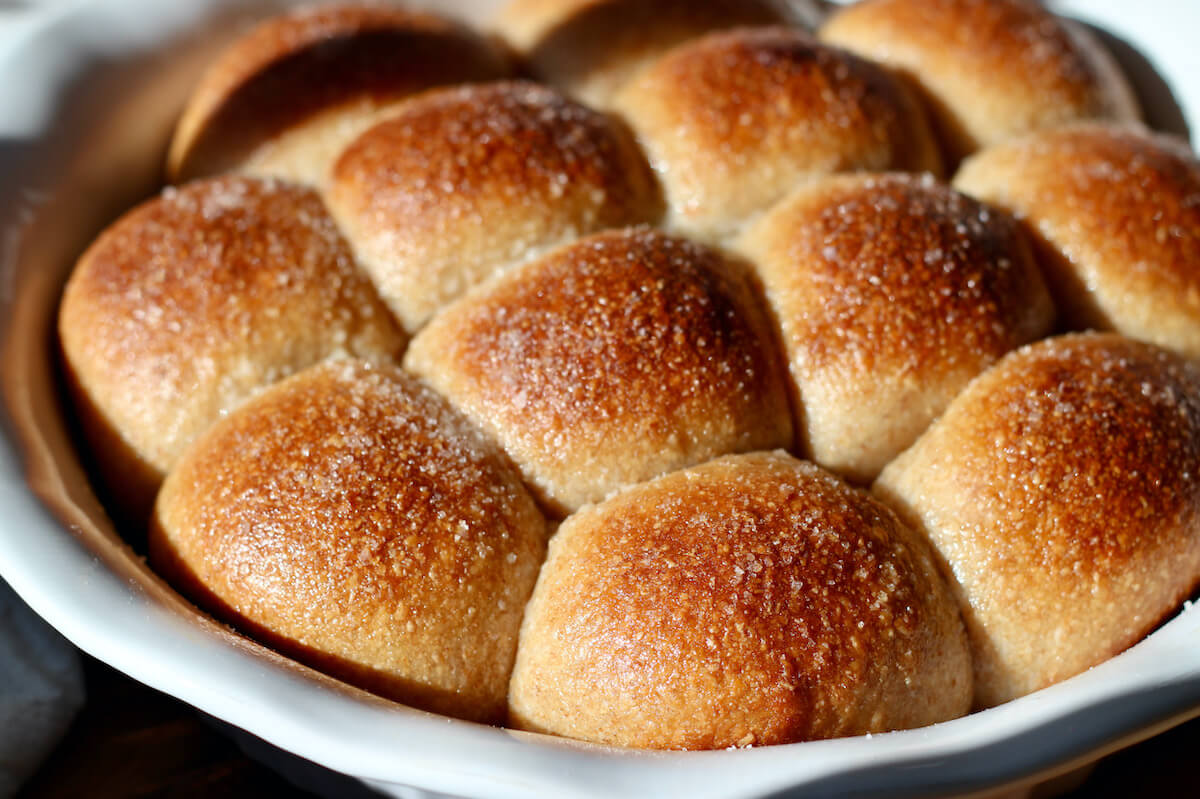
These Sourdough Dinner Rolls are soft and fluffy with a lightly sweet and nutty flavor. Perfect for beginners, this recipe uses a blend of bread flour and wheat flour to achieve a balance of flavors and textures. Serve them alongside a holiday meal or your favorite comfort food dishes.
Since I started making my own sourdough bread from scratch, I've become a bit of a bread snob. And with Thanksgiving quickly approaching, I knew I didn't want to buy bland, floury store-bought dinner rolls this year.
So, with my sourdough starter bubbly and active, I set out to make a simple, yet flavorful dinner roll. After testing various versions, this recipe was by far my favorite.
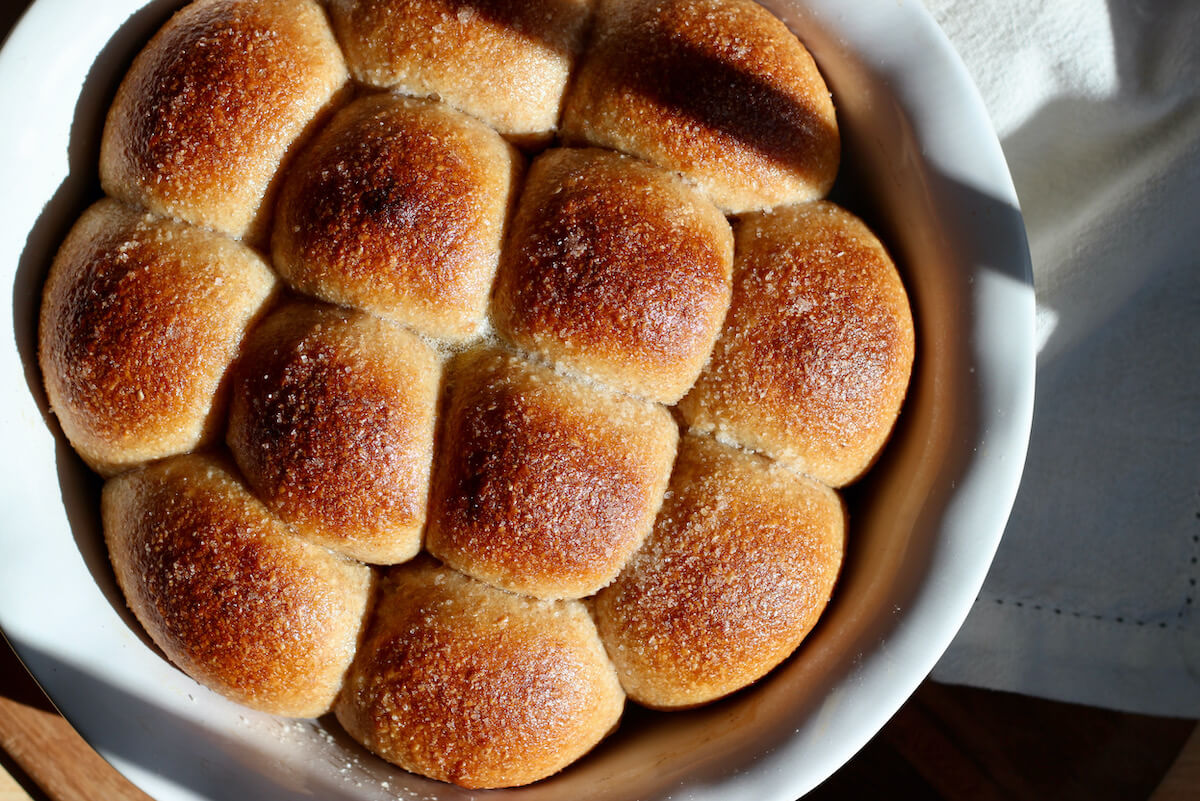
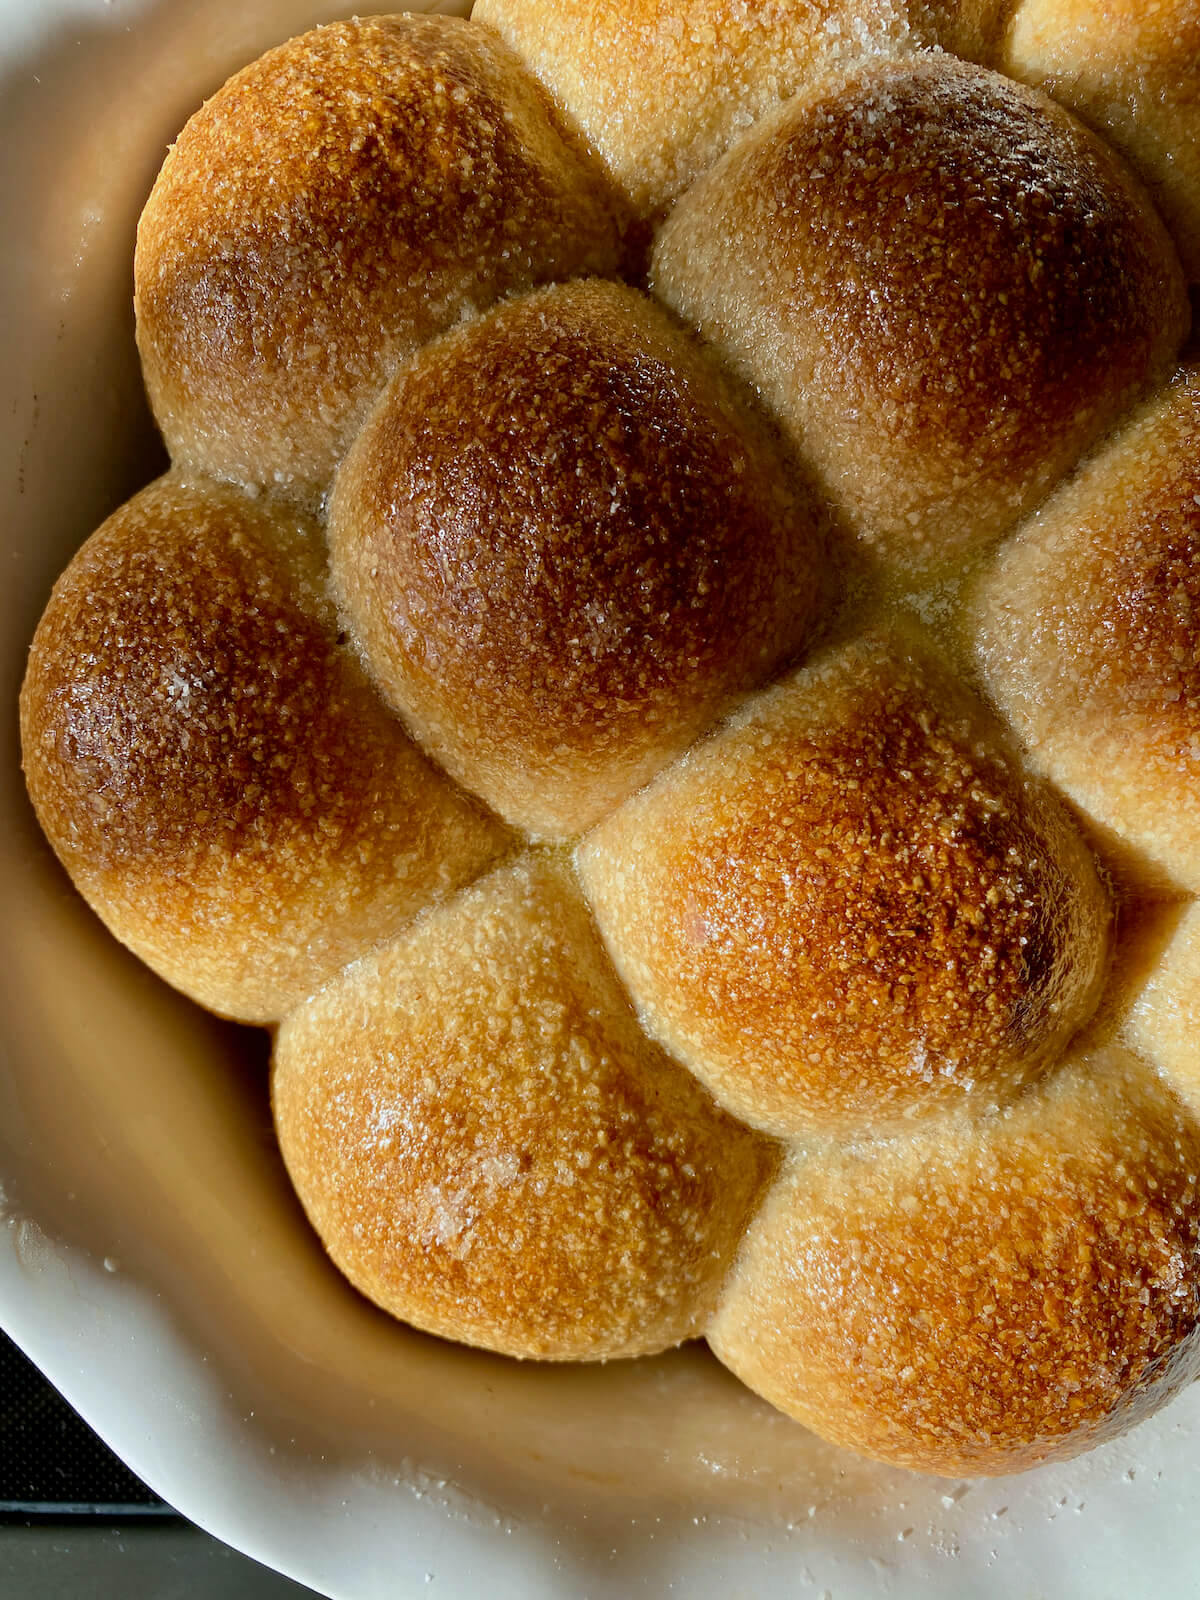
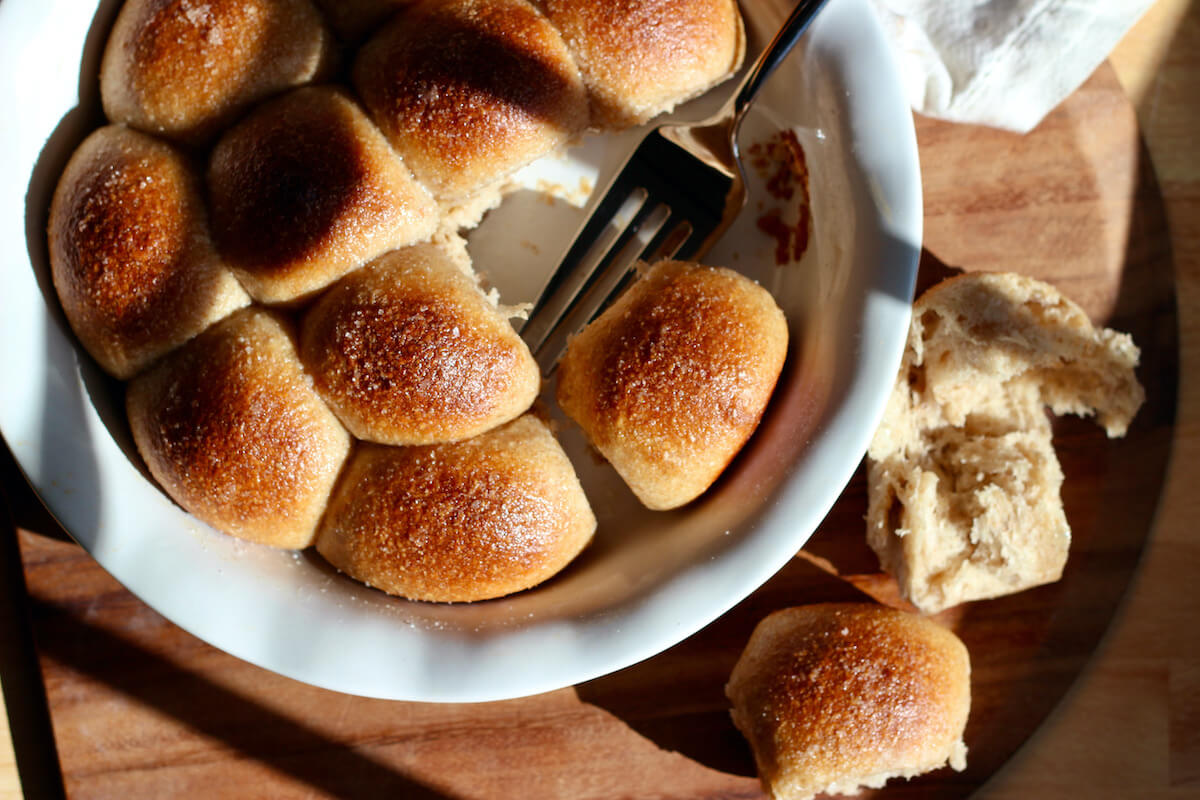
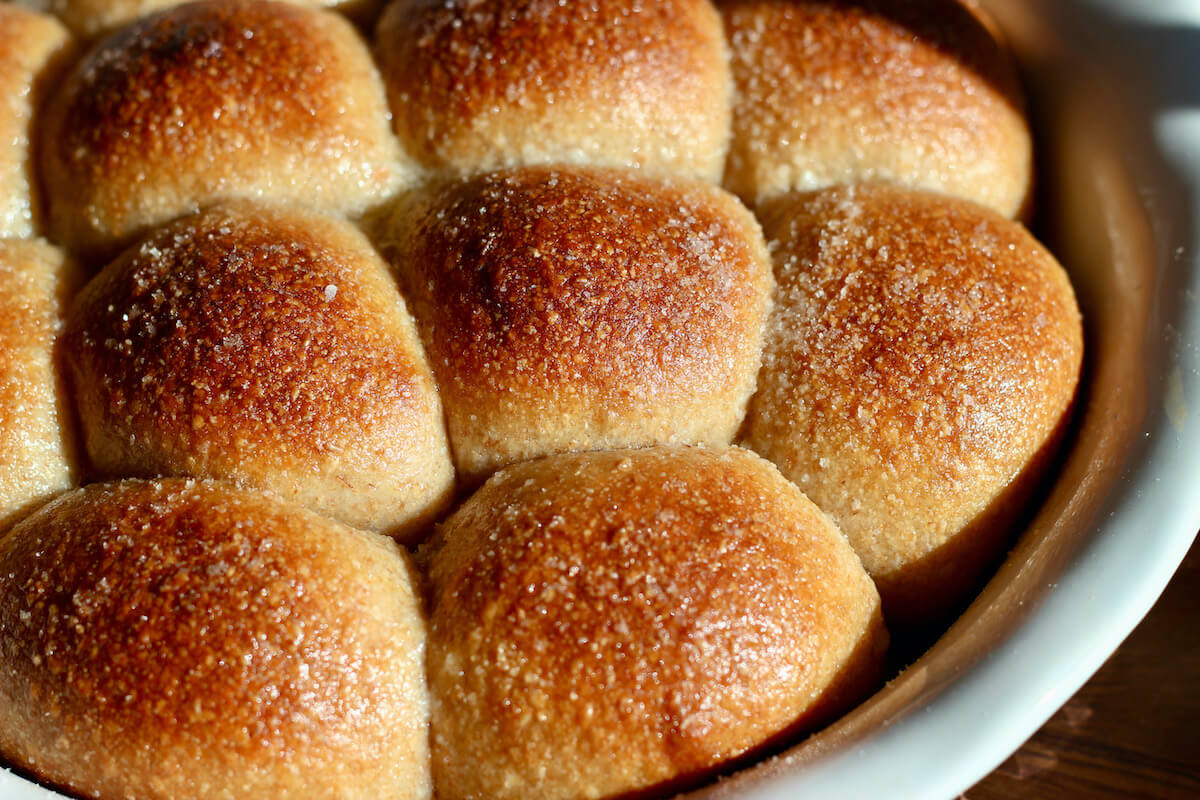
These sourdough dinner rolls have the perfect combination of a soft, fluffy inside and a crusty, buttery outside. Plus, the nutty whole wheat flour and sweet honey add a rich, complex flavor.
I chose to rely solely on whole milk for adding fat to the dough and giving these sourdough rolls their soft, tender texture. This not only simplifies the ingredient list but also creates a dough that is easy to handle.
Today, I’m walking you through the entire process of making the best sourdough dinner rolls at home, including which ingredients to use, tips for success, and how to easily fit this sourdough recipe into your busy schedule.
Disclaimer: Some links throughout this post are affiliate links. As an Amazon Associate, I earn from qualifying purchases. You can learn more by visiting my Affiliate Disclosure Page.
Why You'll Love This Recipe
- Soft & Fluffy- Adding whole milk to the dough creates soft and fluffy rolls with a tender texture.
- Flavorful- The tangy sourdough and nutty whole wheat flour combine for a flavorful dinner roll that outshines store-bought options every time.
- Beginner-Friendly- Great for beginner sourdough bakers, this low-hydration dough uses simple ingredients and techniques.
- No Kneading- Instead of traditional kneading, this recipe uses "stretch and folds" to develop gluten. This technique is gentler and less labor-intensive.
- No Yeast- This recipe relies solely on sourdough starter for leavening, making it perfect for those wanting an exclusively sourdough dinner roll.
- Perfect Holiday Side Dish- Make dinner rolls the star of your holiday table with this easy sourdough variation.
🥖 Want to make sourdough recipes but need a starter? Learn everything you need to know about creating and maintaining your own sourdough starter.
Ingredient Notes
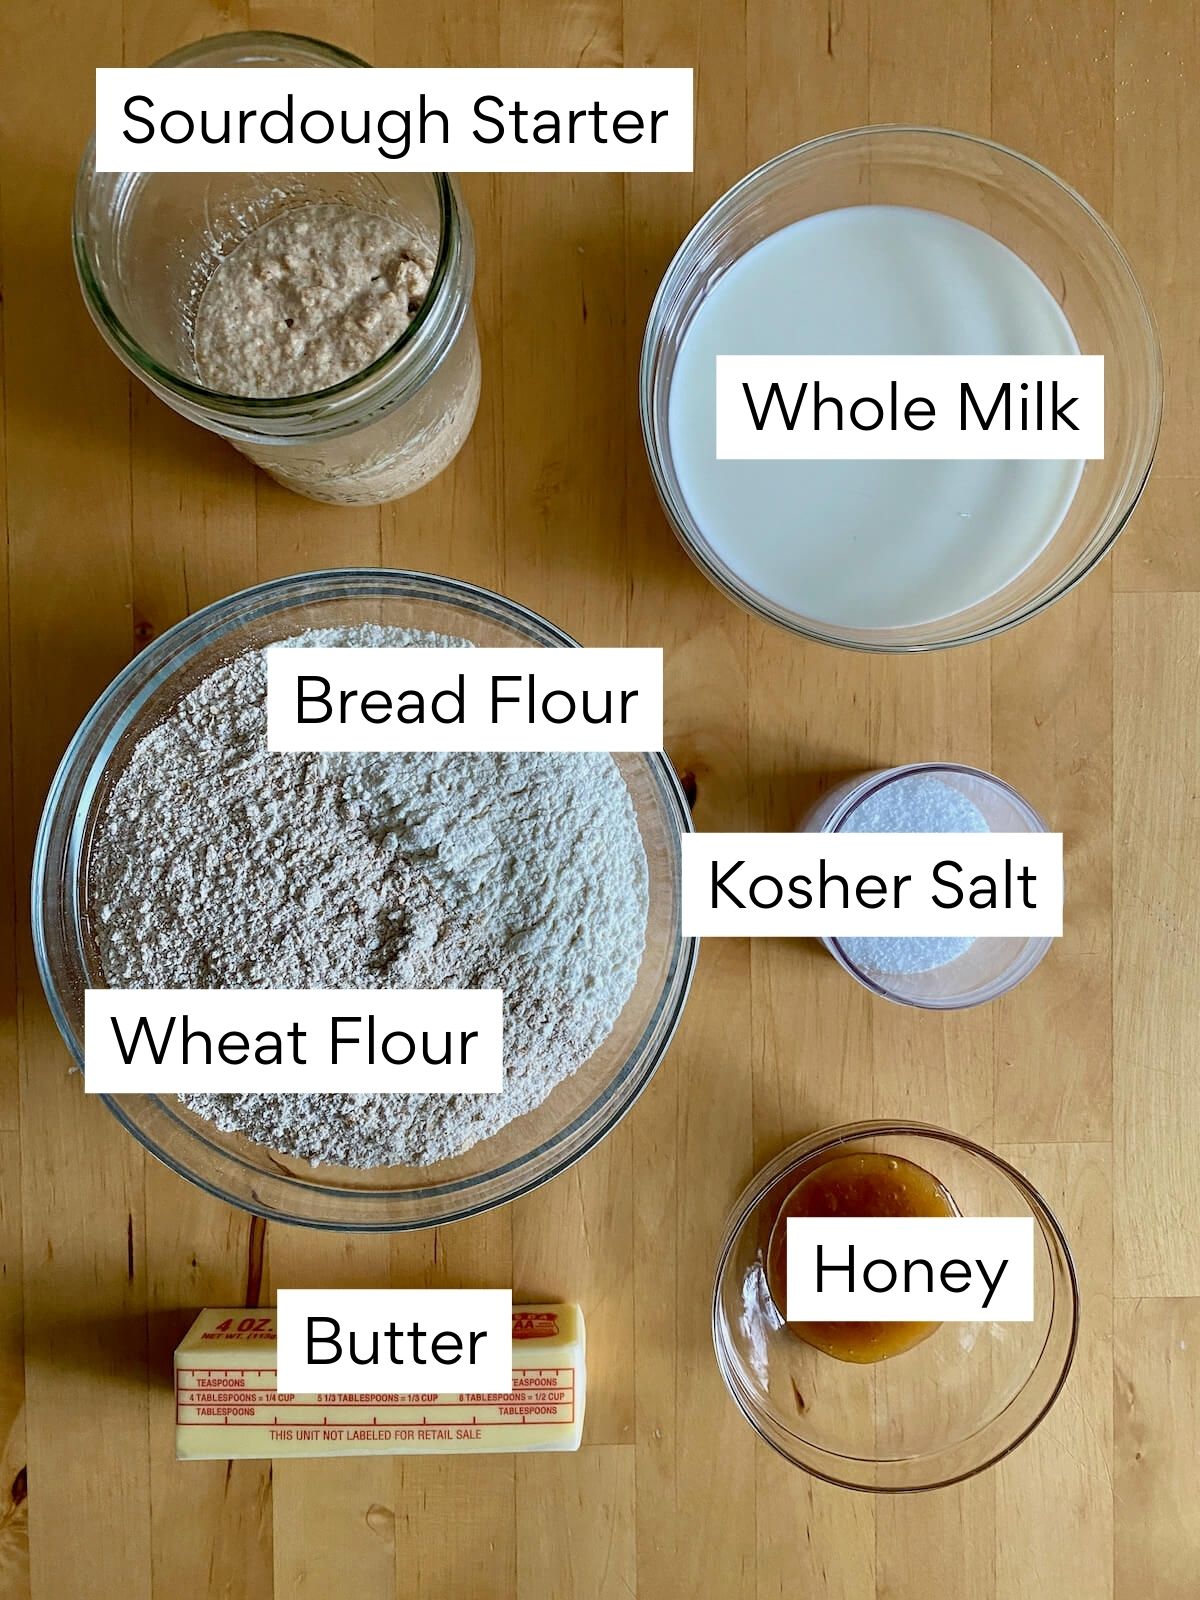
Here are some notes on the key ingredients. For the full list of ingredients, check out the recipe card below.
- Bread Flour- High in gluten-forming protein, bread flour helps create a strong gluten structure for good rise and chewiness.
- Whole Wheat Flour- Through testing, I found that whole wheat flour is essential for giving the rolls a nutty, slightly sweet flavor and hearty texture. Feel free to swap some or all of it for more bread flour if preferred.
- Sourdough Starter- You'll need an active sourdough starter for this recipe. Mine is a 100% hydration starter, primarily fed with whole wheat flour in a 1:3:3 ratio.
- Whole Milk- The fat in whole milk acts as a tenderizer, resulting in soft, fluffy rolls. Warming the milk brings the temperature of the dough up, which helps make the yeast more active.
- Honey- Adds sweetness, boosts yeast activity, and keeps the rolls soft and moist after baking.
- Kosher Salt- I prefer kosher salt as it does not contain added ingredients and anti-caking agents found in table salt.
- Butter- Coats the pan to prevent the rolls from sticking. You can also brush melted butter on top of the rolls after baking to give them a glossy finish and buttery flavor.
🌱 Sustainability Tip: Opt for locally-milled bread flour from a nearby grain mill for a more sustainable option when making these soft sourdough dinner rolls.
Substitutions and Variations
Here are a few ways you can try customizing this sourdough dinner roll recipe to fit your diet and taste preferences.
Substitutions
- Bread Flour- All-purpose flour can be substituted, but expect slightly less chewiness in the rolls.
- Whole Wheat Flour- Swap whole wheat flour with spelt flour or rye flour to give the rolls a different flavor.
- Whole Milk- Substitute with low-fat or fat-free milk, or even water if preferred, but note that the milk fat contributes to the softness and fluffiness of the rolls.
- Honey- Replace honey with an equal amount of granulated sugar by weight.
- Kosher Salt- You can use sea salt or table salt as a substitute. Remember to measure by weight if using a different type of salt.
- Butter- Swap butter for extra virgin olive oil, coconut oil, or dairy-free butter.
Variations
- Herbed- Add chopped fresh herbs like rosemary, thyme, or chives to the dough during the mixing process for an aromatic twist.
- Cheddar- Mix shredded cheddar cheese into the dough for a cheesy flavor.
- Parmesan Garlic- Fold minced garlic and grated parmesan cheese into the dough or sprinkle garlic powder and parmesan cheese on top of the buttered rolls.
- Pizza- For a pizza night twist, mix shredded mozzarella cheese, a touch of tomato paste, dried oregano, and basil into the dough.
- Everything Bagel- Sprinkle everything bagel seasoning on top of the buttered dinner rolls and enjoy them with cream cheese for breakfast.
- Cinnamon Sugar- Mix cinnamon into the dough and brush a cinnamon-sugar butter mixture on top of the rolls, then dip them in icing for a unique dessert.
- Honey Butter- Brush a mixture of honey and melted butter on top of the rolls for a subtly sweet flavor.
Equipment Notes
Here are some notes on any special equipment I used to make this recipe.
- Pie Plate, Cake Pan, or Cast Iron Skillet- A round 9-inch pie plate, cake pan, or cast iron skillet perfectly fits 12 dinner rolls.
- Kitchen Scale- I always recommend using a kitchen scale to weigh your ingredients, especially when it comes to sourdough baking.
- Basting Brush- Use a clean, food-grade basting brush to evenly distribute melted butter on top of the rolls.
How to Make Sourdough Dinner Rolls
Here is how to make homemade dinner rolls with sourdough starter.
Step 1: Feed the sourdough starter. Give your sourdough starter a feeding 6-12 hours before making the dough for an active, bubbling starter.
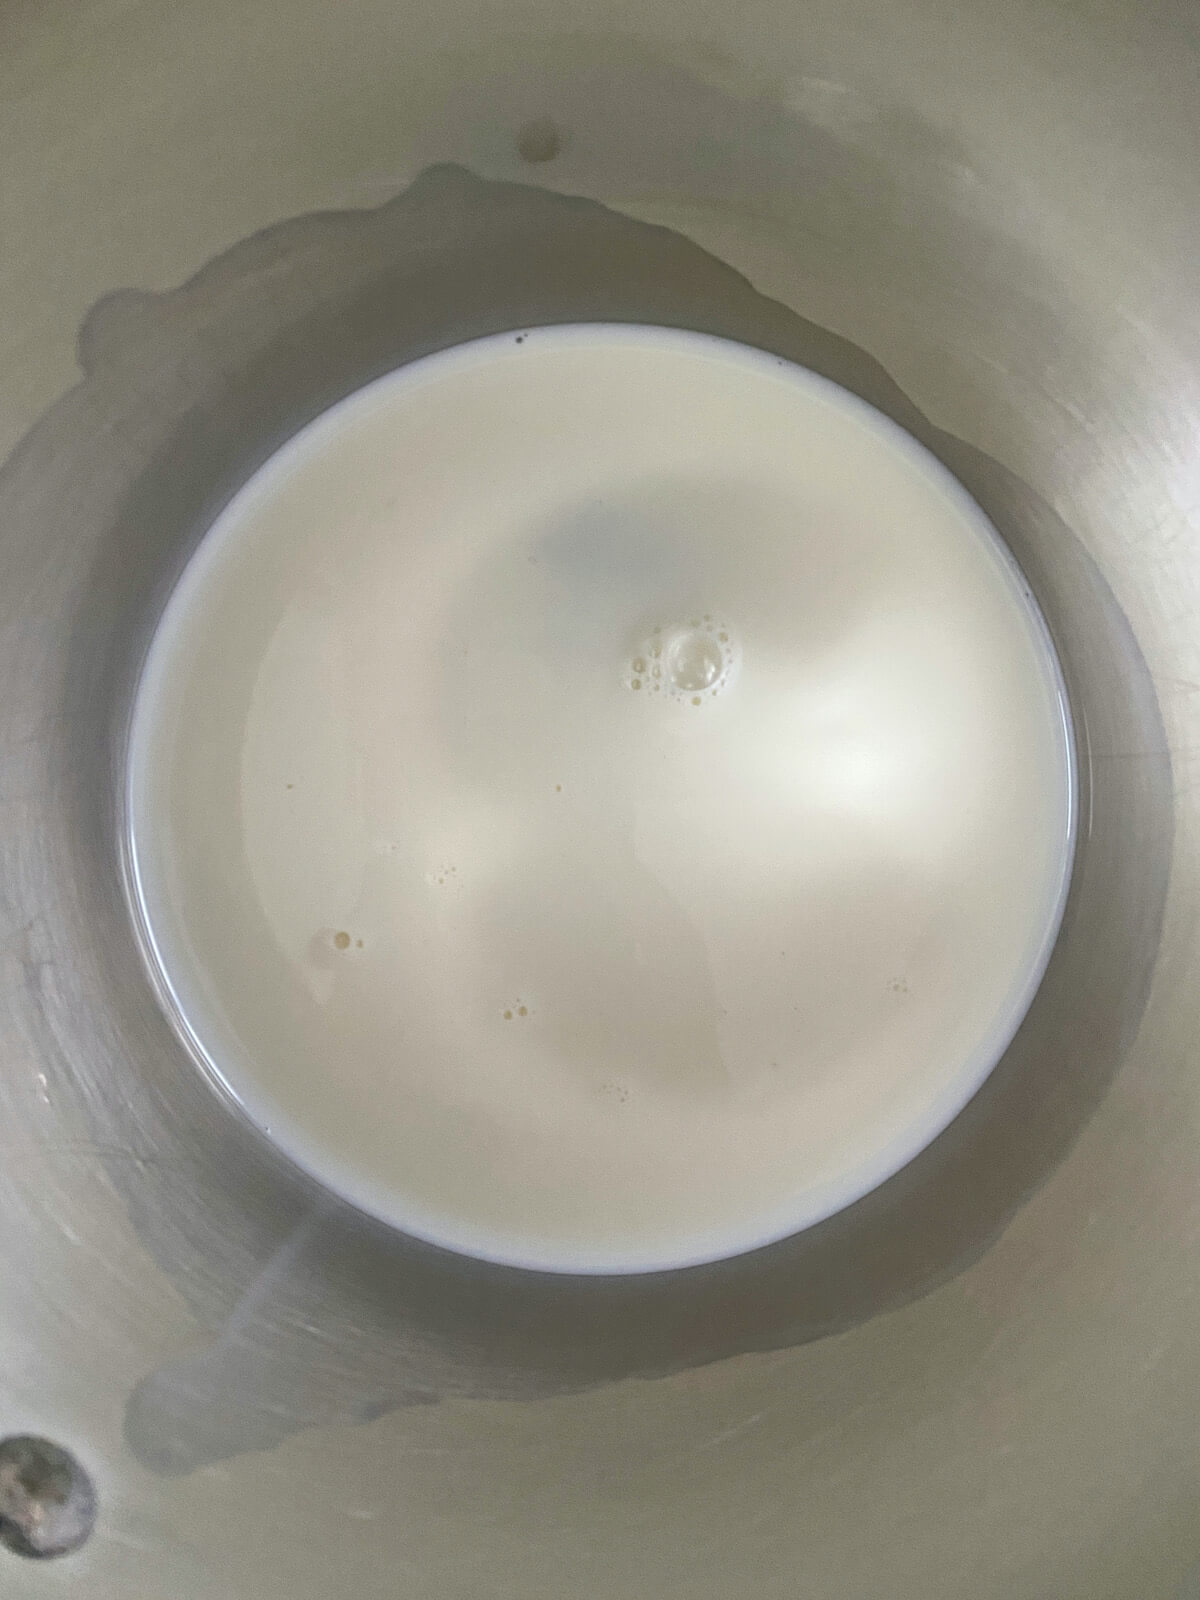
Step 2: Warm the milk. In a small saucepan over low heat, combine milk and honey. Whisk until honey is dissolved and milk reaches about 90°F. Set aside to cool slightly.
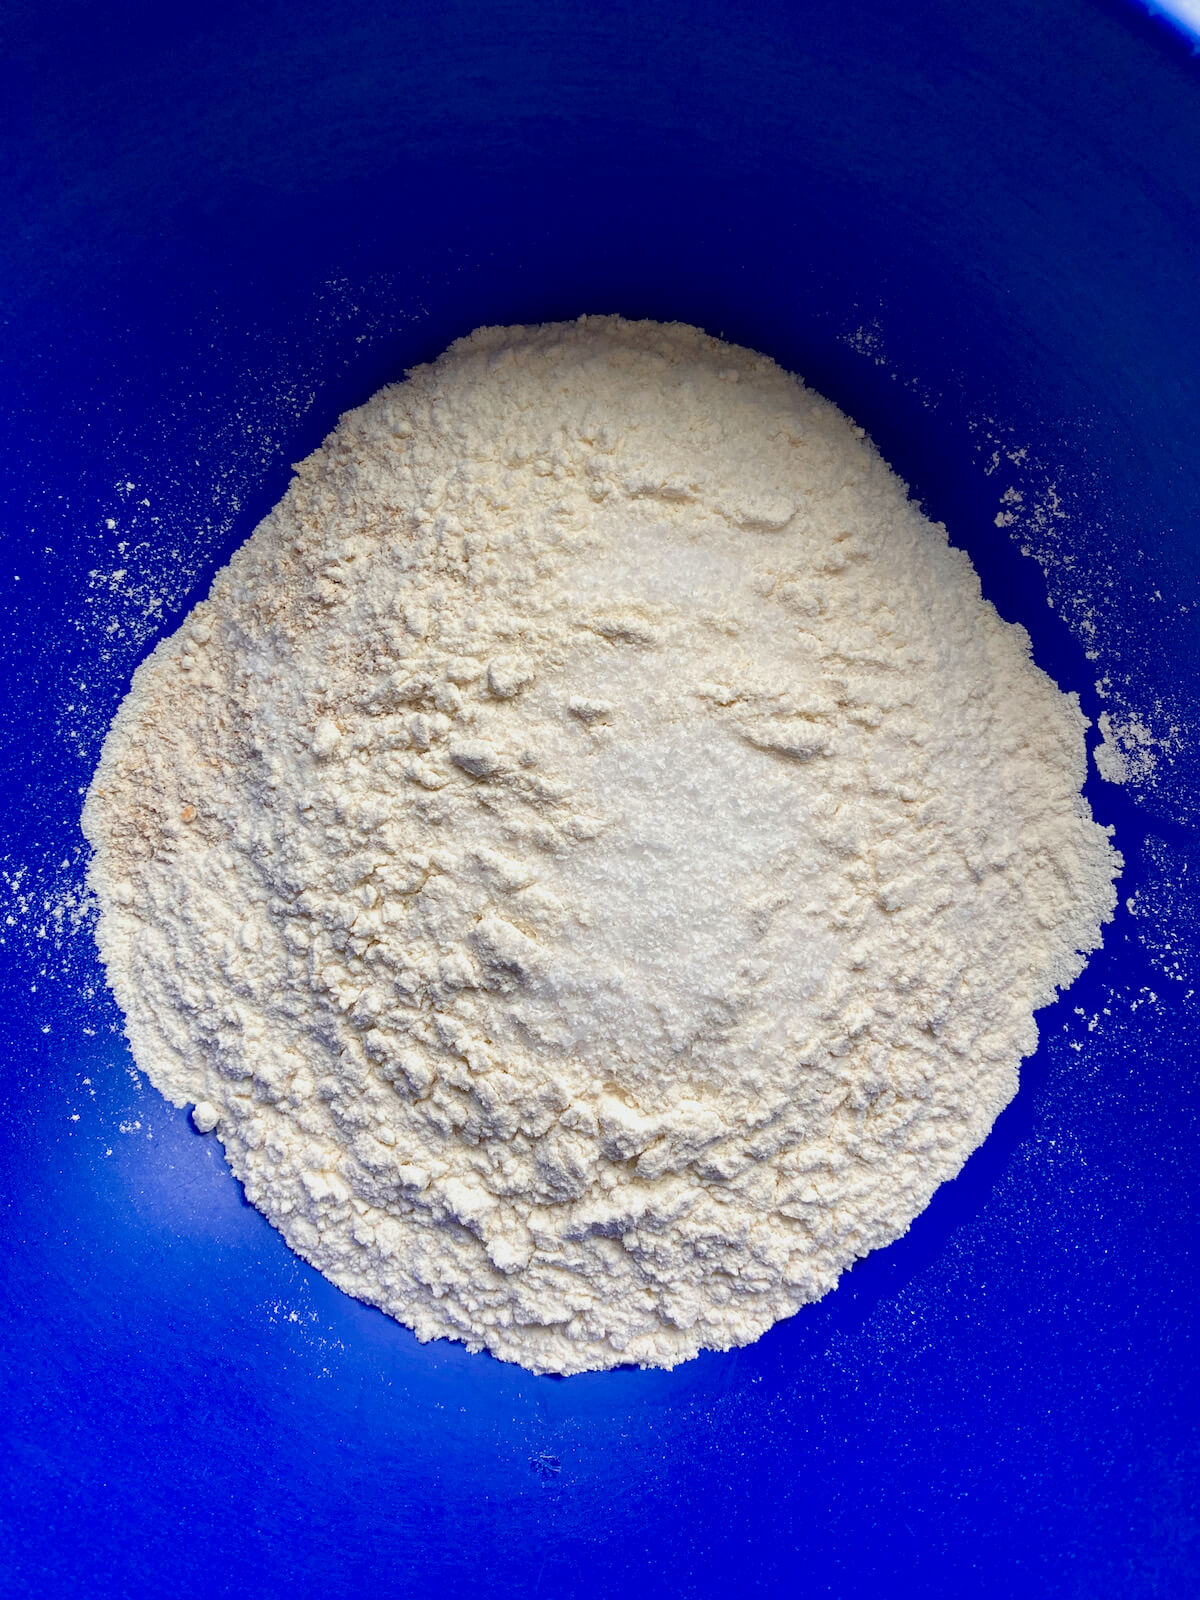
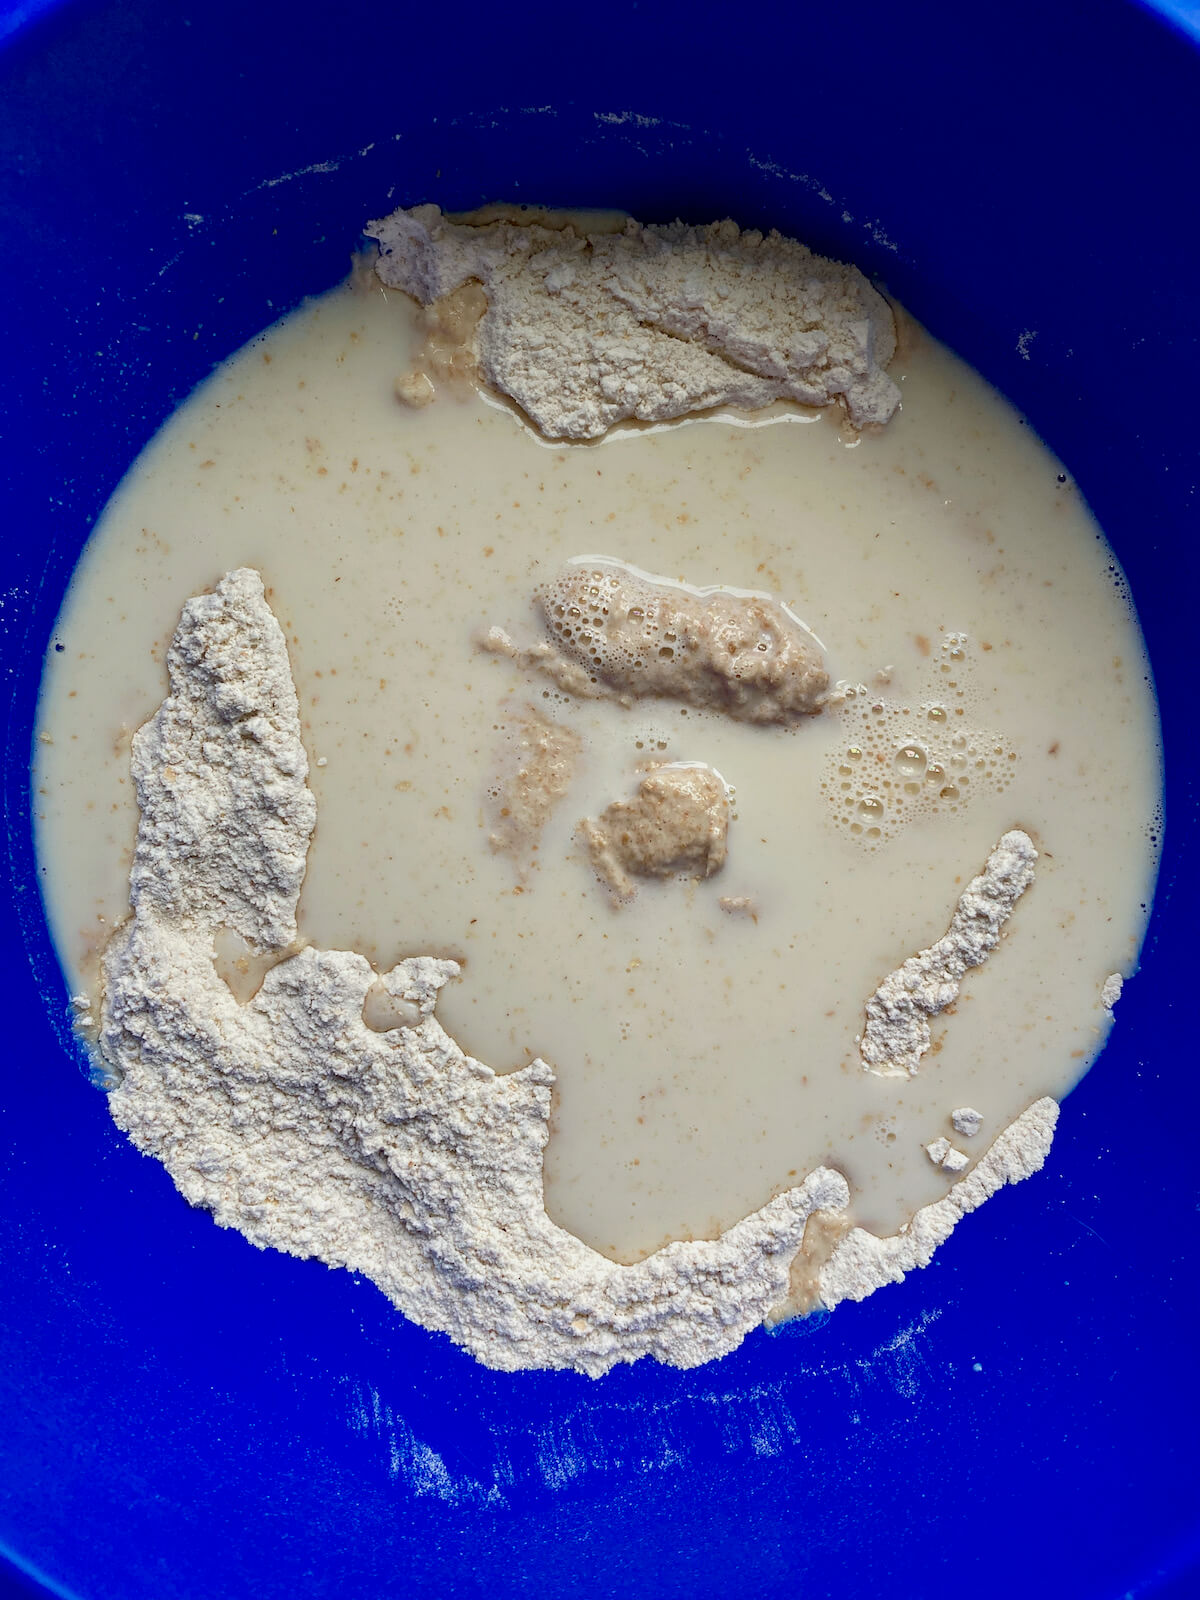
Step 3: Combine dough ingredients. In a large mixing bowl, whisk together bread flour, whole wheat flour, and kosher salt. Add the warmed milk-honey mixture and sourdough starter.
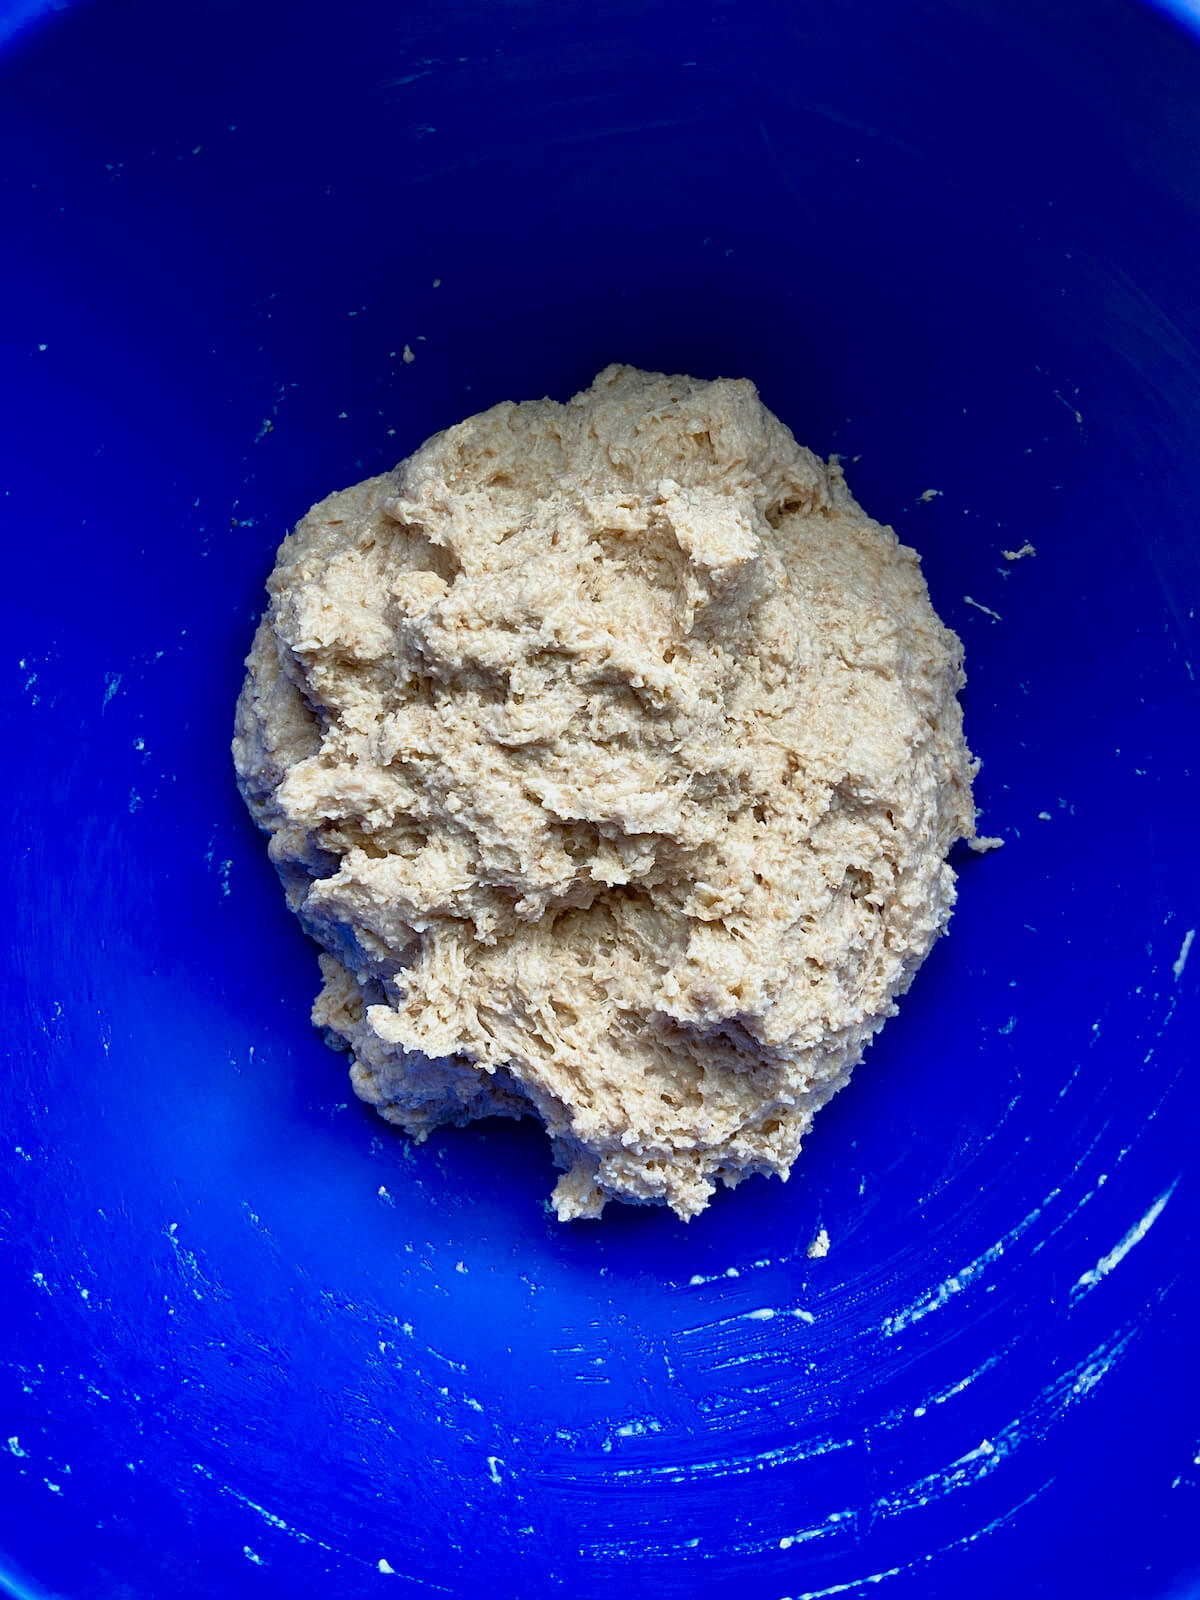
Step 4: Mix the dough. Use your hands to mix until a cohesive, slightly shaggy dough forms and there's no dry flour visible. Cover the bowl with a damp towel or plastic wrap and let it rest for 30 minutes.
Step 5: Stretch and fold. Perform four sets of stretch and folds at 30-minute intervals, gently flipping the dough over after every set (see video below for a more detailed demonstration of this technique).
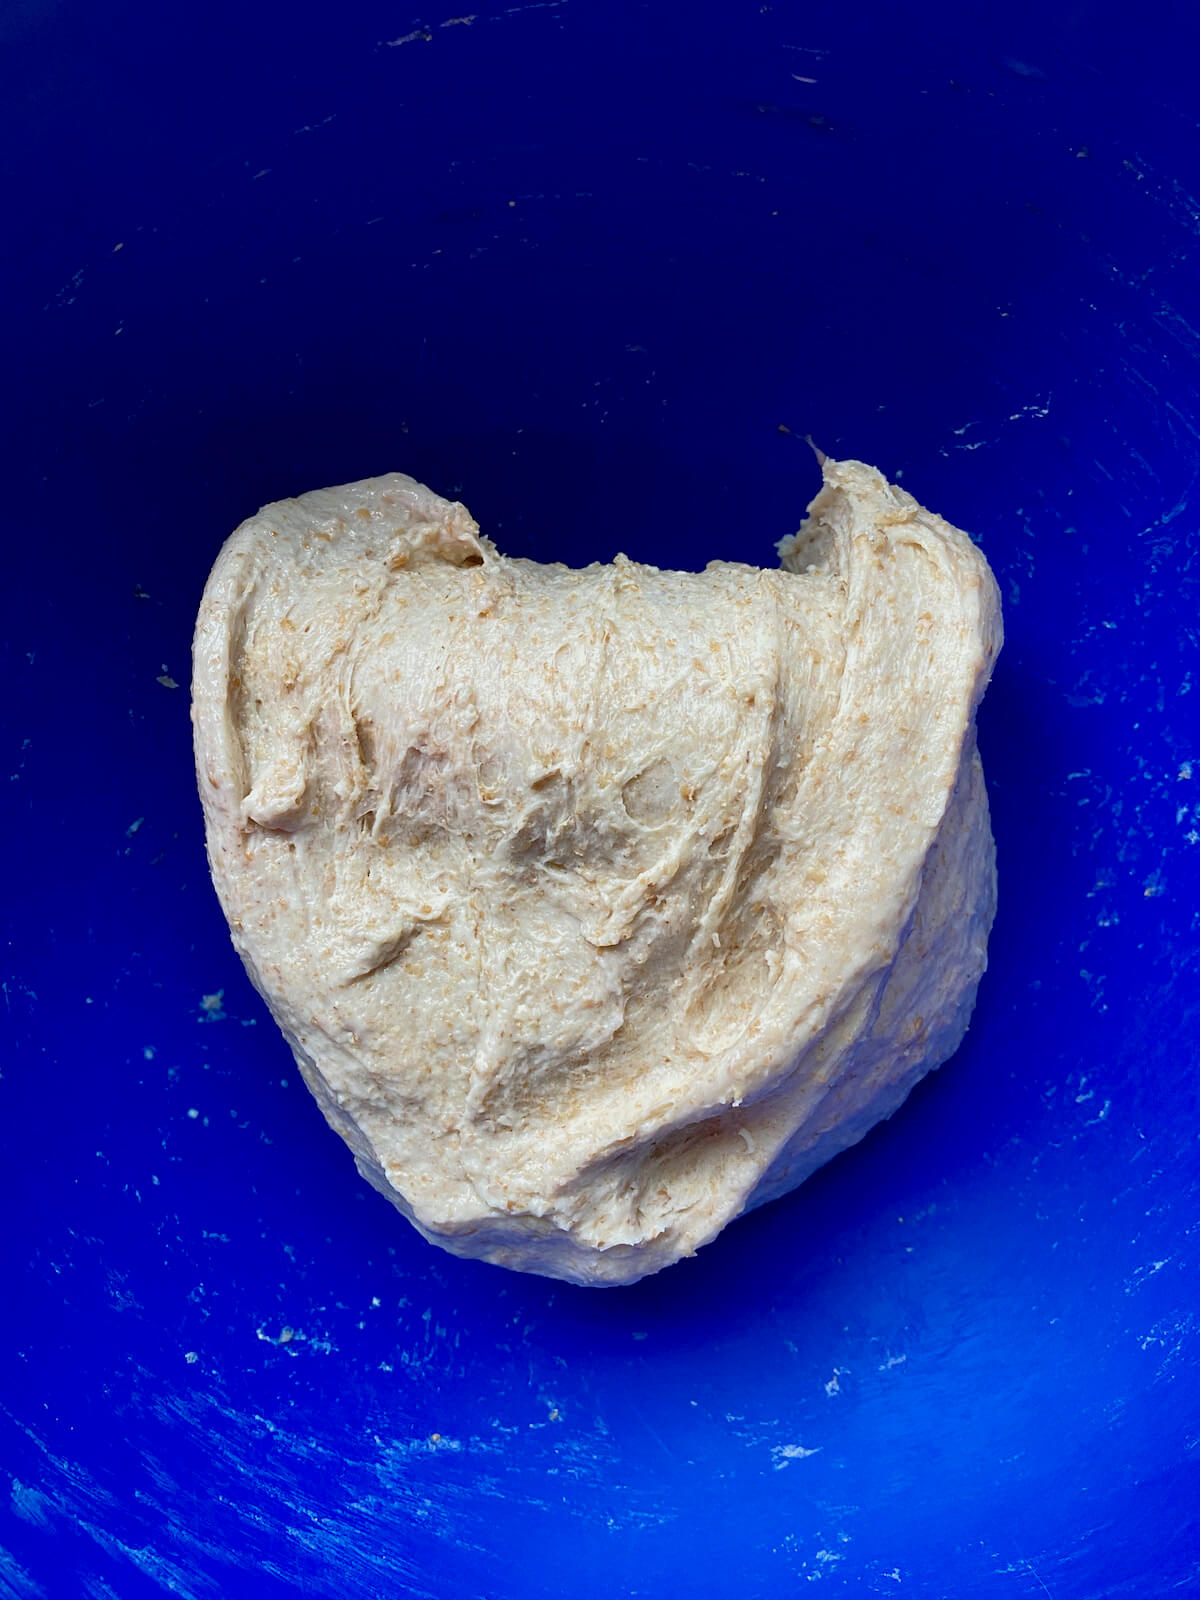
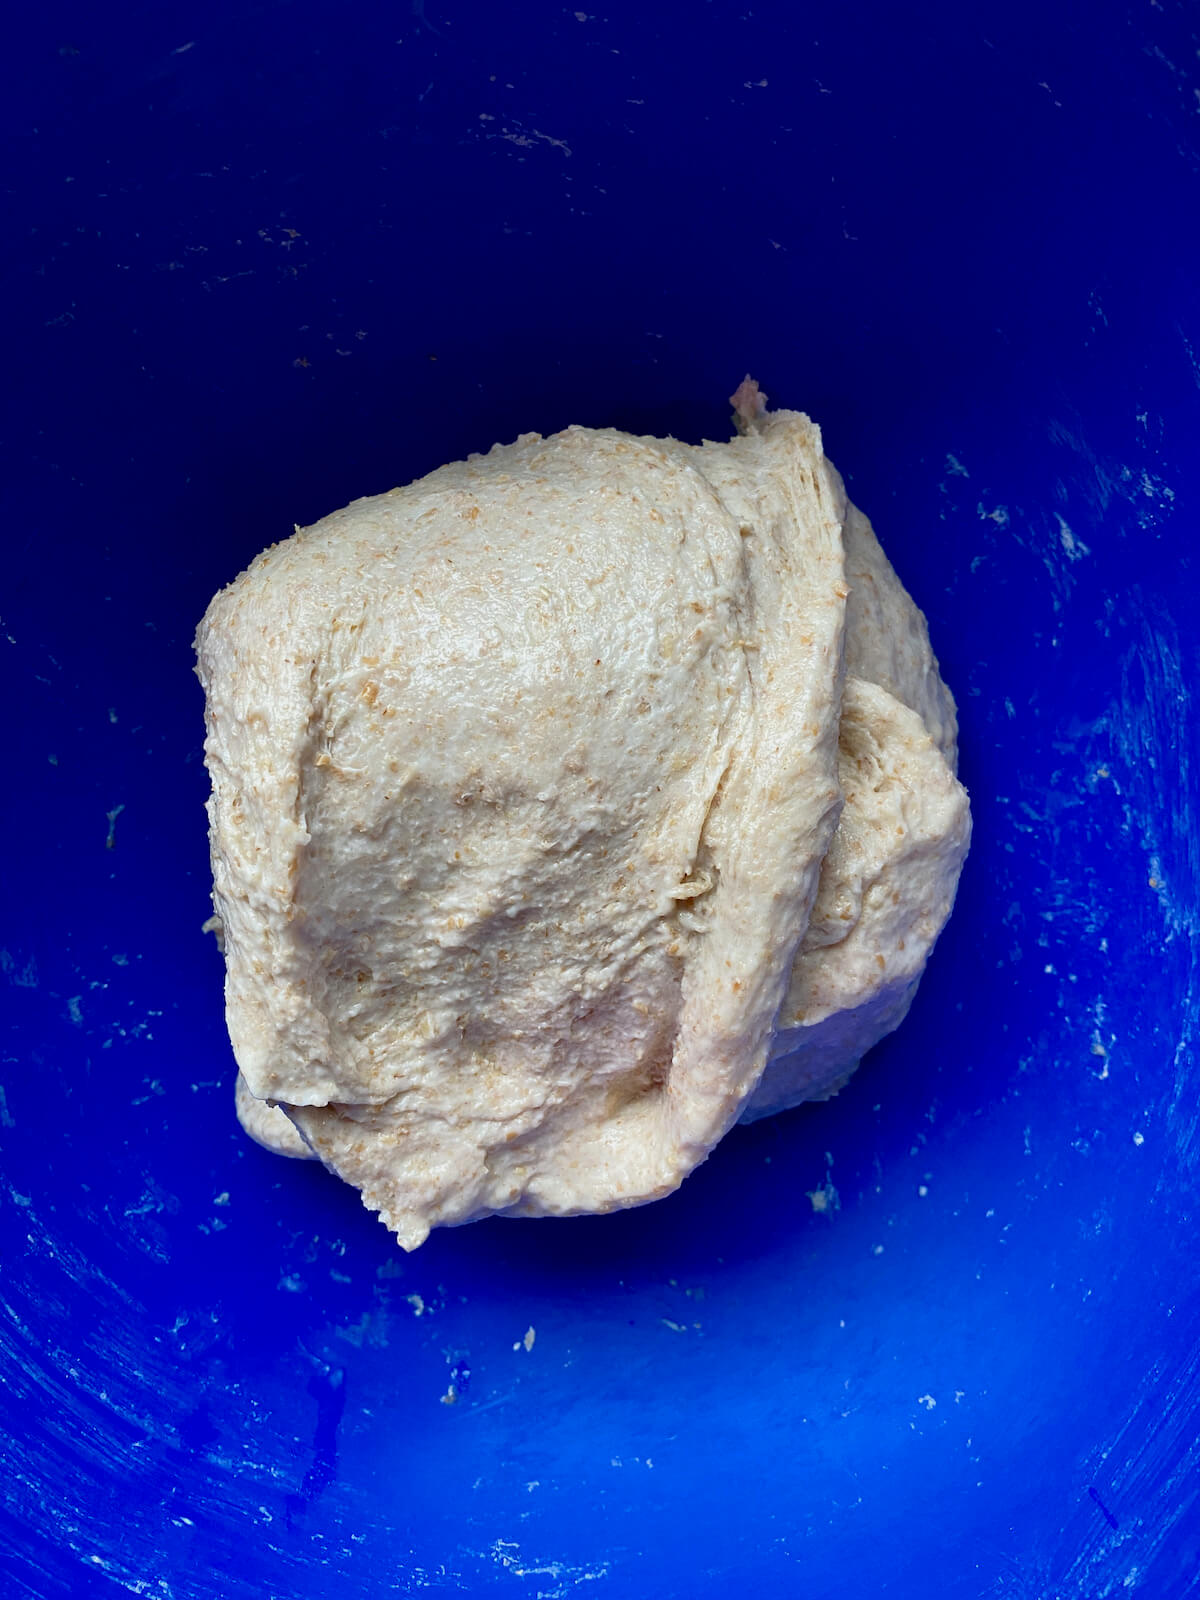
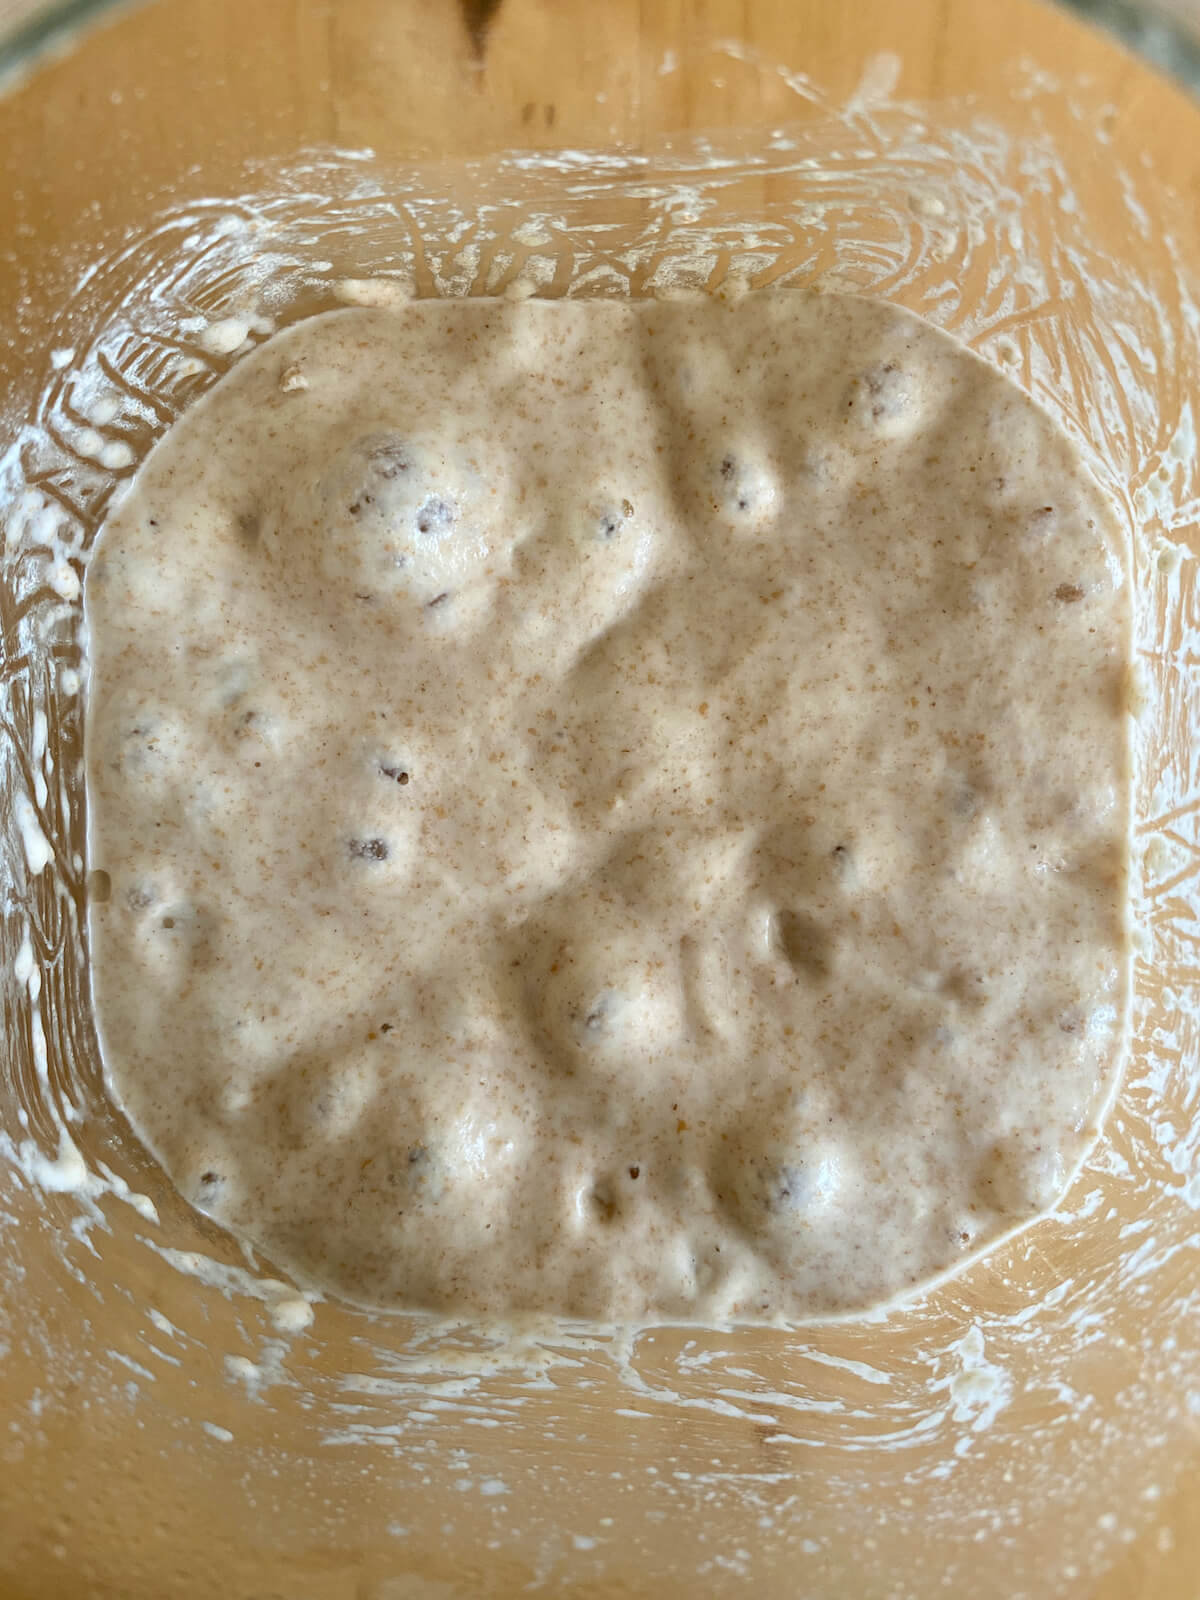
Step 6: Bulk fermentation. Let the dough rise until it's noticeably puffy and roughly doubles in size. This takes about 4 hours at around 75°F.
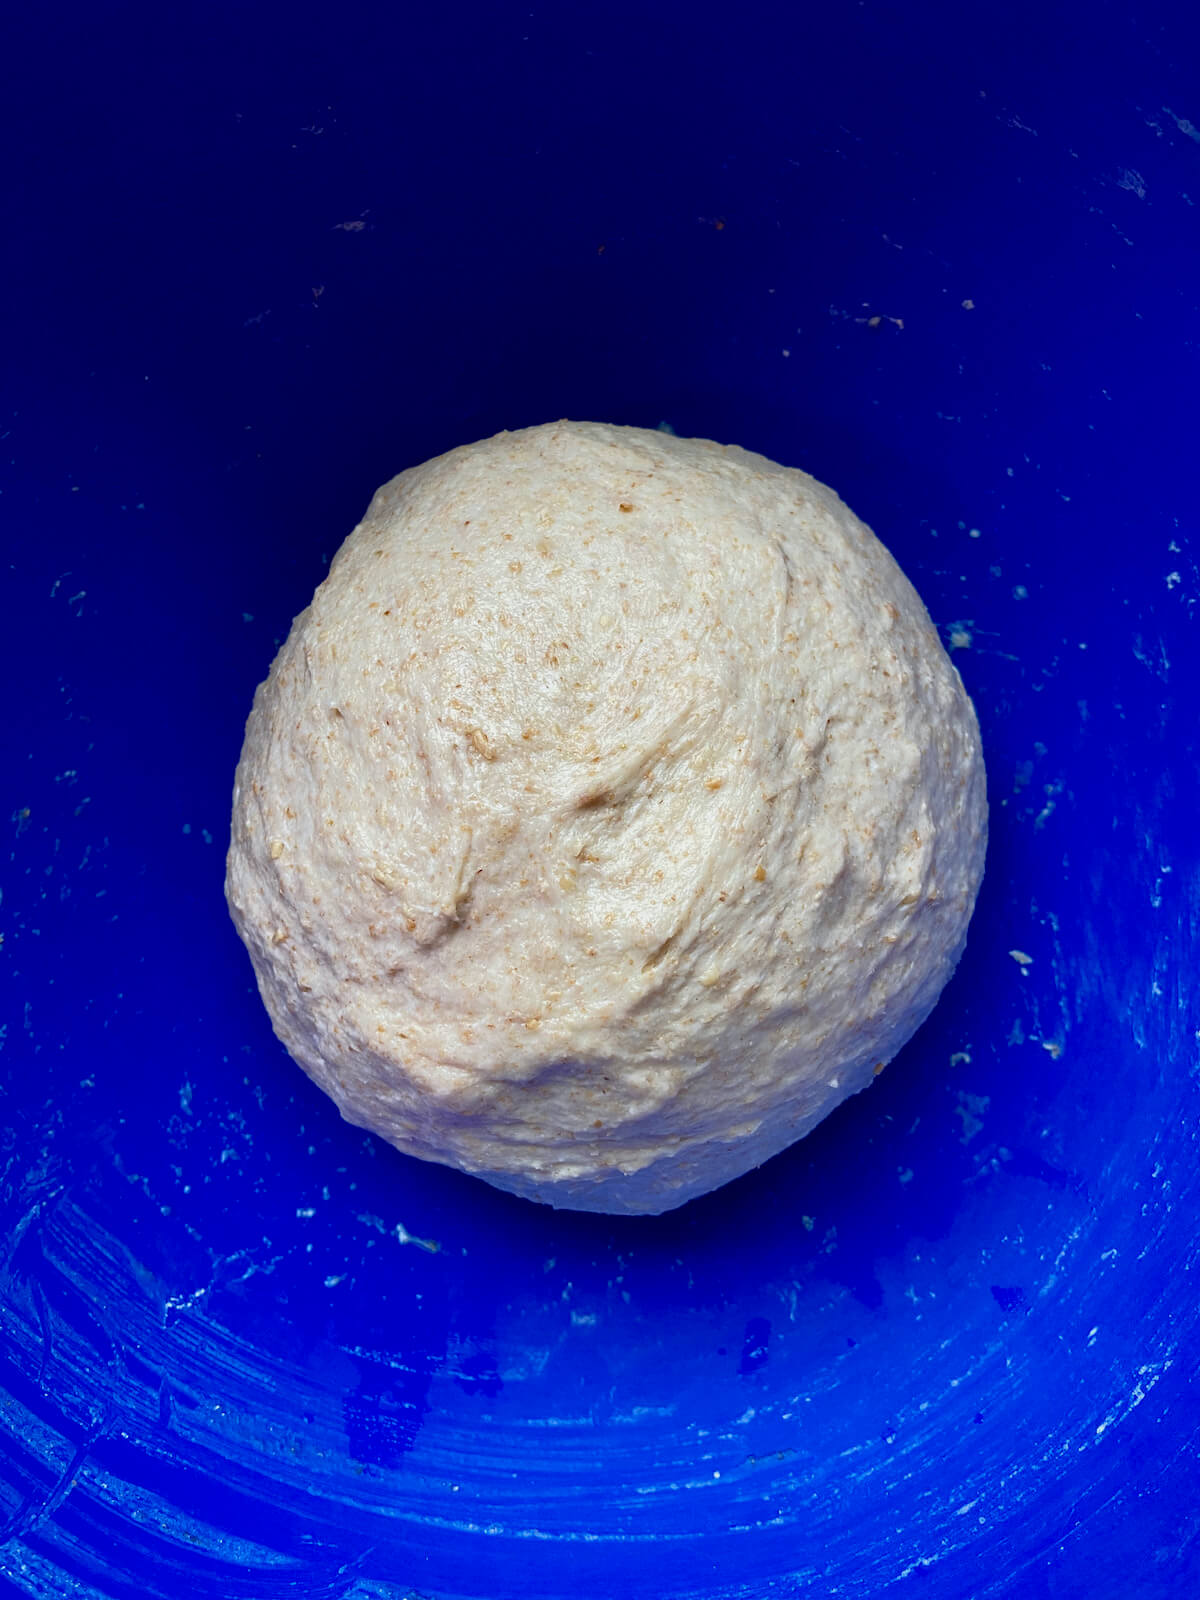
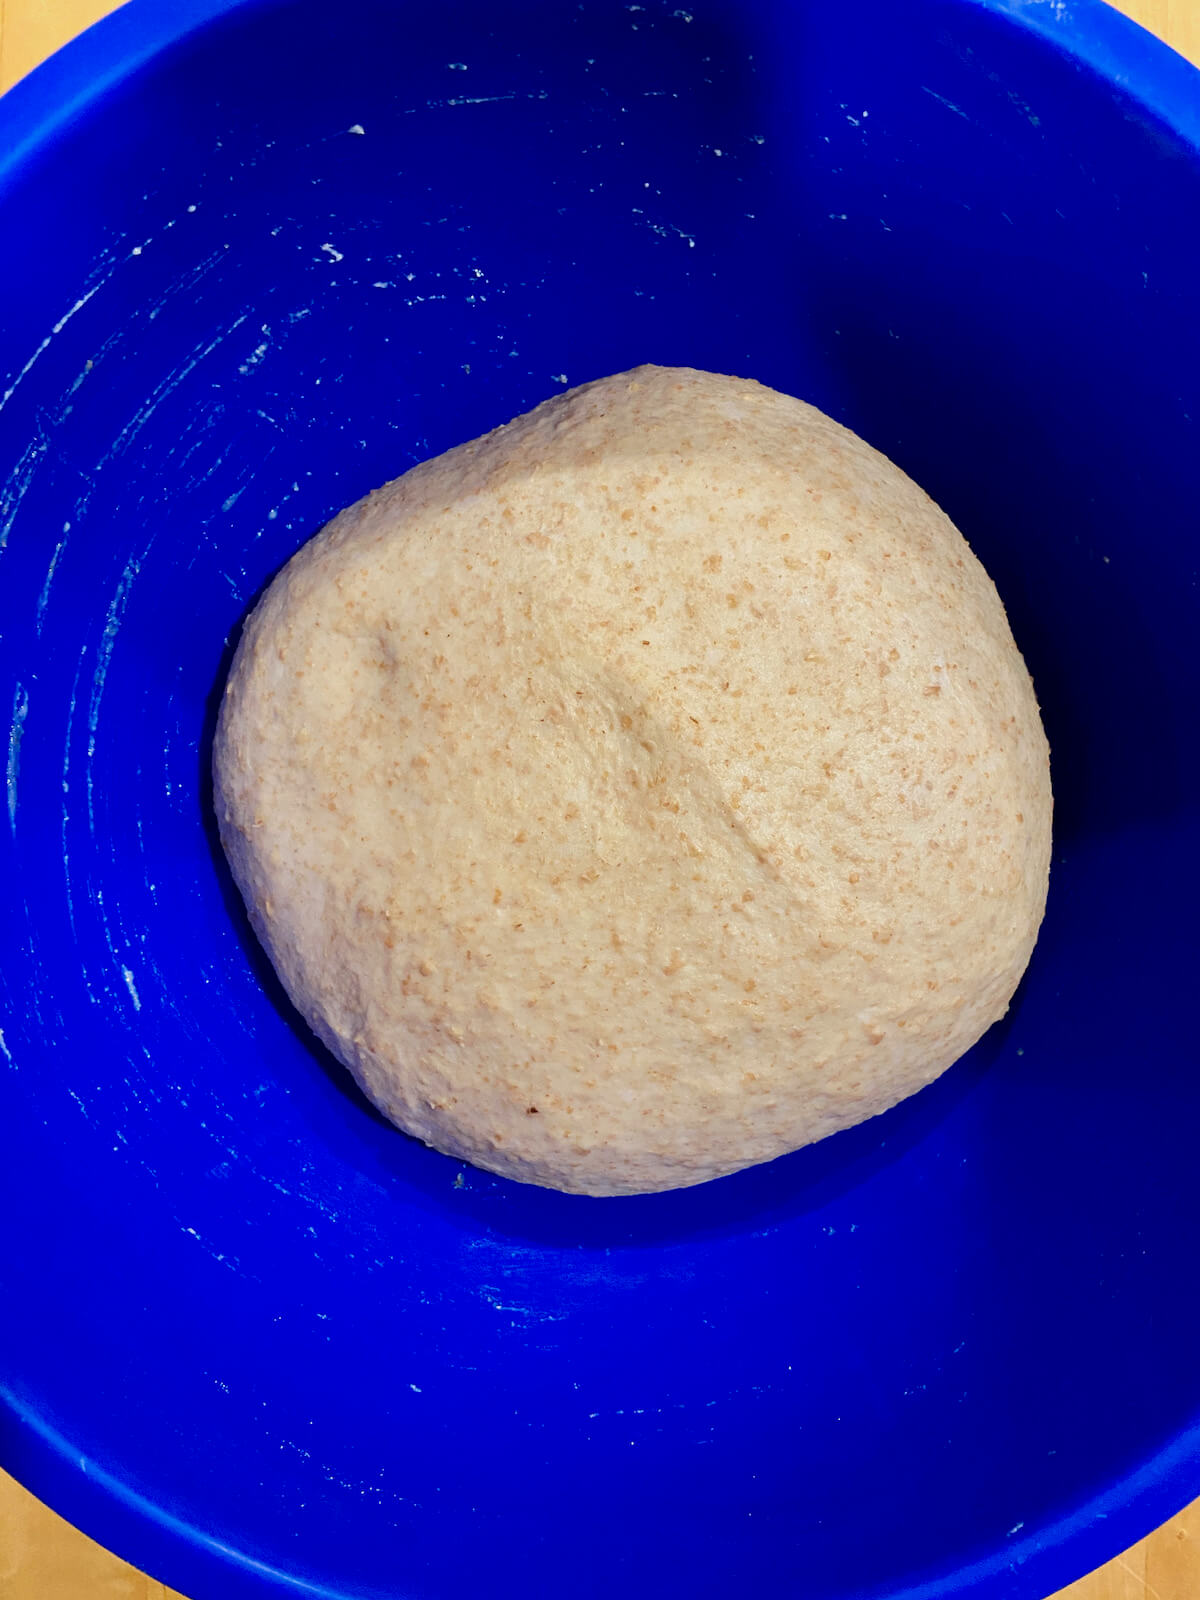
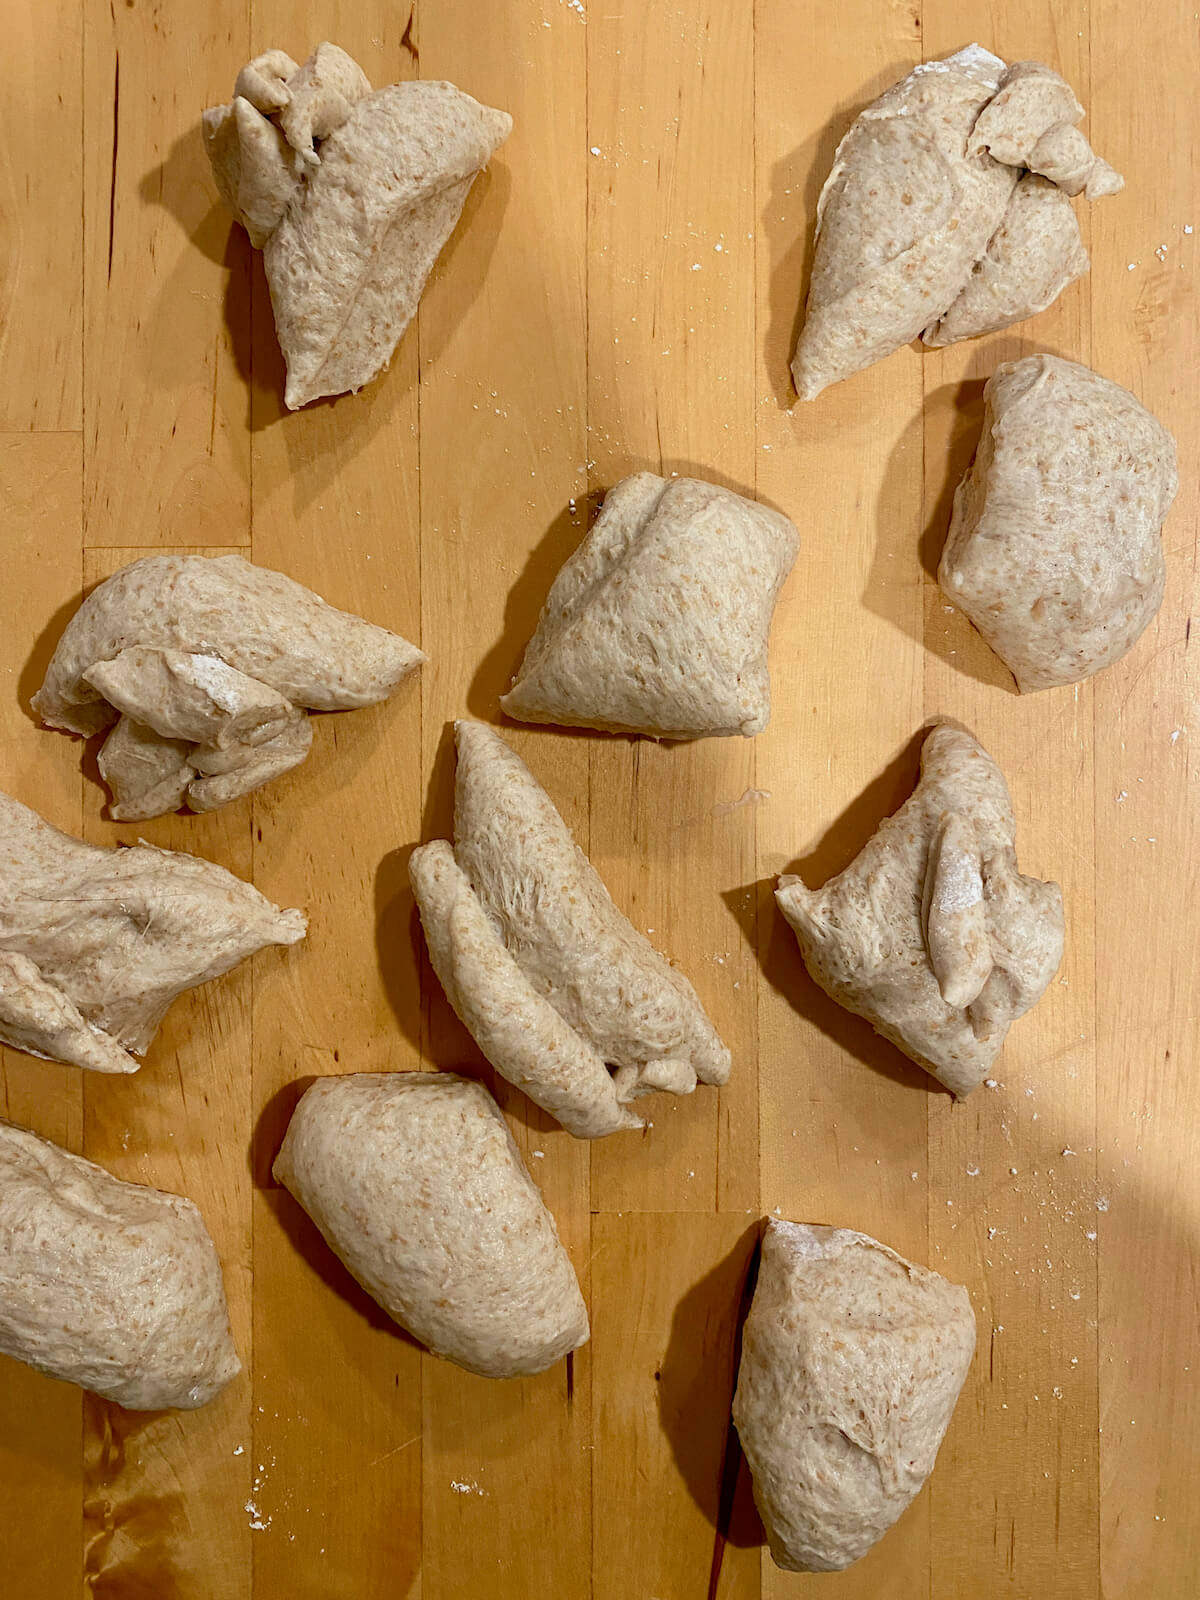
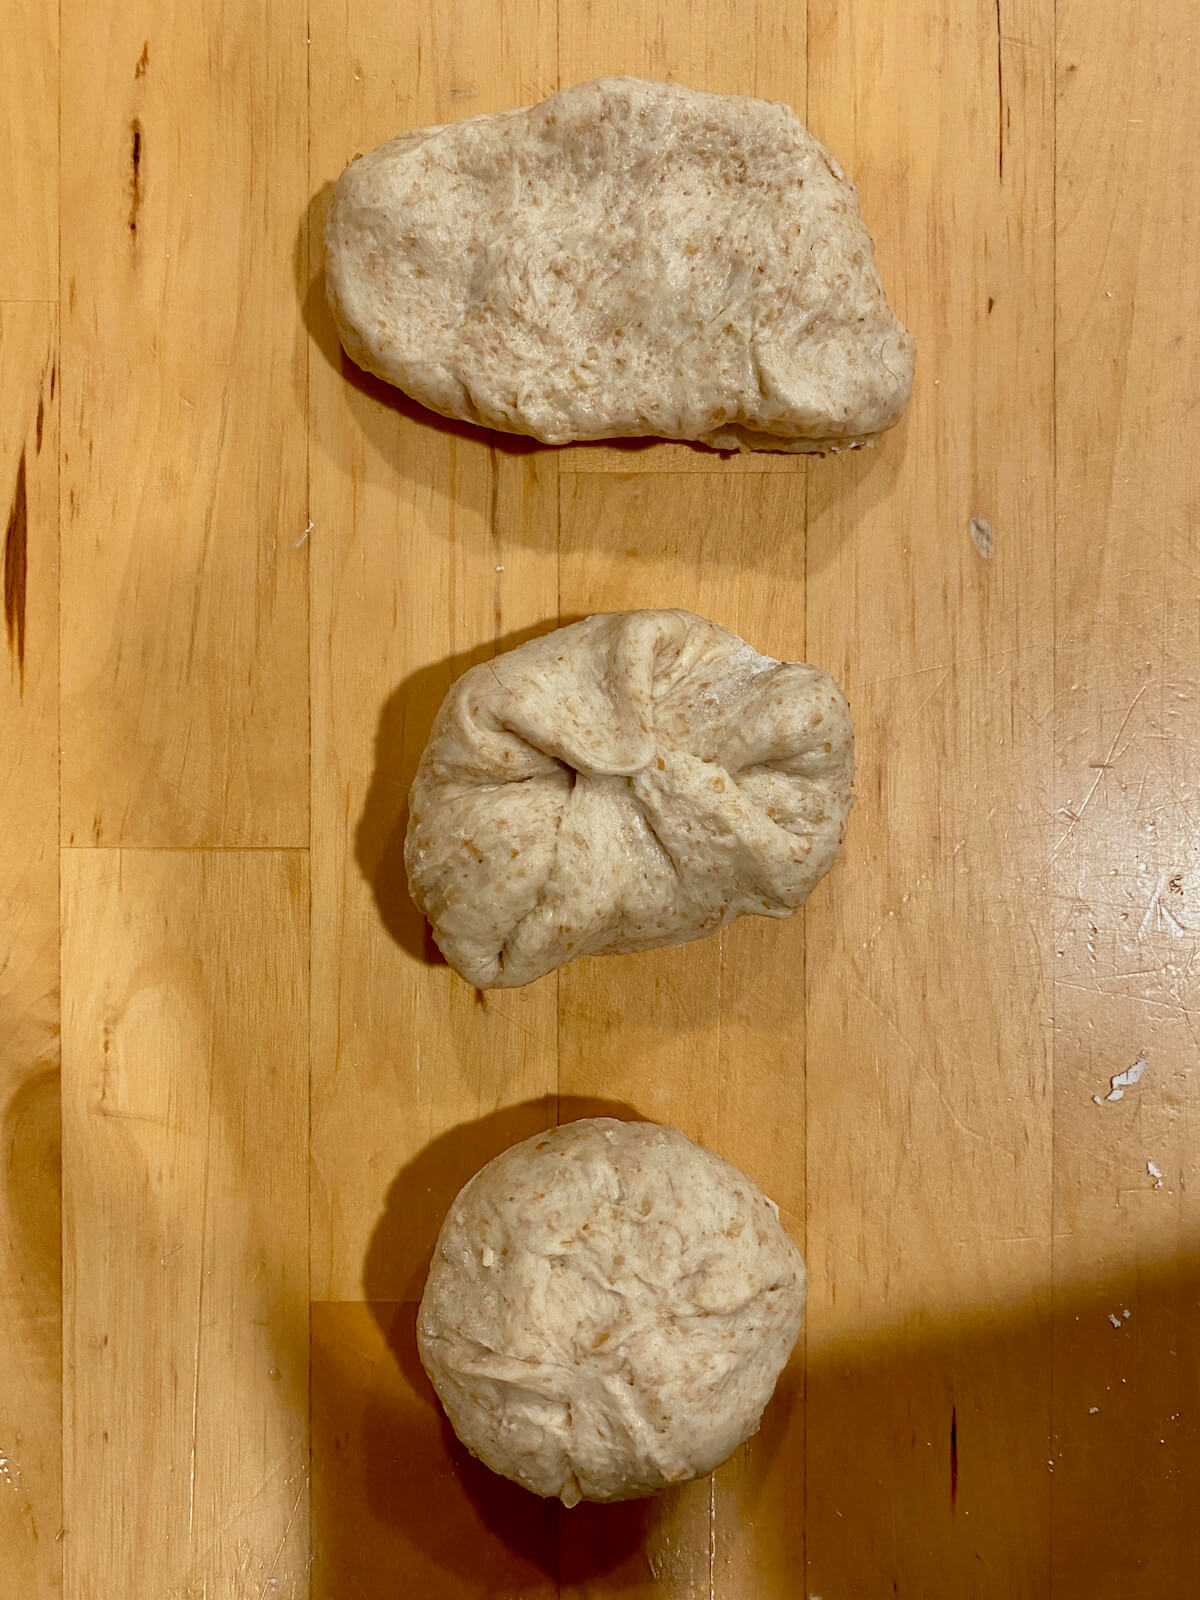
Step 7: Shape the rolls. Butter the baking dish generously. Turn the dough out onto a lightly floured surface and divide it into 12 equal pieces (about 57 grams each). Shape into balls and arrange evenly in the pan.
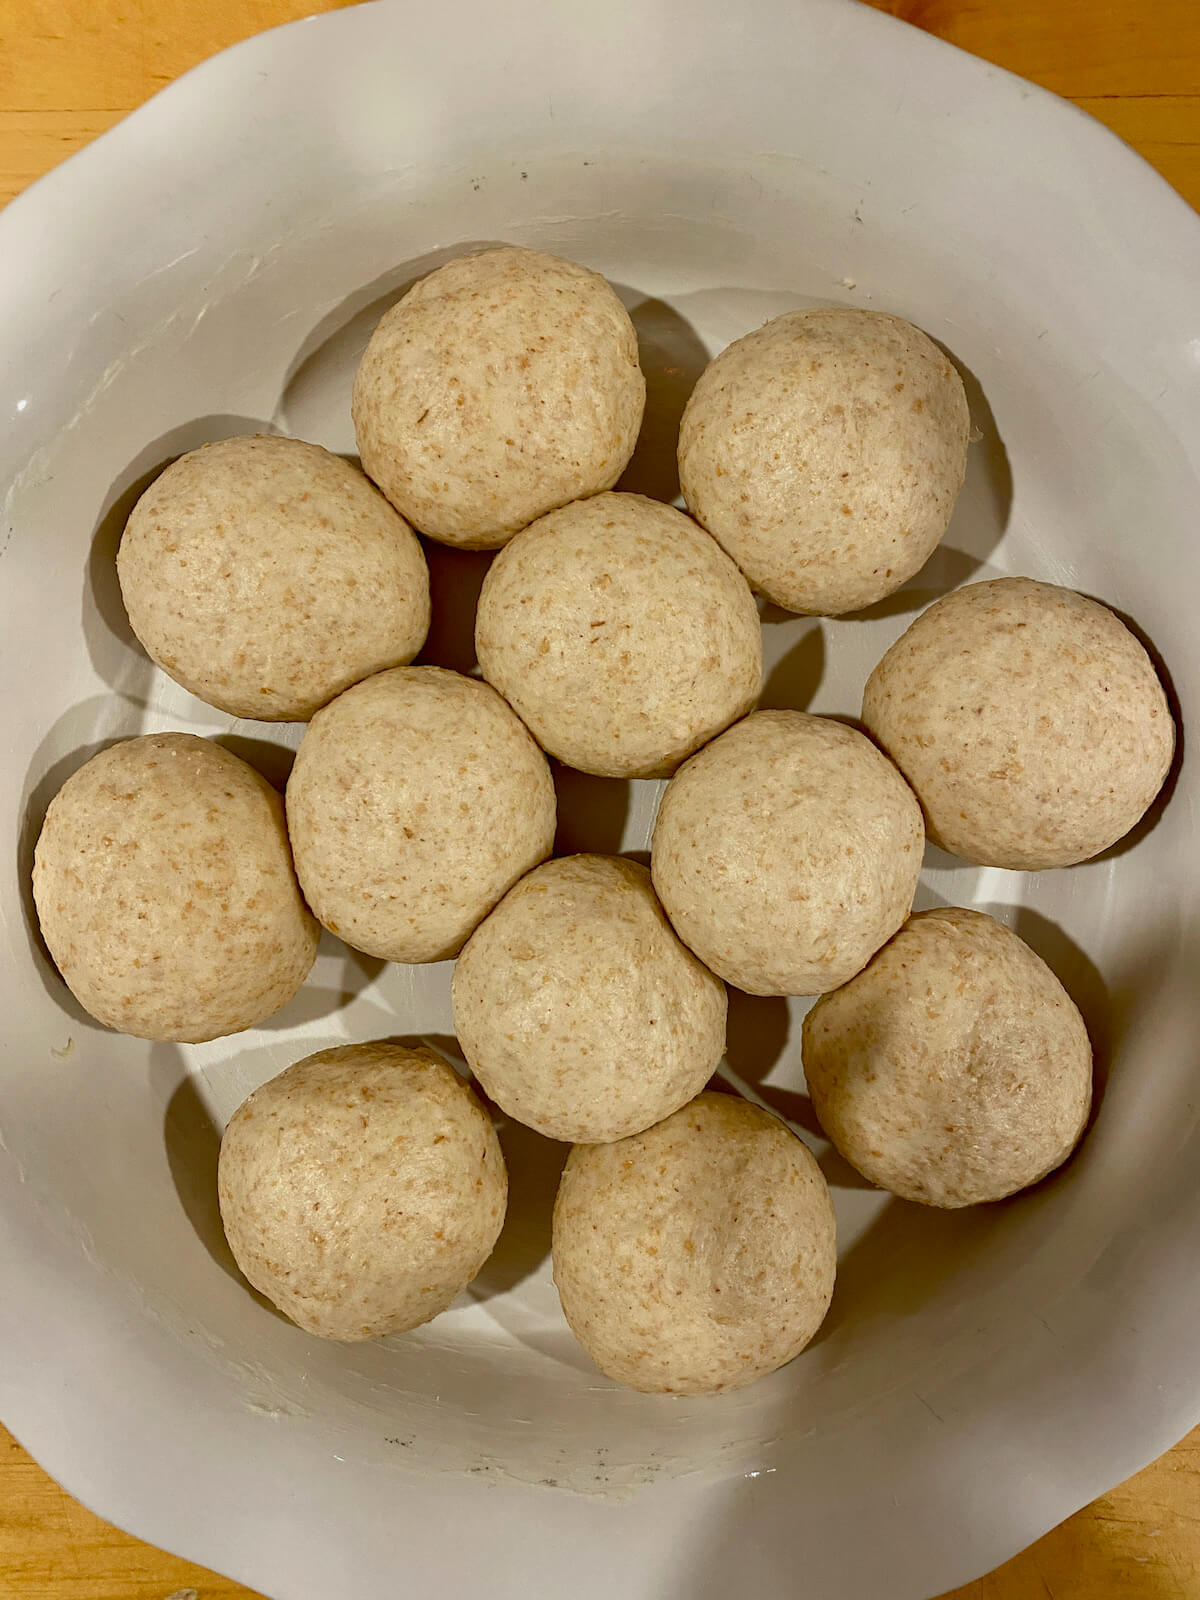
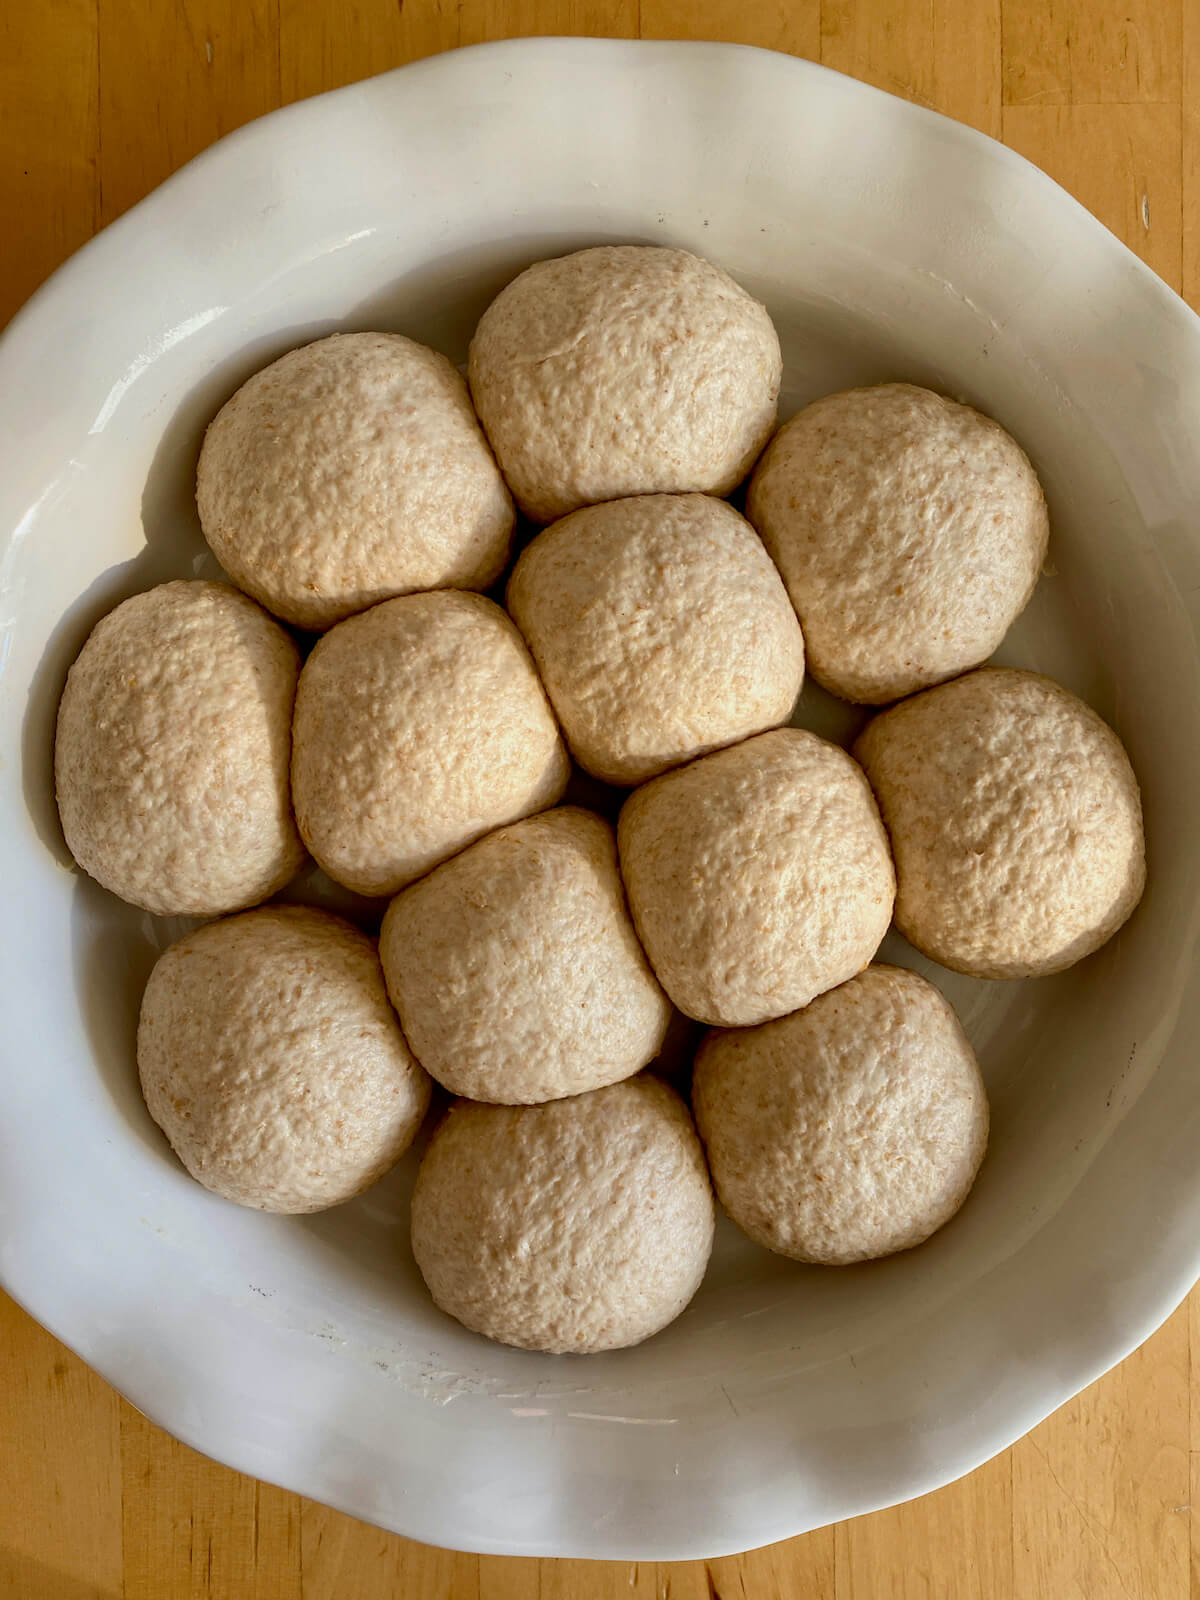
Step 8: Proof the rolls. Cover the rolls and allow them to proof for 1-2 hours, or until they look noticeably puffy.
Step 9: Bake the rolls. About 20 minutes before they're done proofing, preheat the oven to 375°F. Bake for 25-30 minutes or until the tops turn a light golden brown and the internal temperature of the rolls reaches 190°F. If the tops are browning too quickly, cover them loosely with foil.
Step 10: Butter and serve. Remove the rolls from the oven, immediately brush with melted butter, and sprinkle with kosher salt. Let them cool for 5-10 minutes before serving. Enjoy!

Sourdough Dinner Rolls (Video)
Stand Mixer Method
For a quick and convenient way to build gluten in your dough, you can use a stand mixer. Follow these steps to make these sourdough dinner rolls in a stand mixer:
- Feed sourdough starter 6-12 hours before making the dough.
- Warm the milk and honey in a small saucepan.
- In the bowl of a stand mixer, combine the bread flour, wheat flour, and salt using the dough hook attachment.
- Add the warm milk, active sourdough starter, and honey to the dry mixture in the bowl.
- Start the mixer on low speed and knead the dough for about 8-10 minutes or until it becomes smooth and elastic.
- Follow the rest of the recipe as written.
Sample Schedule
Here is an example of a schedule you can use to make these simple sourdough dinner rolls. The kitchen in this example is approximately 70-75°F.
Night Before
10:00 PM: Feed sourdough starter.
Day Of
6:00 AM: Mix dough together.
6:30-8:30 AM: Stretch and folds.
8:30 AM-12:30 PM: Bulk fermentation.
12:30 PM: Shape dinner rolls.
1:00-3:00 PM: Proof dinner rolls.
3:00 PM: Bake dinner rolls.
Tips for Success
- Start with an active starter. While sourdough discard recipes are great, this sourdough dinner rolls recipe uses an active sourdough starter to achieve a good rise.
- Find a warm spot. Aim for an ideal temperature of around 75°F for the best results. If you can't find a warm spot in your kitchen, placing the dough inside the oven with the light on can provide a stable and warm environment for fermentation.
- Use a kitchen scale. I highly recommend using a food scale to weigh the ingredients for accuracy.
- Don't rush the process. Allowing the dough ample time for fermentation results in better flavor and texture.
- Be flexible with timing. The dough's rise depends on the strength of your starter and the kitchen temperature. Your dough may rise more quickly or slower than the provided schedule.
- Take pictures. Seeing how much the dough has risen is sometimes easier when looking at side-by-side pictures.
🍞 How can I tell if my dough has risen sufficiently? Look for signs like the dough doubling in size, appearing puffy, and seeing fermentation bubbles on the surface.
What to Serve With Sourdough Dinner Rolls
Need a crowd-pleasing, scratch-made side dish? These sourdough dinner rolls are perfect for any occasion.
Many serve dinner rolls alongside a holiday meal. These soft and fluffy rolls pair perfectly with roasted chicken, braised turkey breast, stuffing, mashed potatoes, gravy, and cranberry sauce or jam.
Dinner rolls and comfort food also go hand-in-hand. Some of my favorite dishes include chicken or turkey pot pie, braised beef, chili, stuffed peppers, and meatballs.
Finally, for a lighter meal, serve these homemade dinner rolls with soup and salad. Chicken noodle soup, broccoli asparagus soup, buffalo chicken Caesar salad, arugula quinoa salad, and spinach caprese salad are all delicious options.
🧈 Keep it simple. Serve warm sourdough dinner rolls with some homemade butter and strawberry apple jam or blueberry jam.
Storage and Reheating
How to Store
- Room Temperature- Store the leftover sourdough dinner rolls in an airtight container at room temperature for up to 3 days.
- Refrigerator- It's not recommended to refrigerate bread as it can cause it to stale more quickly.
- Freezer- For longer storage, freeze leftover dinner rolls in a freezer-safe plastic bag for up to 3 months.
How to Reheat
- Oven- Preheat oven to 350°F. Place dinner rolls on a baking sheet, cover with aluminum foil, and heat for 10-12 minutes or until soft and warmed through.
- Microwave- Place leftover dinner rolls on a microwave-safe plate and heat on HIGH in 15-second increments until fully warmed through.
- Air Fryer- Preheat the air fryer to 350°F. Arrange leftover dinner rolls in a single layer in the air fryer basket. Reheat for approximately 2-3 minutes or until warm and slightly crispy.
Make Ahead
Busy schedule? Use the refrigerator or freezer to slow down the process, allowing for better schedule management and flexibility in your baking timeline.
- After Bulk Fermentation- Cover and refrigerate the dough once it doubles in size. When ready to proceed, shape the dough, allow it to proof, and proceed with baking.
- After Shaping- Arrange the dinner rolls in the pan, cover, and refrigerate for up to 24 hours. Prior to baking, allow them to sit at room temperature for 2 hours for their final rise.
- Freeze the Dough- Freeze the dough after shaping. Then, thaw and allow it to proof before baking.
Frequently Asked Questions
If your dough didn't rise during bulk fermentation, your starter may not be active enough. Alternatively, if your kitchen is too cold, the dough may need to be moved to a warmer spot or given more time to fully rise.
If your dough is too sticky, you may have added too much liquid. Add small amounts of flour gradually while kneading until it's slightly sticky but manageable. Be careful not to add too much, as it may lead to dry rolls.
I haven't tested this recipe with dry active yeast or instant yeast. For best results, consider using a recipe specifically designed and tested with these types of yeast.
I haven't tested this recipe with gluten-free flour. For gluten-free sourdough dinner rolls, it's best to find a recipe already tailored to those dietary needs.
Let's Connect!
Be sure to leave a comment below if you have any questions. You can also connect with me on Instagram, Facebook, Pinterest, or via email at [email protected].
📖 Recipe
Sourdough Dinner Rolls
Equipment
- 9-inch cake pan, pie plate, or cast iron skillet
Ingredients
- 1 cup (235 grams) whole milk
- 1 ½ tablespoons (30 grams) honey
- 1 ¾ cups (210 grams) bread flour
- 1 ¼ cups (150 grams) whole wheat flour
- 2 ½ teaspoons (7 grams) kosher salt
- 6 tablespoons (75 grams) active sourdough starter 100% hydration
- Unsalted butter for coating the pan
- Extra melted butter and kosher salt for topping
Instructions
- Give your sourdough starter a feeding 6-12 hours before making the dough for an active, bubbling starter.
- In a small saucepan over low heat, combine milk and honey. Whisk until honey is dissolved and milk reaches about 90°F. Set aside to cool slightly.1 cup (235 grams) whole milk, 1 ½ tablespoons (30 grams) honey
- In a large mixing bowl, whisk together bread flour, whole wheat flour, and kosher salt. Add the warmed milk-honey mixture and sourdough starter.1 ¾ cups (210 grams) bread flour, 1 ¼ cups (150 grams) whole wheat flour, 2 ½ teaspoons (7 grams) kosher salt, 6 tablespoons (75 grams) active sourdough starter
- Use your hands to mix until a cohesive, slightly shaggy dough forms and there's no dry flour visible. Cover the bowl with a damp towel or plastic wrap and let it rest for 30 minutes.
- After 30 minutes, perform your first set of stretch and folds. Do this by dipping your hand into a bowl of water before grabbing one edge of the dough and pulling it up as far as it will stretch before folding it over onto itself. Rotate the bowl 90 degrees and repeat. Repeat this stretching and folding around the dough two more times (for a total of 4 times). Then, gently flip the dough over so that the fold side is now facing down. Cover and allow the dough to rest for 30 minutes before performing another set of stretch and folds. Perform 4 sets of stretch and folds in total.
- Let the dough rise until it's noticeably puffy and roughly doubles in size. This takes about 4 hours at 75°F.
- Generously coat the bottom and sides of a pie plate or cake pan with butter. Turn the dough out onto a lightly floured surface and divide into 12 equal pieces, about 57 grams each. Take each piece, bring its edges to the center, and shape them into balls. Roll the creased side around the counter to seal it. Place the dough balls equally spaced into the prepared pan.Unsalted butter
- Cover the rolls and allow them to proof for 1-2 hours, or until they look noticeably puffy.
- About 20 minutes before they're done proofing, preheat the oven to 375°F. Bake for 25-30 minutes or until the tops turn a light golden brown and the internal temperature of the rolls reaches 190°F. If the tops are browning too quickly, cover them loosely with foil.
- Remove the rolls from the oven, immediately brush with melted butter, and sprinkle with kosher salt. Let them cool for 5-10 minutes before serving. Enjoy!Extra melted butter and kosher salt
Notes
- Be flexible with timing. The dough's rise depends on the strength of your starter and the kitchen temperature. Your dough may rise more quickly or slower than the provided schedule.
- Use a kitchen scale. For the best, most accurate results, use a food scale to measure all of the ingredients.
- After Bulk Fermentation- Cover and refrigerate the dough once it doubles in size. When ready to proceed, shape the dough, allow it to proof, and proceed with baking.
- After Shaping- Arrange the dinner rolls in the pan, cover, and refrigerate for up to 24 hours. Prior to baking, allow them to sit at room temperature for 2 hours for their final rise.
- Freeze the Dough- Freeze the dough after shaping. Then, thaw and allow it to proof before baking.


Comments
No Comments