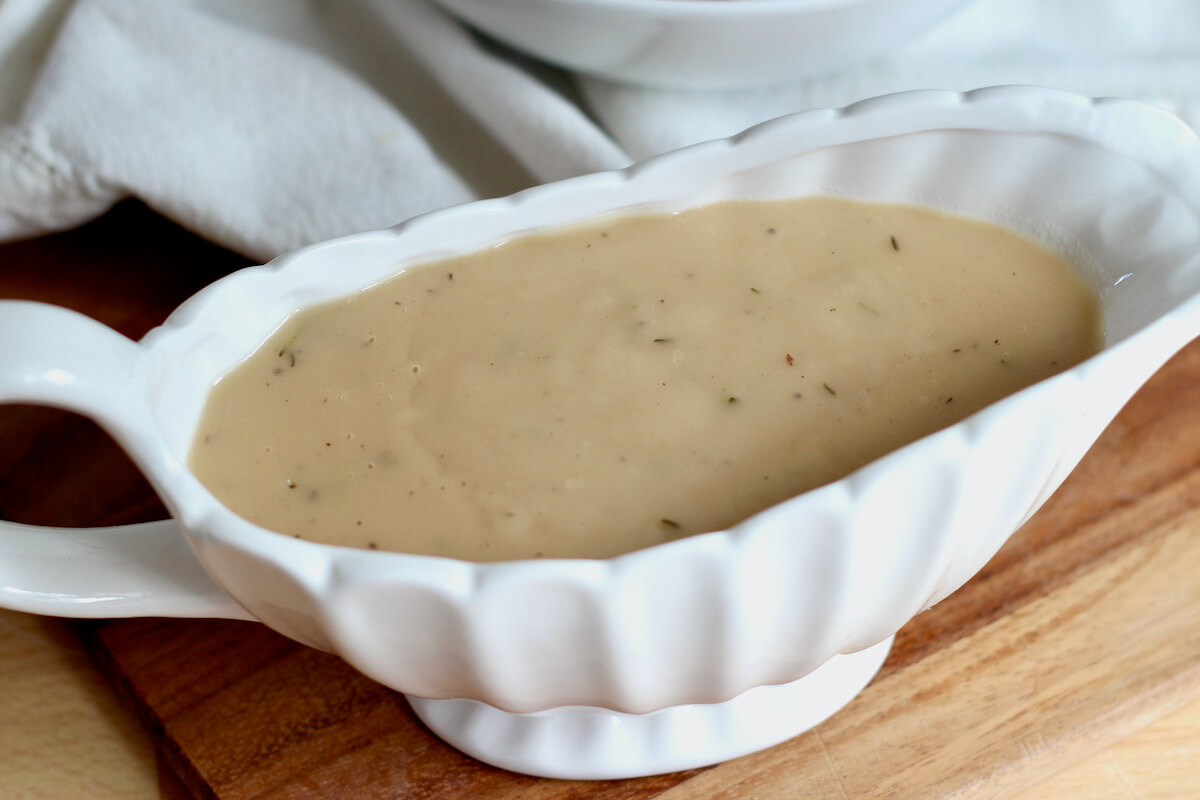
This Homemade Chicken Gravy is hearty, rich, and creamy, pairing well with all of your favorite comfort food dishes. Made without drippings, you only need 6 simple ingredients and 10 minutes to prepare this easy gravy recipe. It’s perfect for both busy weeknights and special holiday meals.
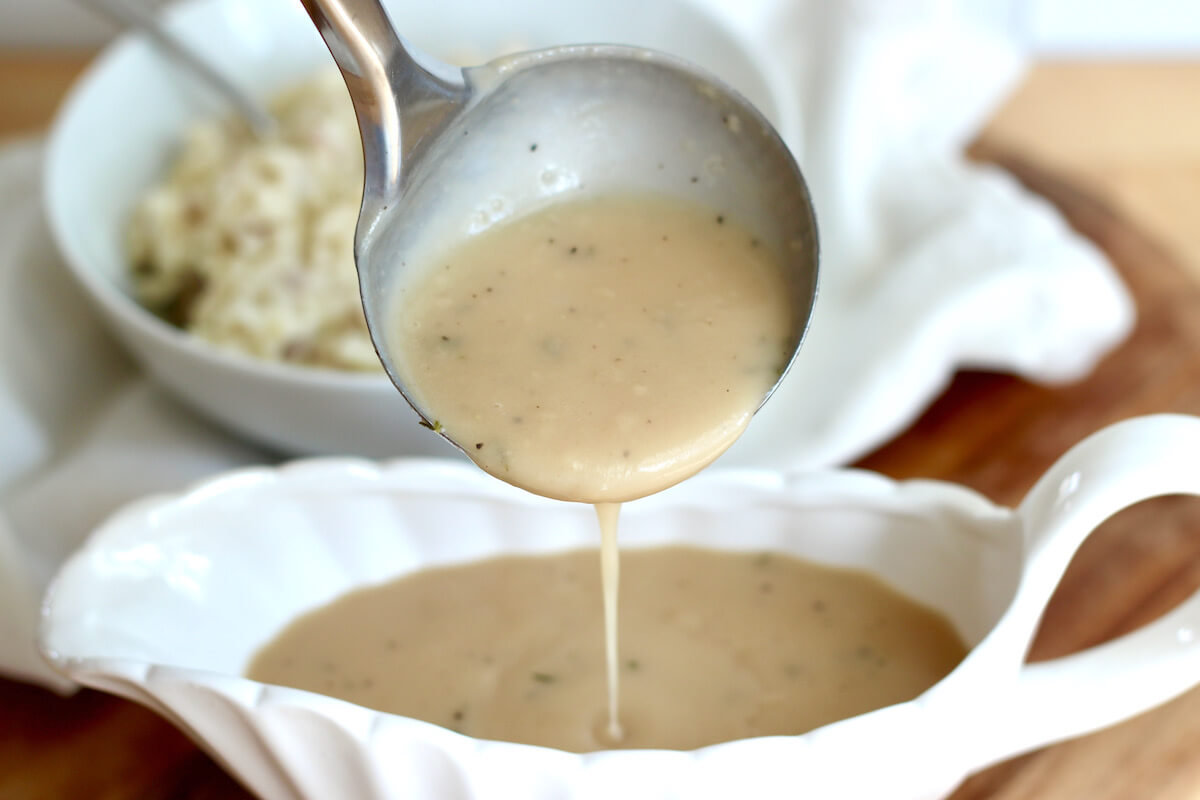
Gravy is one of those foods that you just have to make from scratch, especially for a holiday meal.
Not only does it taste so much better than the packets of store-bought gravy, but it's also incredibly rewarding to be able to share your delicious homemade creation with your loved ones.
If you've never made chicken gravy from scratch, don't stress! This recipe for chicken gravy is made without drippings so it's perfect for beginners.
Today, I’m walking you through how to make the best homemade chicken gravy, including which ingredients to use, tips that will guarantee it turns out right the first time, and some of my favorite dishes to serve with this easy gravy recipe.
Disclaimer: Some links throughout this post are affiliate links. As an Amazon Associate, I earn from qualifying purchases. You can learn more by visiting my Affiliate Disclosure Page.
Why You'll Love This Recipe
- No Drippings- While chicken drippings do make a tasty gravy, this recipe offers an easy way to achieve incredible flavor without them. Perfect for a quick, classic gravy fix.
- Homemade Comfort Food- Chicken gravy is the epitome of comfort food. It's warm, hearty, and more flavorful than store-bought versions.
- Only 6 Ingredients- Made with just 6 simple pantry ingredients, this easy recipe lets you enjoy homemade chicken gravy anytime.
- Ready in 10 Minutes- This easy chicken gravy only takes 10 minutes to make, meaning it's perfect for both busy weeknights and special occasions.
- Versatile- Pair this chicken gravy with roasted chicken, pot pies, biscuits, mashed potatoes, vegetables, and more!
- Perfect for Holidays- This simple chicken gravy pairs well with all of your favorite holiday dishes. It's a no-fuss recipe that can be whisked together at the last minute for a stress-free holiday meal.
Ingredient Notes
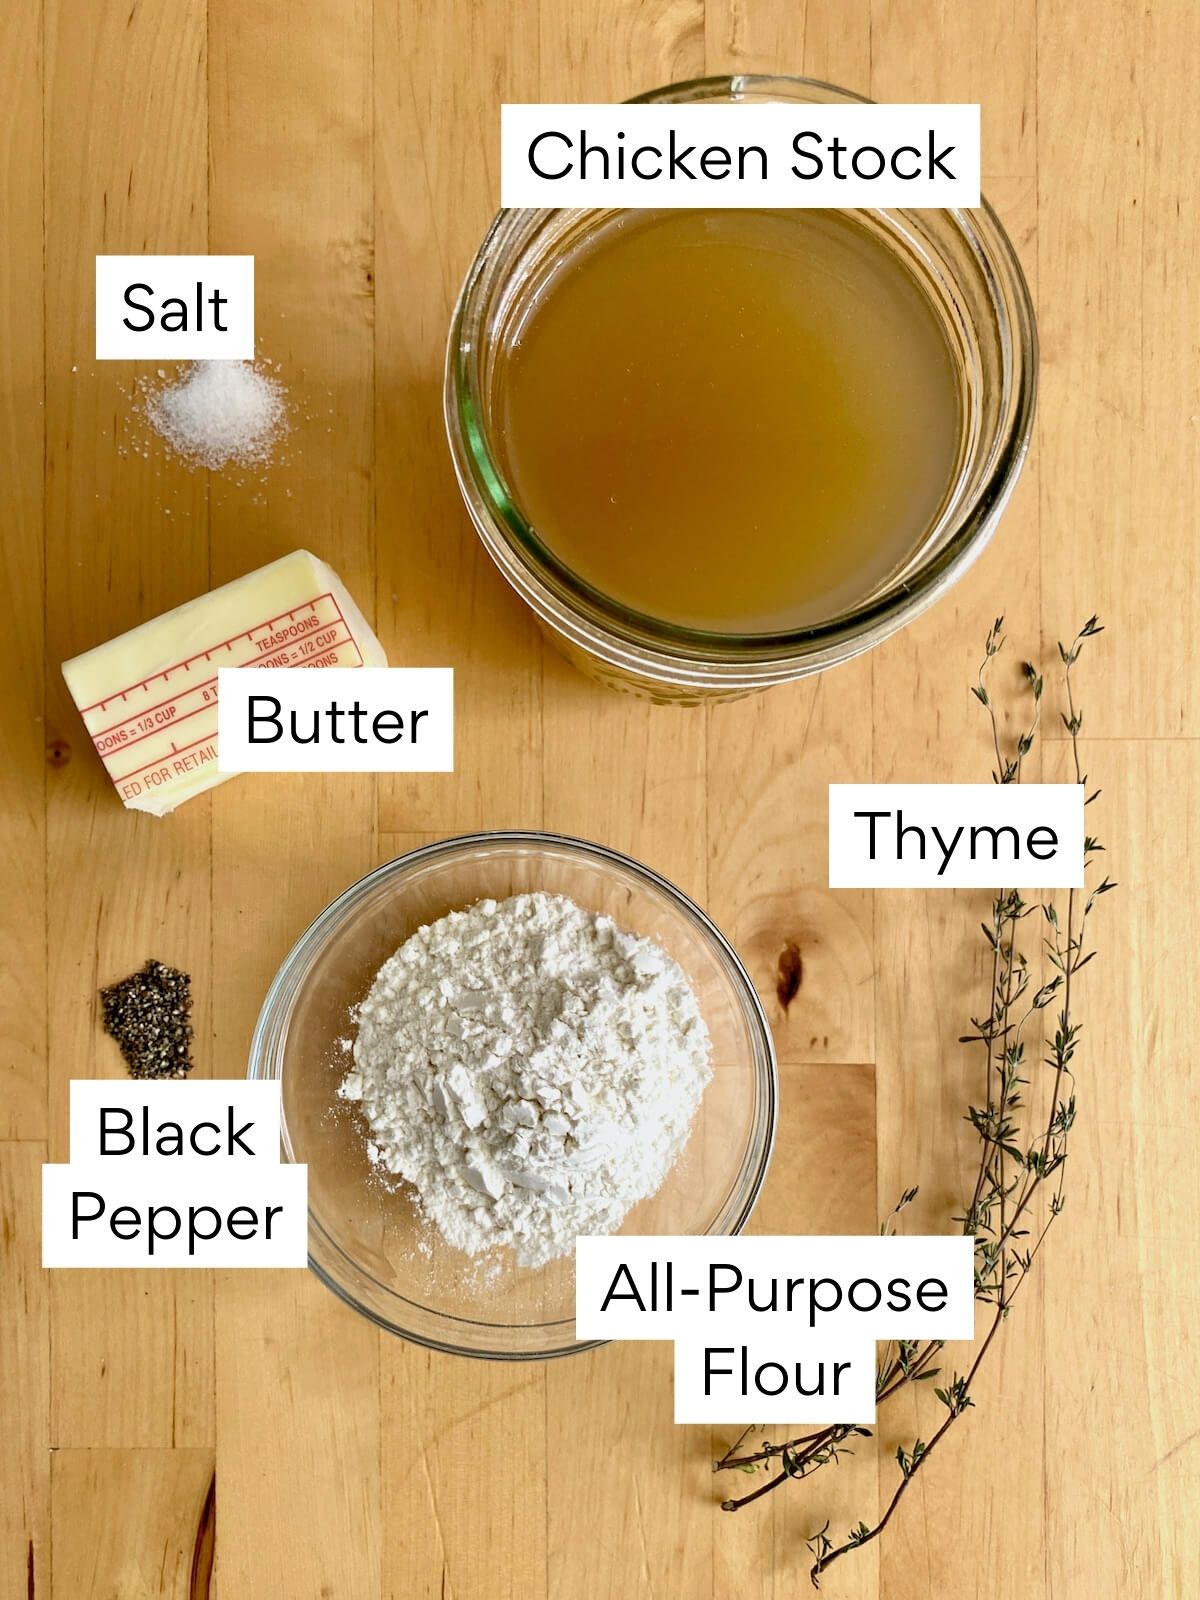
Here are some notes on the key ingredients. For the full list of ingredients, check out the recipe card below.
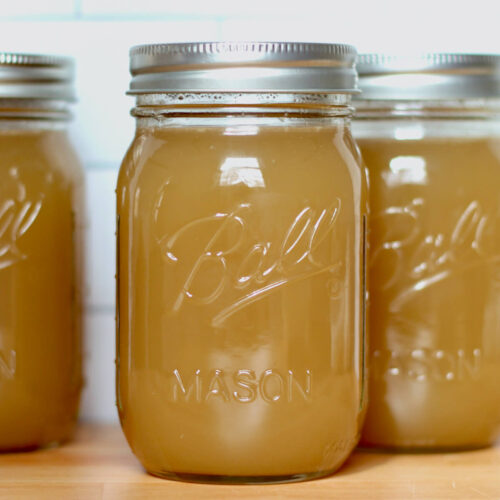
- Chicken Stock- Use for homemade chicken stock for the best flavor. The saltiness of the chicken stock you use will affect how much kosher salt should be added to the gravy.
- Butter- Using unsalted butter gives you better control over the gravy's saltiness.
- Flour- All-purpose flour is cooked into a roux and is used to thicken the gravy. Cooking the roux until it turns golden brown gives the gravy more color and flavor.
- Thyme- Commonly paired with chicken, dried thyme adds an earthy, herbaceous flavor to the chicken gravy.
- Kosher Salt- Start by adding a small amount of salt and adjust to taste. I recommend using kosher salt because it doesn't contain added sugar or anti-caking agents like table salt often does.
- Black Pepper- Use freshly ground black pepper for the best flavor.
🌱 Sustainability Tip: Next time you roast chicken, save the bones to make your own chicken stock. Not only does it taste better, but it also helps reduce pollution and food waste.
Substitutions and Variations
Here are a few ways you can try customizing this homemade chicken gravy recipe to fit your diet and taste preferences.
Substitutions
- Chicken Stock- Swap chicken stock for low-sodium chicken broth, turkey stock, vegetable stock, or beef stock. Or make a quick chicken stock using water and a bouillon cube.
- Butter- If using salted butter, adjust the amount of salt you add to the gravy accordingly. Alternatively, margarine, oil, or plant-based butter can also be used.
- Flour- To thicken with cornstarch, bring the chicken stock to a simmer. Mix 3 tablespoons of cornstarch with 3 tablespoons of water before whisking the mixture into the simmering chicken stock.
- Thyme- Substitute dried thyme with ½ tablespoon of fresh thyme. You can also use rosemary and sage for a similar flavor profile.
- Kosher Salt- Use sea salt or table salt in place of kosher salt if preferred.
- Black Pepper- Replace black pepper with ground white pepper for a slightly different flavor.
Variations
- Gluten-Free- Prepare the gravy using gluten-free all-purpose flour or use a cornstarch slurry to thicken it instead.
- Dried Herbs- Add dried rosemary and sage to the gravy along with the thyme to make herbed chicken gravy.
- Fresh Herbs- Instead of using dried herbs, add chopped fresh herbs for a brighter flavor. Thyme, rosemary, sage, parsley, and chives are all great options.
- Garlic- Cook minced garlic in the butter to infuse the chicken gravy with garlicky goodness.
- Shallot or Onion- Sauté finely minced shallot or onion in butter until caramelized to add a slightly sweet flavor.
Equipment Notes
Here are some notes on any special equipment I used to make this recipe.
- Saucepan- Opt for a small stainless steel saucepan with a thick bottom to ensure even heat distribution and to prevent scorching.
- Whisk- A whisk is essential for combining the gravy ingredients and preventing lumps.
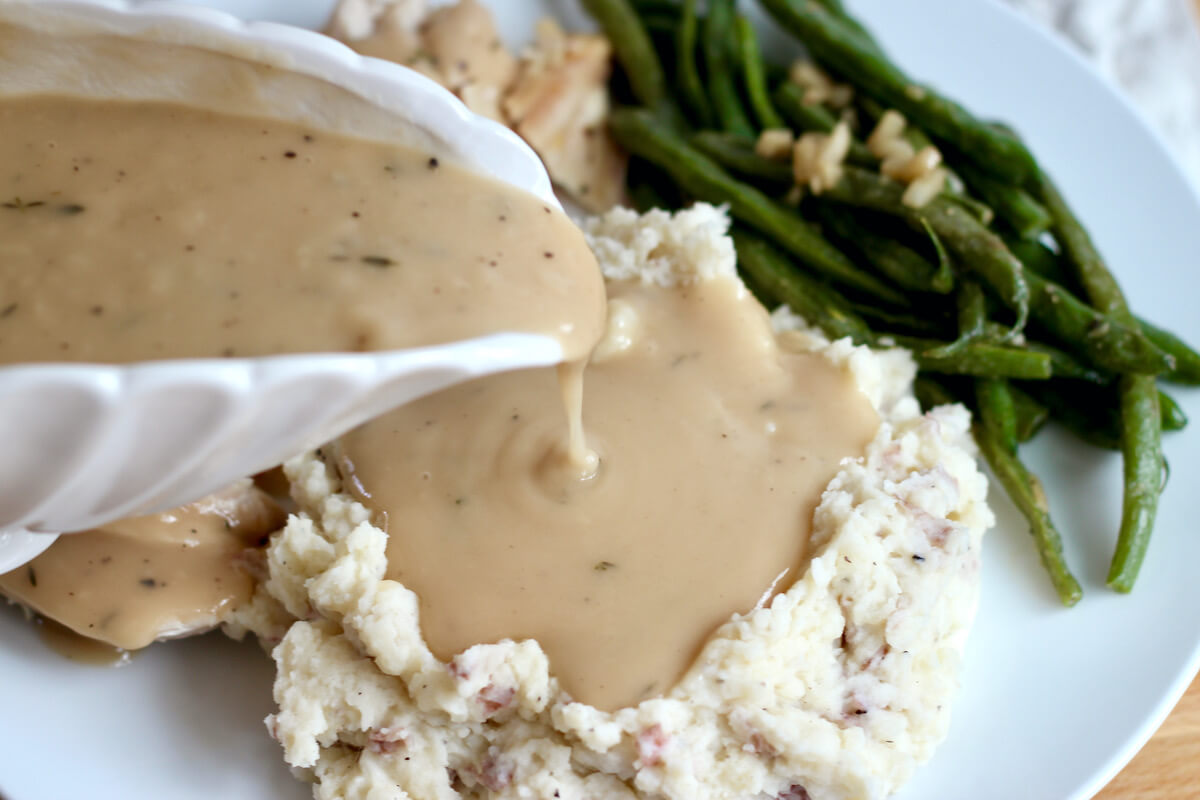
- Gravy Boat- A gravy boat is ideal for pouring and serving gravy at the table.
How to Make Chicken Gravy Without Drippings
Here is how to make homemade chicken gravy.
Step 1: Make the roux. Melt the butter in a saucepan over medium heat. Once it's melted, add the flour and whisk well until no dry flour is left. Cook the roux, whisking occasionally, until the mixture starts turning a golden brown color.
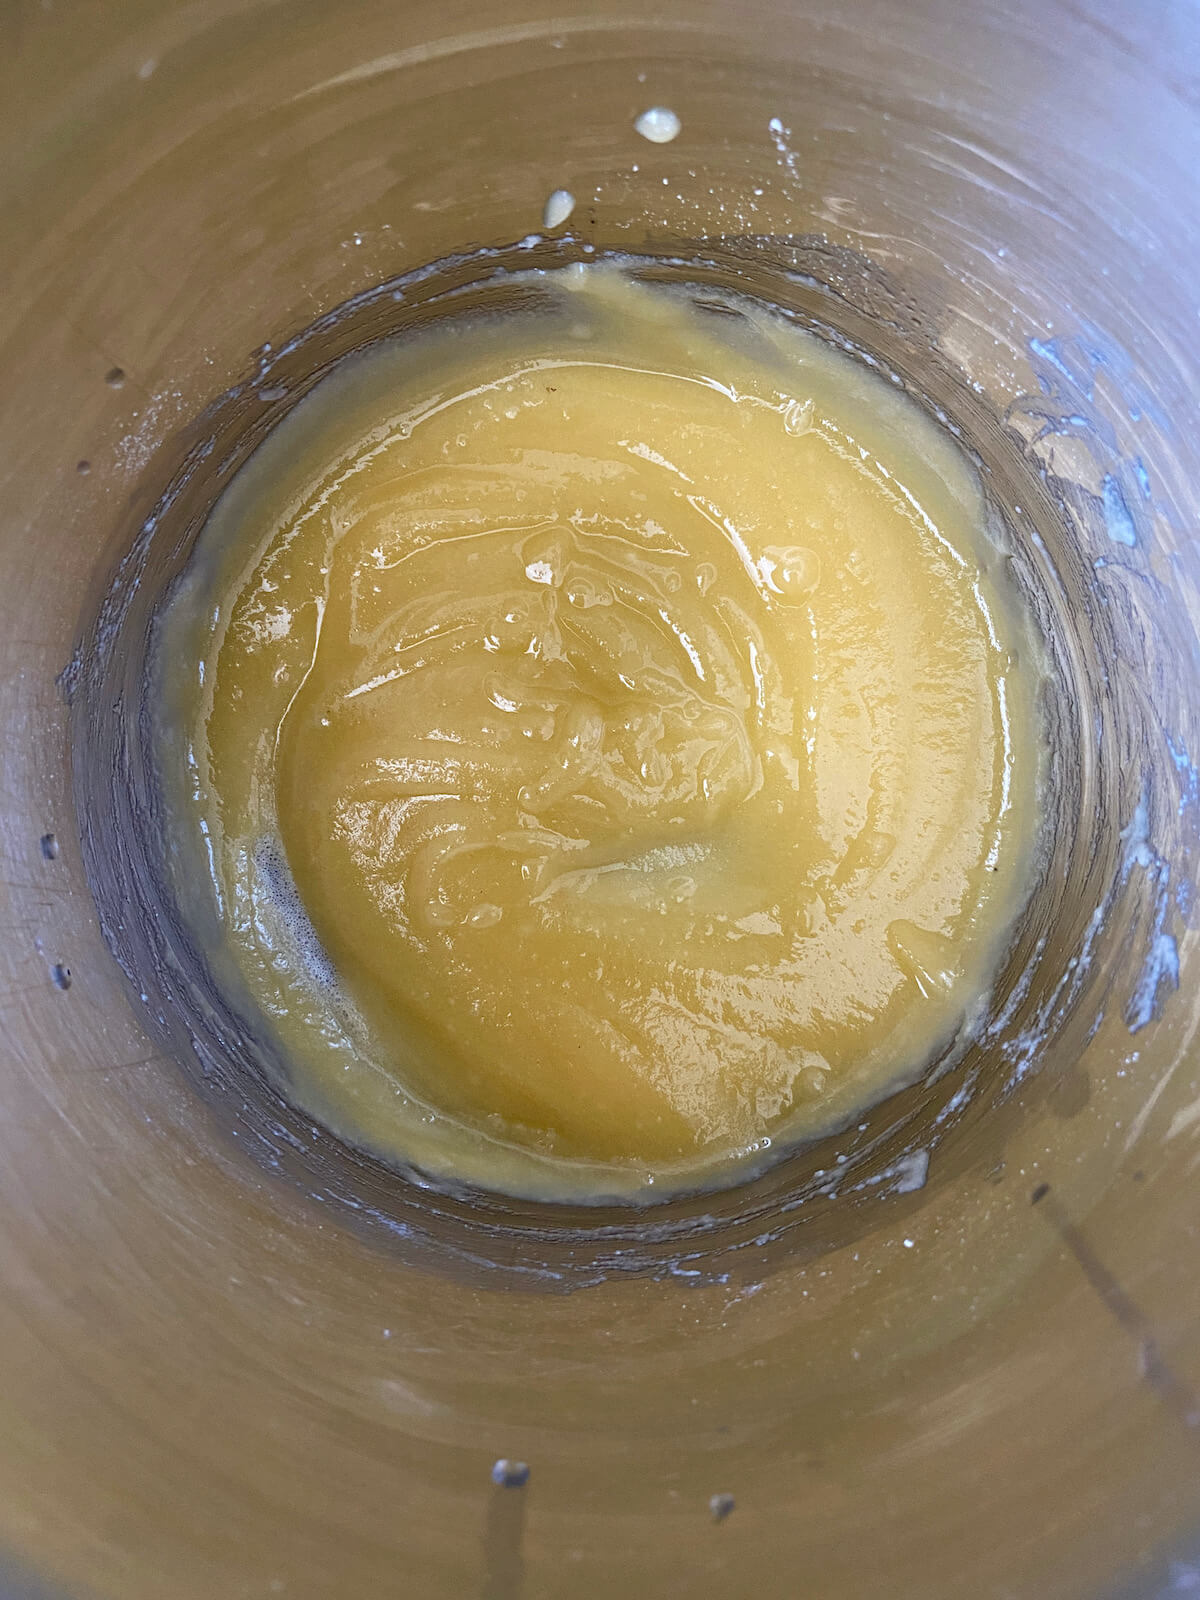

Step 2: Whisk in the chicken stock. Slowly pour in the chicken stock while whisking continuously. This helps to avoid any lumps from forming in the gravy.

Step 3: Season the gravy. Reduce the heat to low and add the dried thyme, kosher salt, and black pepper to the gravy.
Step 4: Thicken gravy. Bring the gravy to a gentle simmer. Continue whisking frequently until the gravy reaches your desired consistency, keeping in mind that it will thicken more as it cools.
Step 5: Serve. Once the gravy is thickened, remove the saucepan from the heat and serve immediately.


How to Make Chicken Gravy With Drippings
If you do have pan drippings available, here is how to make this chicken gravy recipe with drippings.
- Collect Drippings- After roasting chicken, pour the pan drippings into a measuring cup. These drippings contain flavorful juices and fats from the chicken.
- Separate Fat- As the drippings cool, the fat will rise to the top. Carefully spoon off the fat, leaving the juices behind.
- Make the Roux- Instead of starting with butter, use the separated chicken fat to make the roux. Melt the fat in the saucepan over medium heat and proceed with adding the flour, whisking until smooth and slightly golden.
- Add Drippings & Stock- Whisk in the pan juices along with enough chicken stock to make 2 cups of liquid.
- Adjust Seasoning- Keep in mind that pan drippings can vary in saltiness, so taste the gravy before adding additional salt.
- Finish the Gravy- Continue with the rest of the recipe as outlined, adding dried thyme, salt, and black pepper, adjusting as needed.
🍗 How much gravy do I need per person? As a general guideline, aim for about ¼ to ½ cup of gravy per person. This amount will vary depending on the meal type and personal preferences. It's always best to make a little extra, just in case.
Tips for Success
Make this easy chicken gravy successfully the first time using these helpful kitchen tips.
- Prep first. This chicken stock gravy comes together quickly. I recommend having all of your ingredients measured out before you start to make this recipe a breeze.
- Whisk continuously. To prevent scorching or lumps from forming, it's important to keep an eye on the gravy and whisk it often.
- Simmer gently. Avoid boiling vigorously, as this can cause the gravy to splatter, scorch, and over-thicken.
- Season to taste. Be mindful that the amount of salt in your chicken stock will affect how much you'll want to add to the gravy. Always start with less salt, taste the gravy, and add more as needed.
- Adjust the thickness. If the gravy becomes too thick, thin it with a bit of additional chicken stock. Alternatively, if it's too thin, let it simmer a bit longer to reduce and thicken.
- Keep warm. If you're not serving the gravy immediately, keep it warm over low heat or in a warm oven until ready to serve. Cover the gravy to prevent the top from solidifying as it cools.
Common Gravy Problems and How to Fix Them
- Lumpy- Lumps can form if the flour isn't mixed properly or if the liquid is added too quickly. Whisk the gravy rapidly, use an immersion blender, or strain it through a fine mesh sieve to remove lumps.
- Too Thin- If your gravy just won't seem to thicken, mix a small amount of flour or cornstarch with water separately, then whisk it into the gravy to thicken.
- Too Thick- Gradually add more chicken stock or water to the gravy while stirring to reach the desired consistency.
- Bland- Taste the gravy and add additional salt, pepper, herbs, or spices to enhance the flavor. Alternatively, incorporate ingredients like sautéed onions, garlic, or a splash of soy sauce for added depth.
- Overly Salty- Excessive saltiness can result from using salty chicken stock or over-seasoning. Add a bit of unsalted chicken stock or water to dilute the saltiness.
What to Serve With Chicken Gravy
Whether you're enjoying roasted chicken, mashed potatoes, or vegetables, this homemade chicken gravy makes all of your favorite comfort foods taste better.
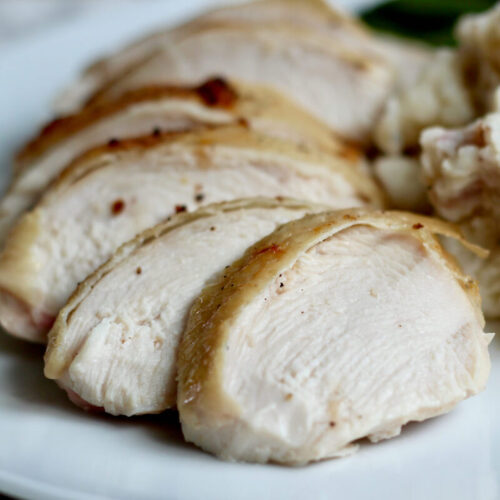
Of course, chicken gravy pairs well with roasted chicken and other chicken dishes. Try it with lemon garlic roasted chicken, chicken pot pie, braised chicken breast, or pan-seared chicken.
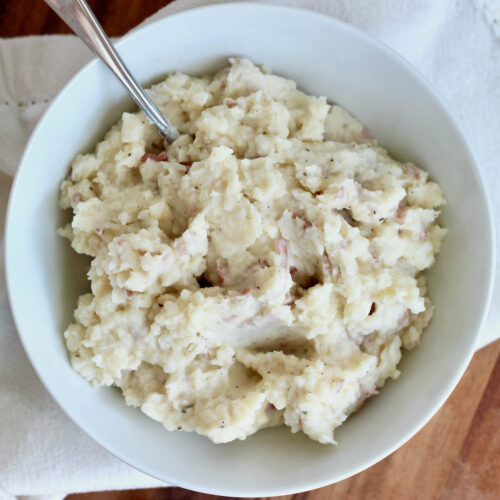
This chicken gravy also tastes great with a variety of starchy side dishes. Creamy mashed potatoes, sage stuffing, sourdough biscuits, roasted potato wedges, and baked potatoes are all more delicious with homemade gravy.
Finally, serve this gravy with your favorite vegetable side dishes to take them to the next level. Sautéed garlic green beans, roasted honey garlic brussels sprouts, roasted carrots and green beans, or sautéed sweet potatoes pair well with chicken gravy.
Storage and Reheating
How to Store
- Refrigerator- Store leftover chicken gravy in an airtight container in the refrigerator for 3-4 days.
- Freezer- Leftover chicken gravy can be stored in a freezer-safe plastic bag or container for up to 3 months.
How to Reheat
If your leftover gravy is frozen, thaw it overnight in the refrigerator before reheating for best results.
- Stovetop- Transfer leftover gravy to a small saucepan and set it over low heat. Gently reheat the gravy, whisking continuously, until steaming hot.
- Microwave- Place leftover gravy in a microwave-safe bowl or container and cover with a lid. Heat the gravy on half power (50%) in 30-second intervals, stirring between each, until fully warmed through.
Make Ahead
If you're looking to get a head start on your holiday meal prep, you can easily make this chicken gravy ahead of time.
Simply make the gravy, let it cool, and store it in the refrigerator for up to 3 to 4 days. Then, reheat it gently on the stovetop before serving. You might need to whisk in a little extra chicken stock to adjust the consistency after reheating.

Frequently Asked Questions
Lumps can form if the flour is not thoroughly mixed with the butter or if the liquid is added too quickly. Make sure to whisk continuously and add the liquid gradually to prevent lumps.
A basic chicken gravy is typically made with some type of fat, flour, chicken stock, salt, and pepper. Many recipes call for roasted chicken pan drippings to give the gravy more flavor, but this recipe uses butter and chicken stock to keep things simple.
To make your chicken gravy more tasty, swap out the butter for pan drippings. You can also add dried or fresh herbs, sautéed garlic and onion, garlic powder, onion powder, or condiments like Worcestershire sauce or soy sauce.
A flour roux will create a deeper, more complex flavor in gravy compared to cornstarch-thickened gravy, as it browns the flour in butter. Flour-based gravies also tend to be creamier and hold up better when reheated.
Let's Connect!
Be sure to leave a comment below if you have any questions. You can also connect with me on Instagram, Facebook, Pinterest, or via email at [email protected].
📖 Recipe
Homemade Chicken Gravy
Equipment
Ingredients
- 4 tablespoons unsalted butter
- ¼ cup all-purpose flour
- 2 cups chicken stock
- ½ teaspoon dried thyme
- ¼-½ teaspoon kosher salt to taste
- ¼ teaspoon black pepper
Instructions
- Melt the butter in a saucepan over medium heat. Once it's melted, add the flour and whisk well until no dry flour is left. Cook the roux, whisking occasionally, until the mixture starts turning a golden brown color.4 tablespoons unsalted butter, ¼ cup all-purpose flour
- Slowly pour in the chicken stock while whisking continuously. This helps to avoid any lumps from forming in the gravy.2 cups chicken stock
- Reduce the heat to low and add the dried thyme, kosher salt, and black pepper to the gravy.½ teaspoon dried thyme, ¼-½ teaspoon kosher salt, ¼ teaspoon black pepper
- Bring the gravy to a gentle simmer. Continue whisking frequently until the gravy reaches your desired consistency, keeping in mind that it will thicken more as it cools.
- Once the gravy is thickened, remove the saucepan from the heat and serve immediately.
Notes
- Collect Drippings- After roasting chicken, pour the pan drippings into a measuring cup. These drippings contain flavorful juices and fats from the chicken.
- Separate Fat- As the drippings cool, the fat will rise to the top. Carefully spoon off the fat, leaving the juices behind.
- Make the Roux- Instead of starting with butter, use the separated chicken fat to make the roux. Melt the fat in the saucepan over medium heat and proceed with adding the flour, whisking until smooth and slightly golden.
- Add Drippings & Stock- Whisk in the pan juices along with enough chicken stock to make 2 cups of liquid.
- Adjust Seasoning- Keep in mind that pan drippings can vary in saltiness, so taste the gravy before adding additional salt.
- Finish the Gravy- Continue with the rest of the recipe as outlined, adding dried thyme, salt, and black pepper, adjusting as needed.





Comments
No Comments