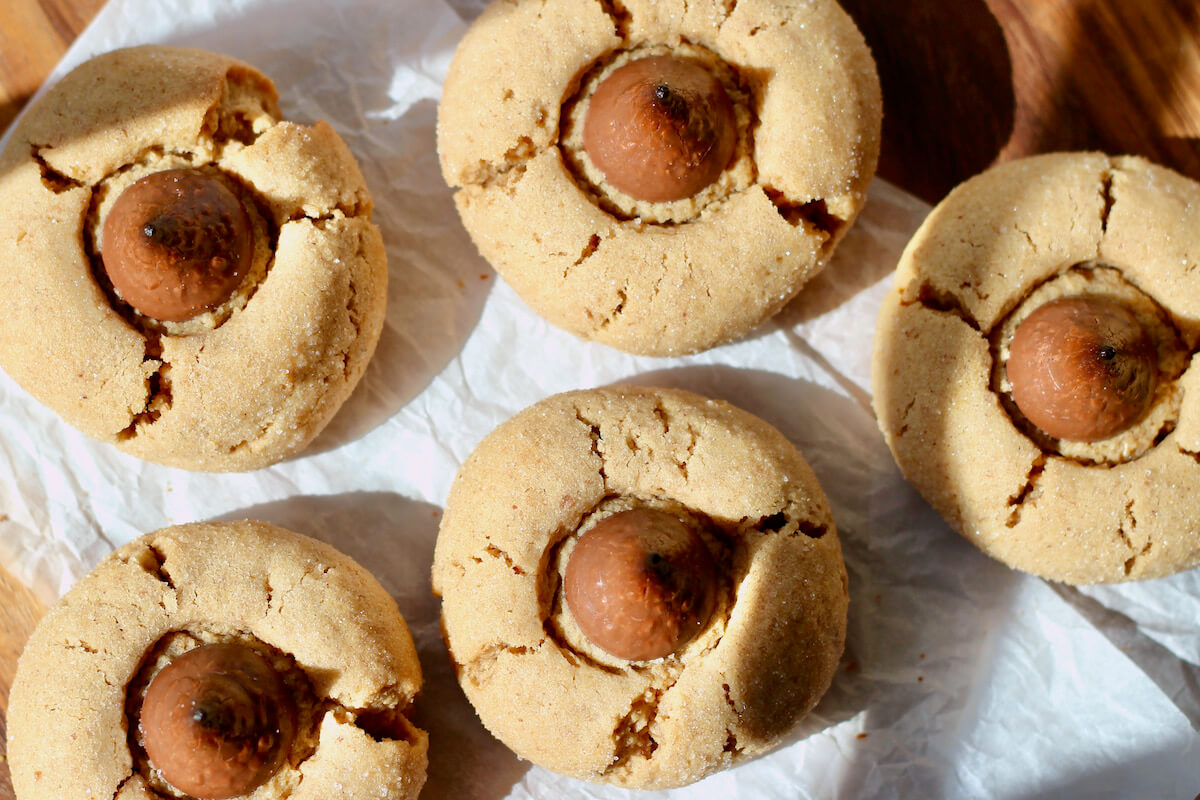
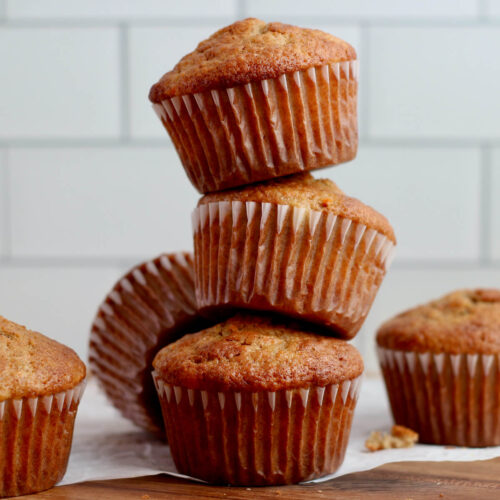
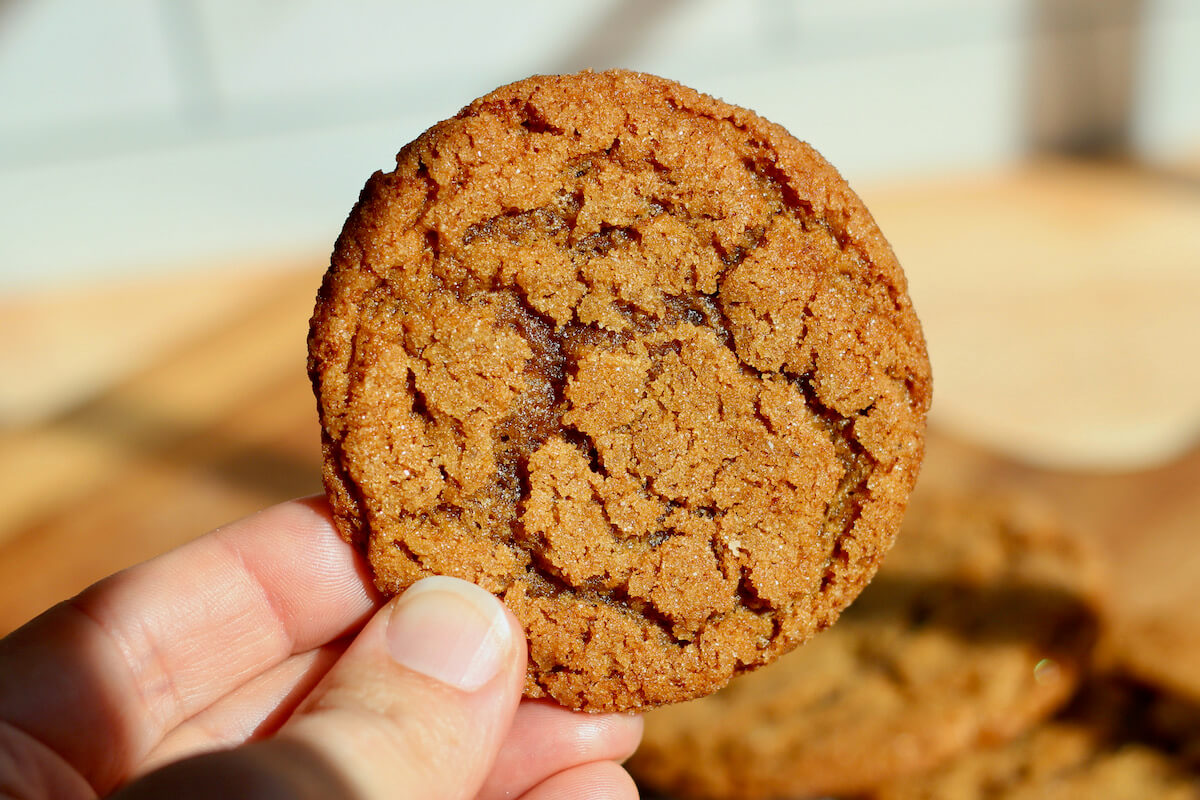
These White Chocolate Peppermint Sourdough Cookies are the ultimate Christmas treat. With a mint chocolate cookie base, crunchy candy cane pieces, and sweet white chocolate chips, they’re soft, chewy, and full of festive holiday flavors.

I was working on my sourdough double chocolate cookie recipe, listening to Christmas music, and feeling super festive. That’s when the idea hit me - why not give this dough a fun holiday twist and turn it into a sourdough Christmas cookie?
So, I swapped the semi-sweet chocolate for white chocolate chips, added a touch of peppermint extract, and sprinkled crushed peppermint candy on top to make these white chocolate peppermint sourdough cookies.
Of course, sourdough discard is added to the cookie dough. But that’s mostly just to use up any leftover starter from your other bakes. The holiday flavors really steal the show in this recipe, so you don’t taste much tang at all.
Sweet, minty, and full of rich chocolate flavors, these sourdough cookies are sure to be a hit at all your Christmas parties. I hope you try them this holiday season and enjoy them as much as I do!
Disclaimer: Some links throughout this post are affiliate links. As an Amazon Associate, I earn from qualifying purchases. You can learn more by visiting my Affiliate Disclosure Page.
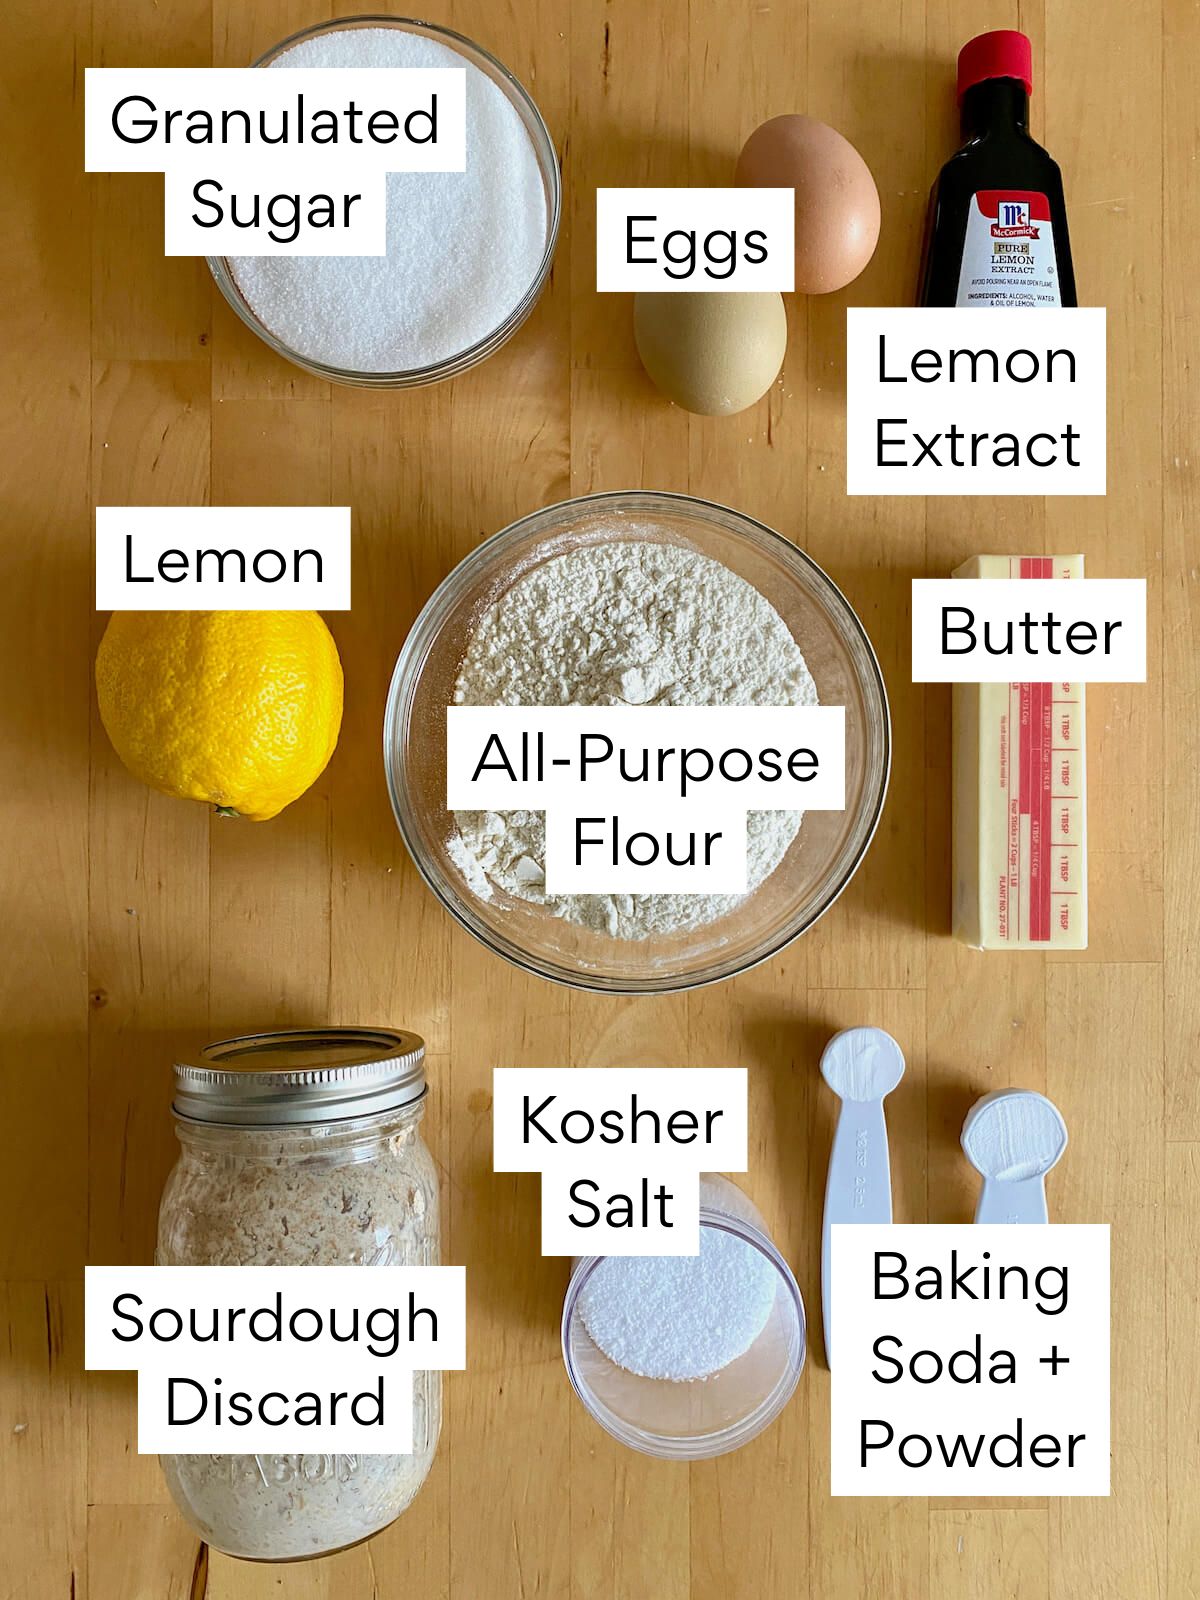
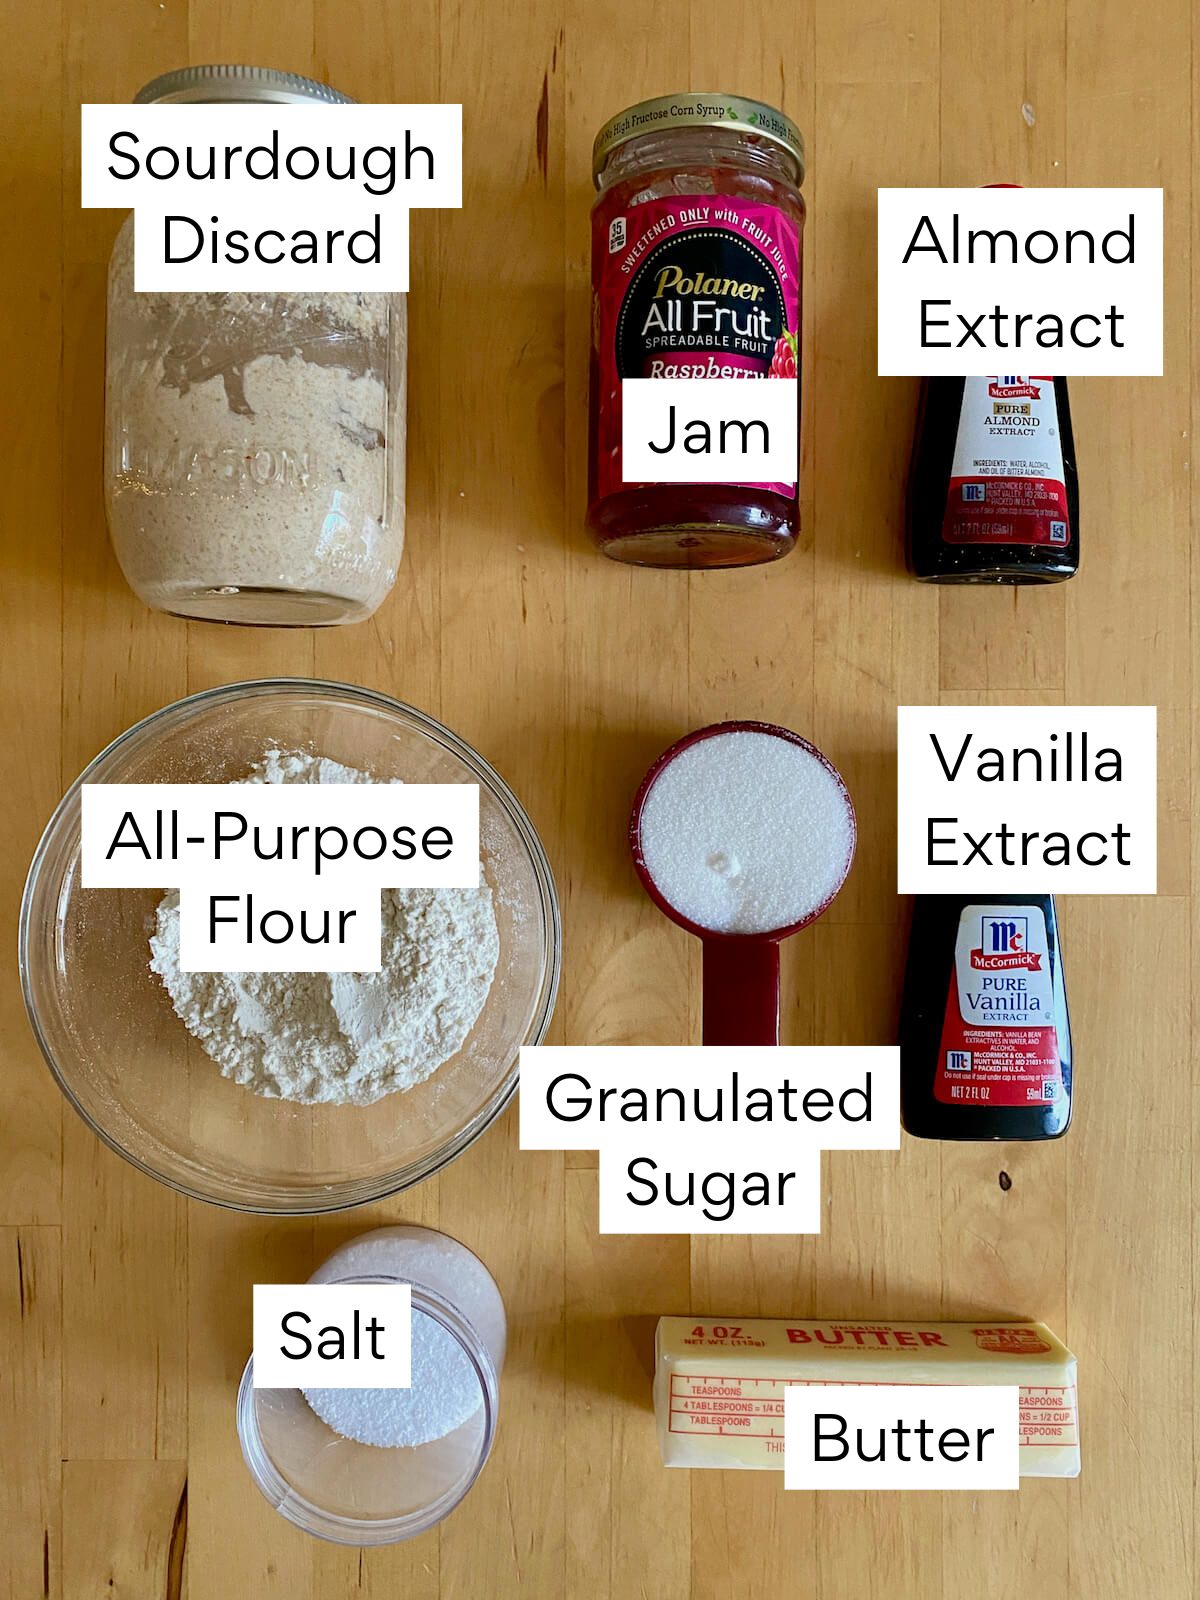
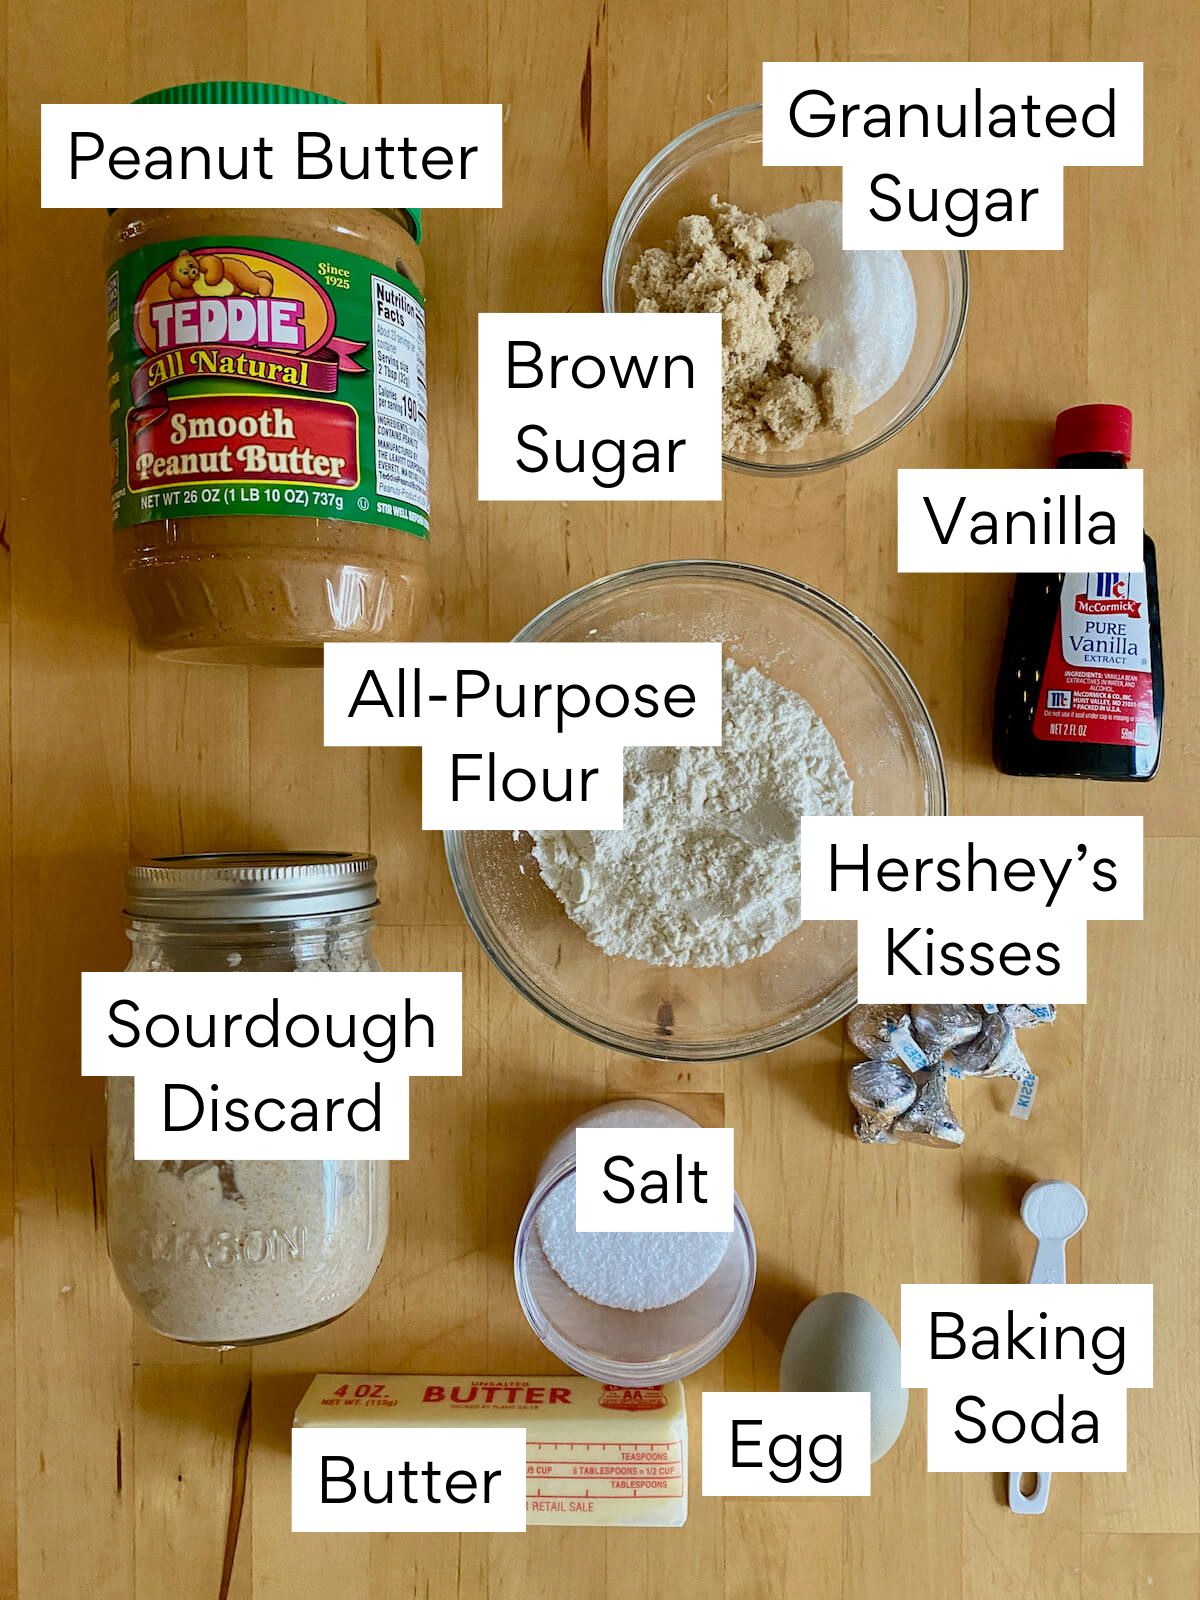
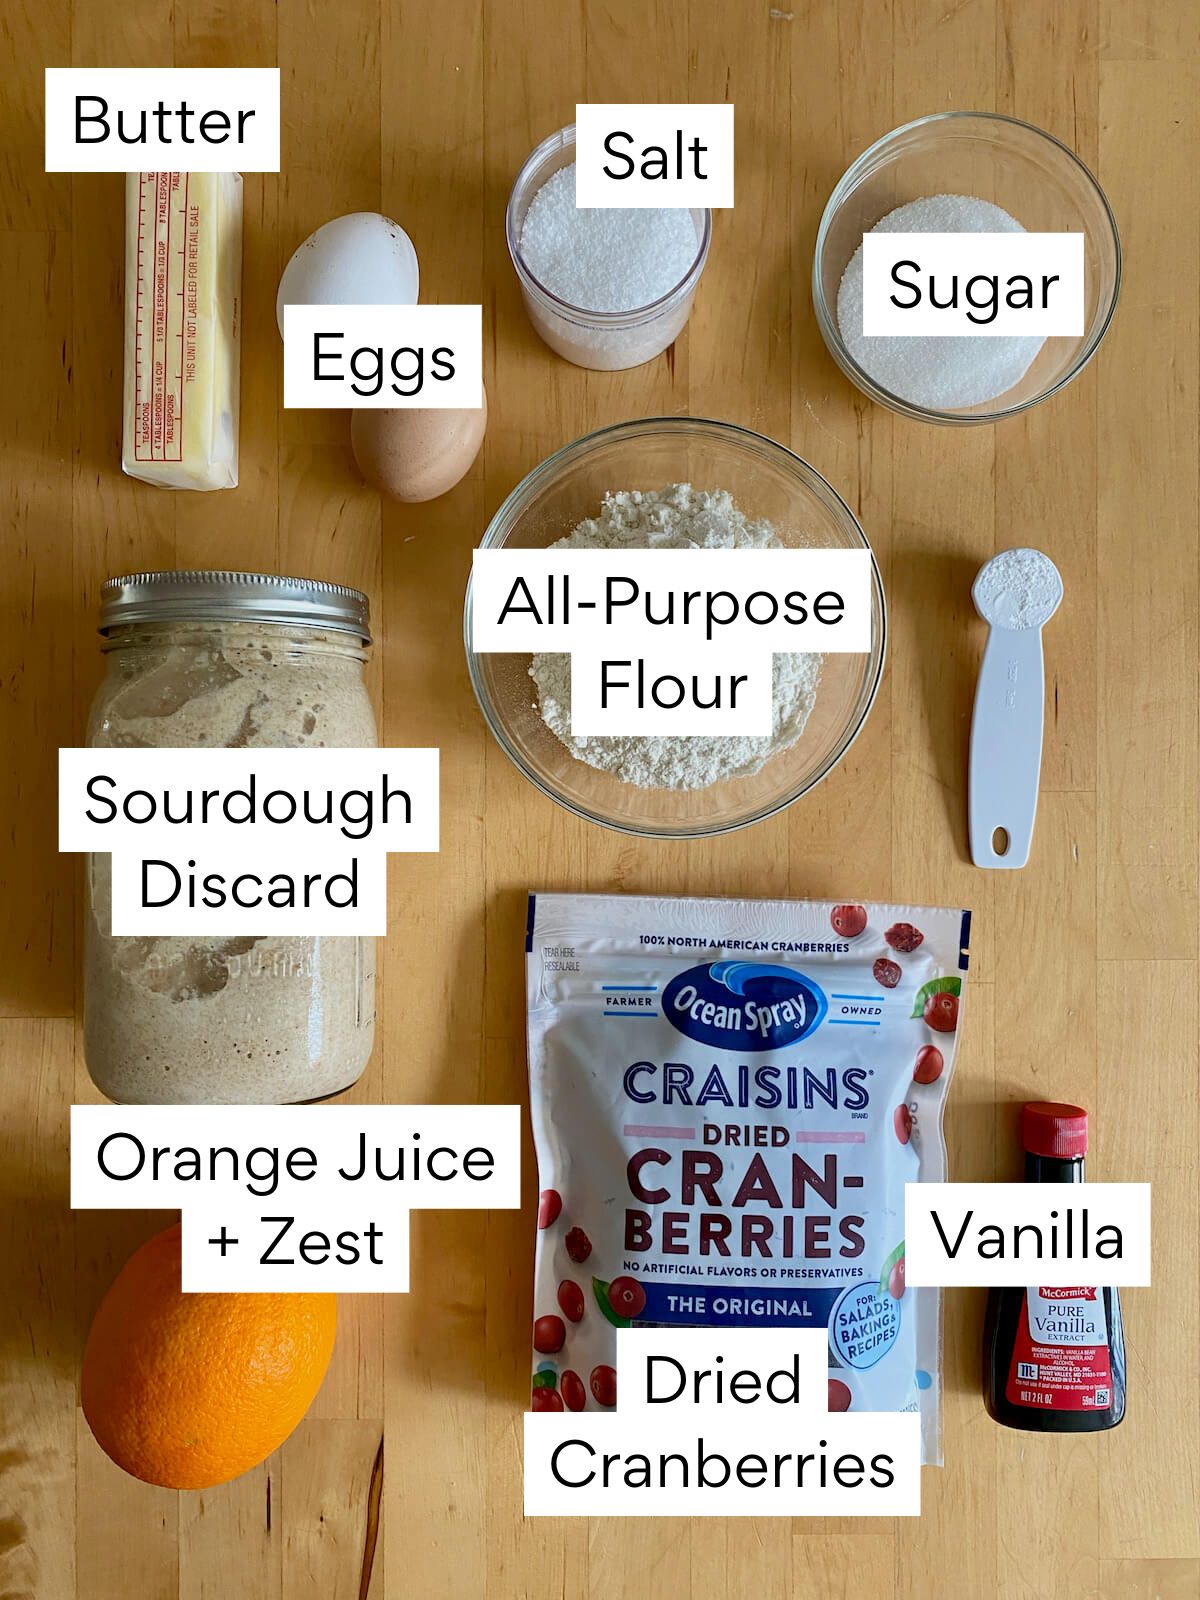
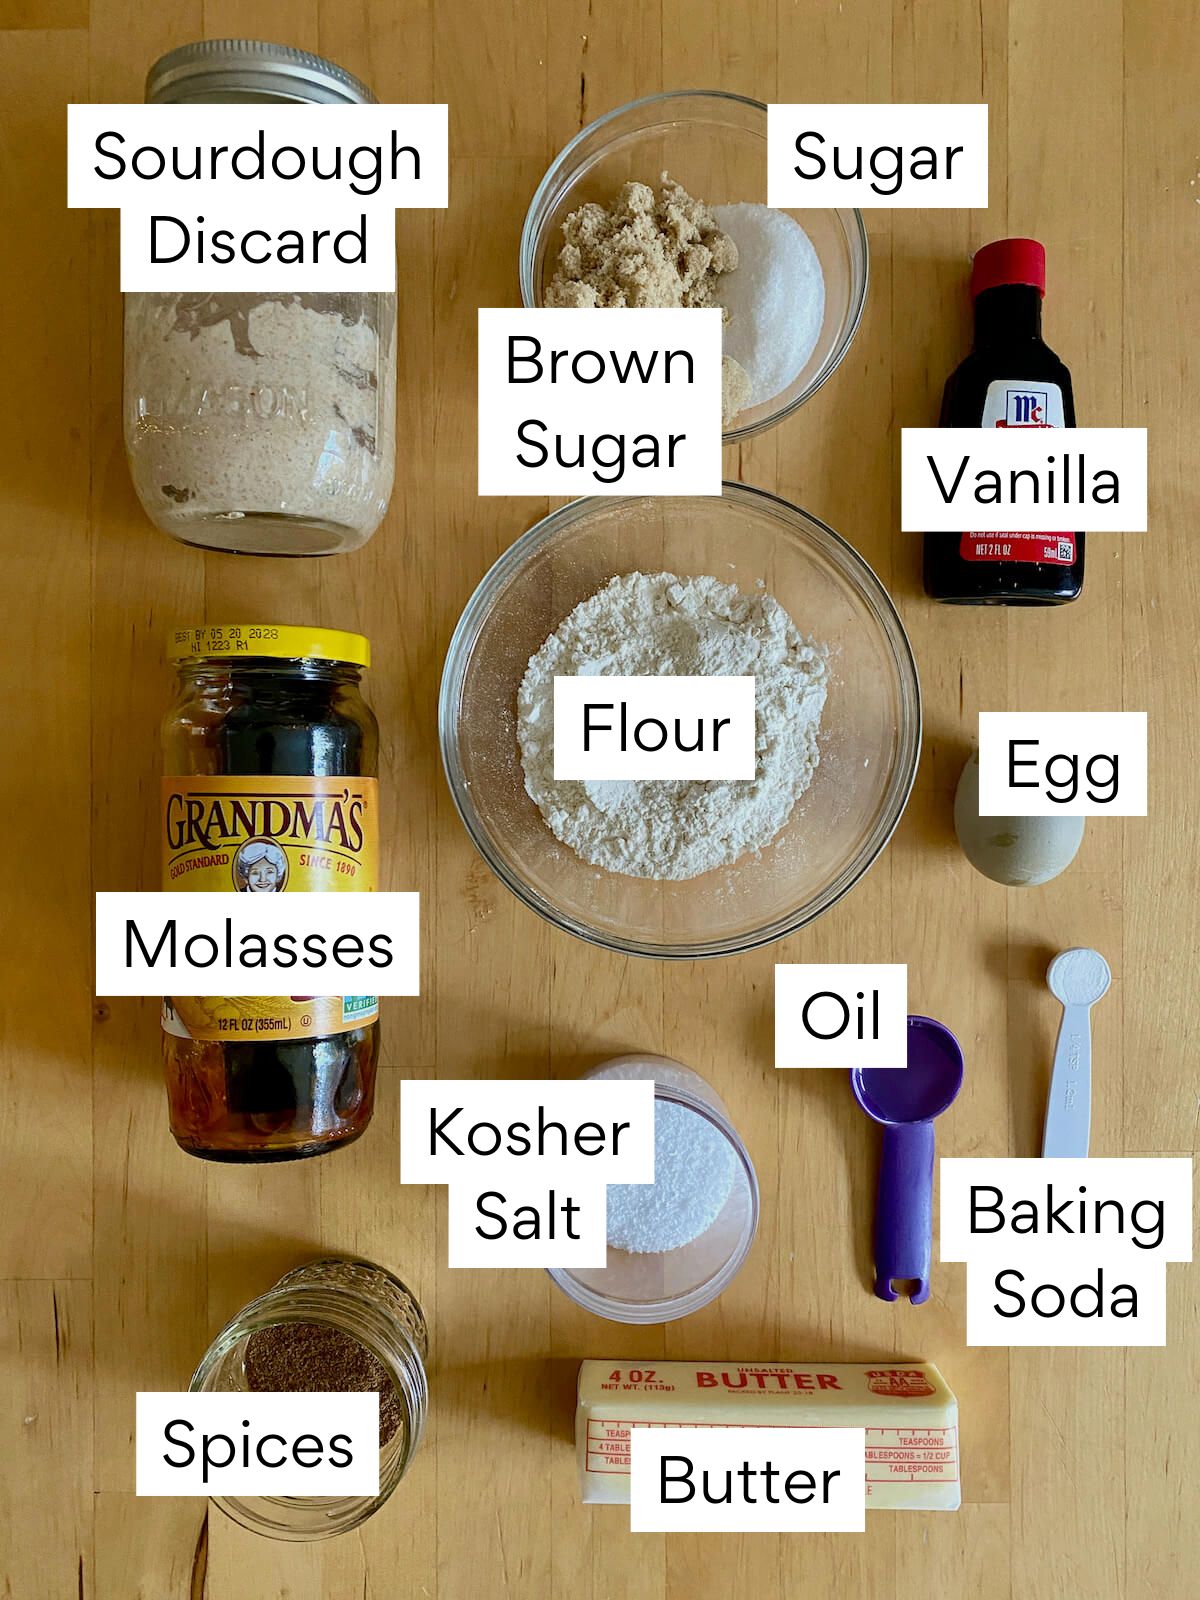
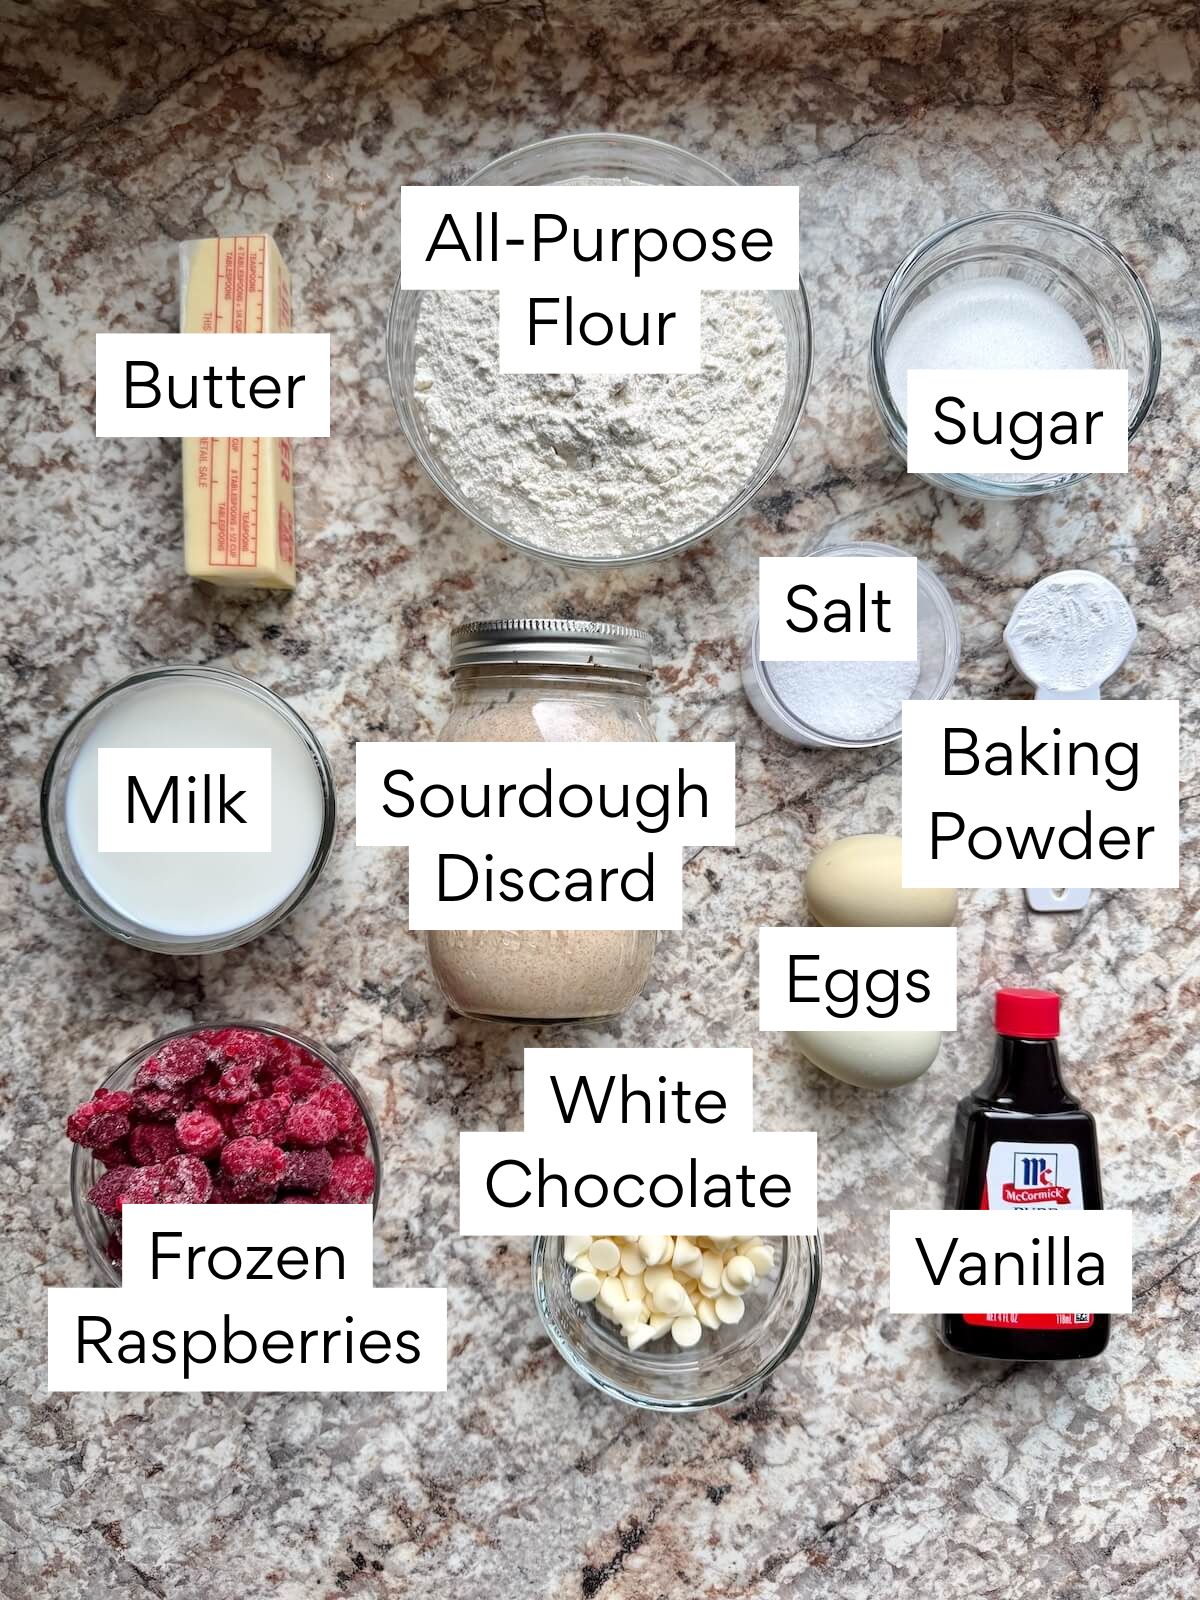
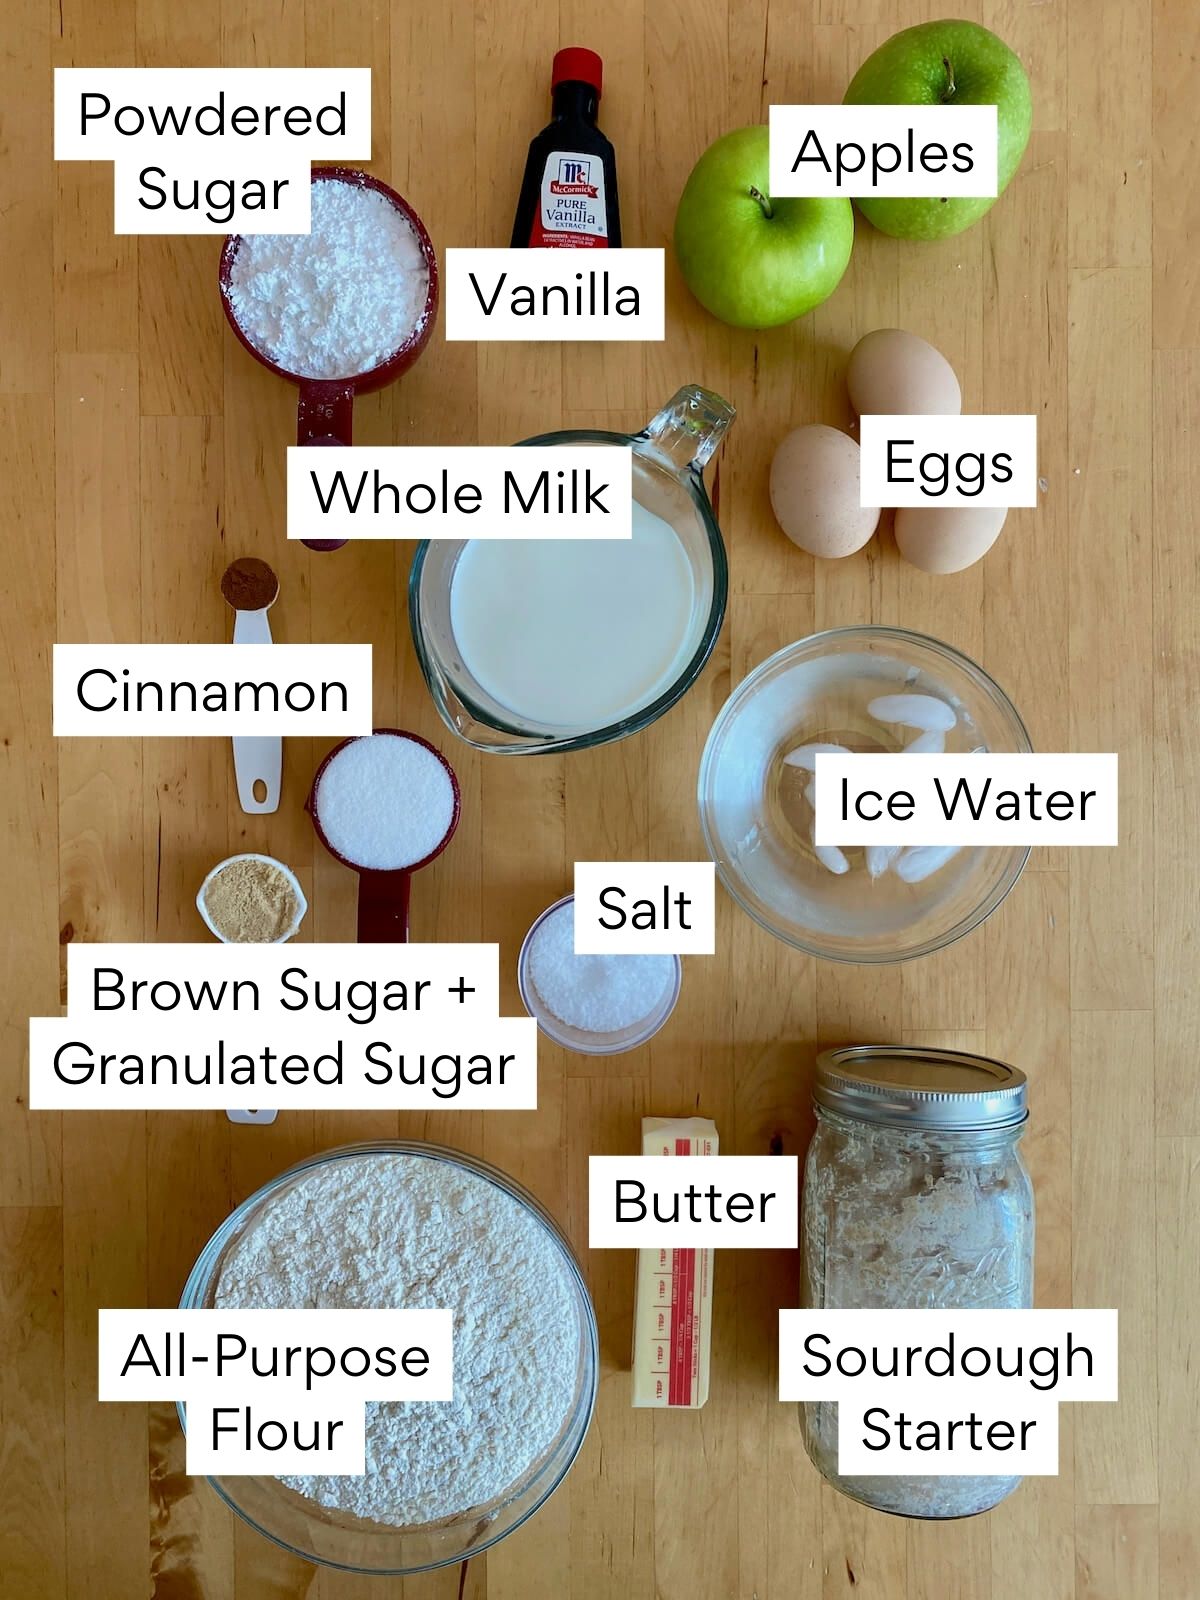
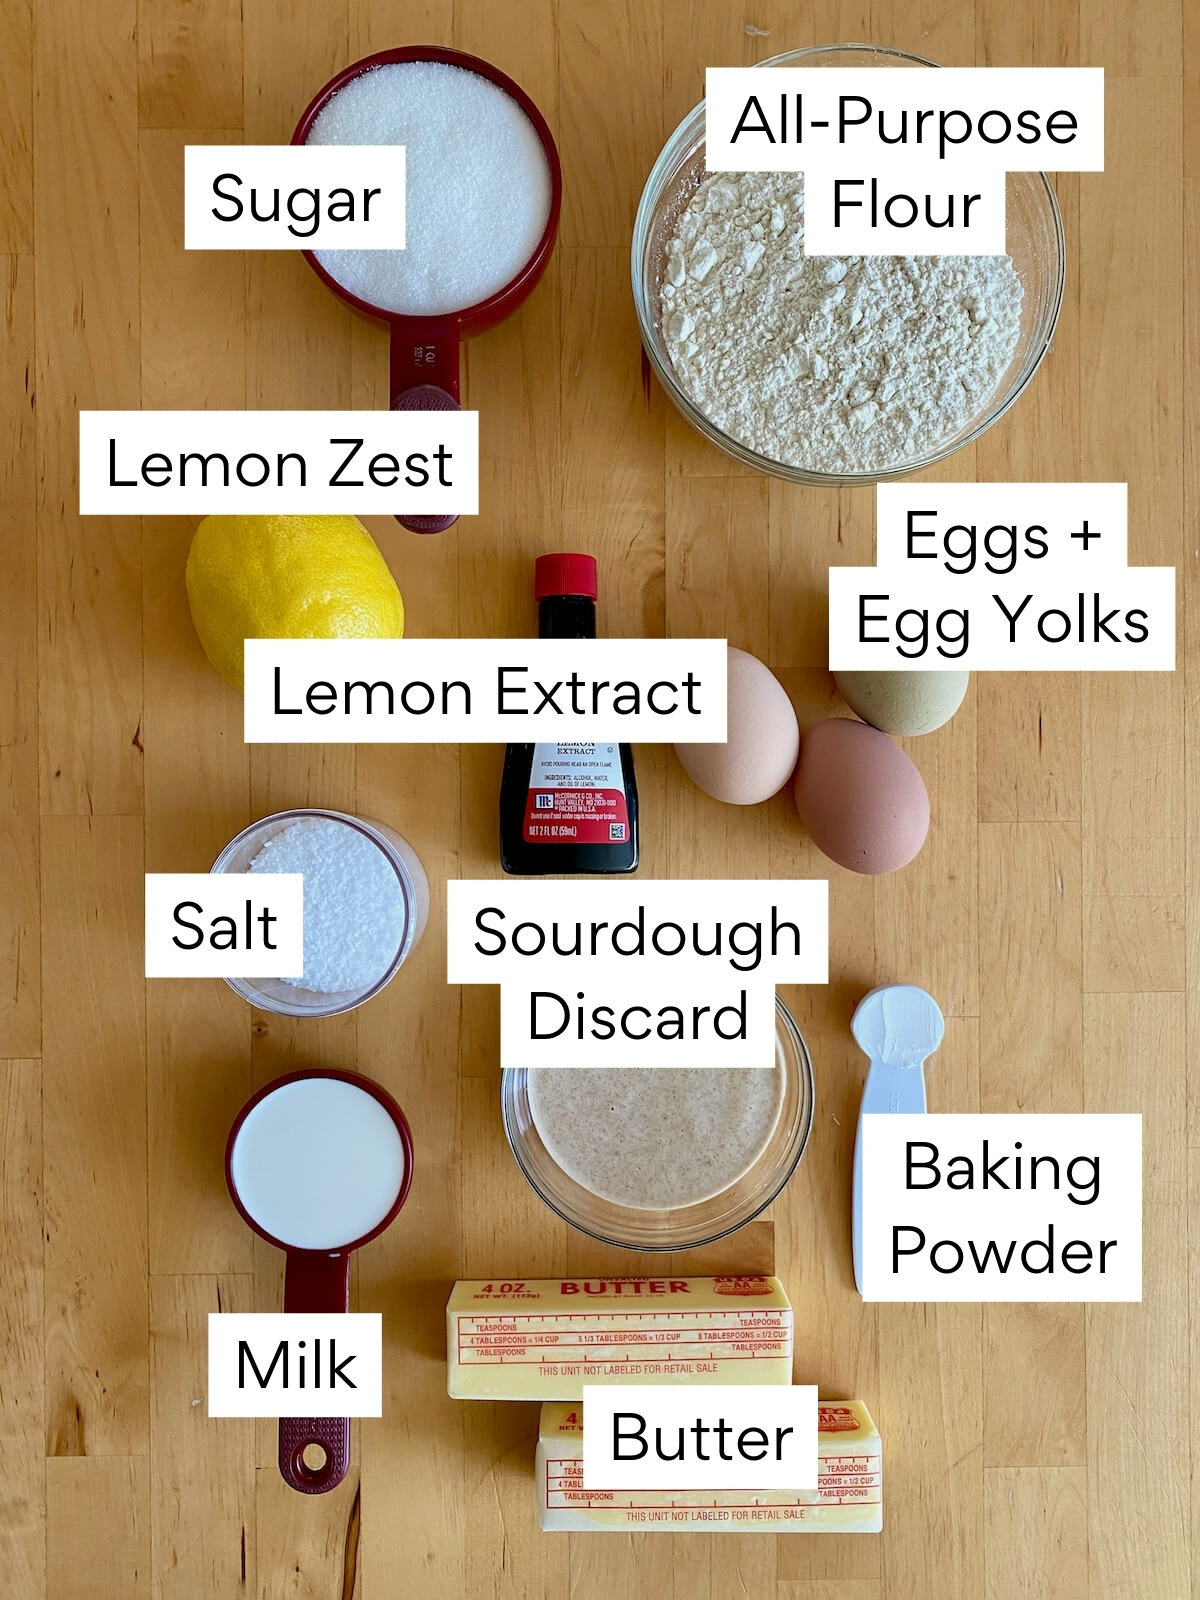
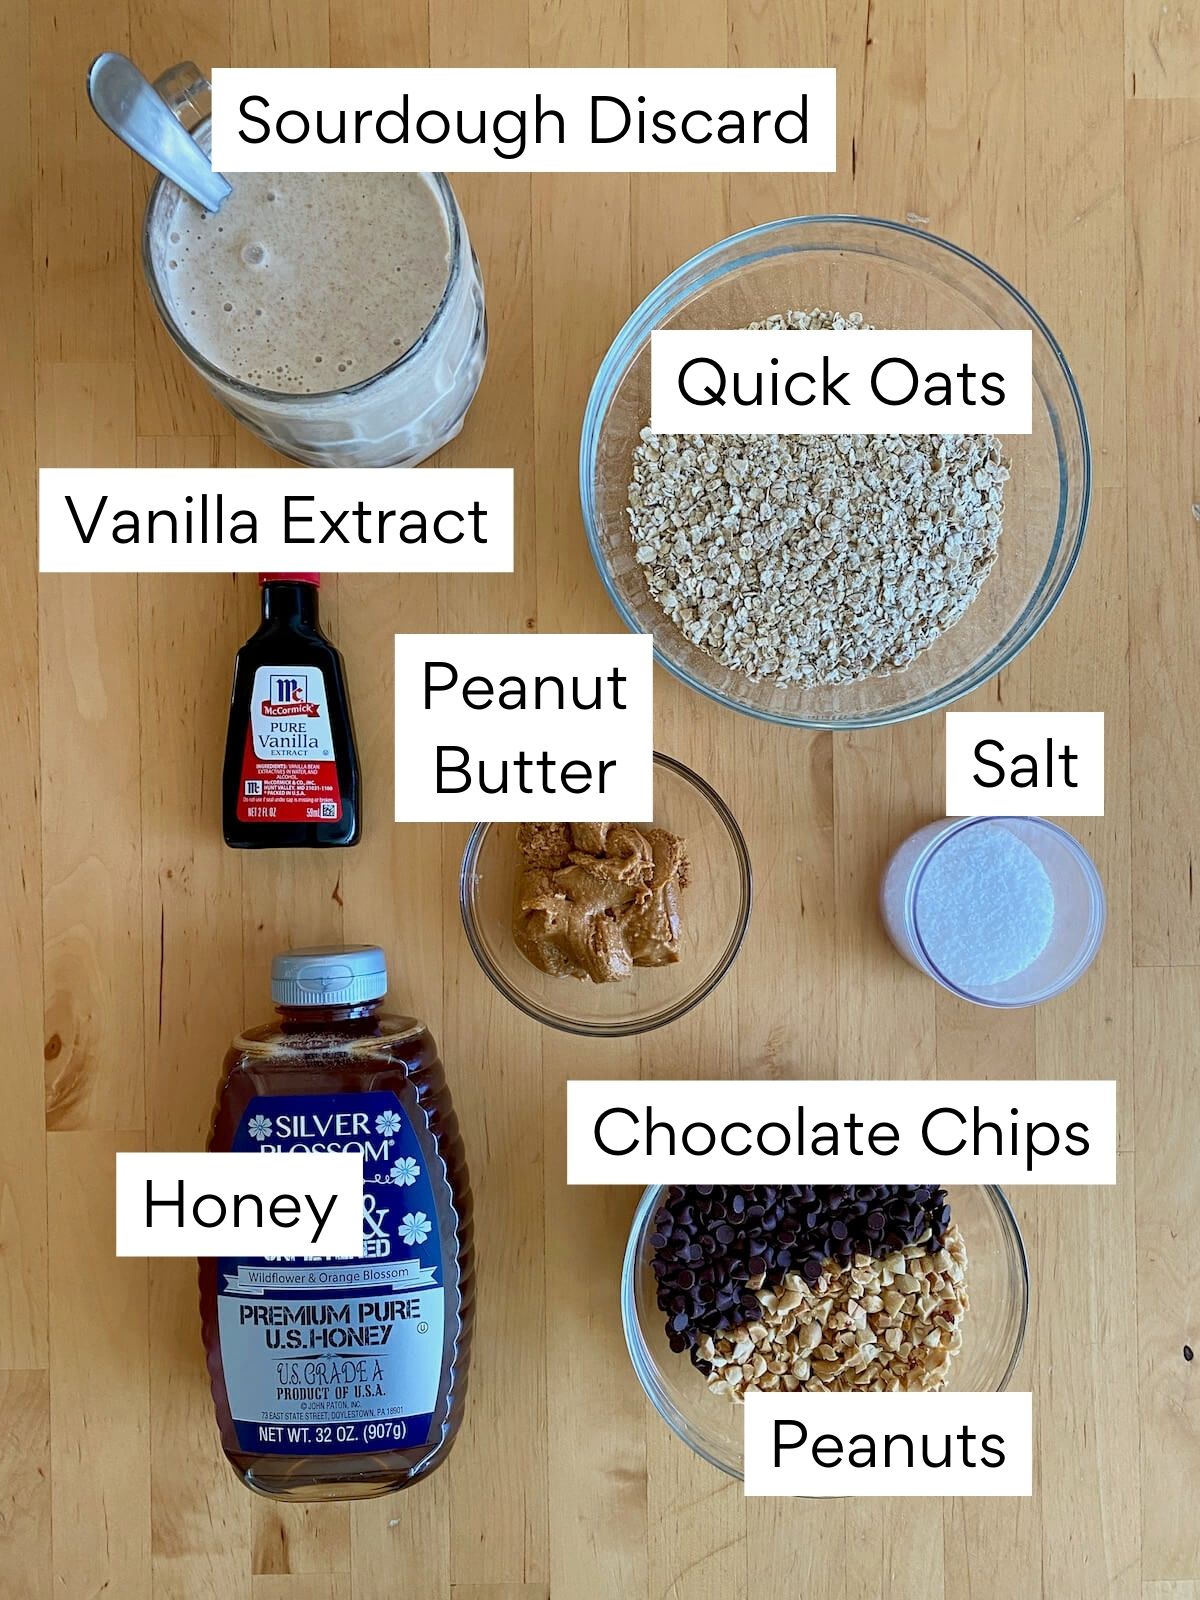
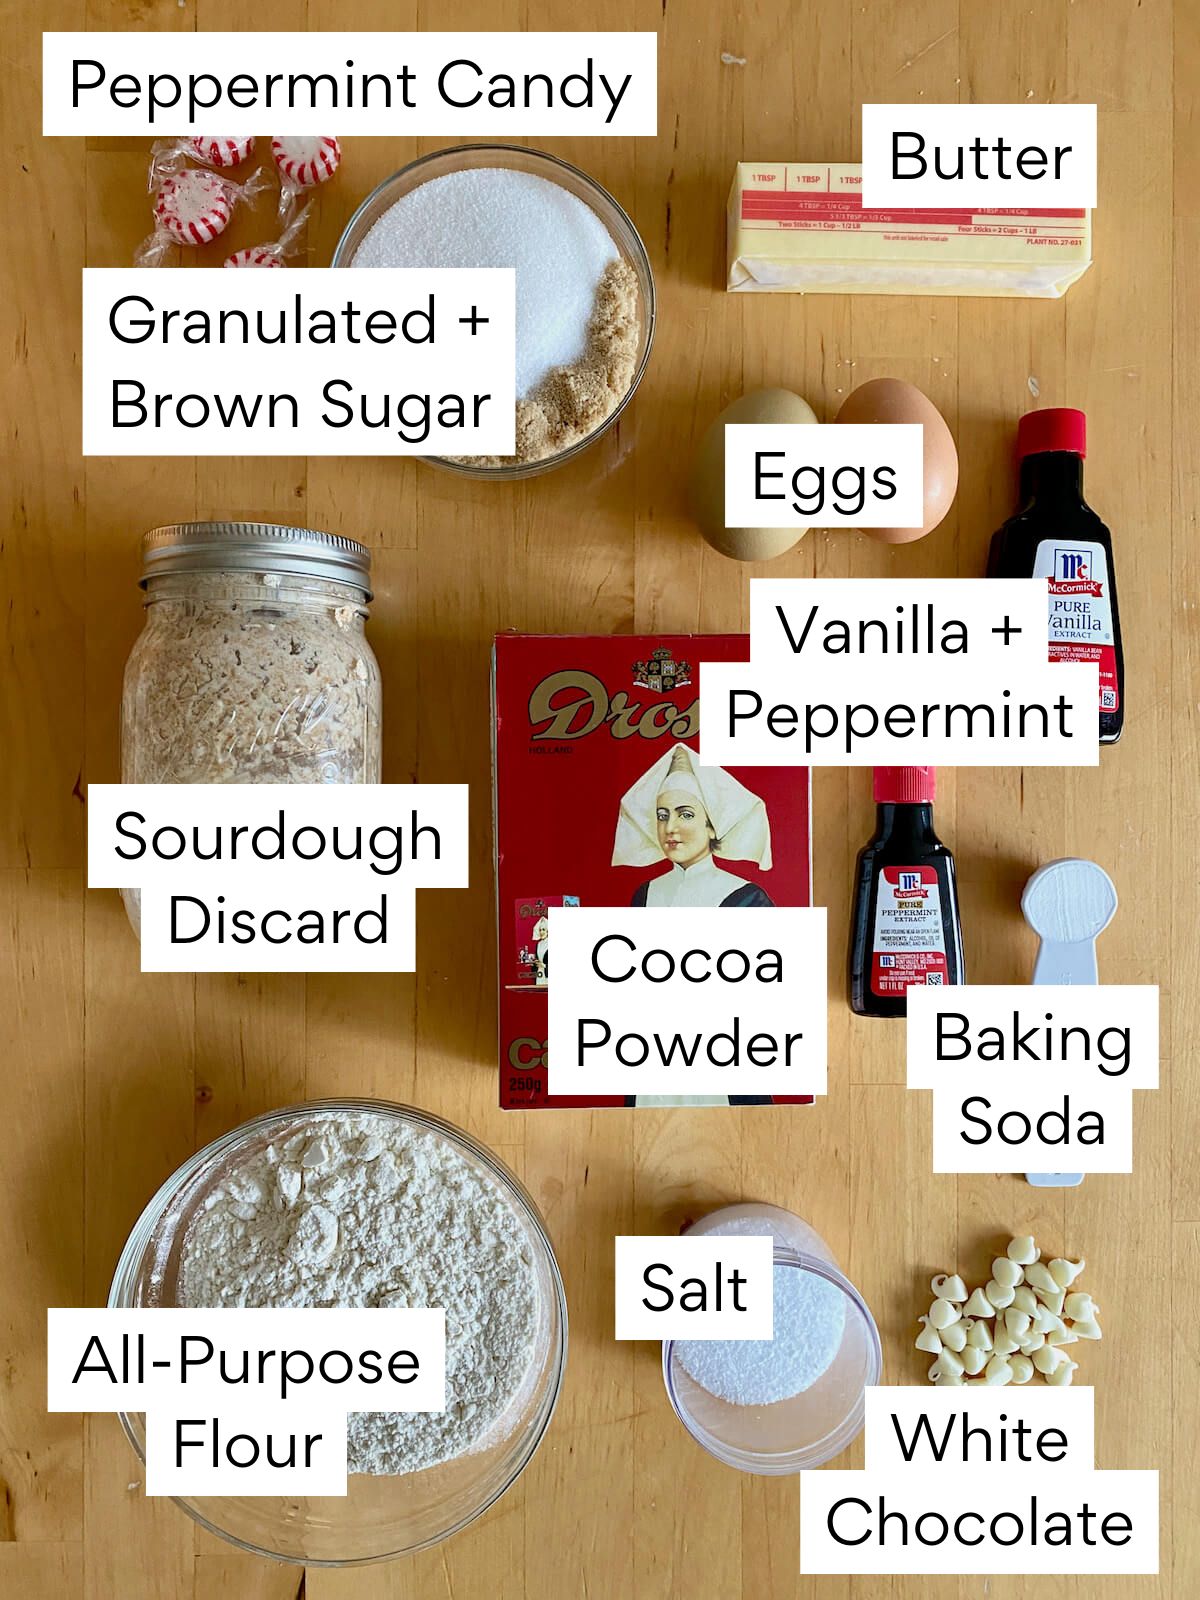
Ingredients & Substitutions
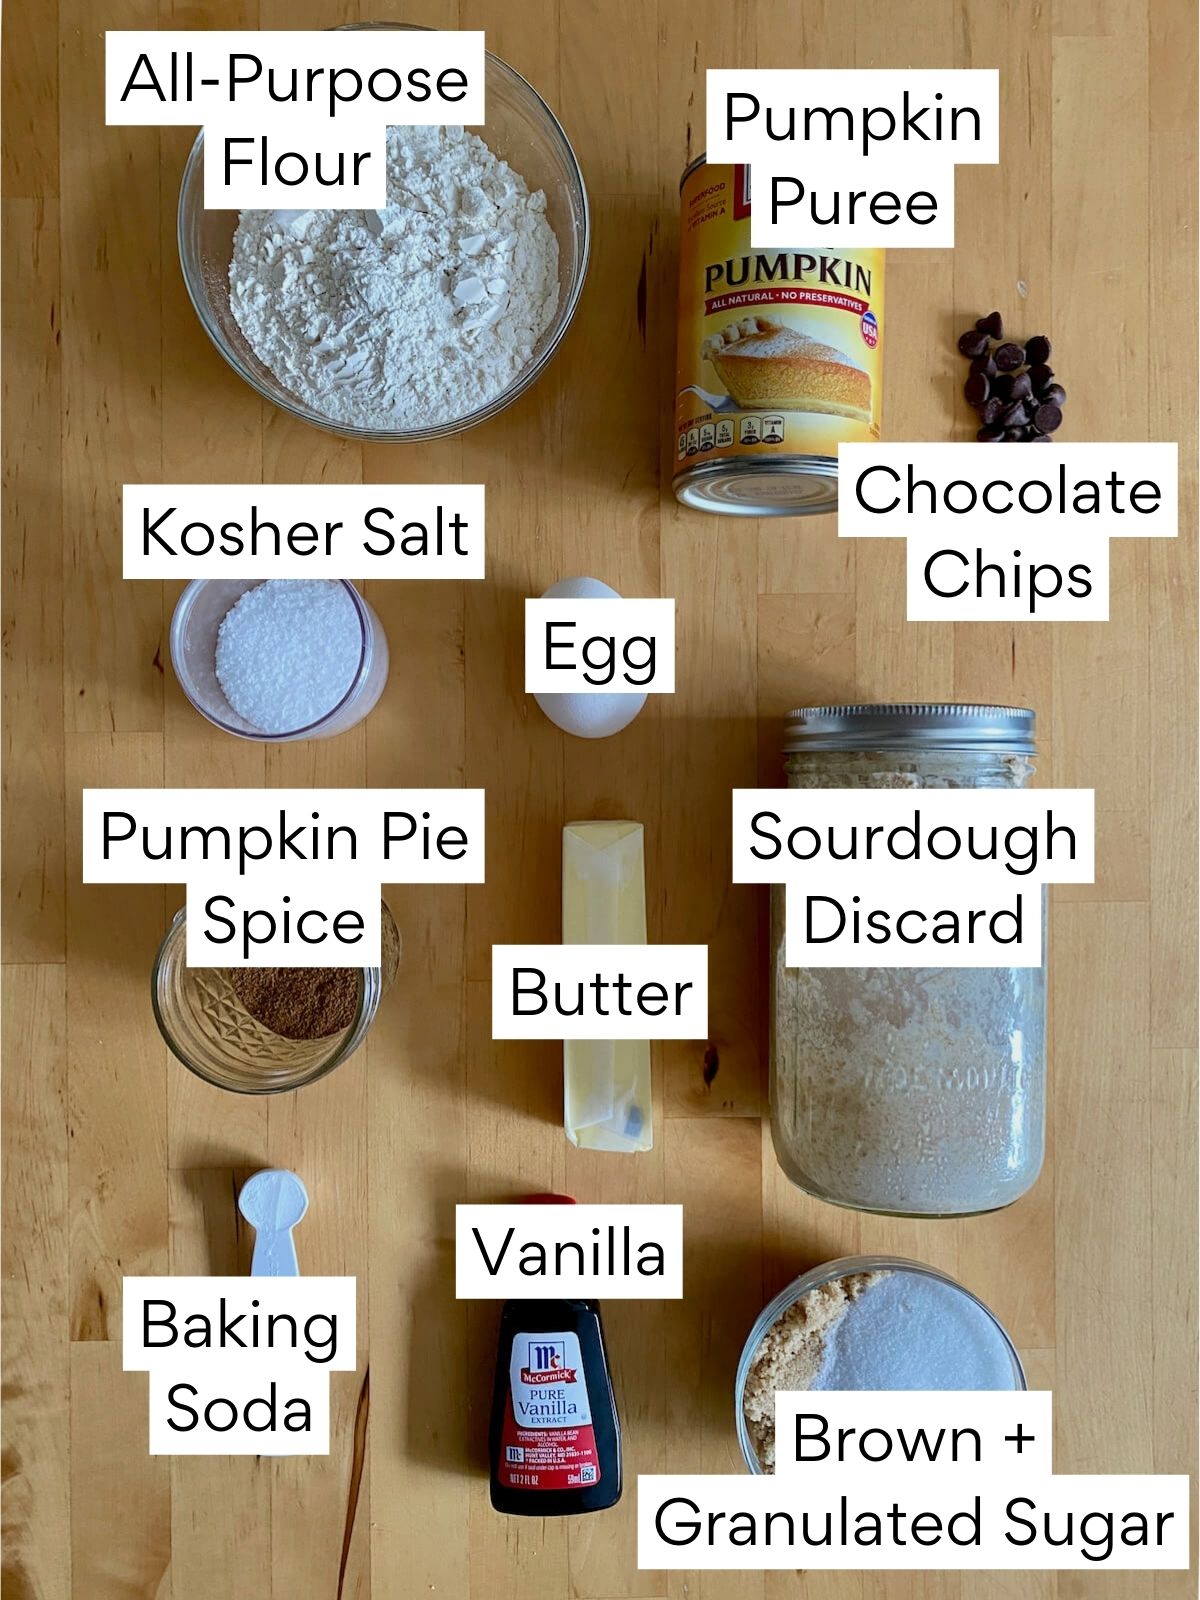
Here are some notes on key ingredients. For a full list of ingredients, check out the recipe card below.
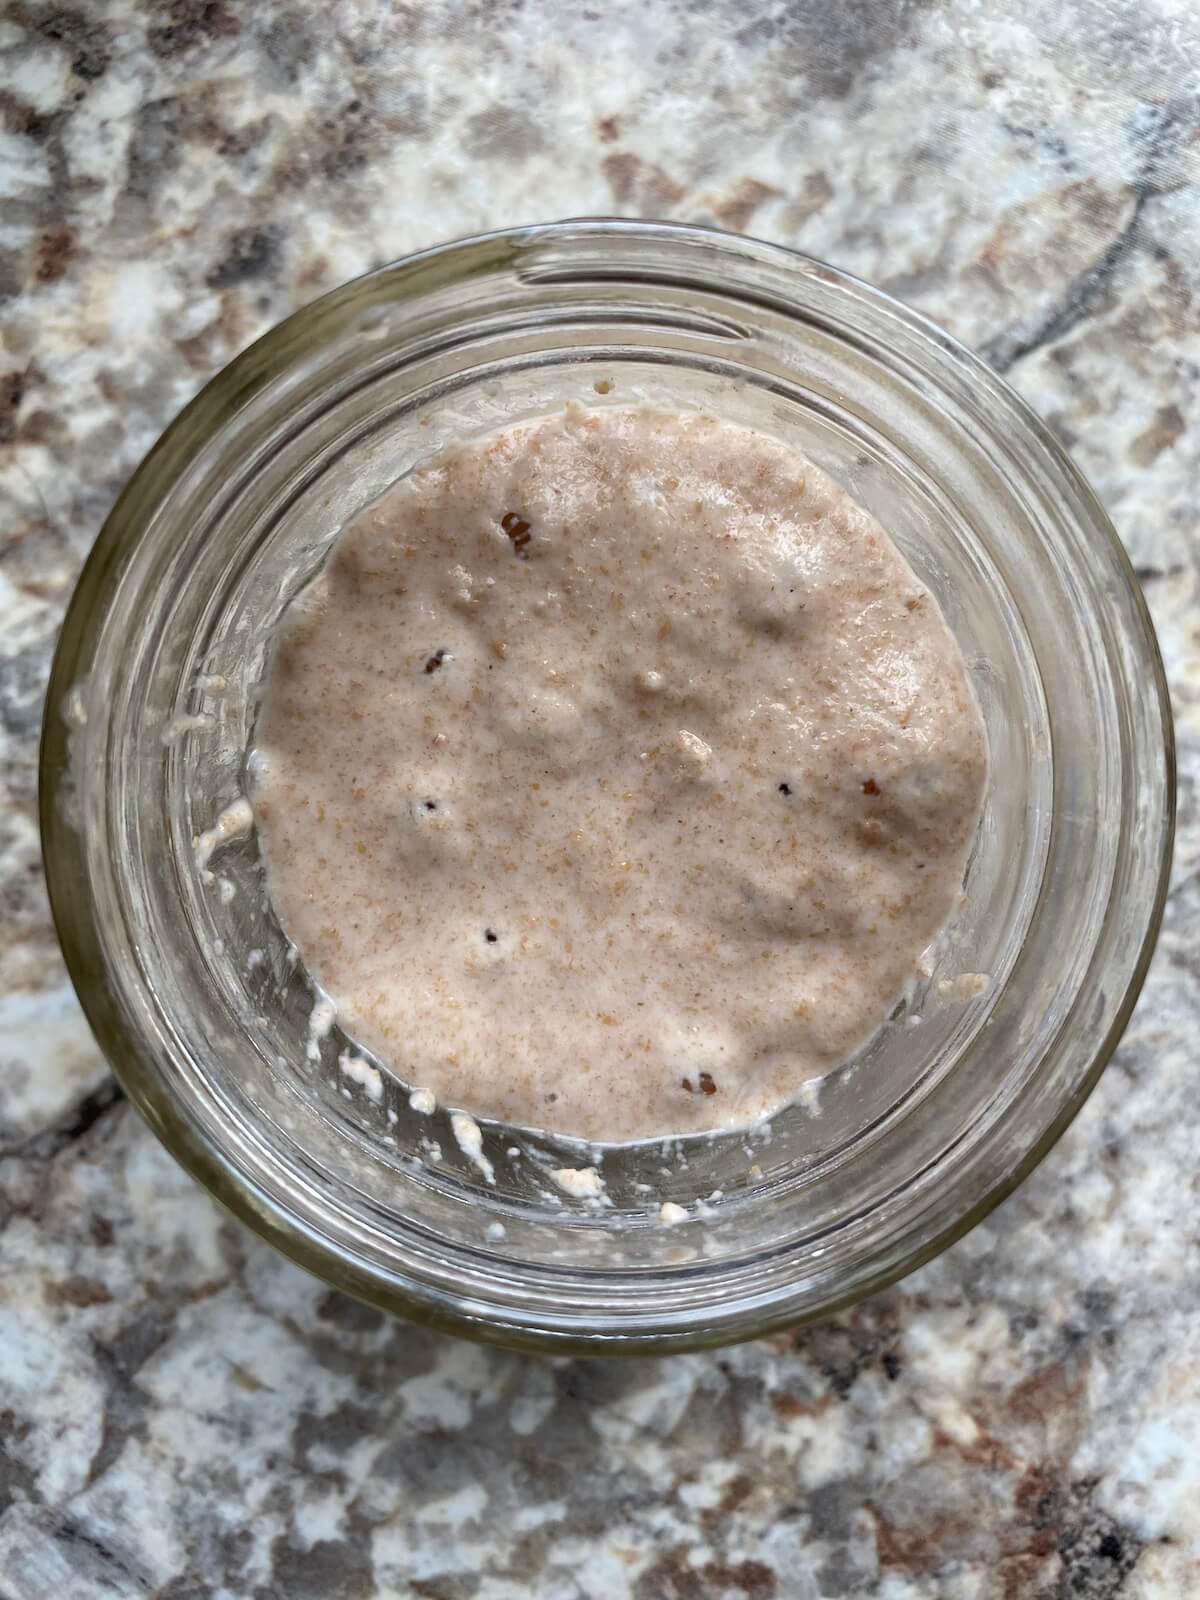
- Sourdough Discard- Adding sourdough discard helps use up extra starter and prevent waste. The chocolate and peppermint flavors in the cookies mostly mask the sourdough taste.
- Dutch-Processed Cocoa Powder- Dutch-processed cocoa is less acidic than natural cocoa, giving the cookies a smoother, more balanced chocolate flavor.
- White Chocolate Chips- I used white chocolate chips for this recipe, but feel free to swap in white chocolate chunks or chopped baking chocolate for a different texture.
- Peppermint Candy- You can use either crushed peppermint starlight candies or candy canes - both add the perfect holiday crunch and minty flavor.
- Butter- Make sure your butter is softened so it mixes easily into the dough.
- All-Purpose Flour- All-purpose flour provides structure and a soft, chewy texture. For best results, measure it by weight or use the spoon-and-level method.
- Granulated & Brown Sugar- Combining both sugars gives the cookies a balanced sweetness and a chewy texture.
- Baking Soda- Baking soda helps the cookies spread and creates a soft, chewy center with slightly crisp edges.
- Kosher Salt- I use Diamond Crystal Kosher Salt. If substituting with Morton's or table salt, use a bit less or weigh it in grams to avoid over-salting.
Tips for Success
- Crushed peppermint candy. Sprinkle crushed peppermint candy on the cookies right after they come out of the oven. The heat helps the candy stick better.
- Measure ingredients by weight. Measuring by weight gives you consistent results every time and helps achieve the perfect texture.
- Use Dutch-processed cocoa. Dutch-processed cocoa is less acidic than natural cocoa powder, which gives the cookies a richer, more balanced chocolate flavor.
- Chill the dough. For the best texture and flavor, refrigerate the dough for at least 1 hour (or up to 48 hours). This helps the flavors develop and prevents the cookies from spreading too much during baking.
- Spacing the cookies. Be sure to space your cookie dough balls about 2 inches apart on the baking sheet so the cookies don't run into each other.
How to Make White Chocolate Peppermint Sourdough Cookies
Here is how to make peppermint white chocolate cookies with sourdough discard.
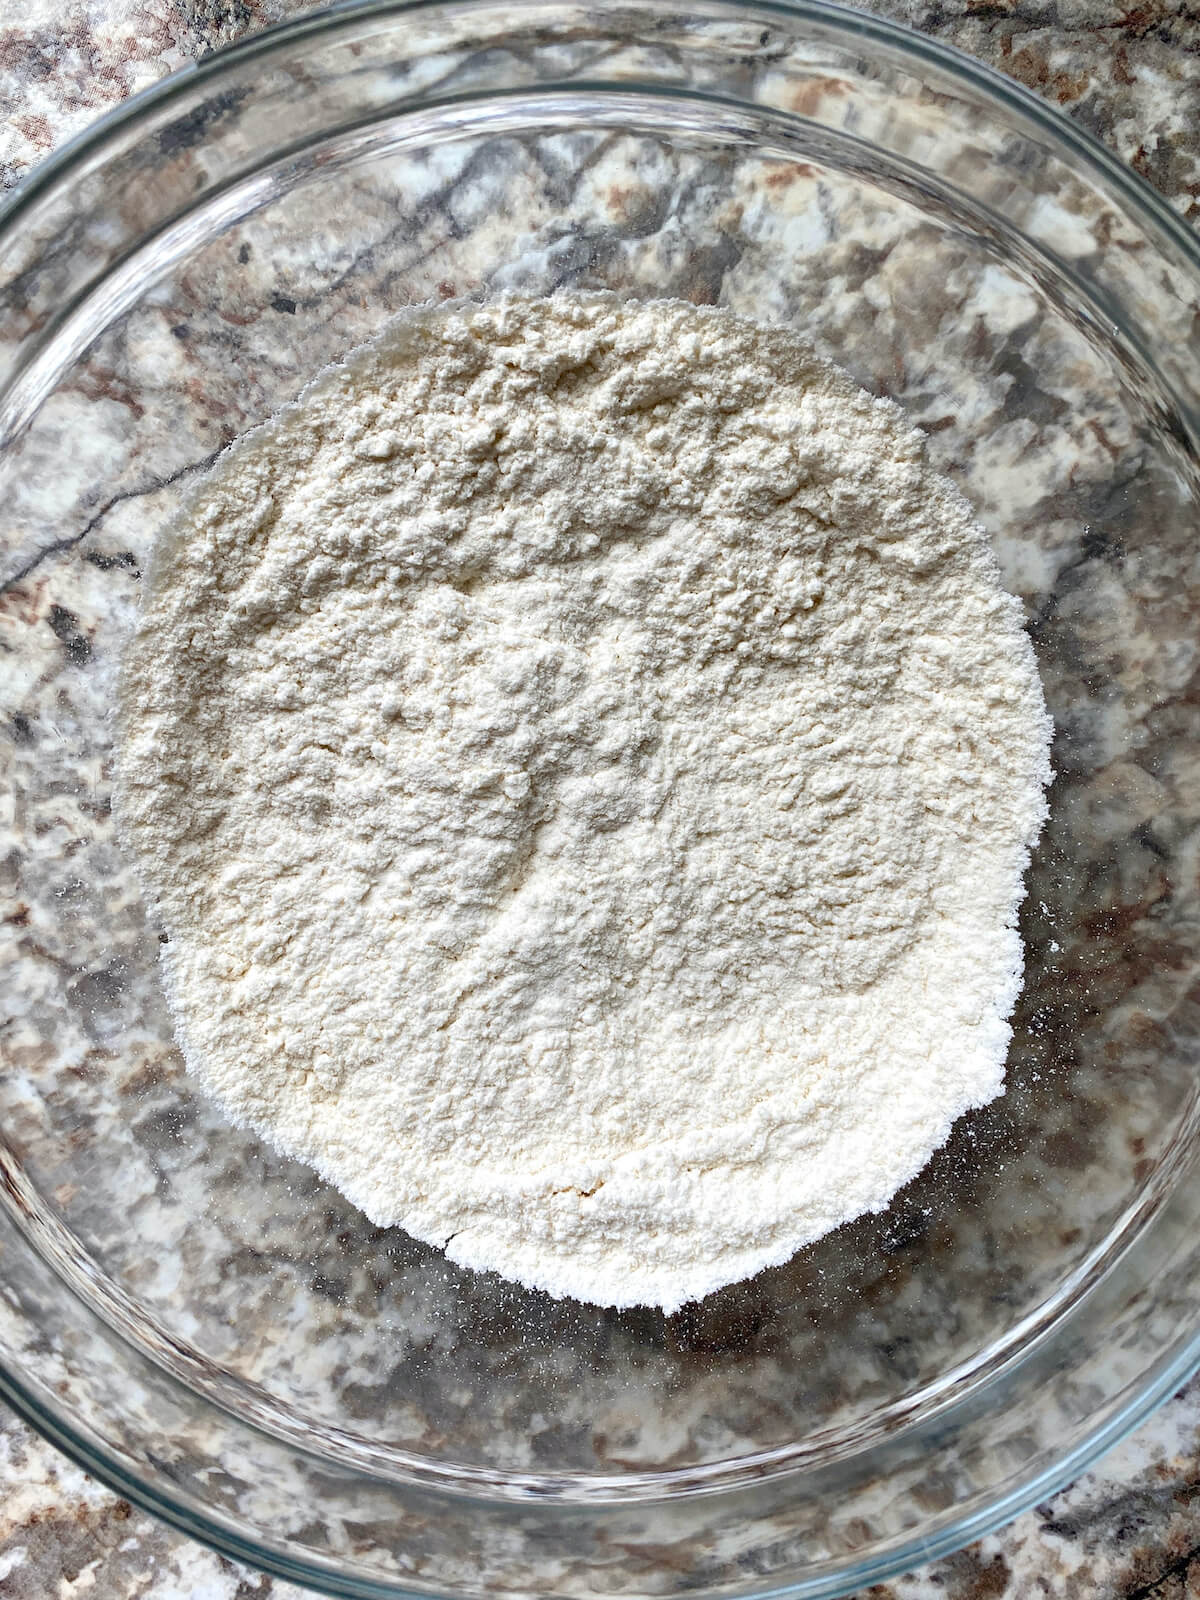
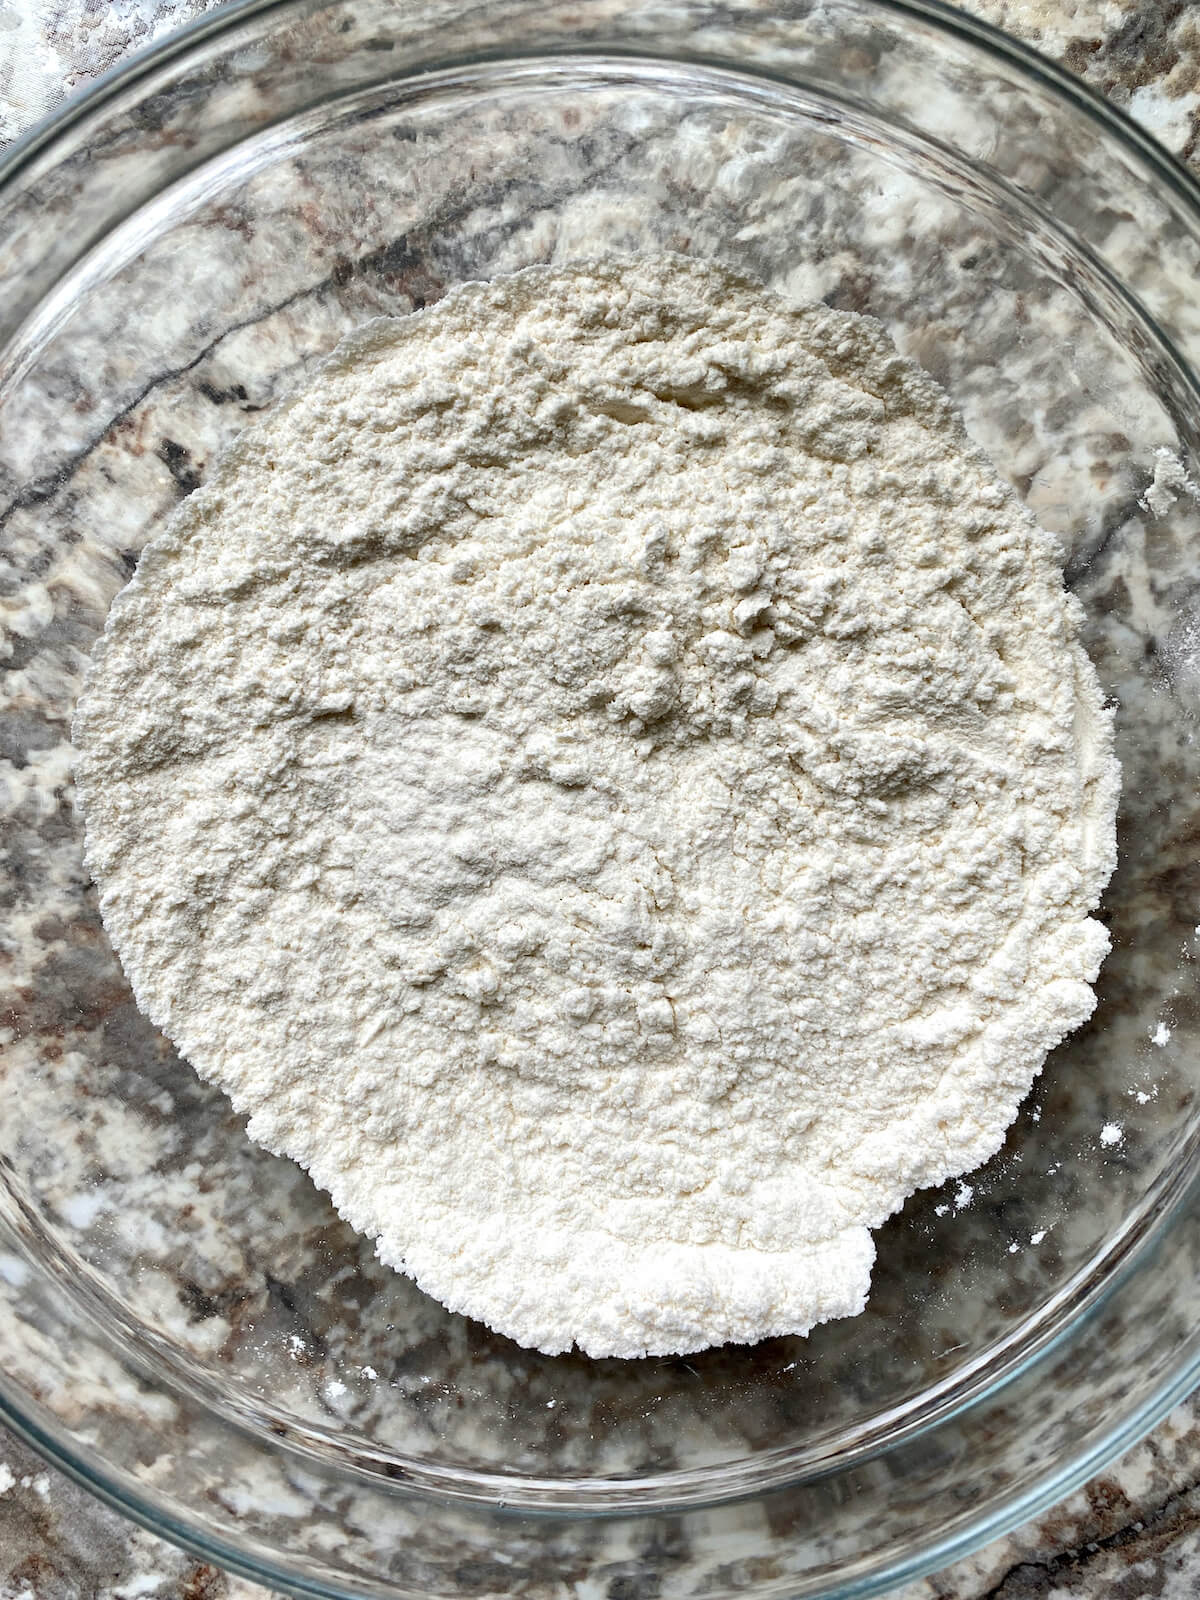
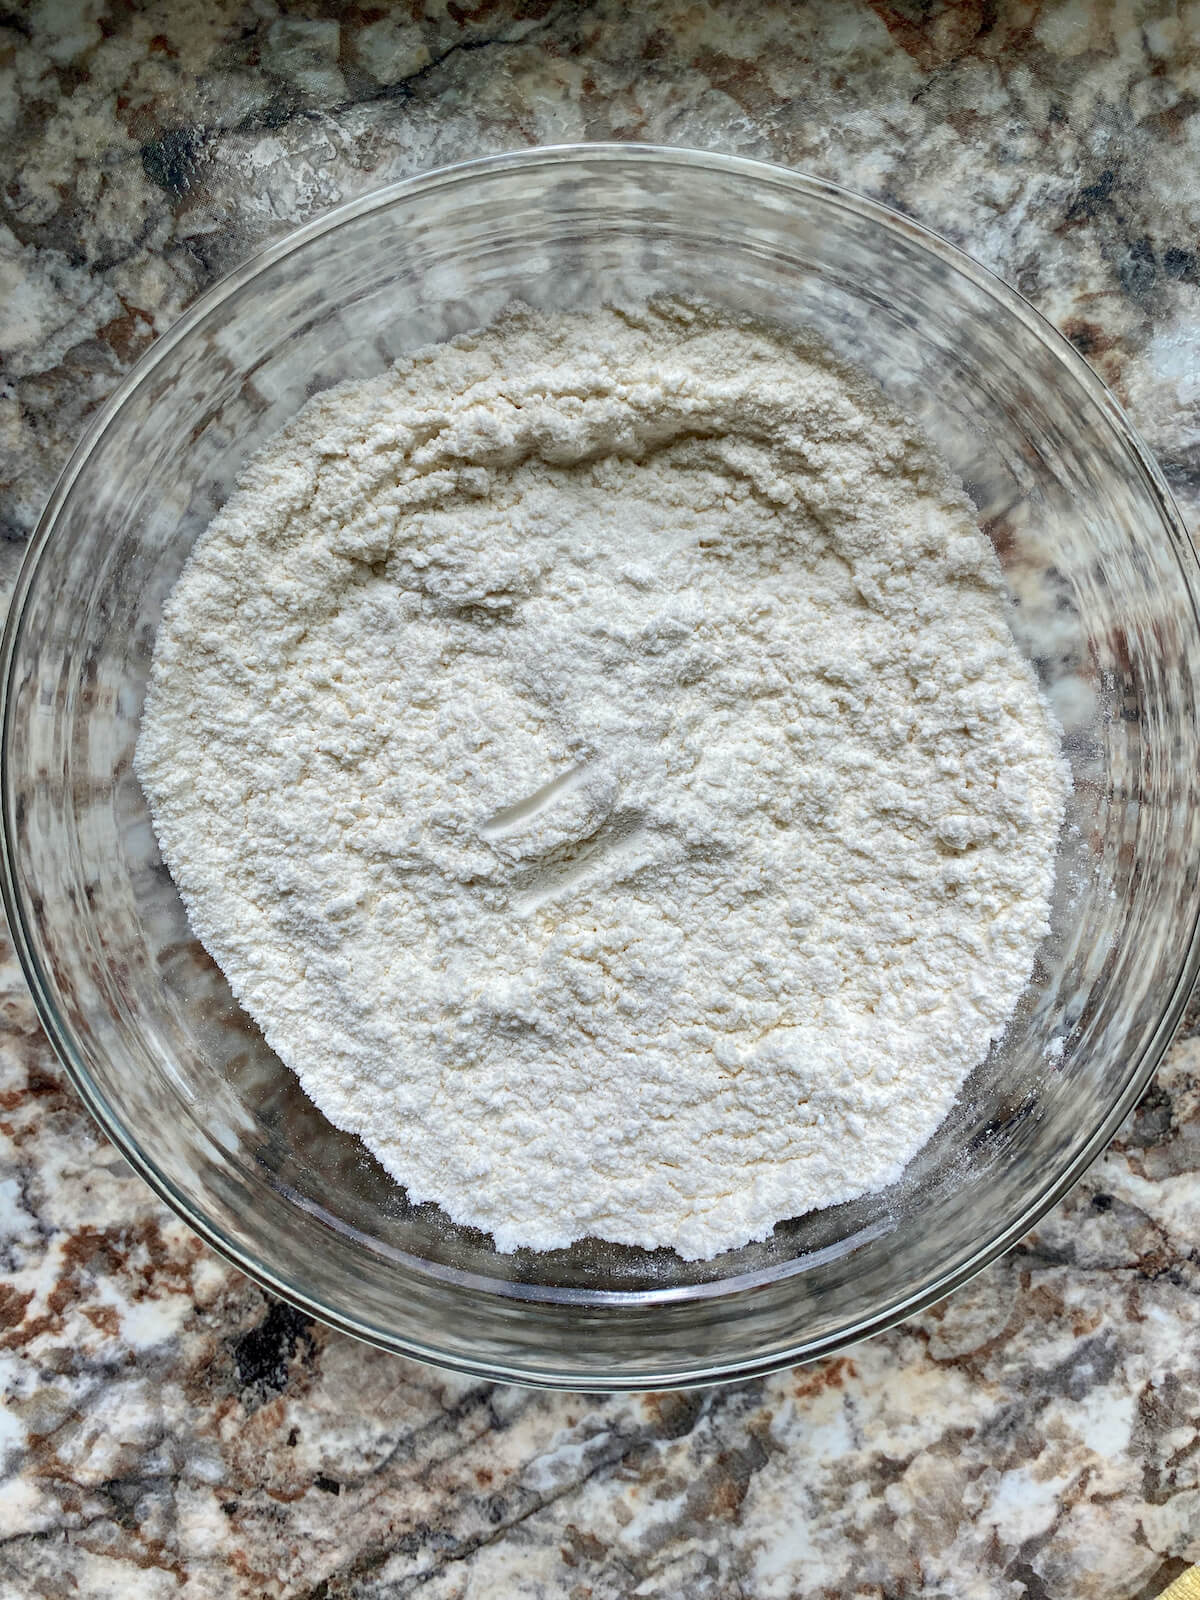
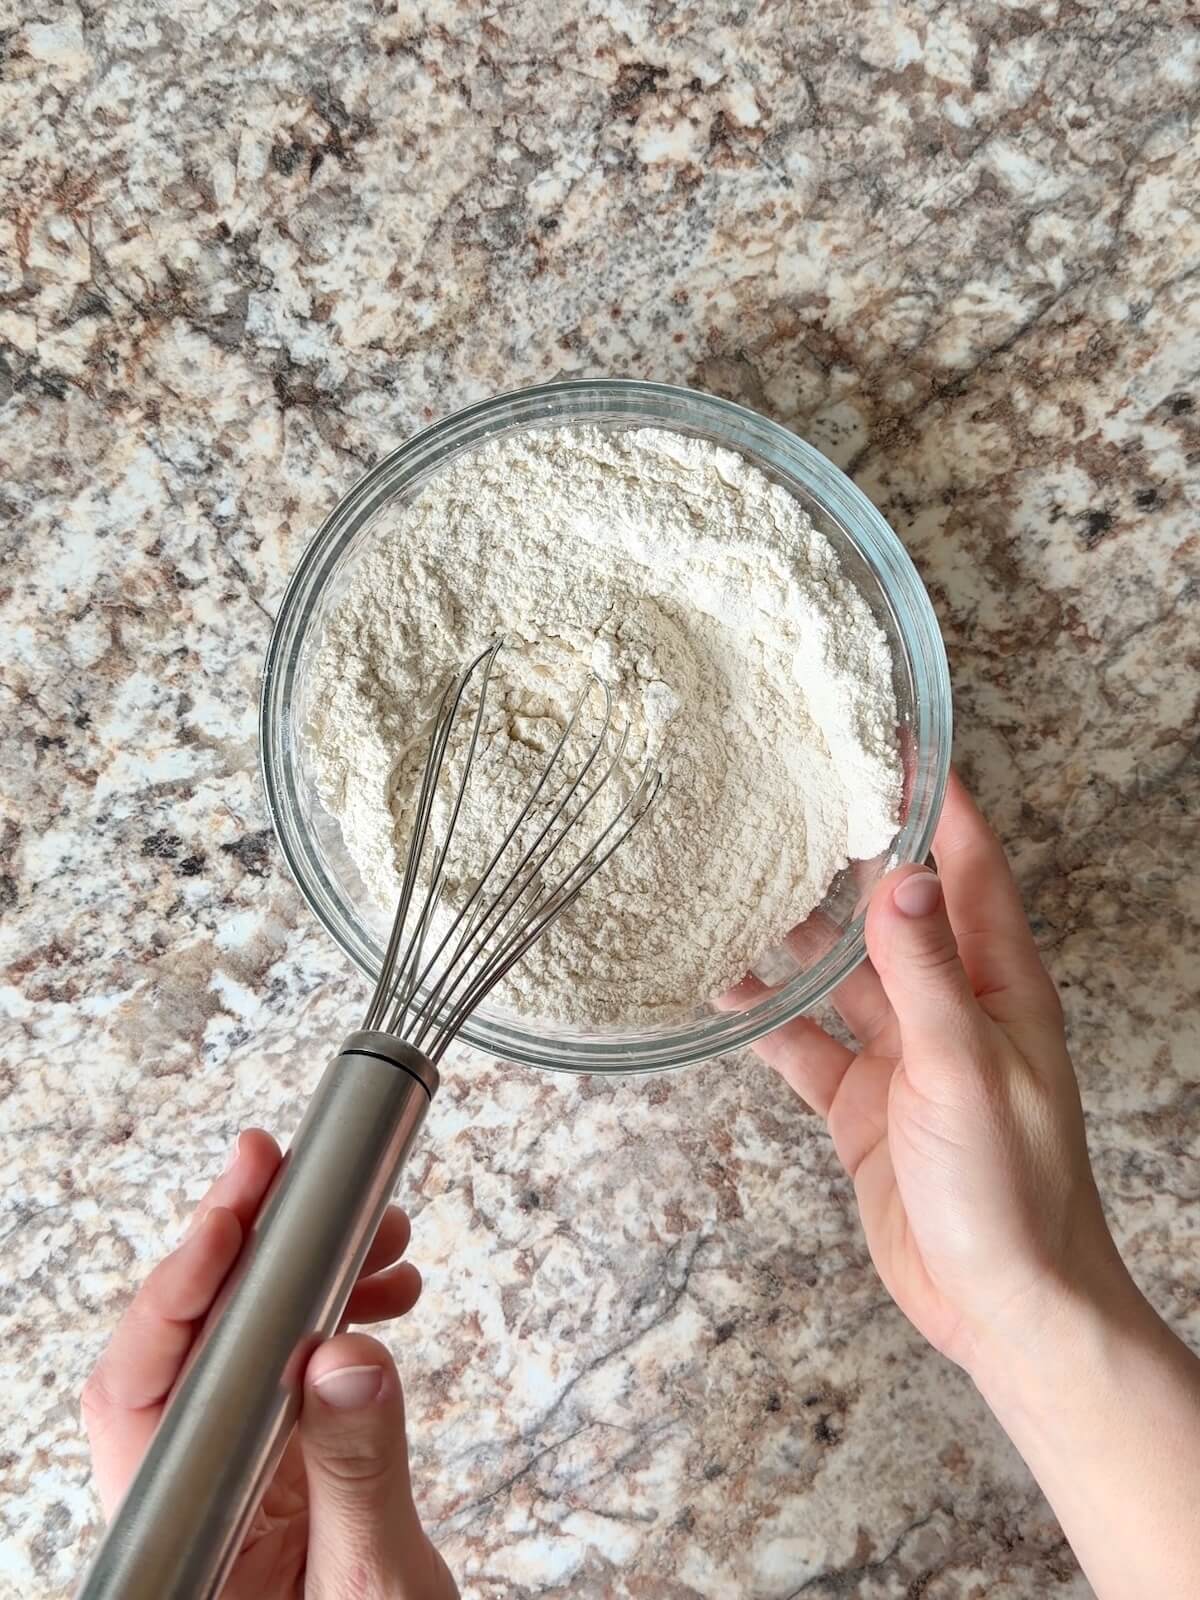
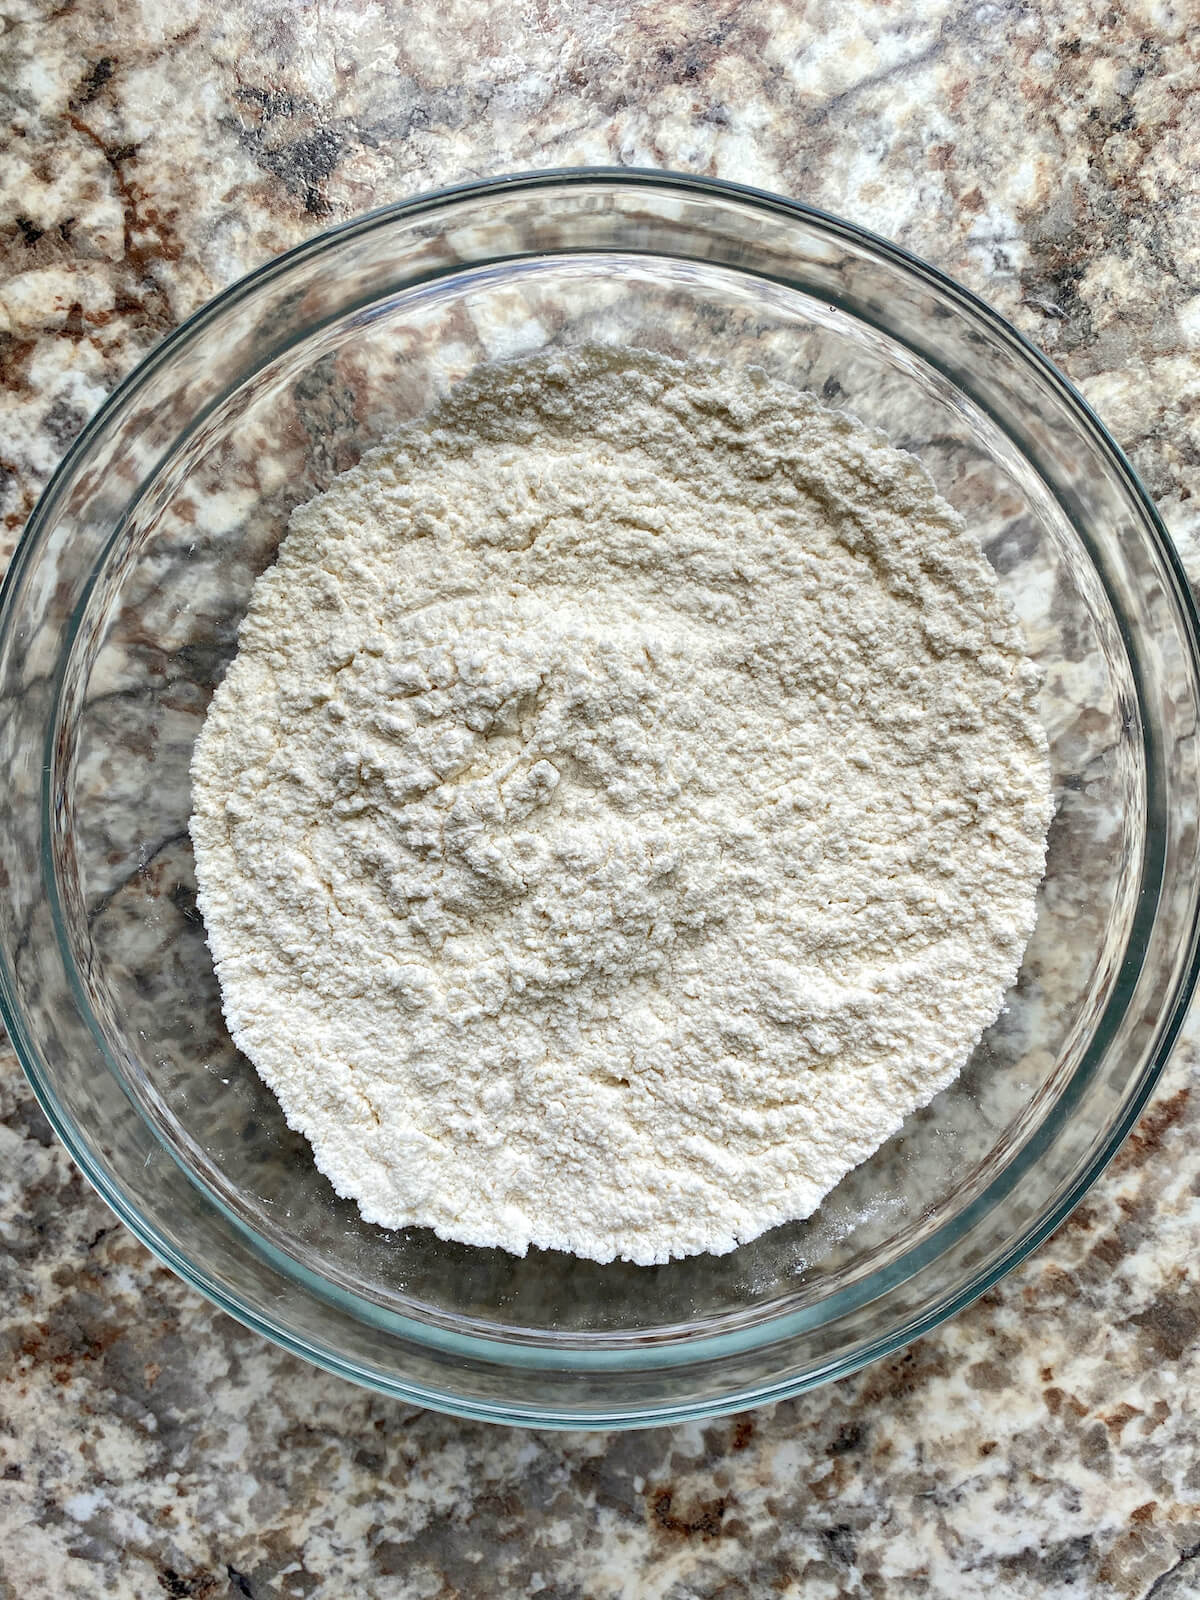
Step 1: Mix dry ingredients. In a small bowl, whisk together the flour, cocoa powder, baking soda, and kosher salt. Set aside.

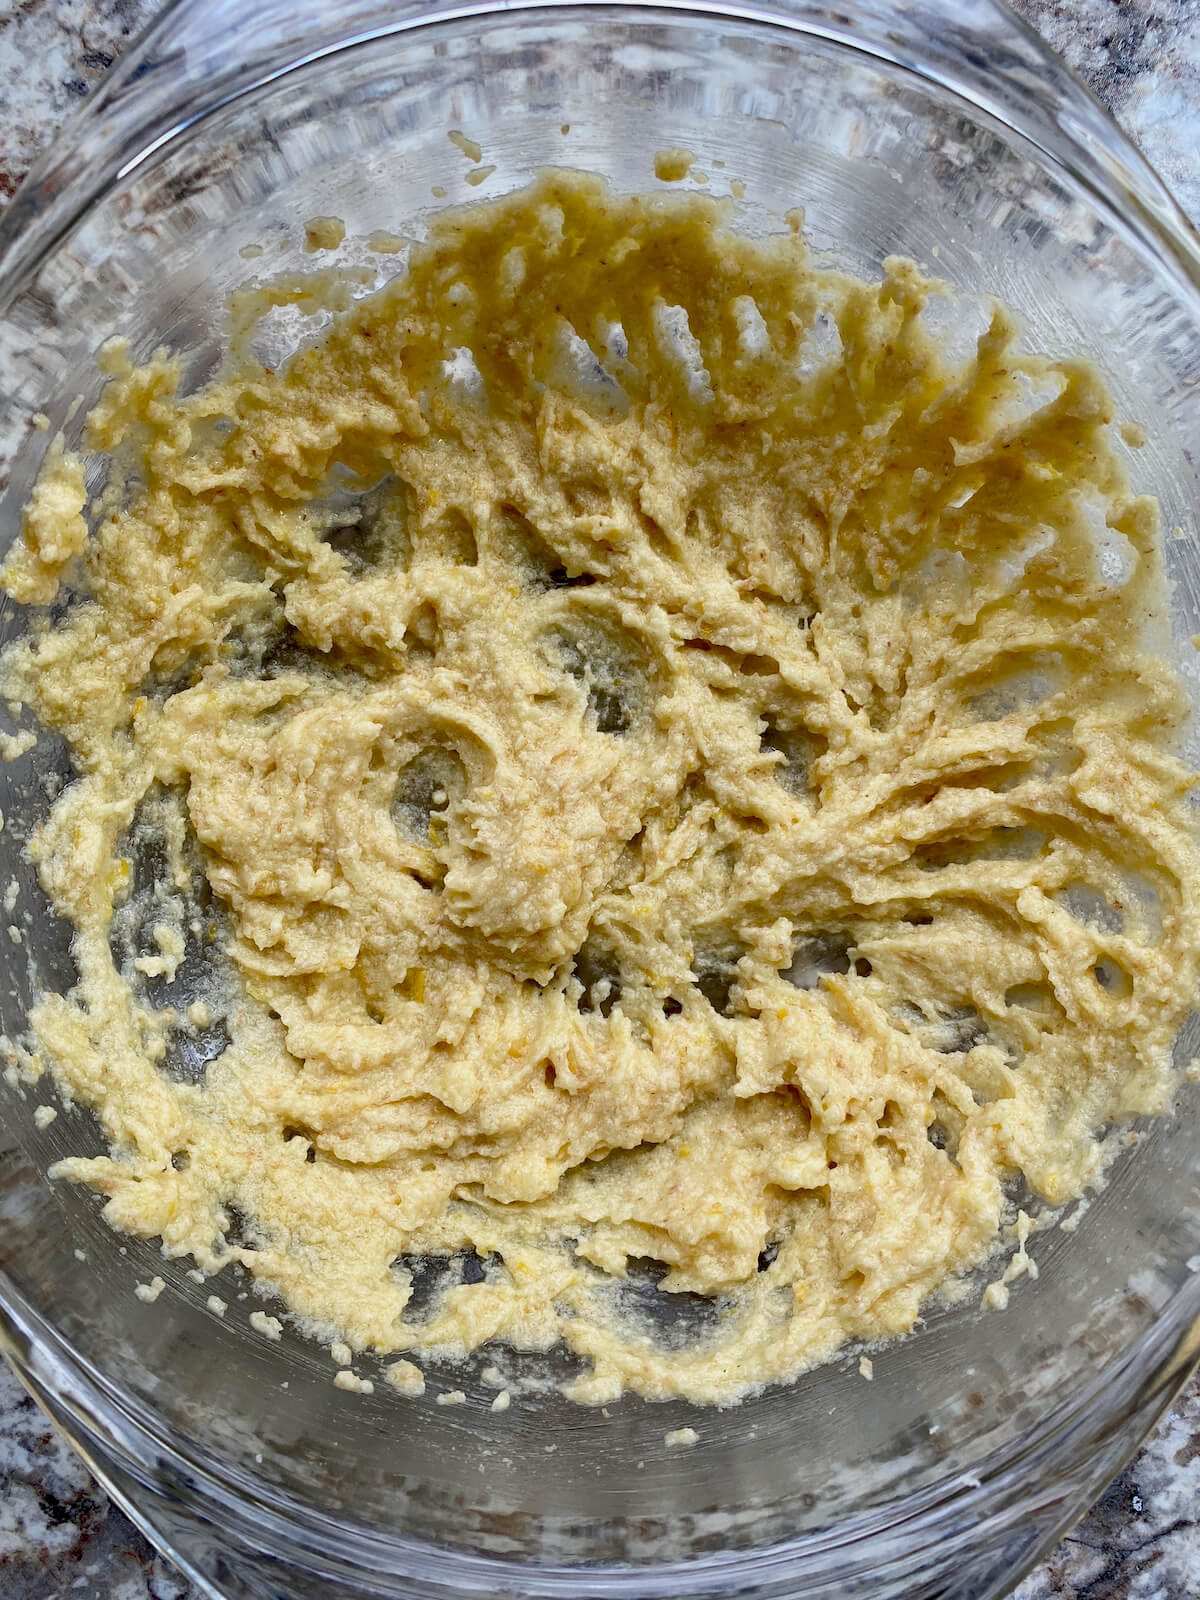
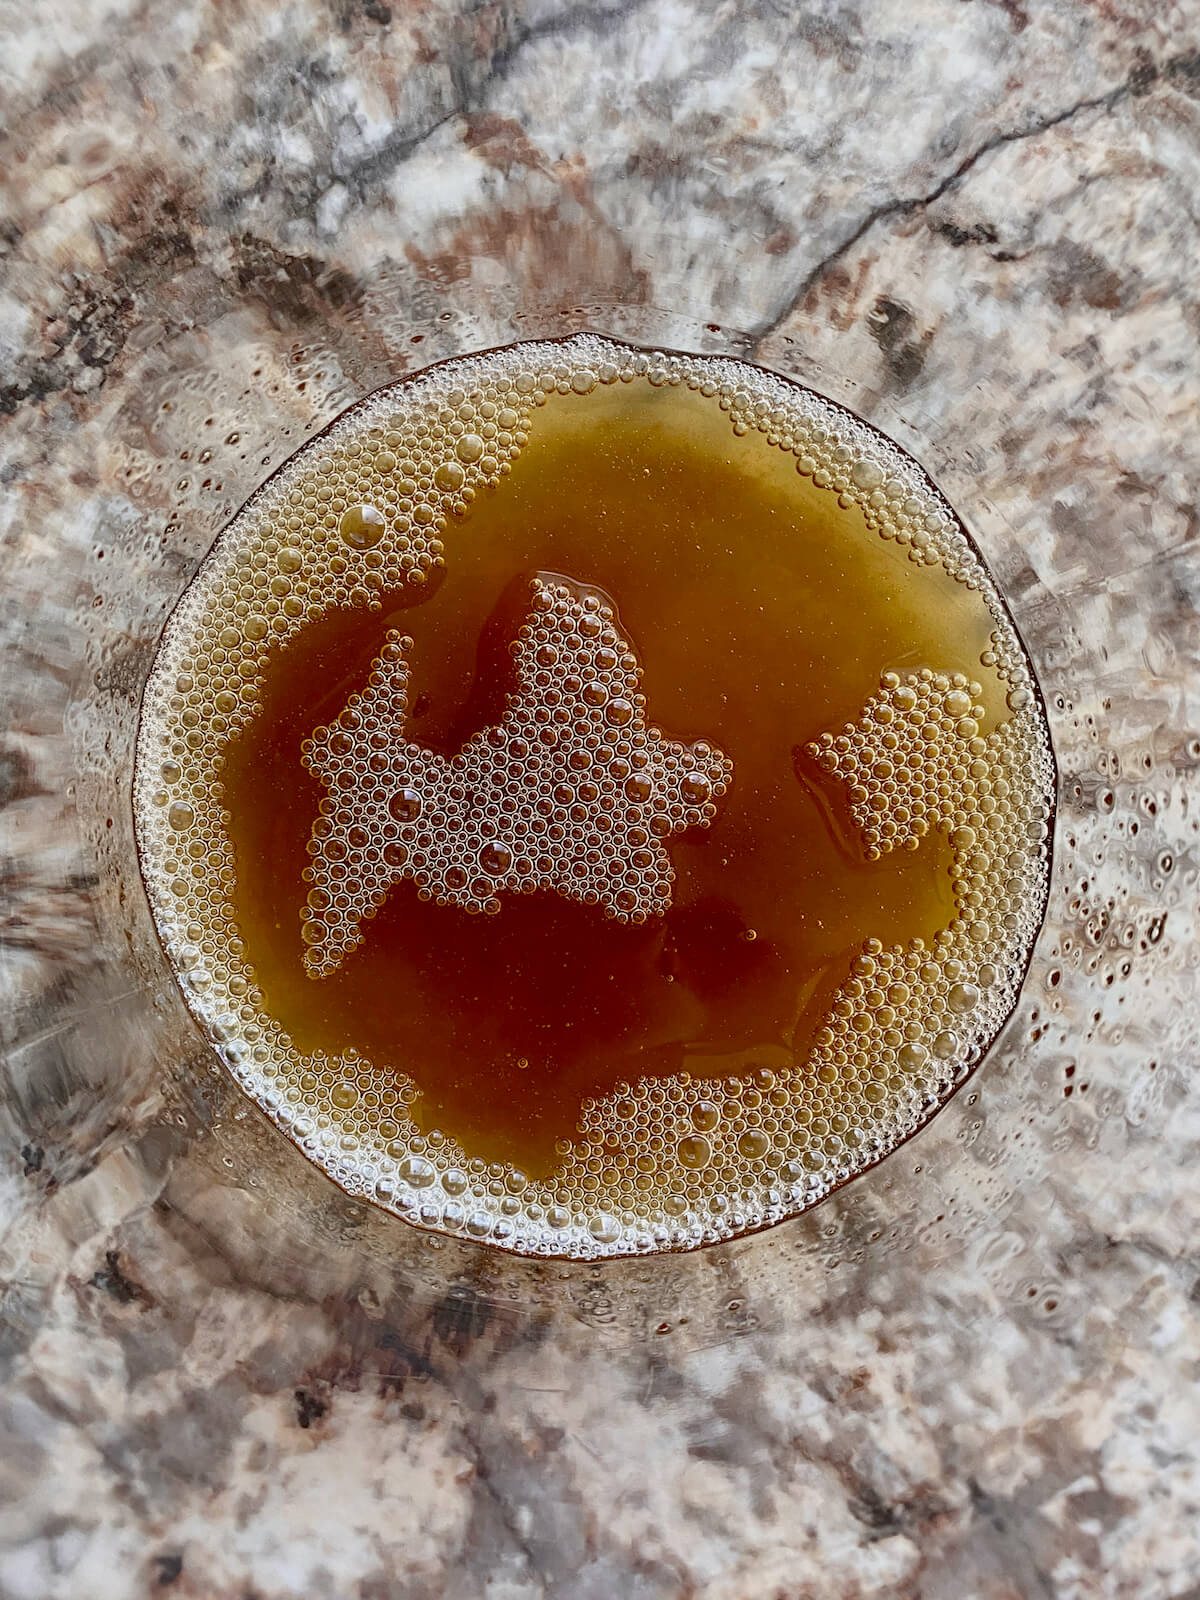
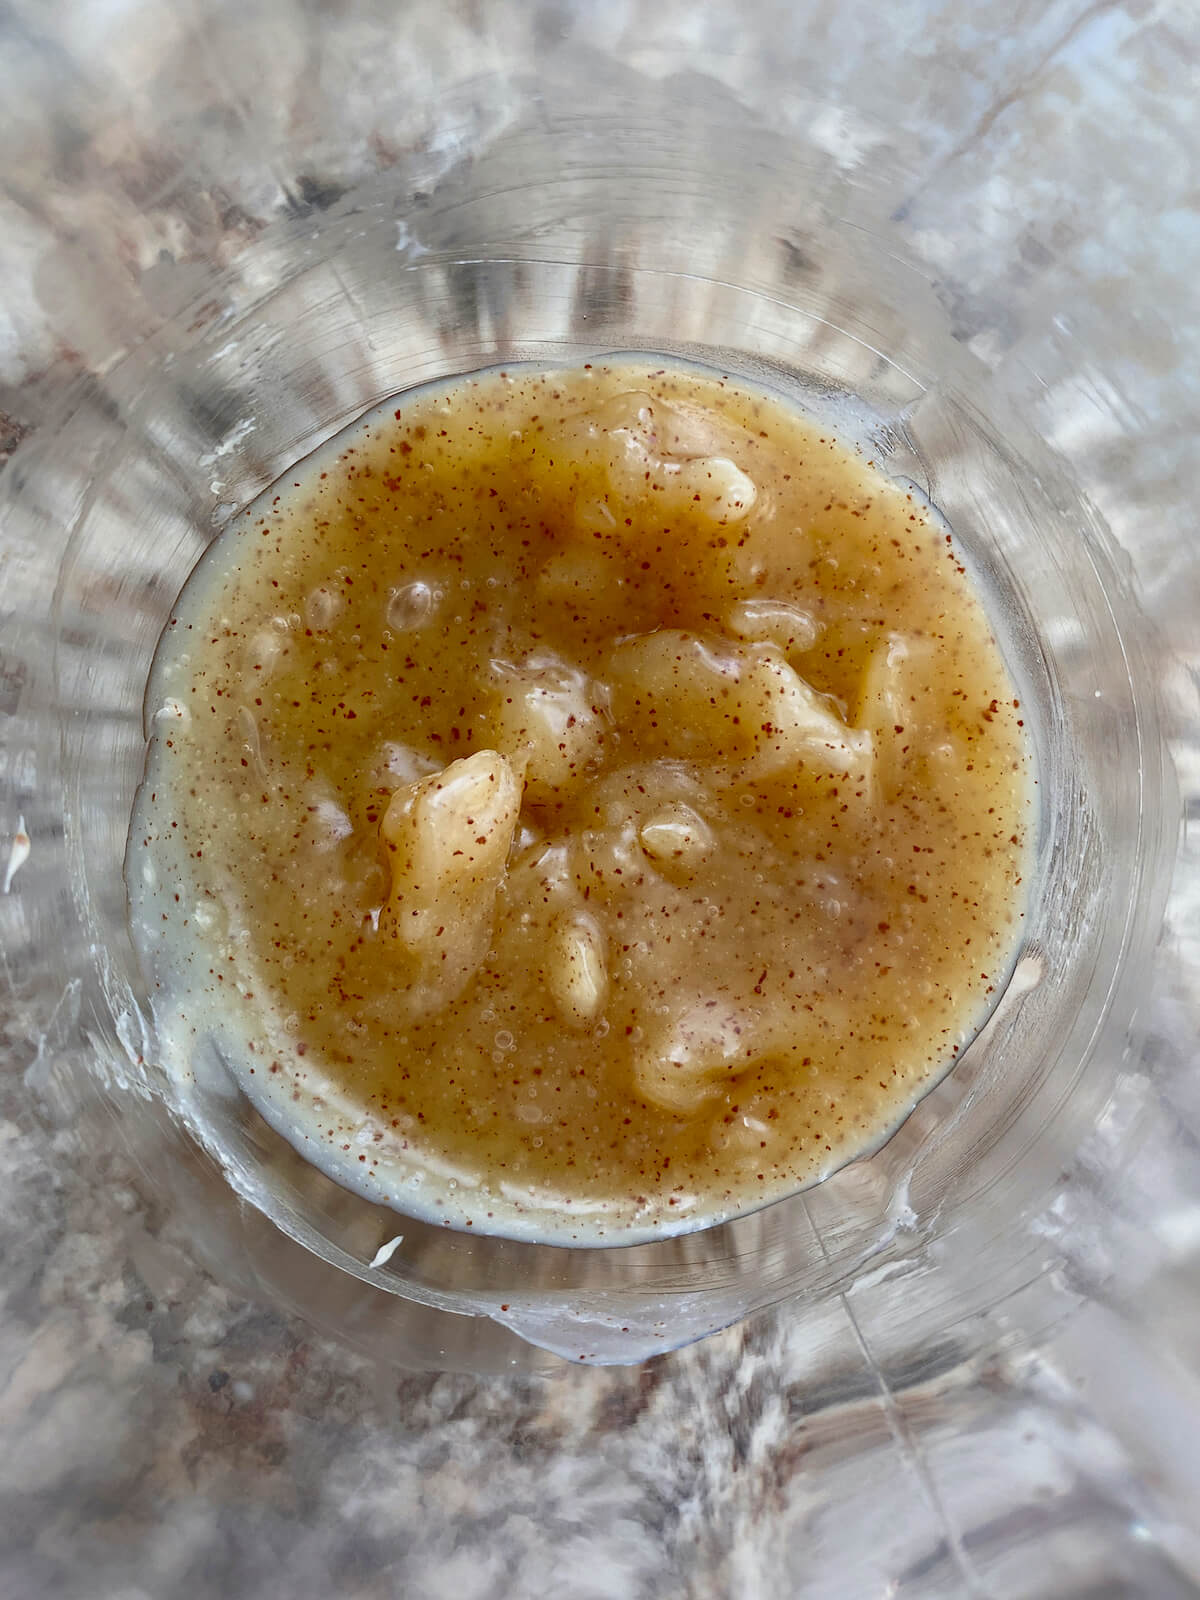
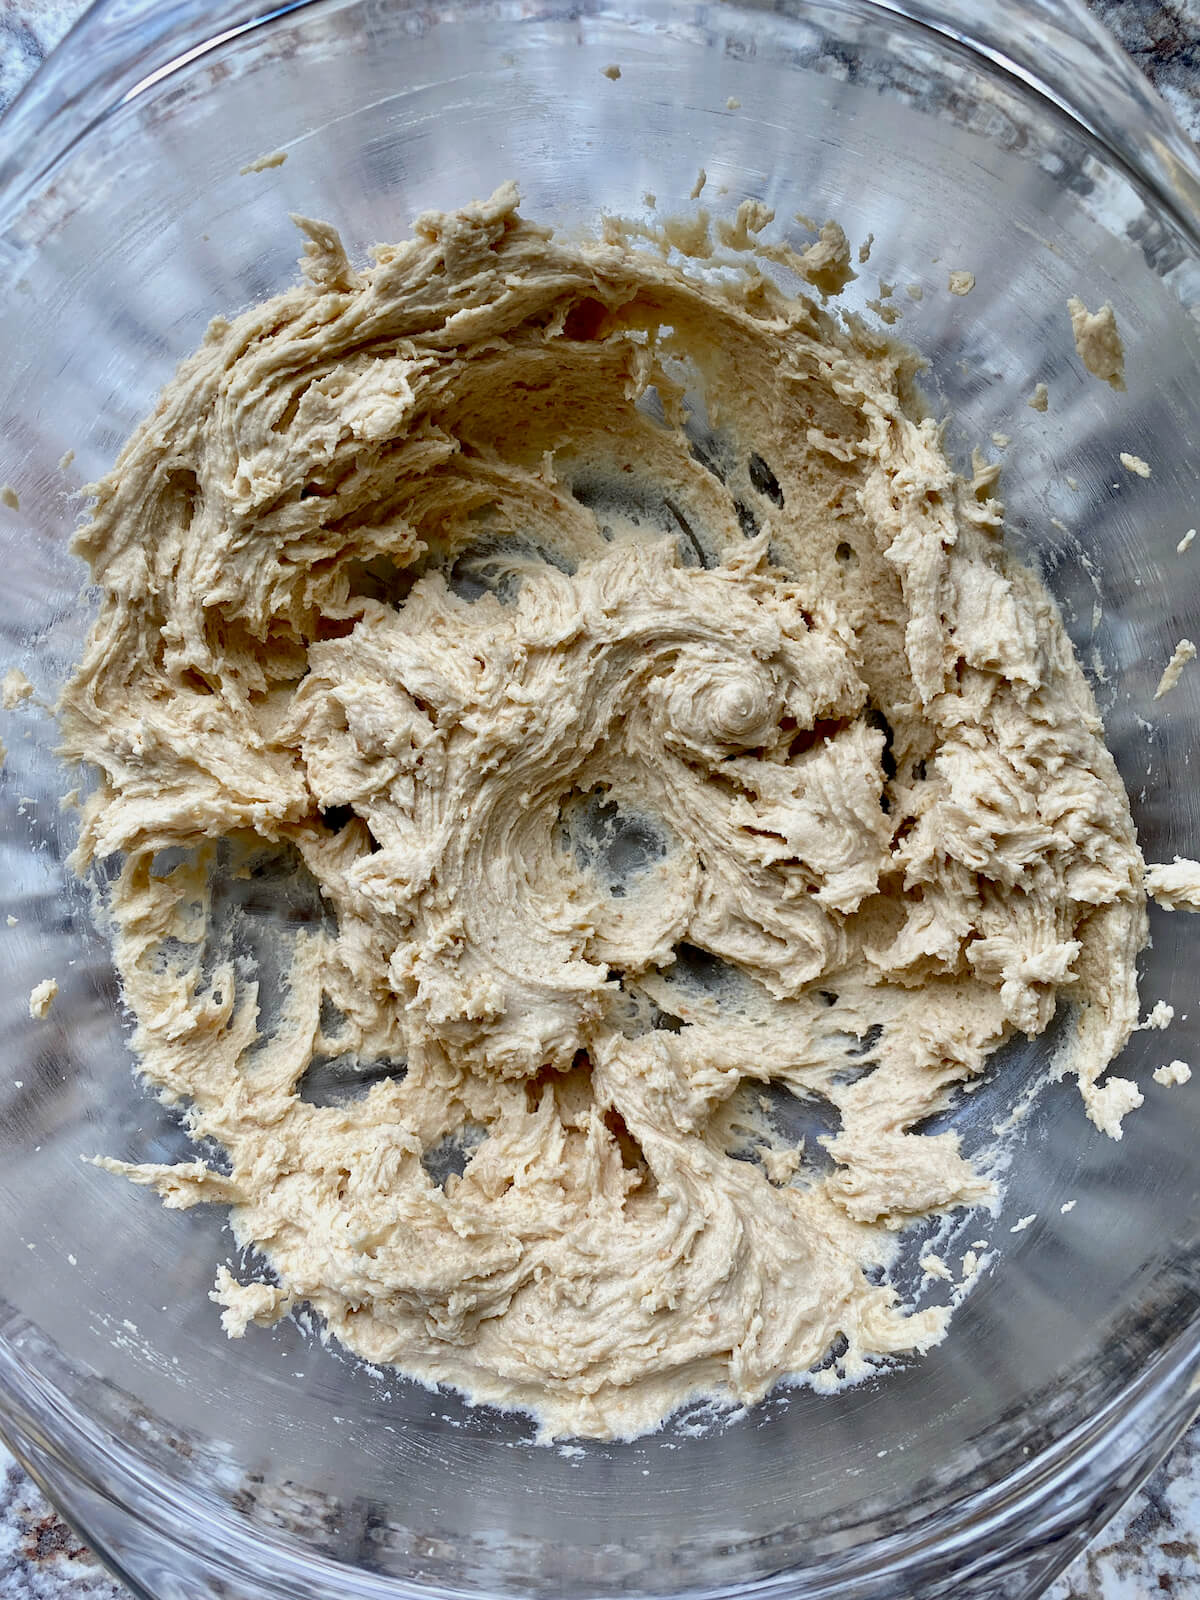
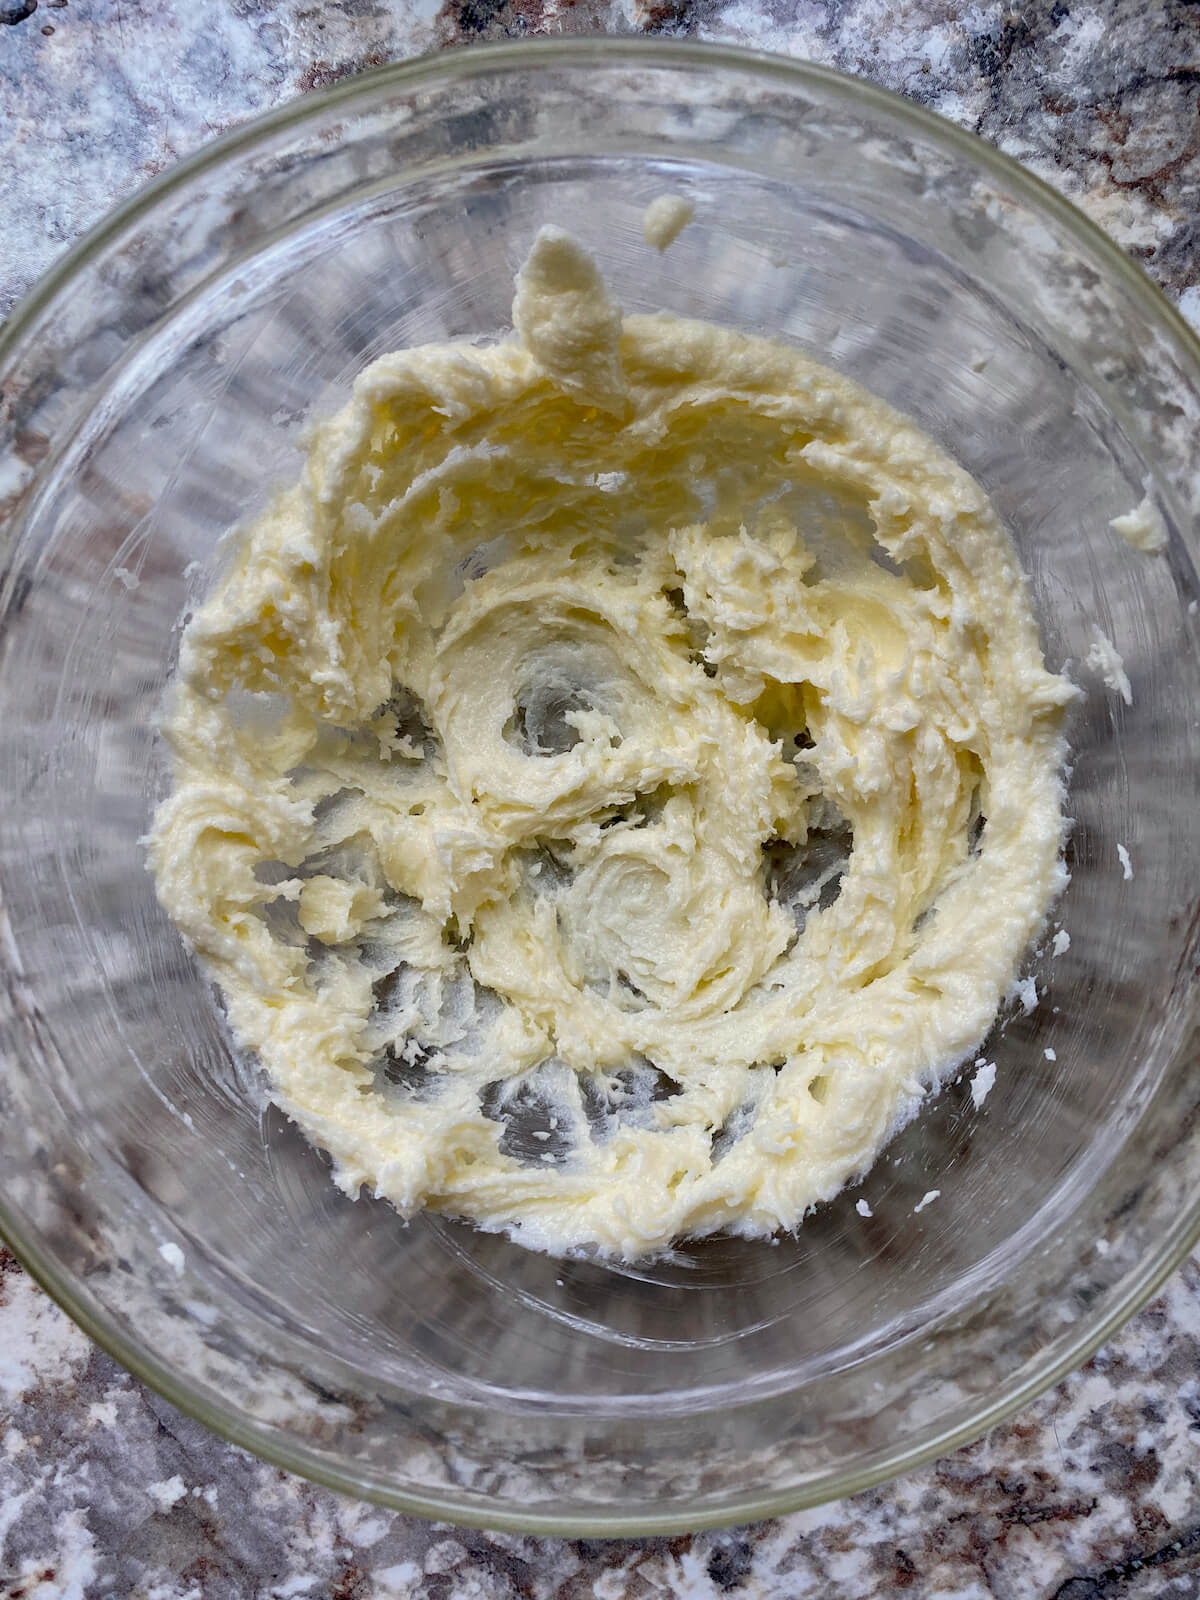
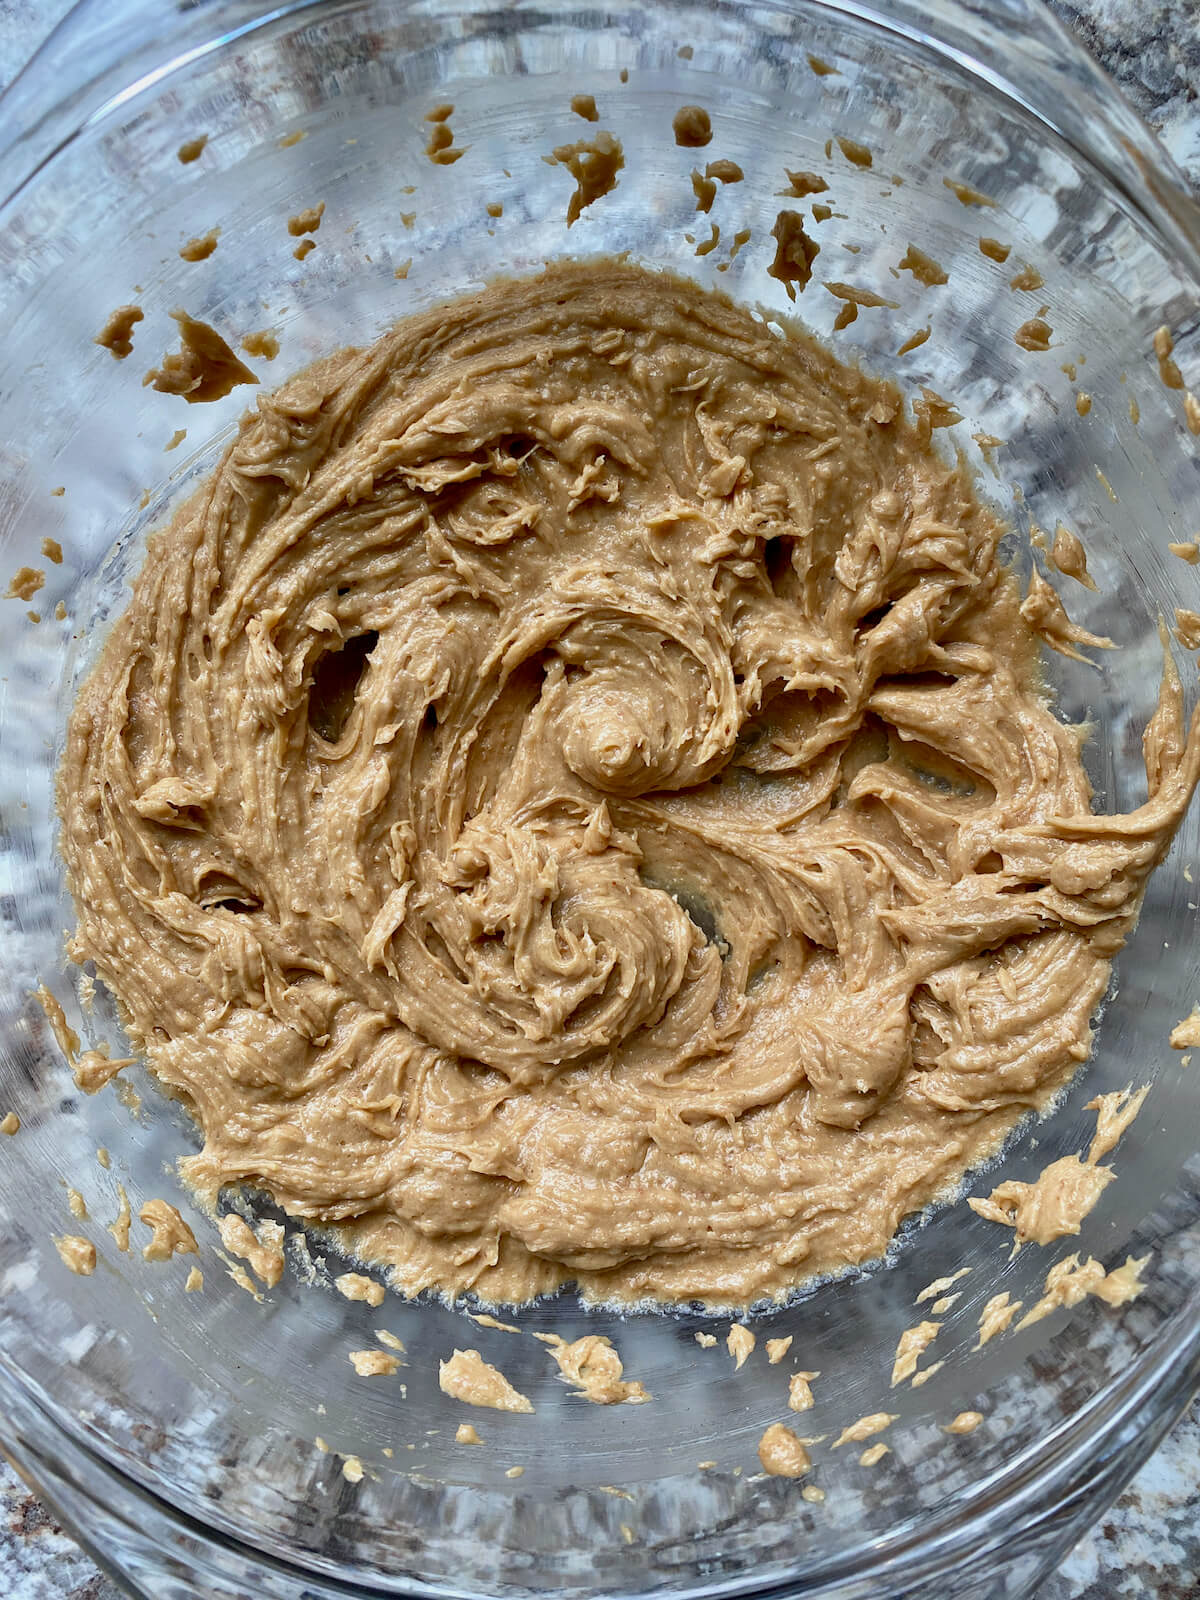
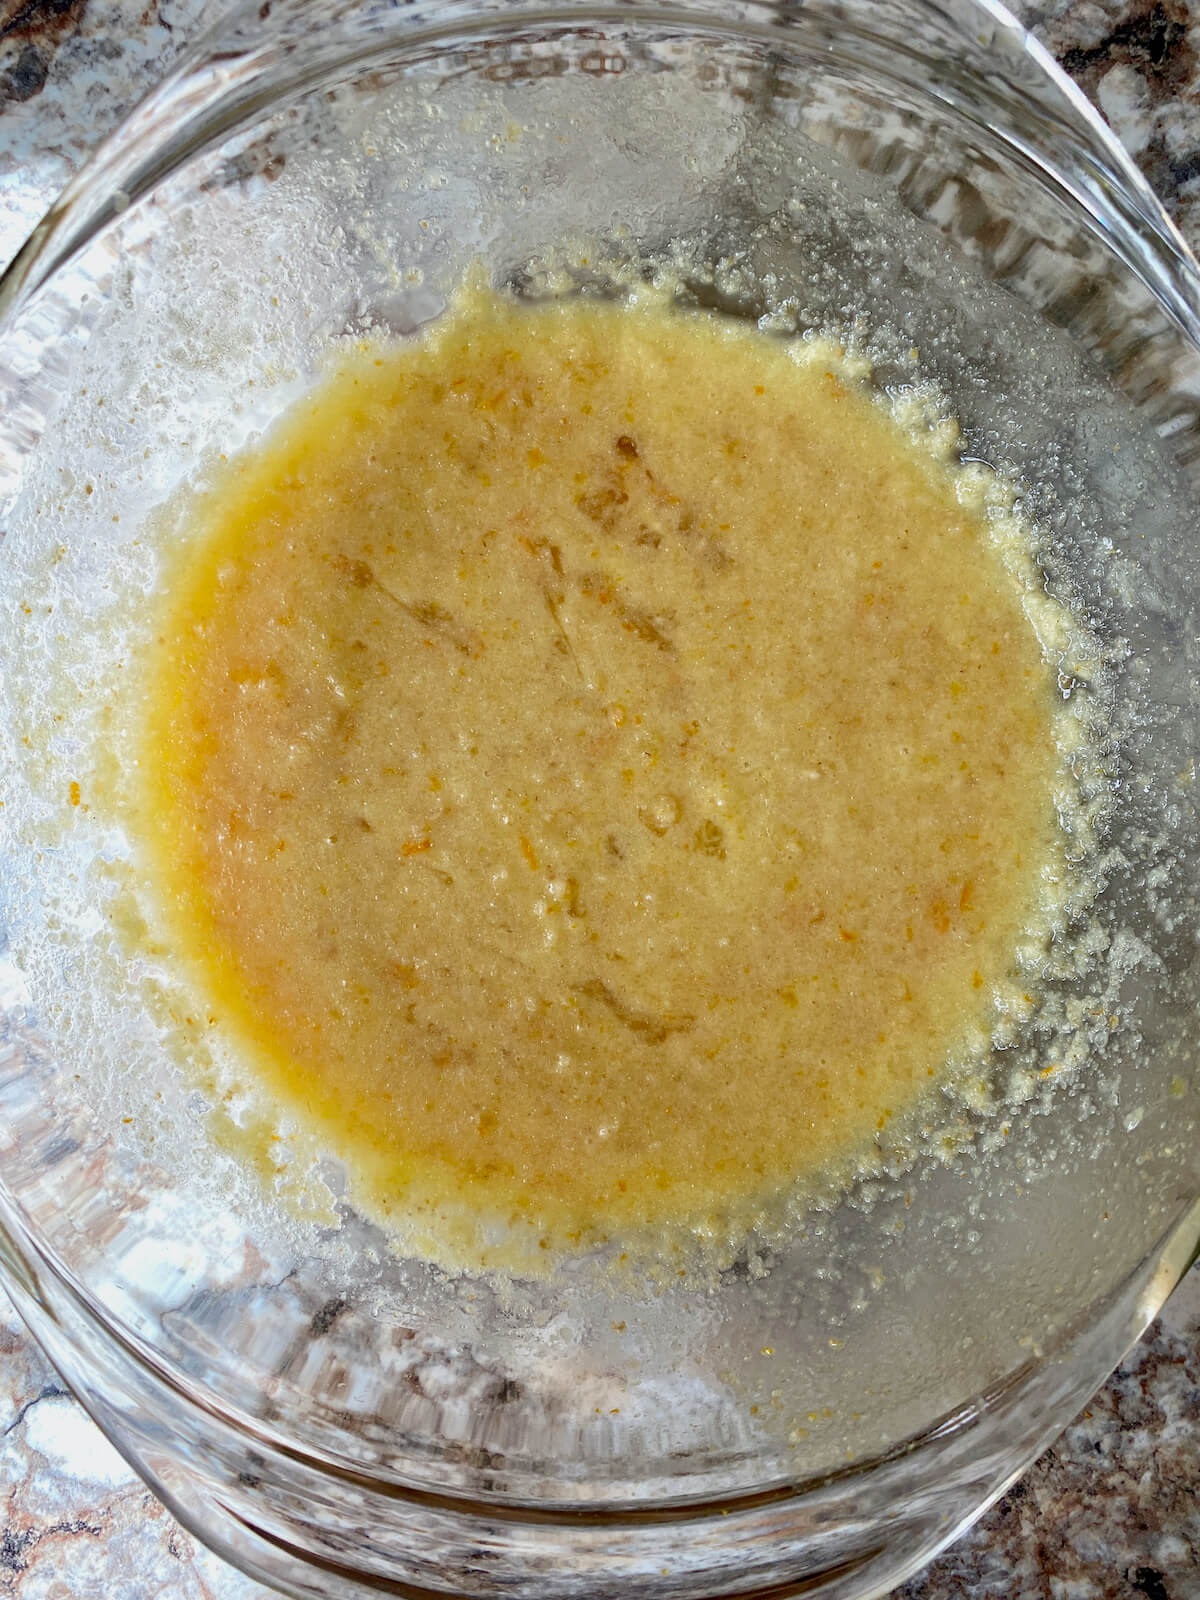
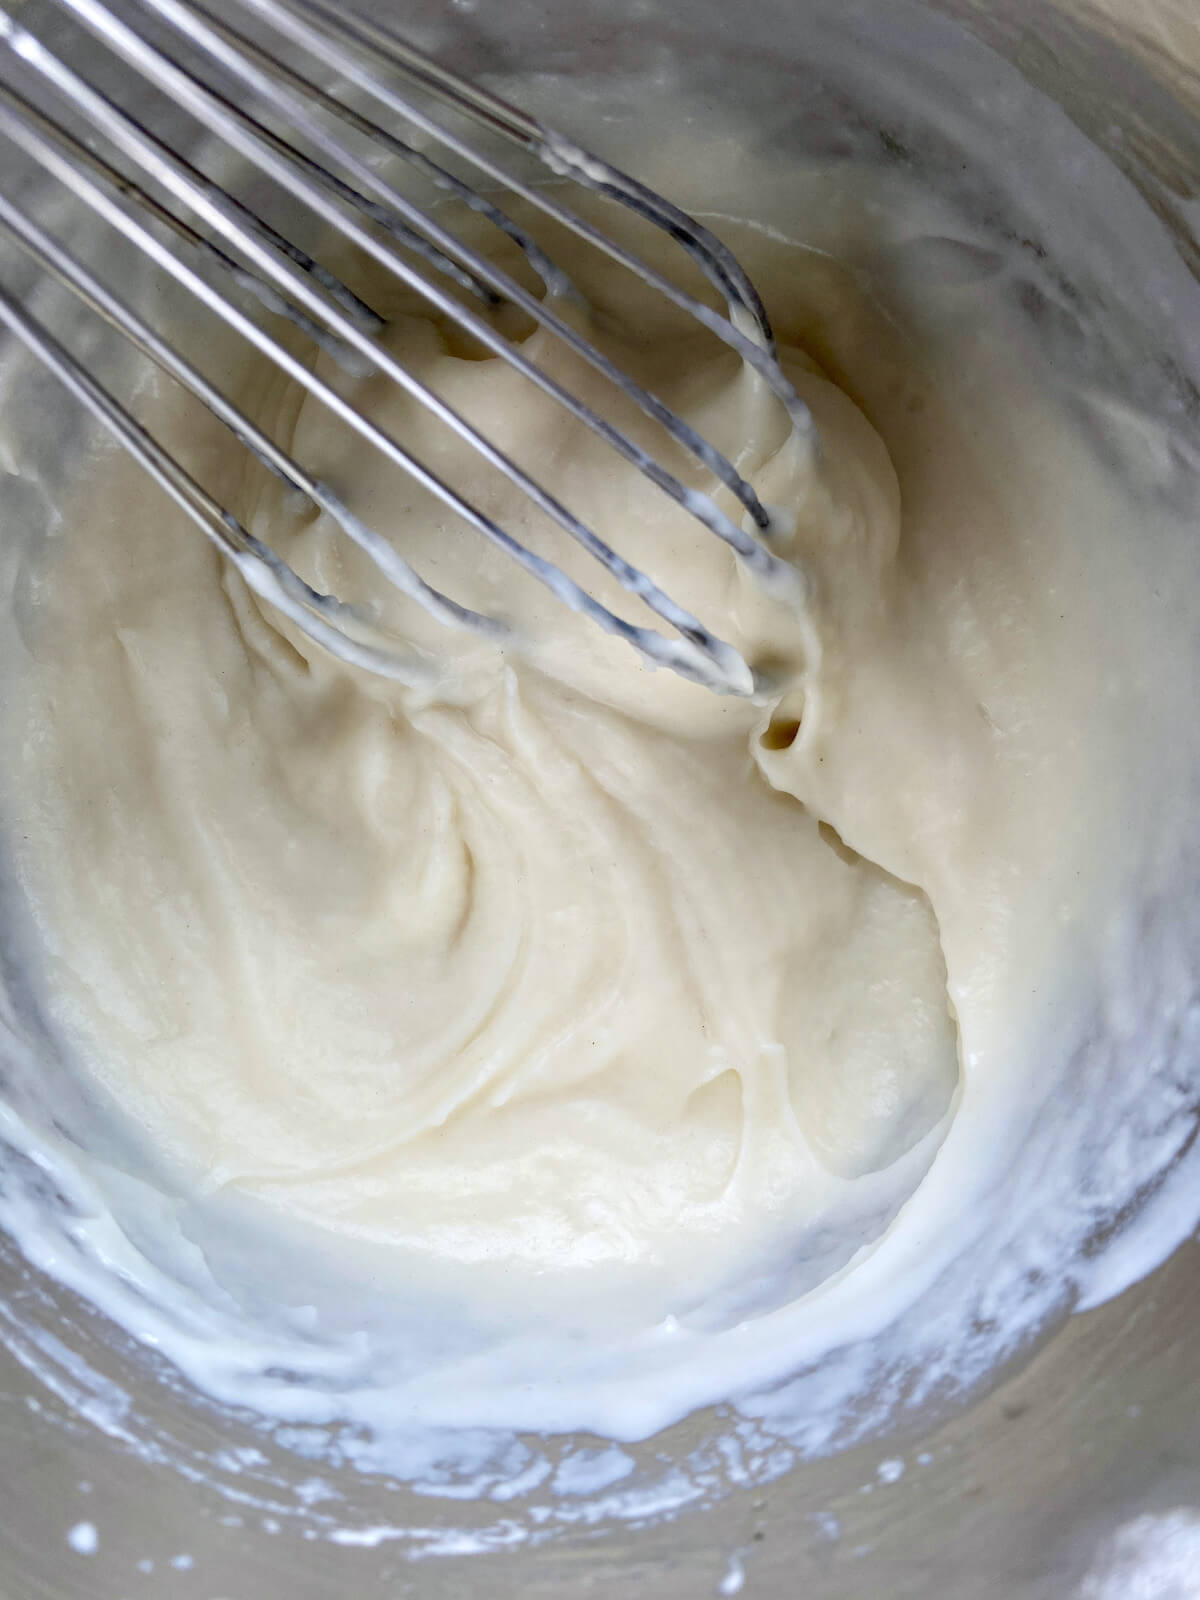
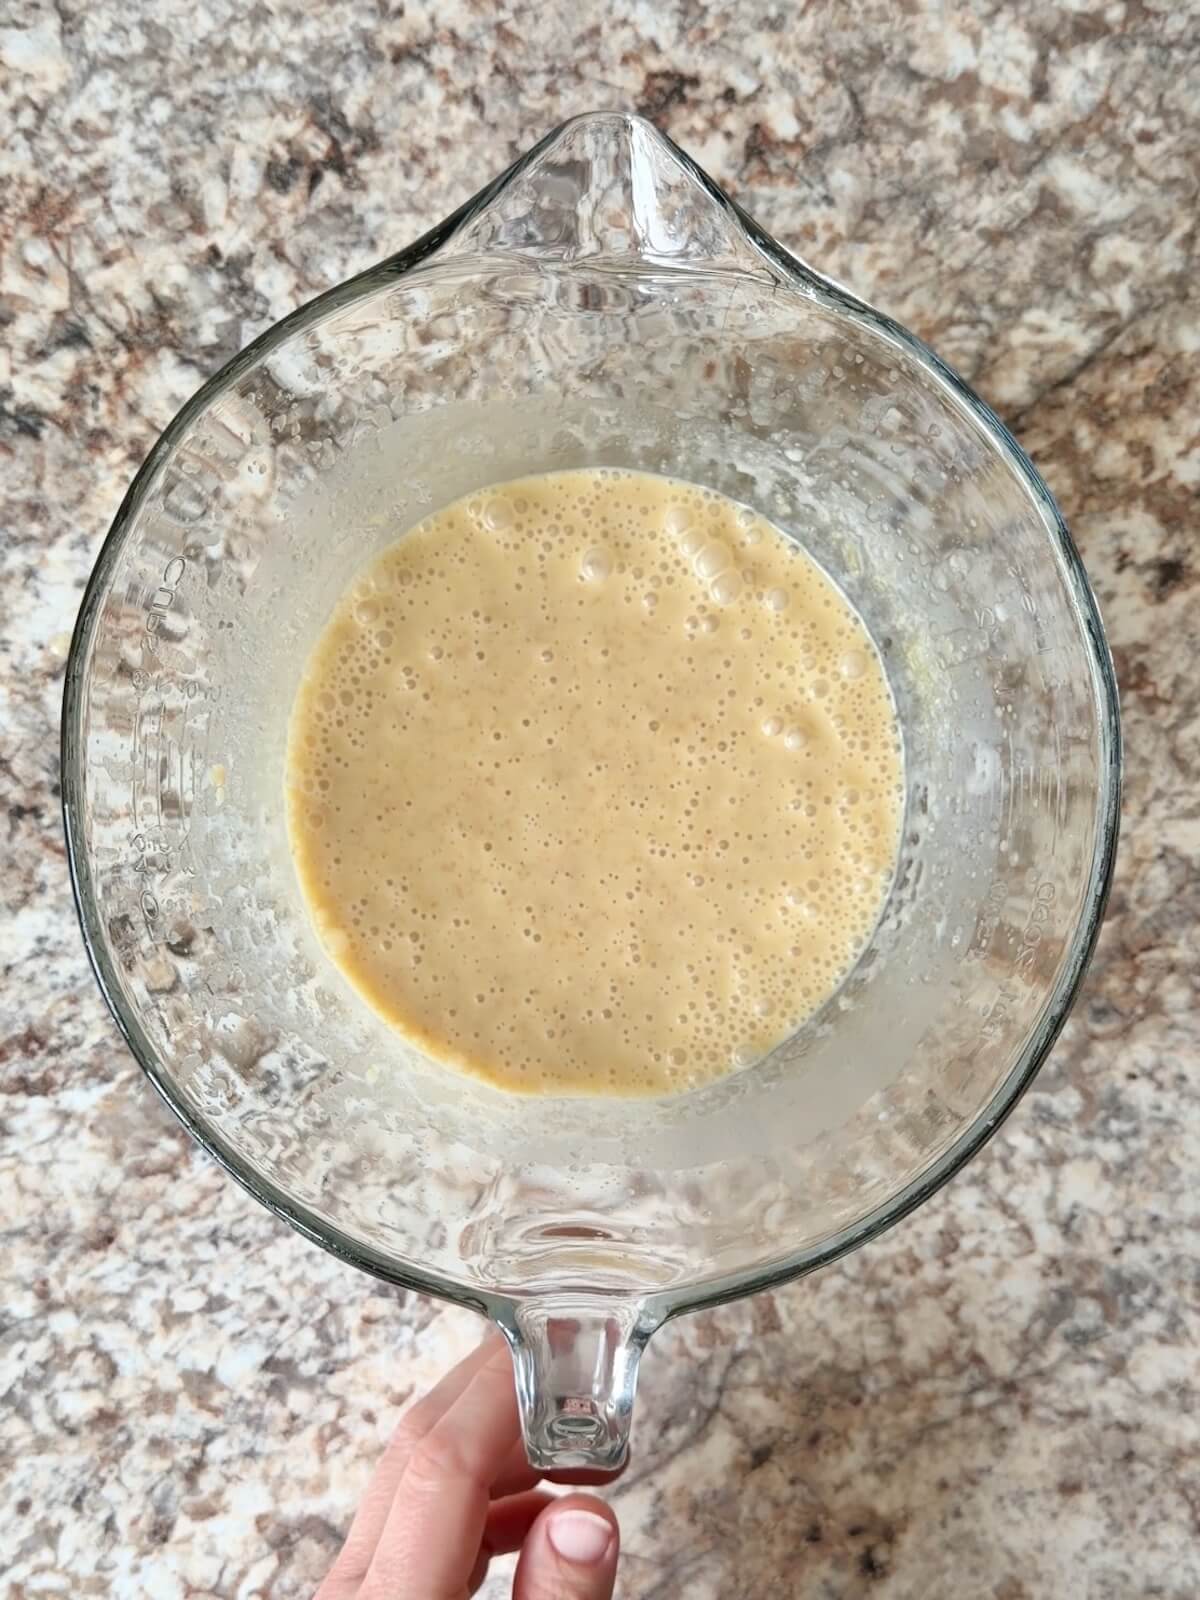
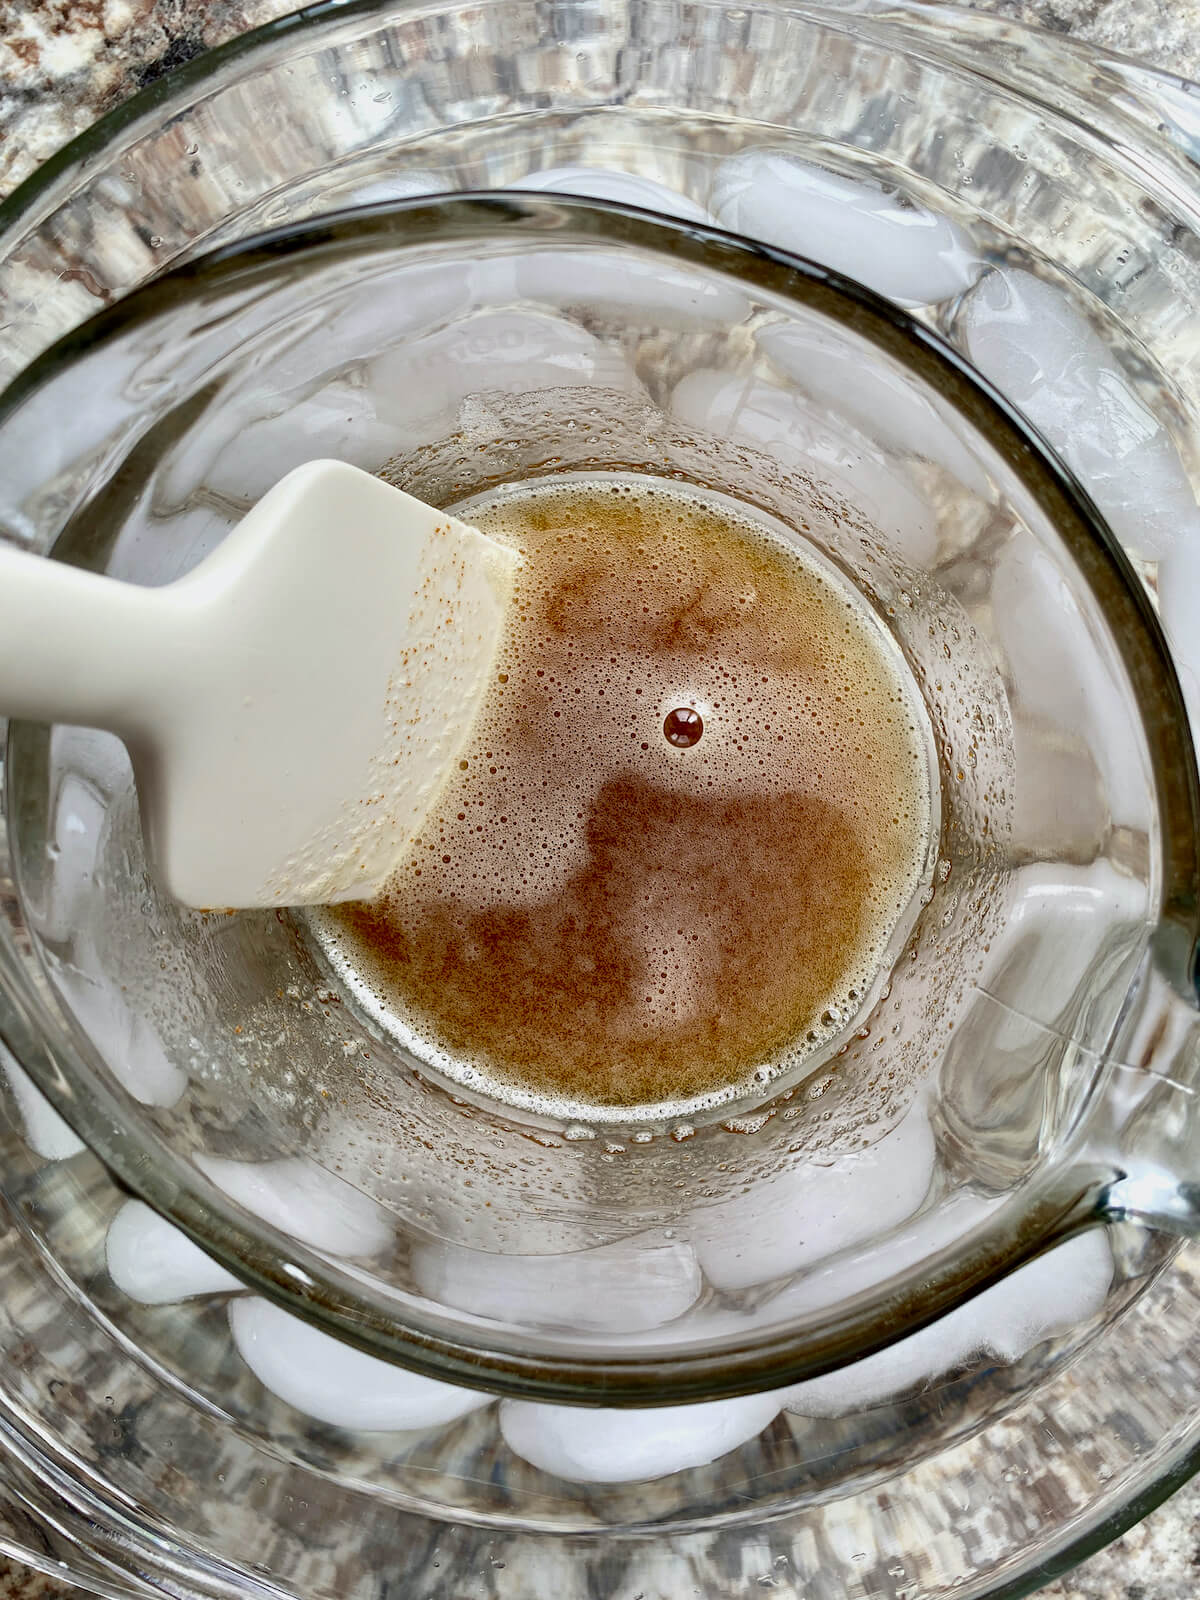
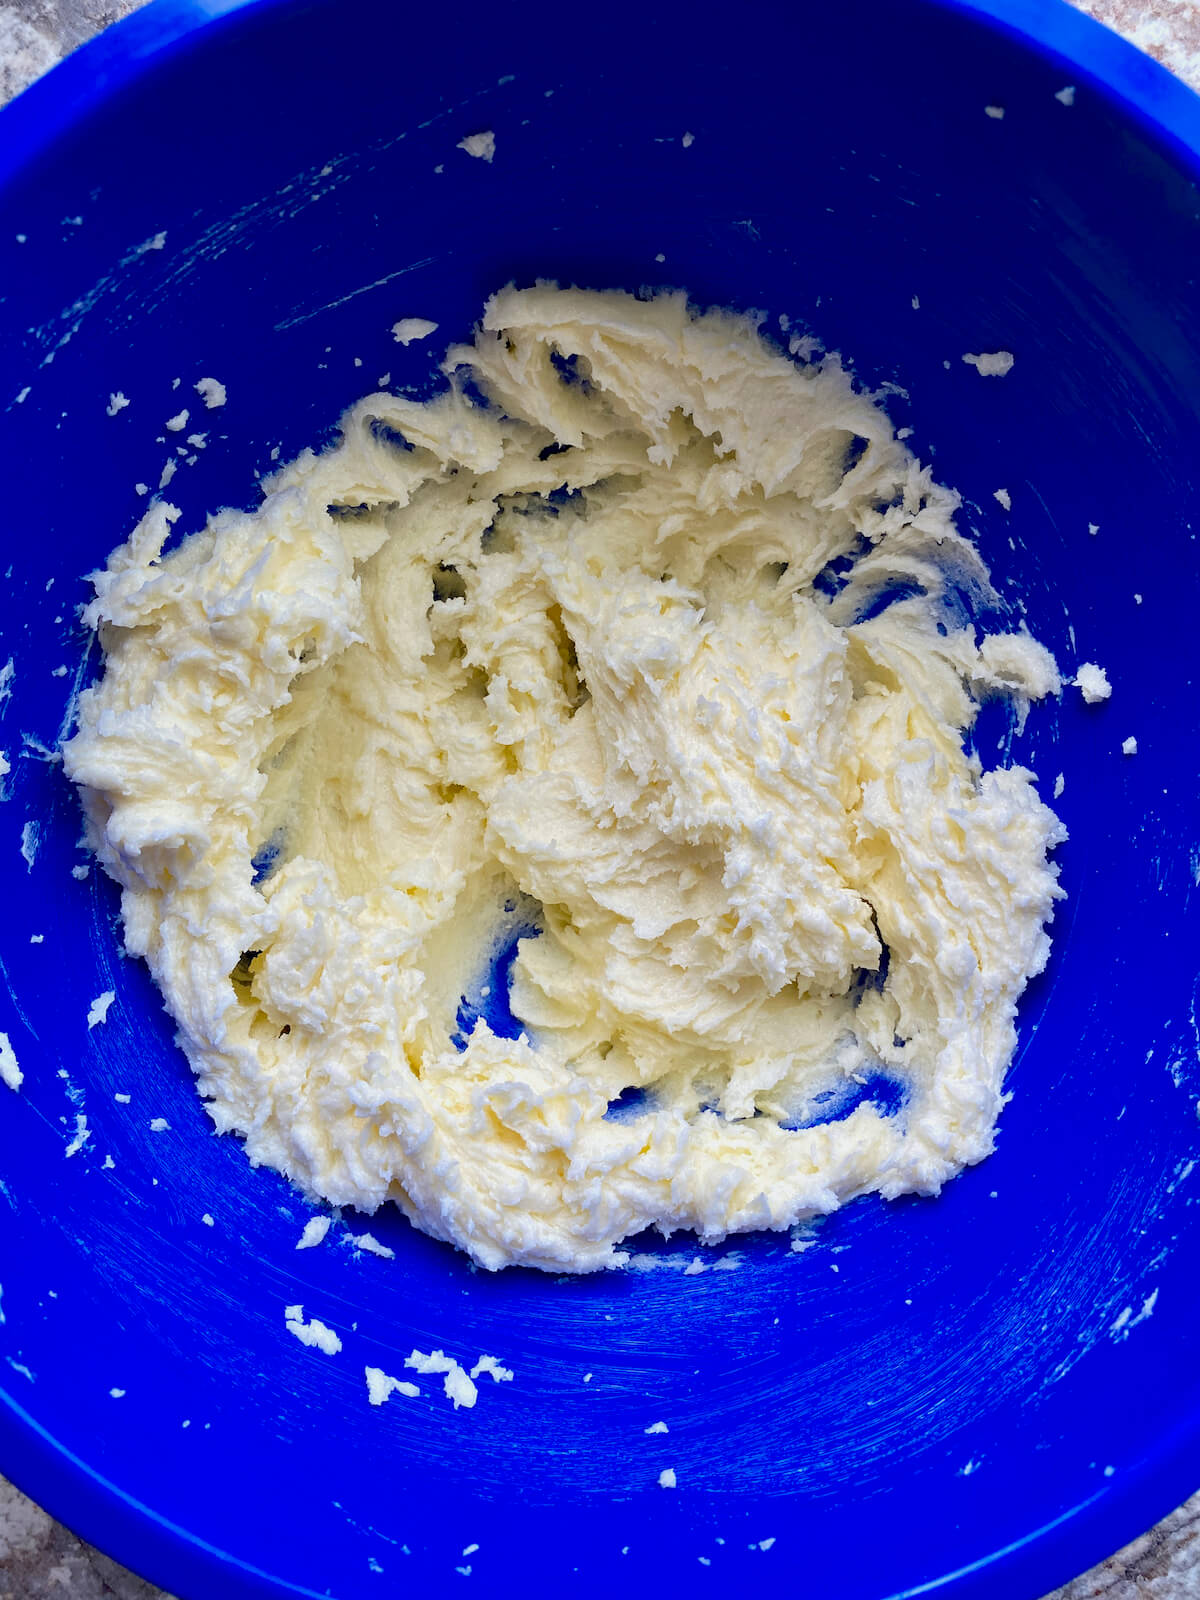
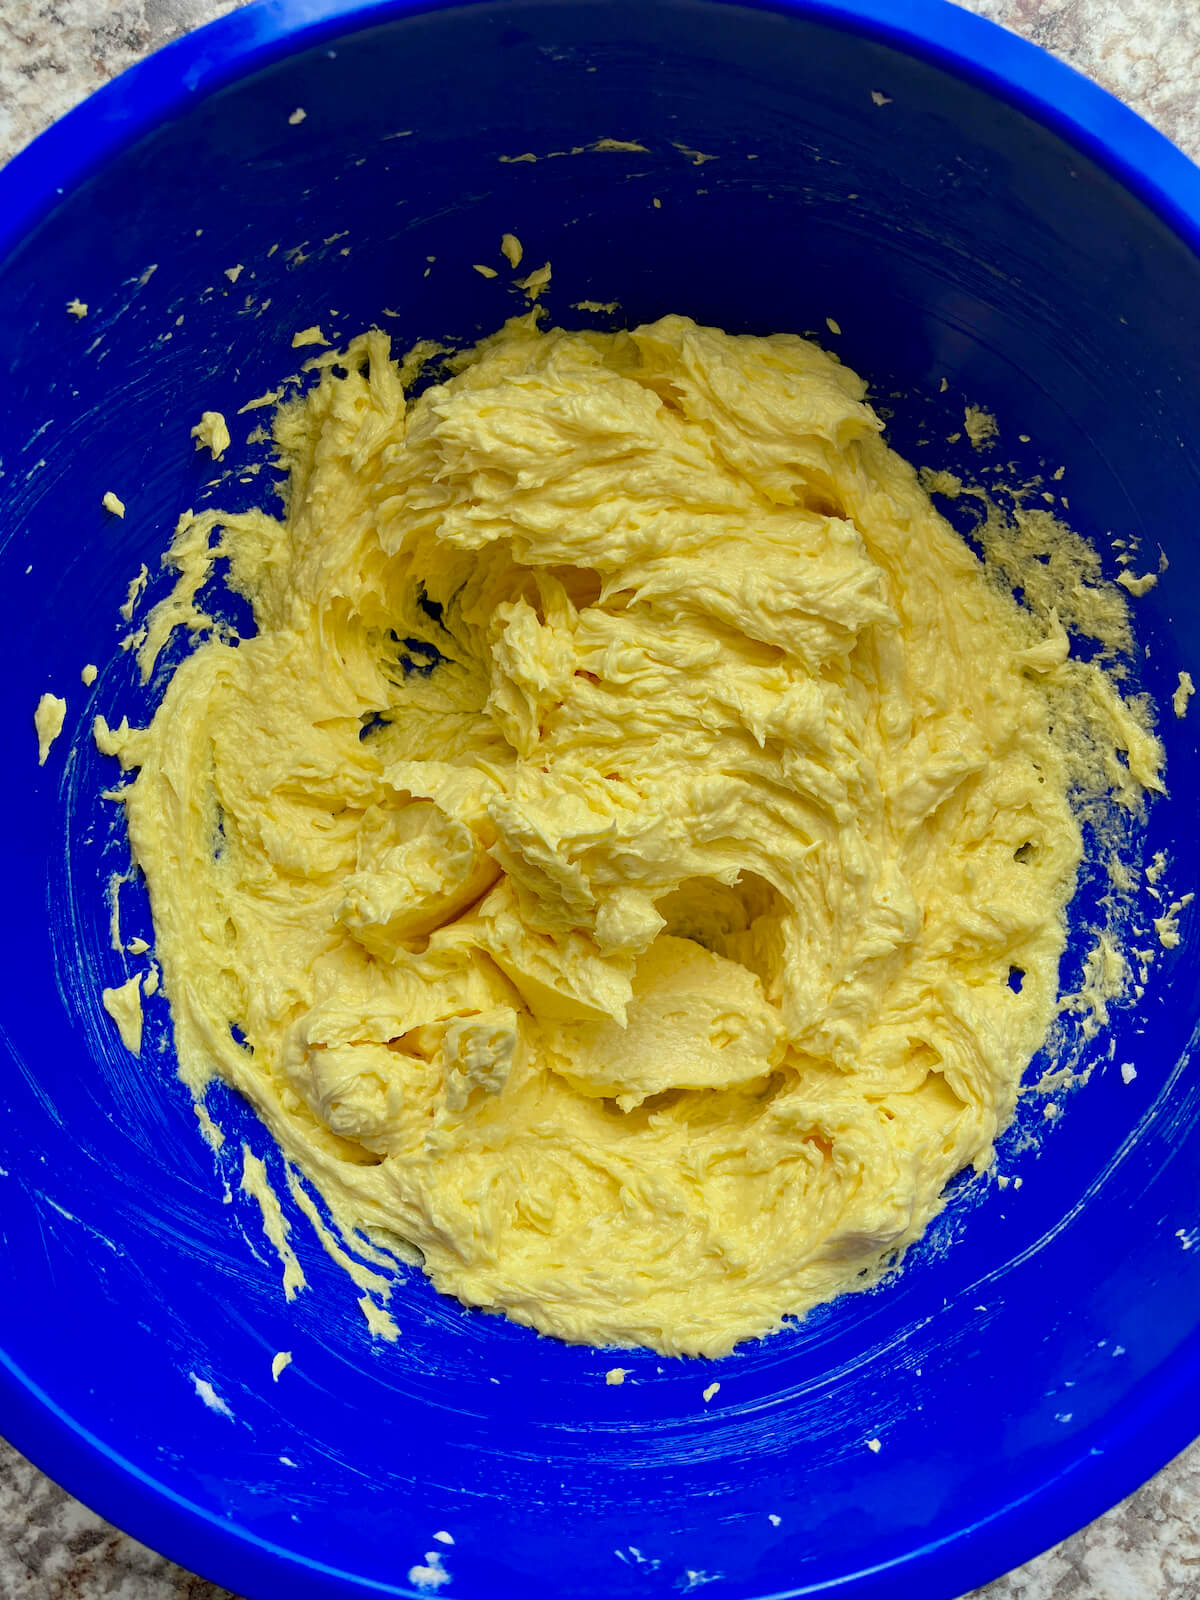
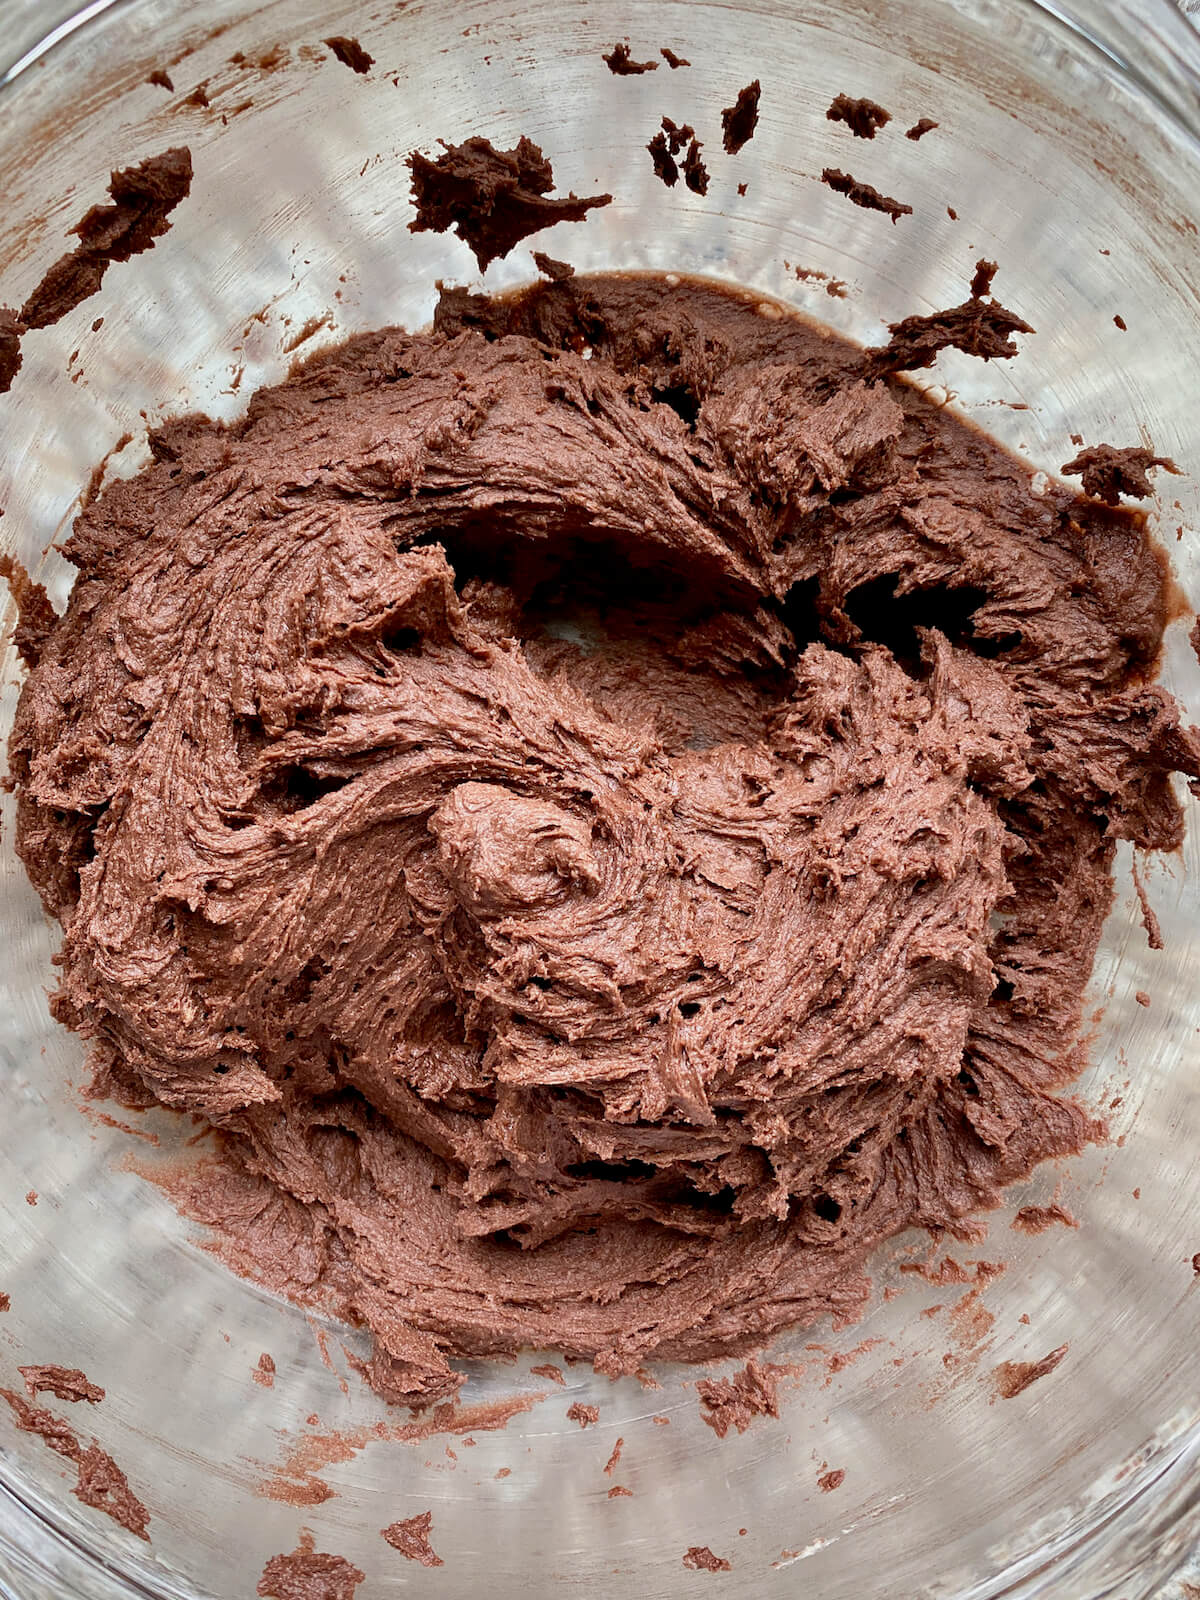
Step 2: Combine wet ingredients. In a large mixing bowl, use a hand mixer (or stand mixer) to cream together the softened butter, brown sugar, and granulated sugar until well combined. Add the eggs, beating well until light and fluffy. Mix in the sourdough discard, vanilla extract, and peppermint extract until smooth.

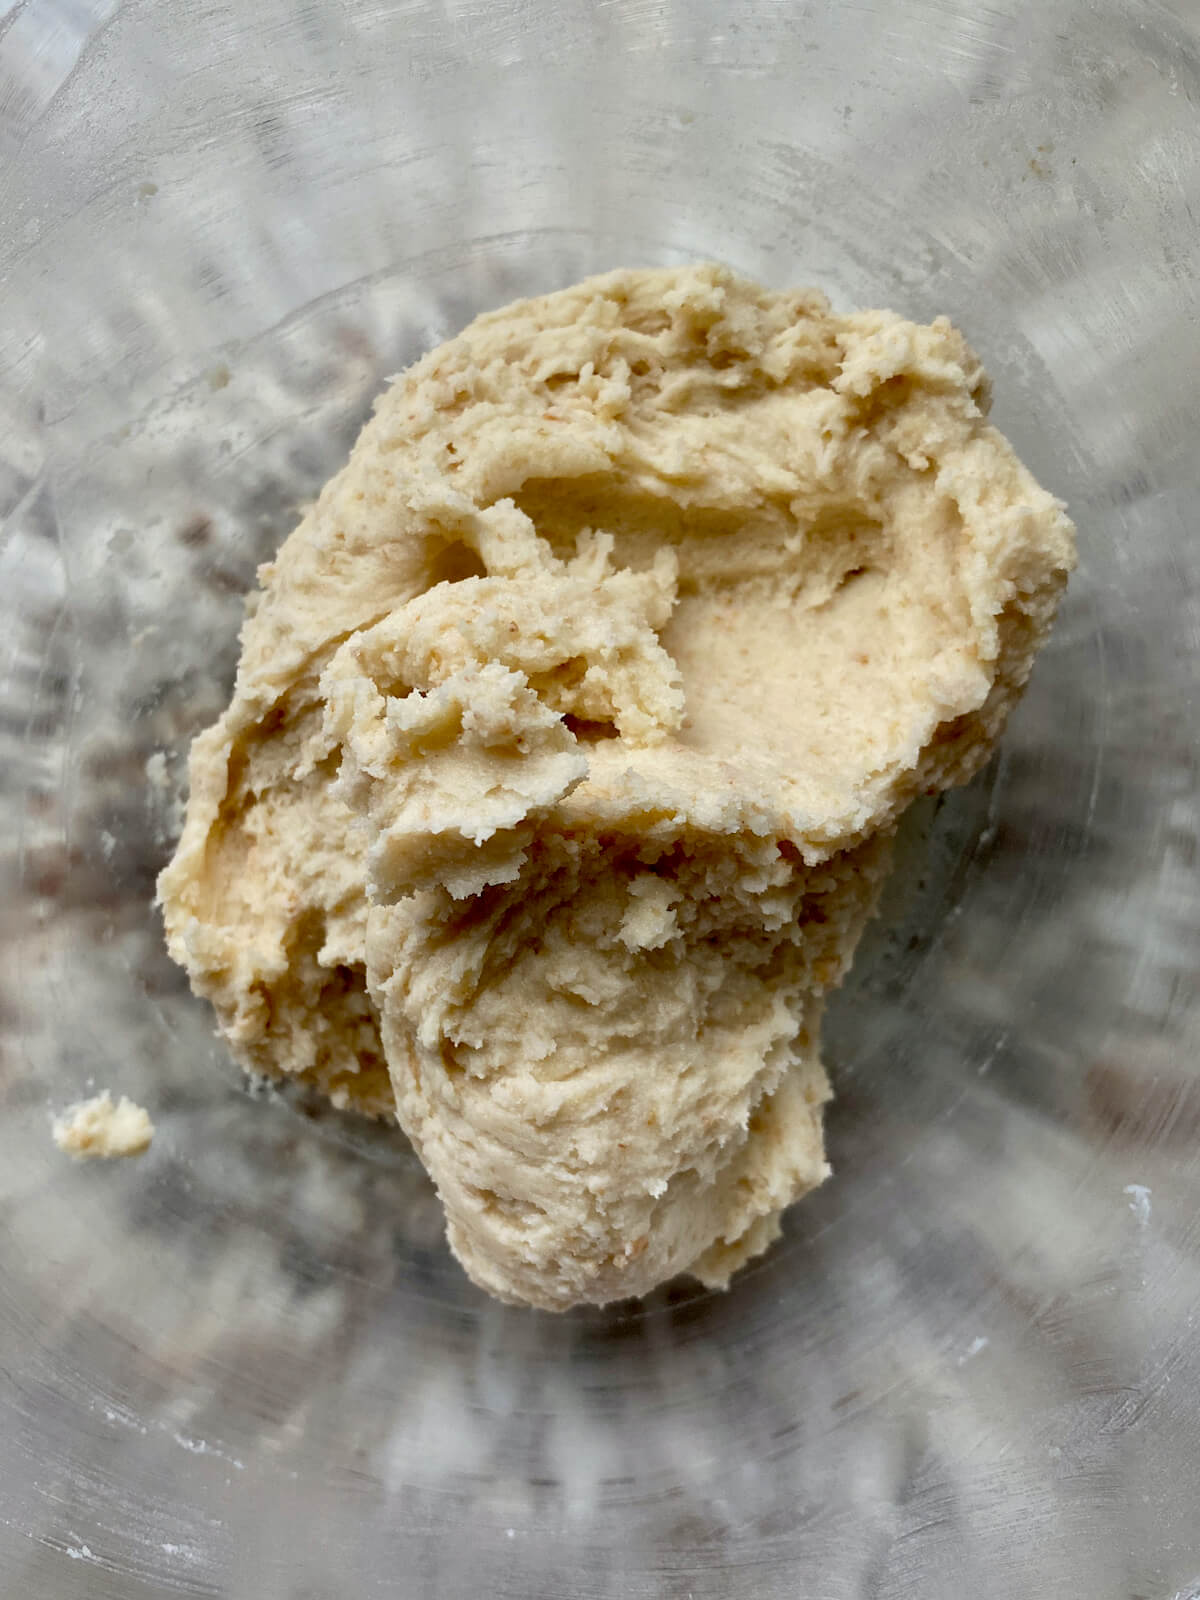
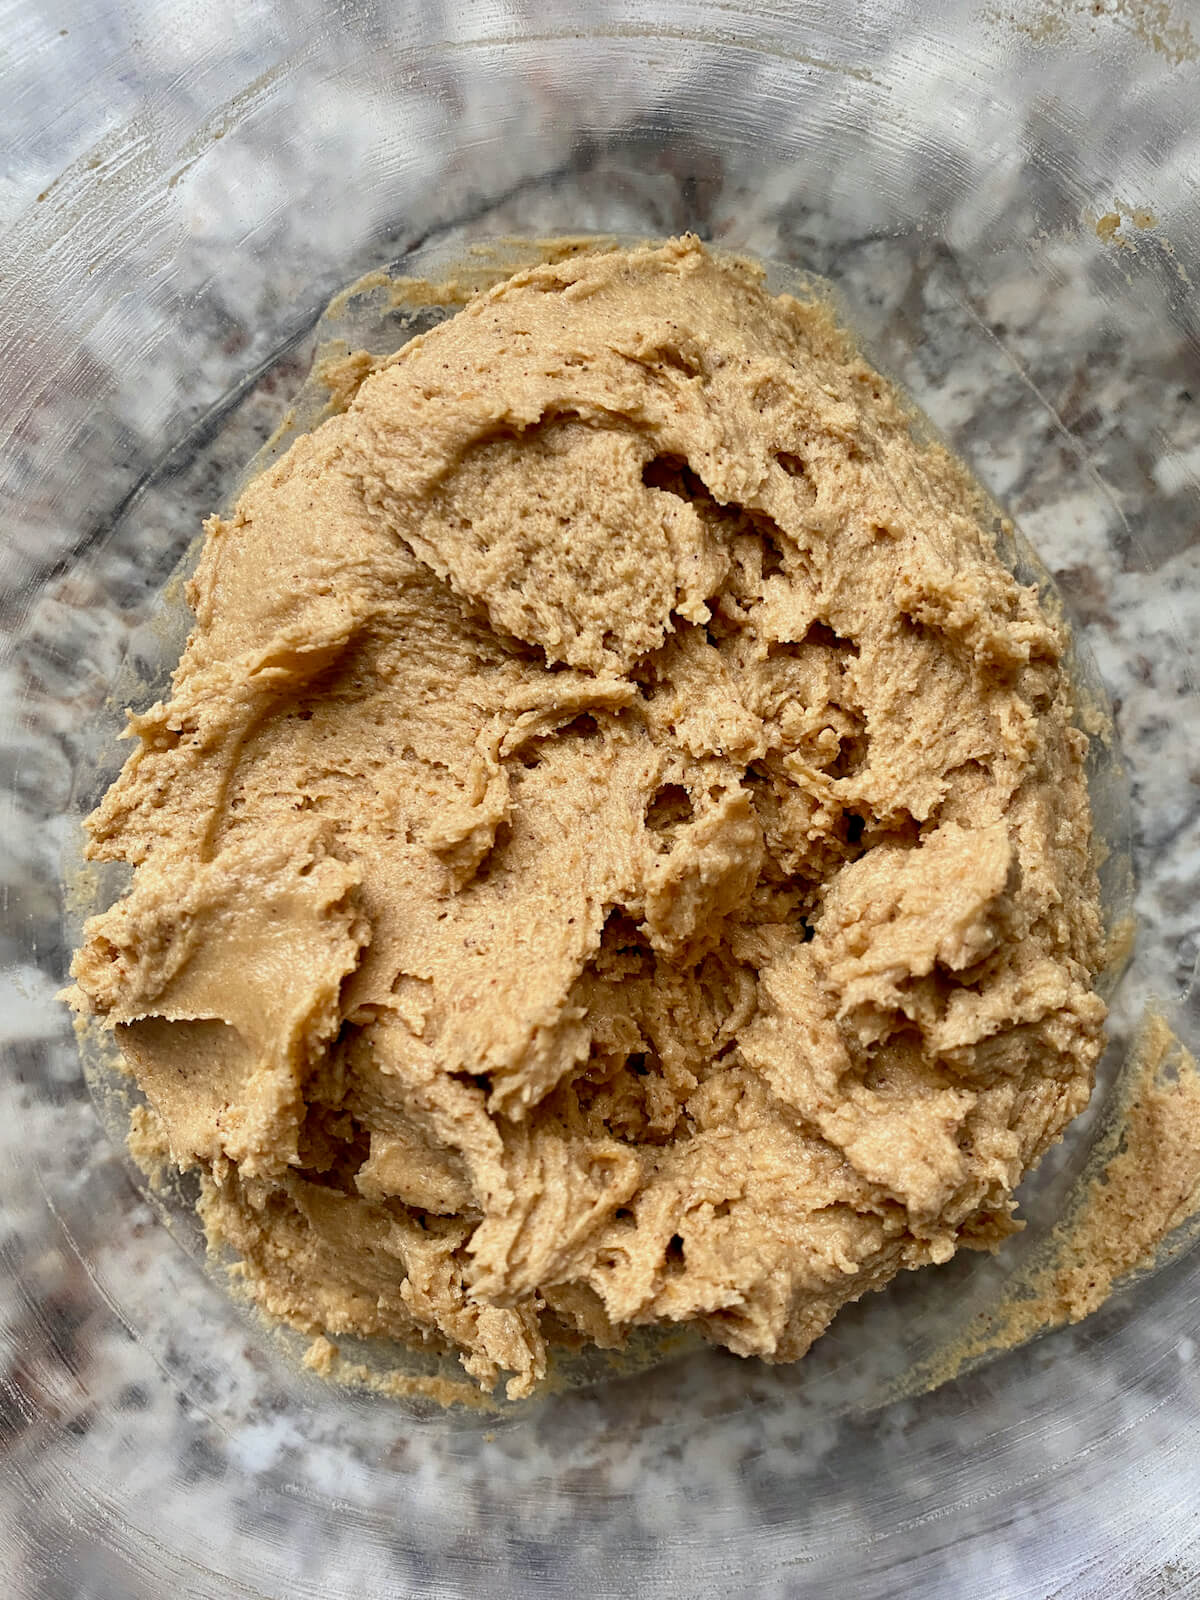
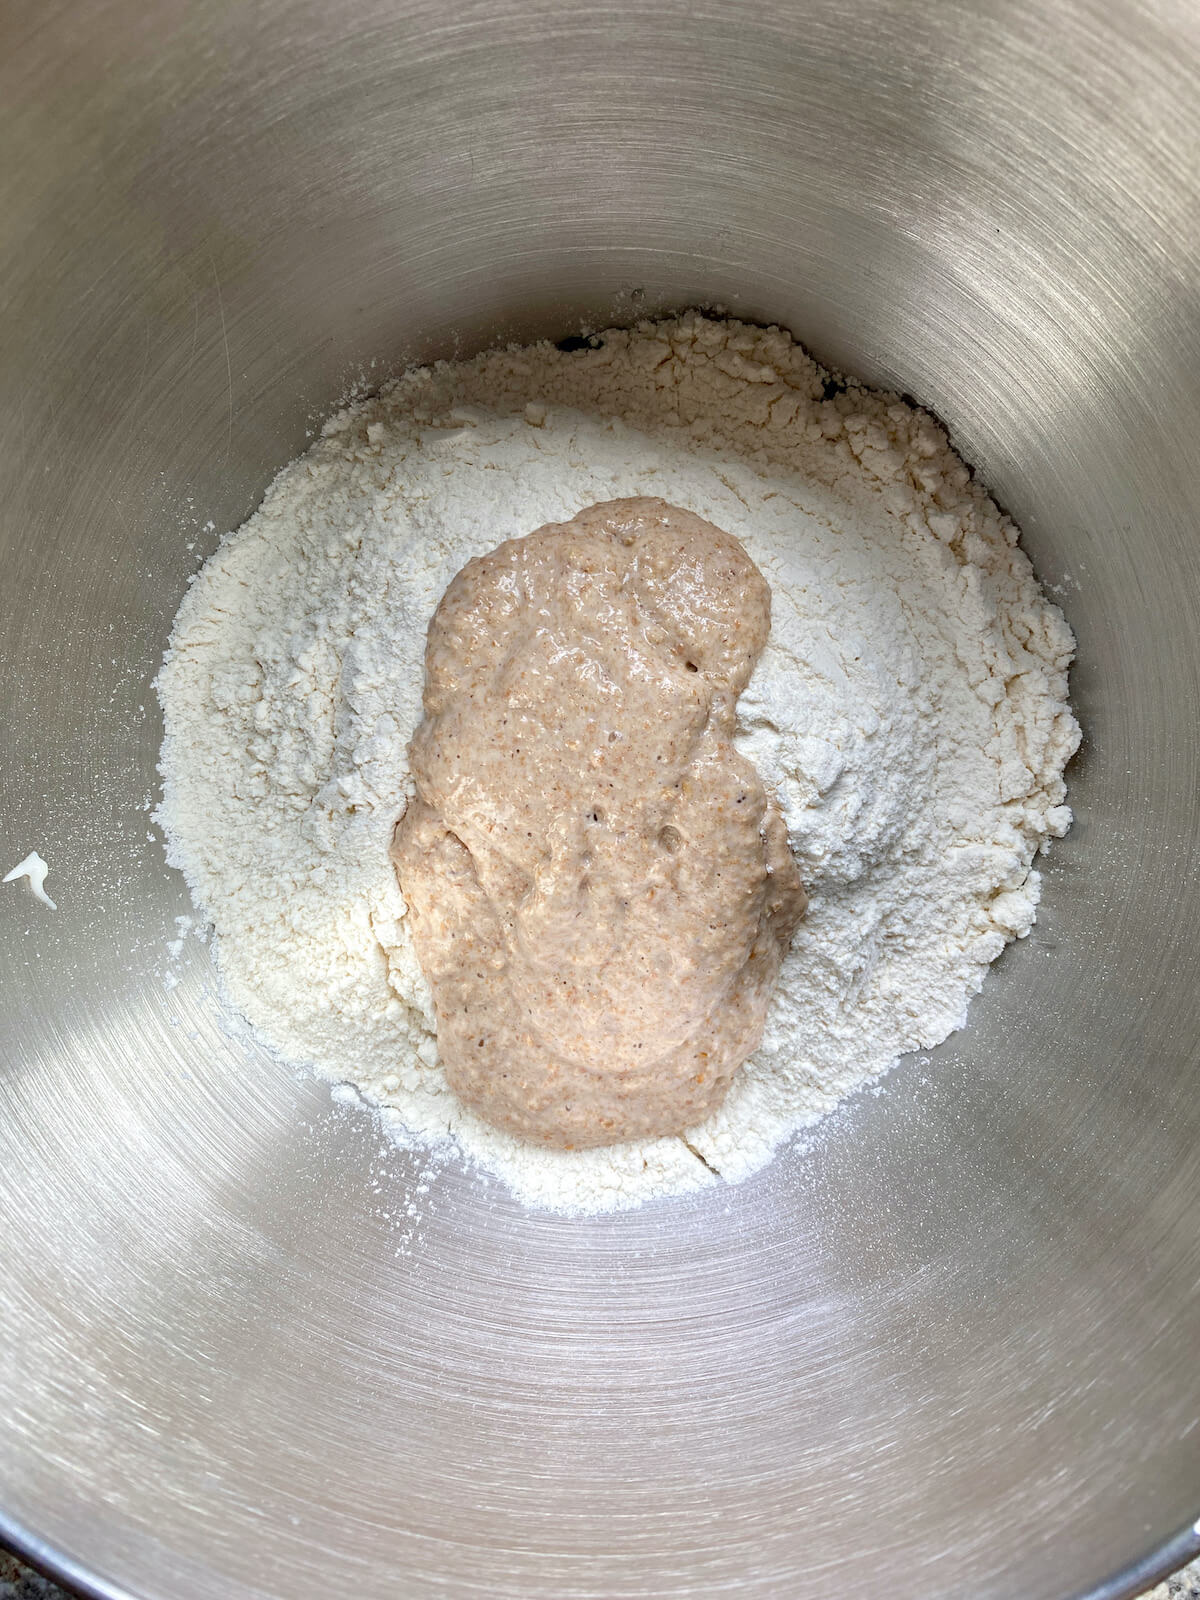
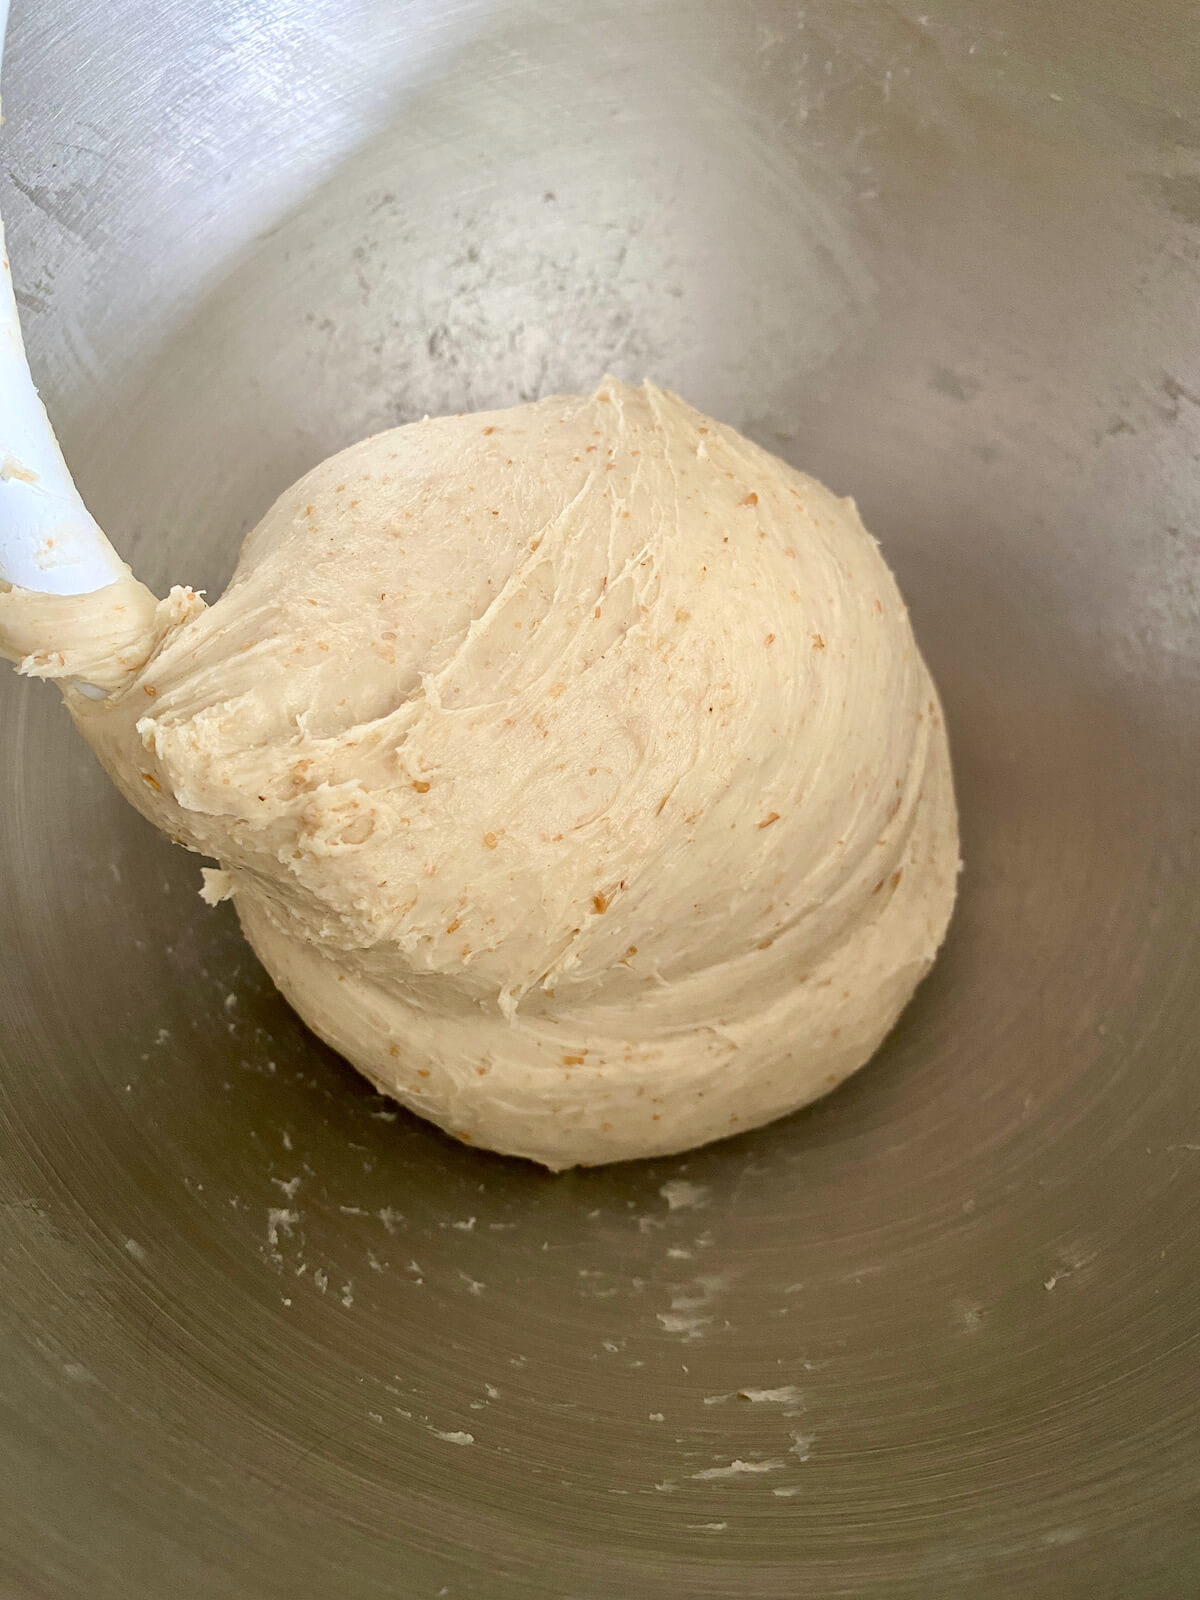
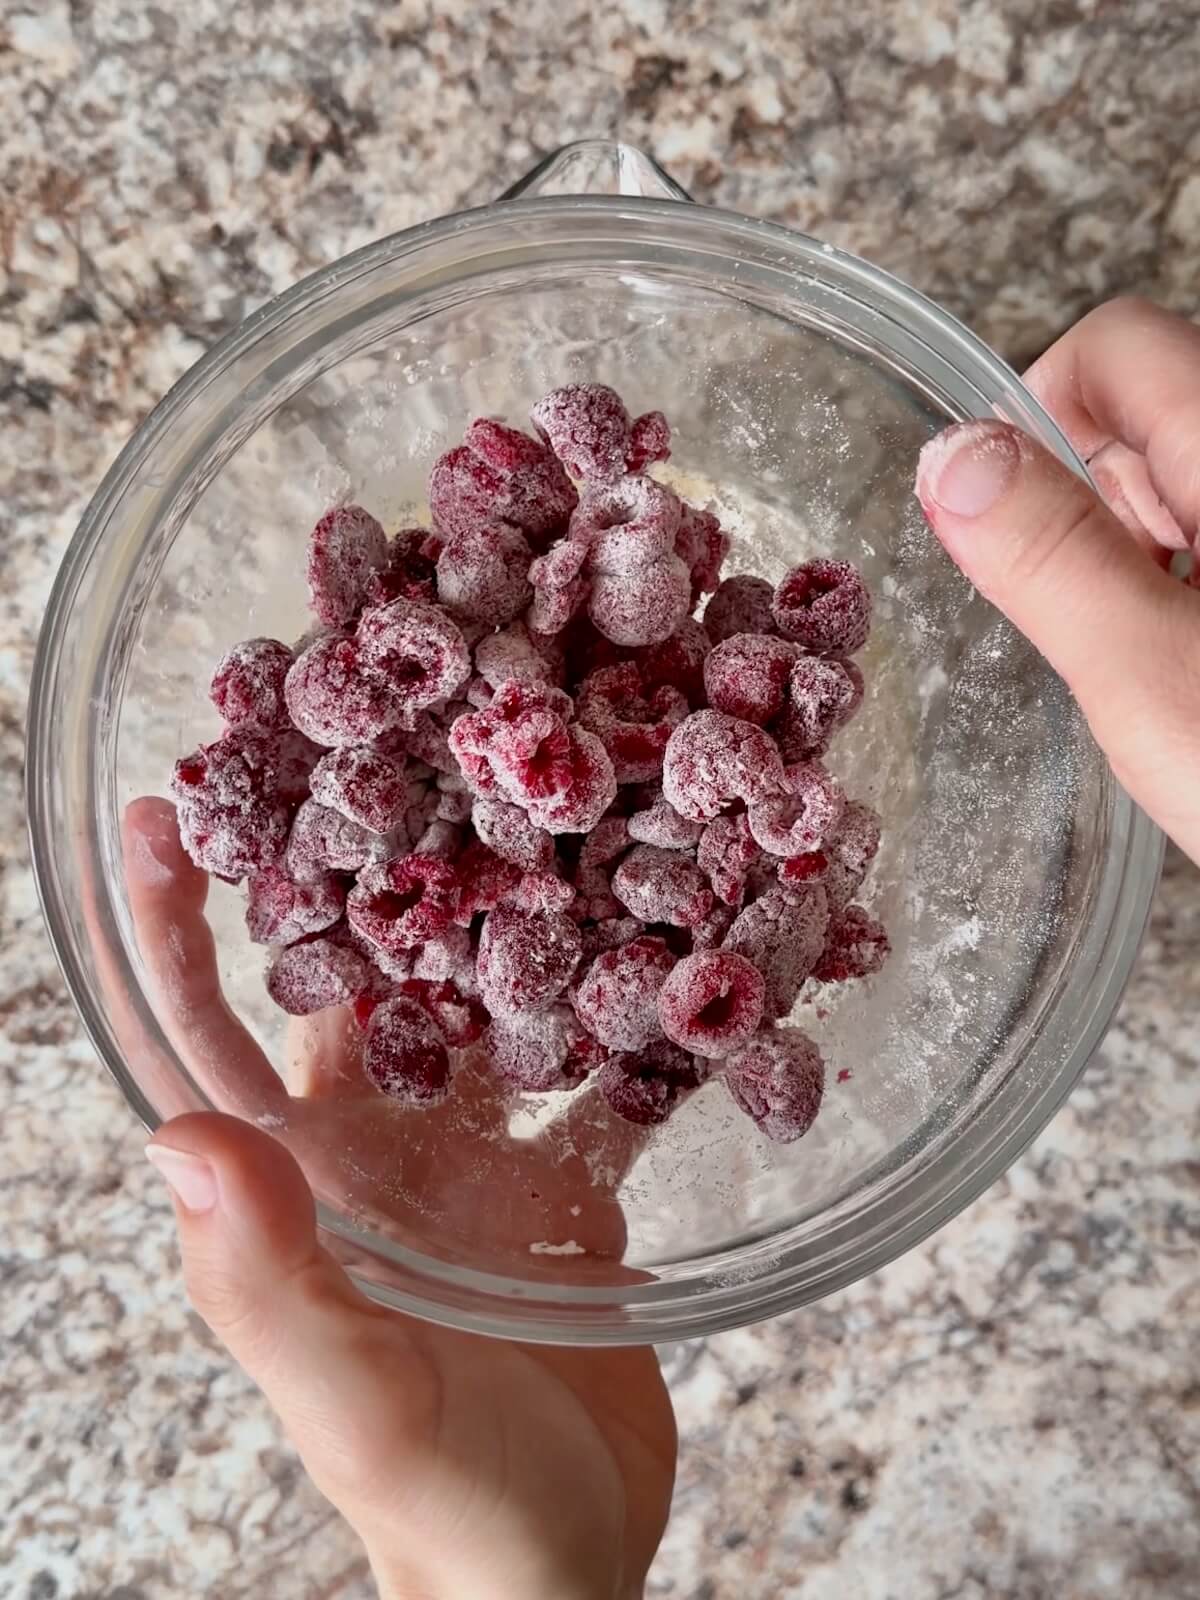
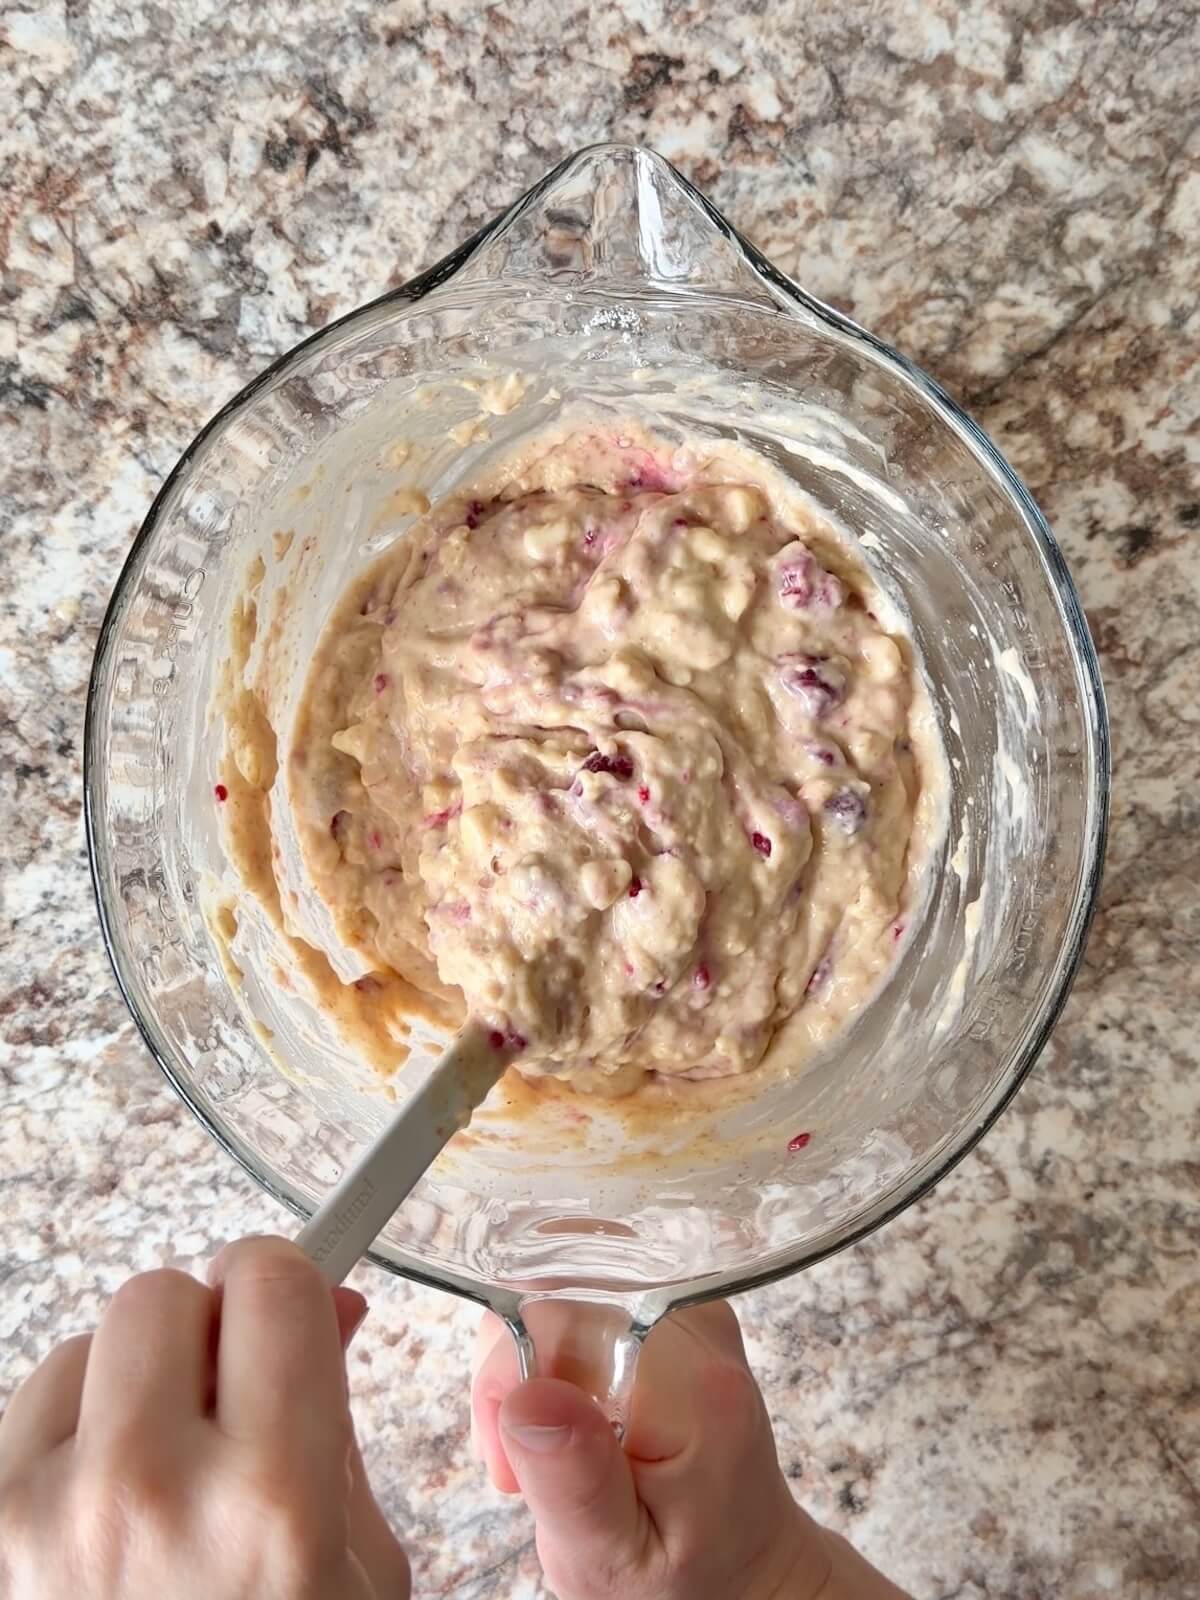
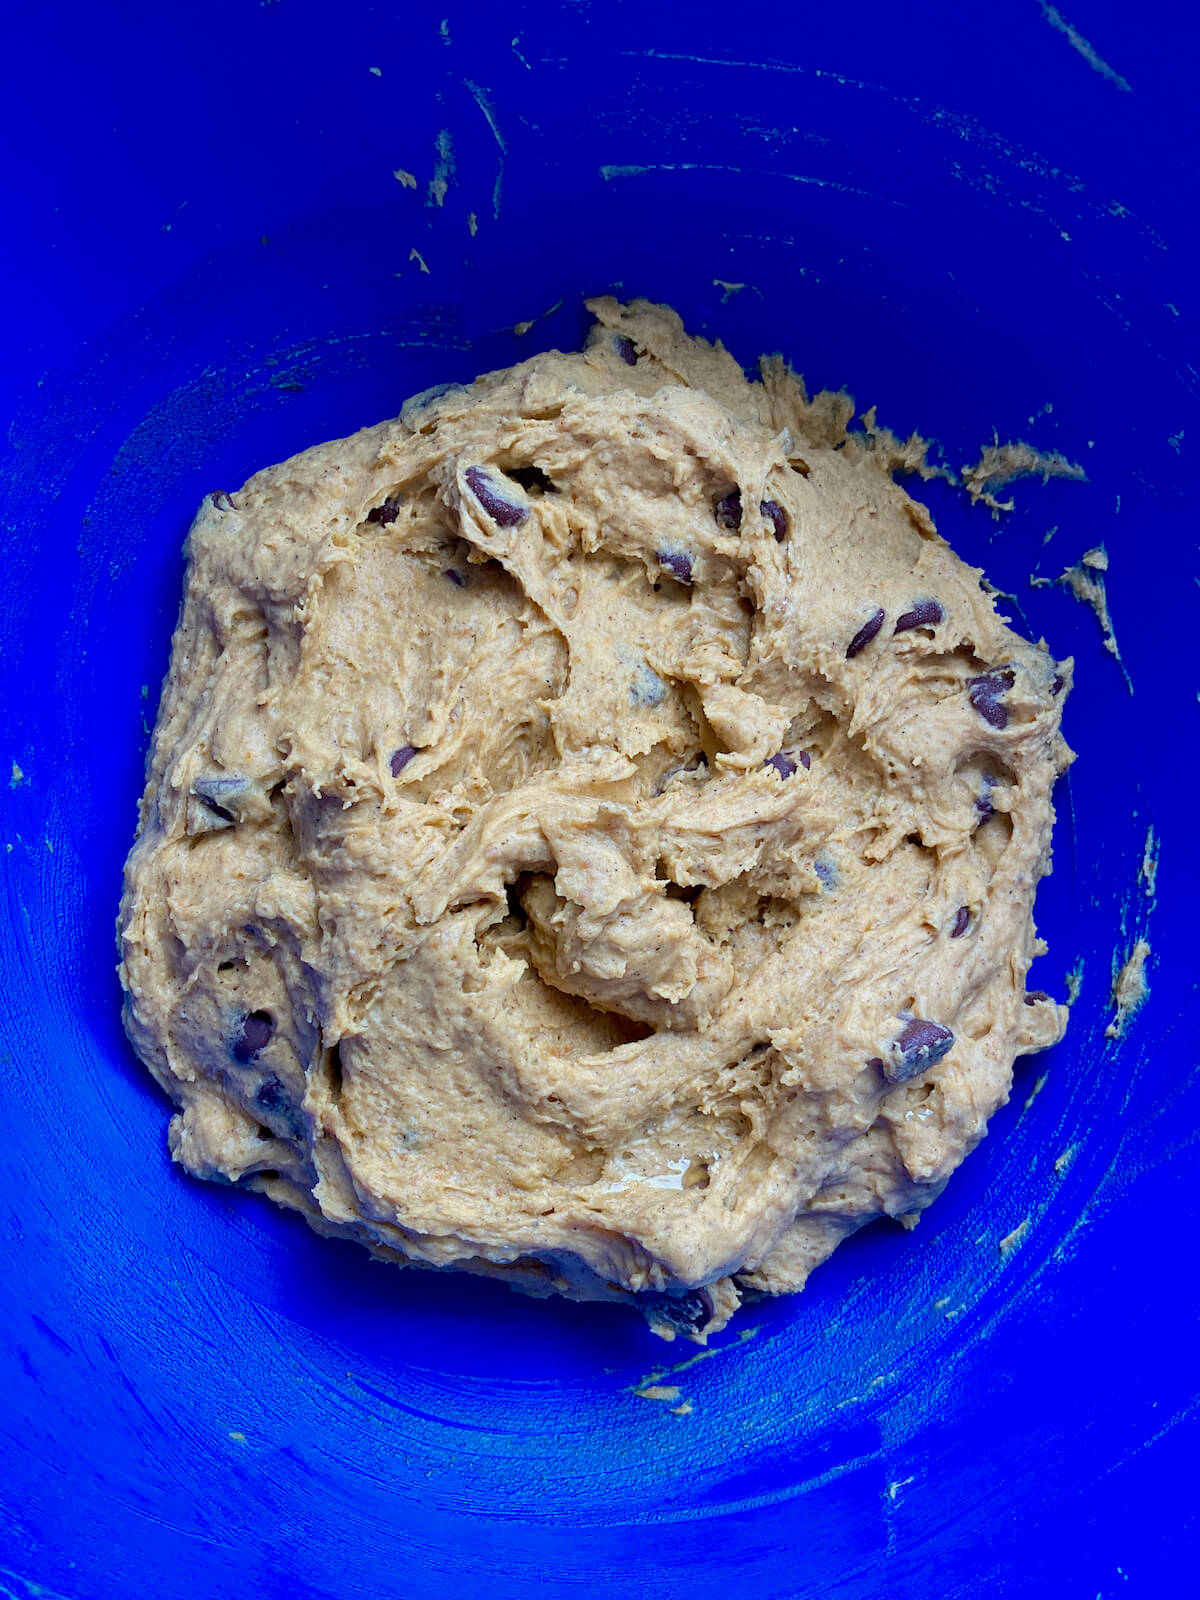
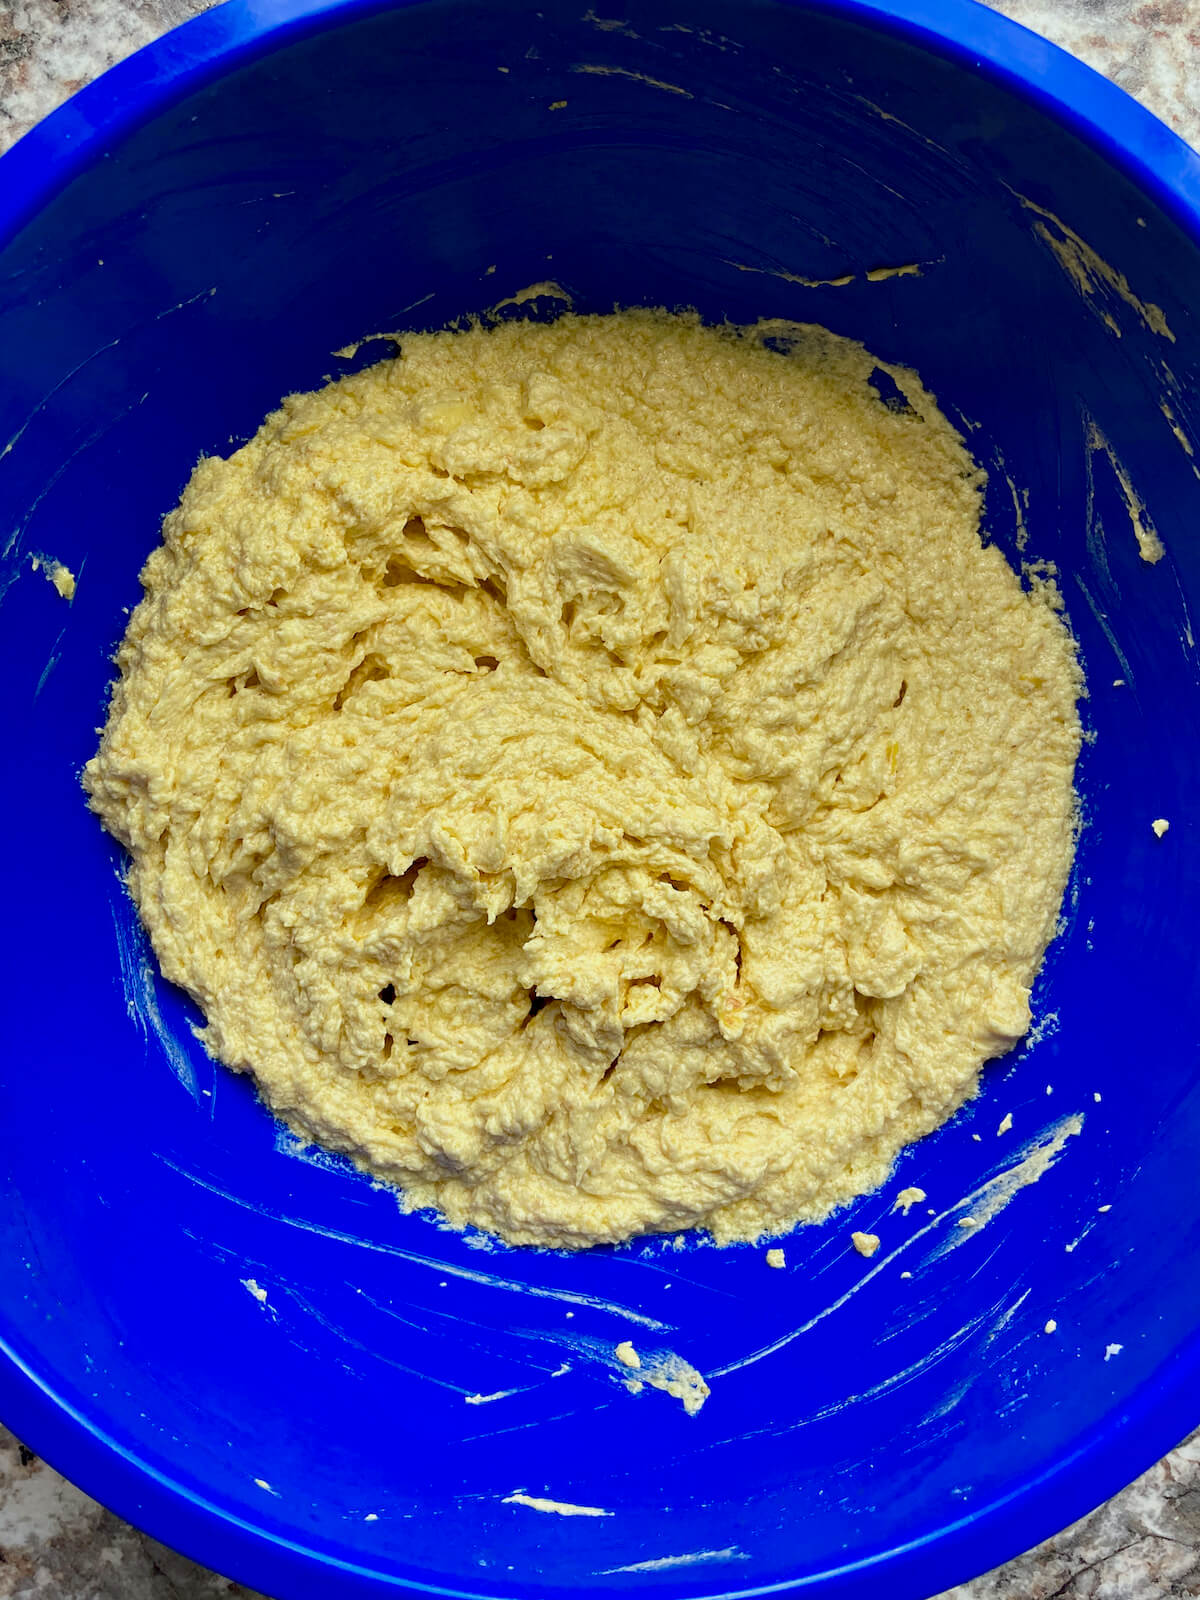
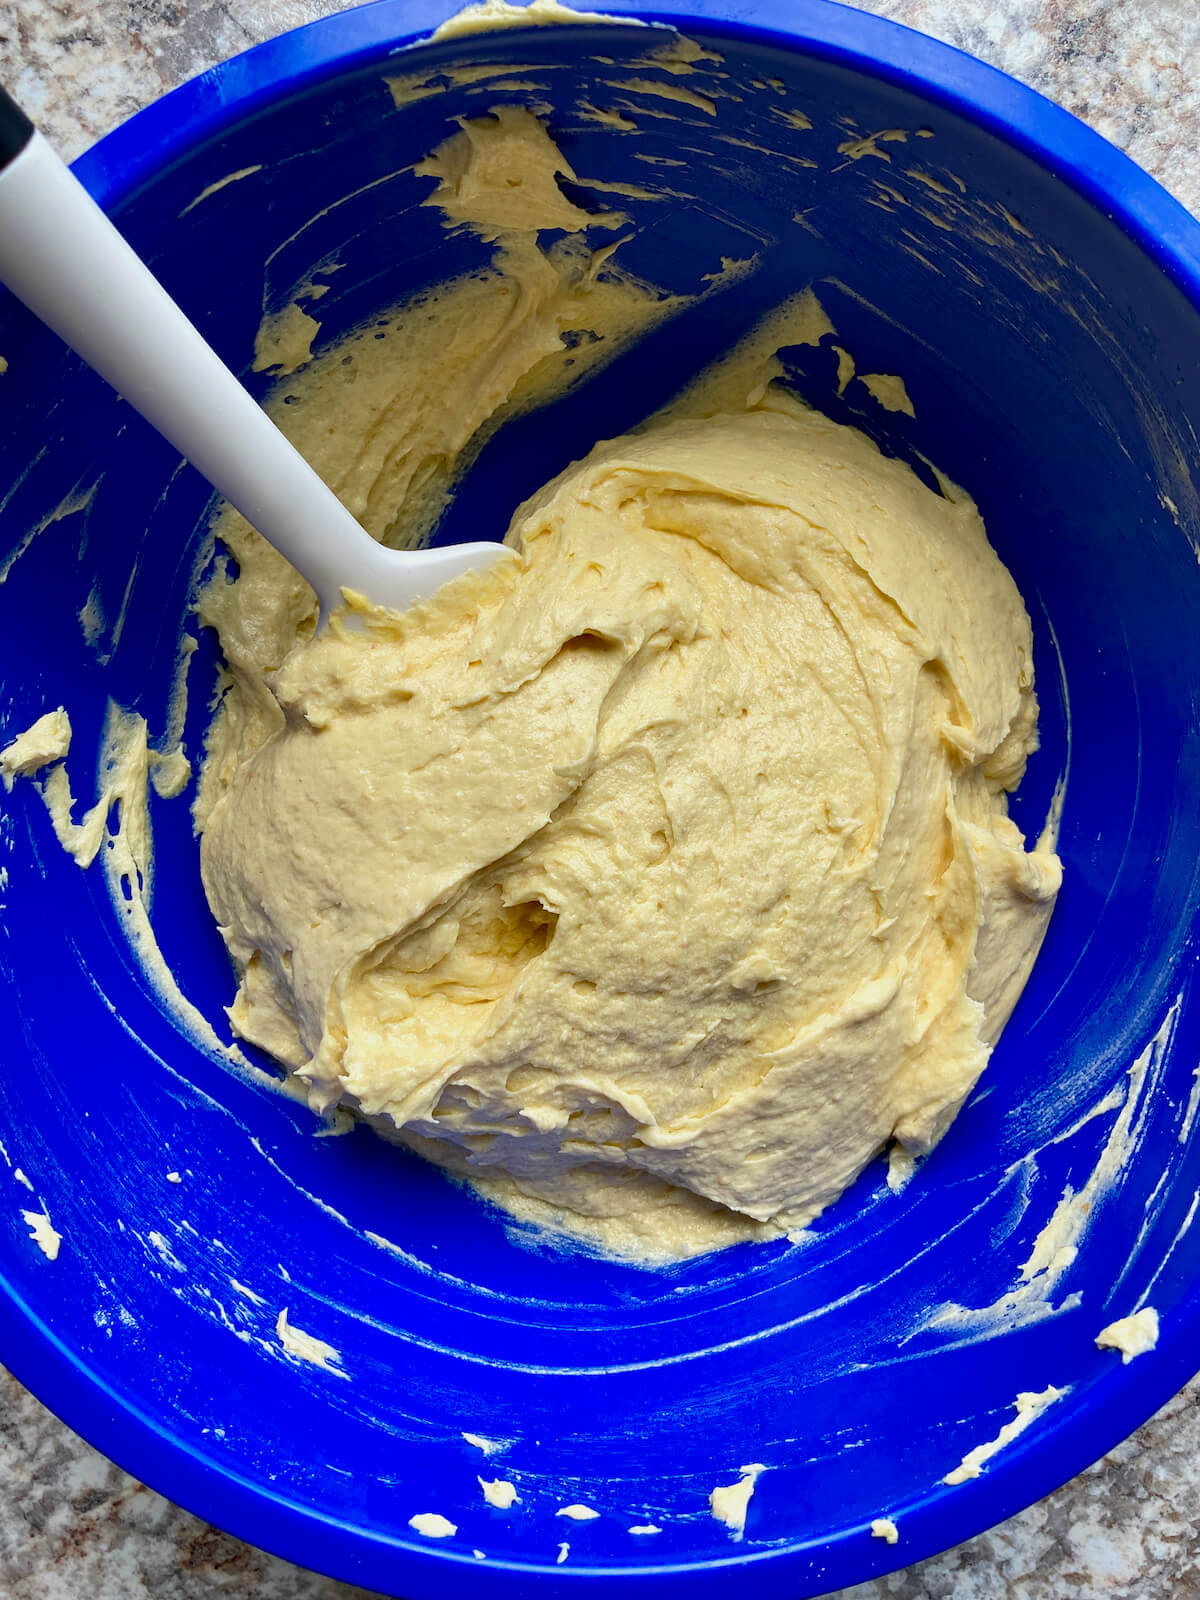
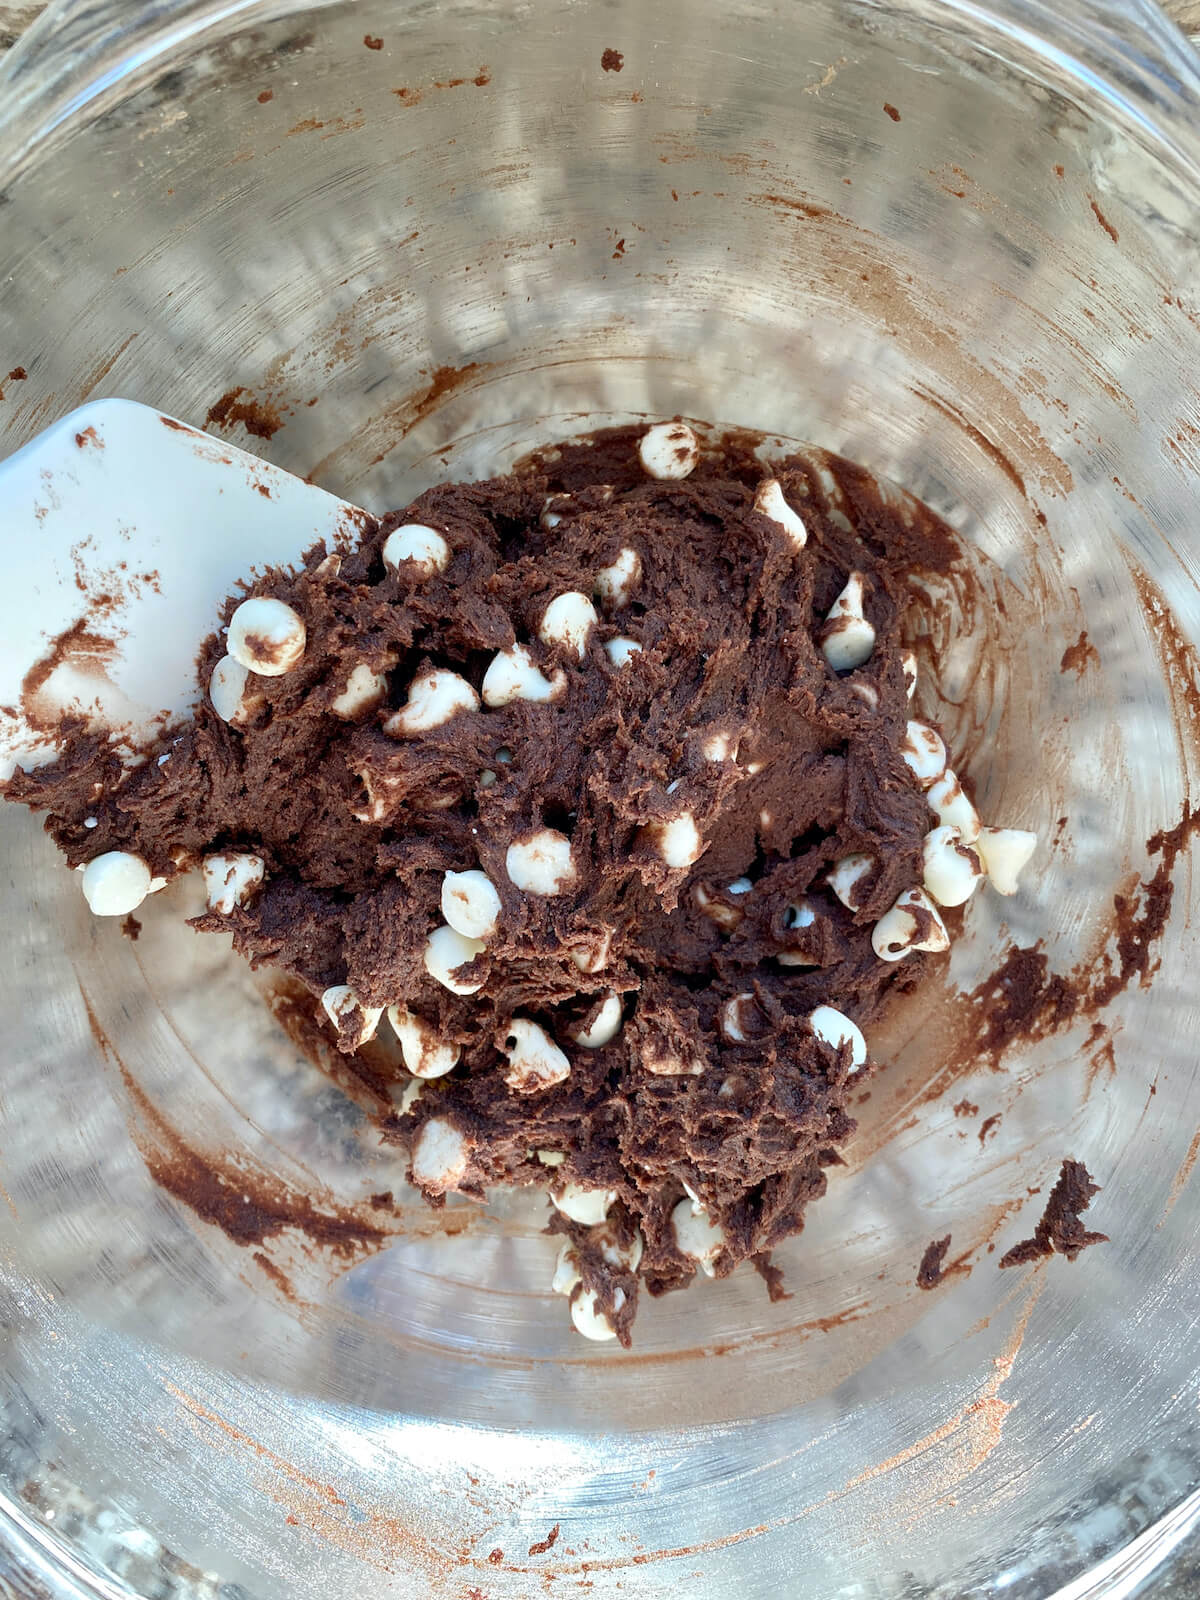
Step 3: Mix cookie dough. Gradually add the dry ingredient mixture to the wet ingredients, mixing on low speed until a thick dough forms and no dry flour remains visible. Gently fold in the white chocolate chips until evenly distributed throughout the dough.
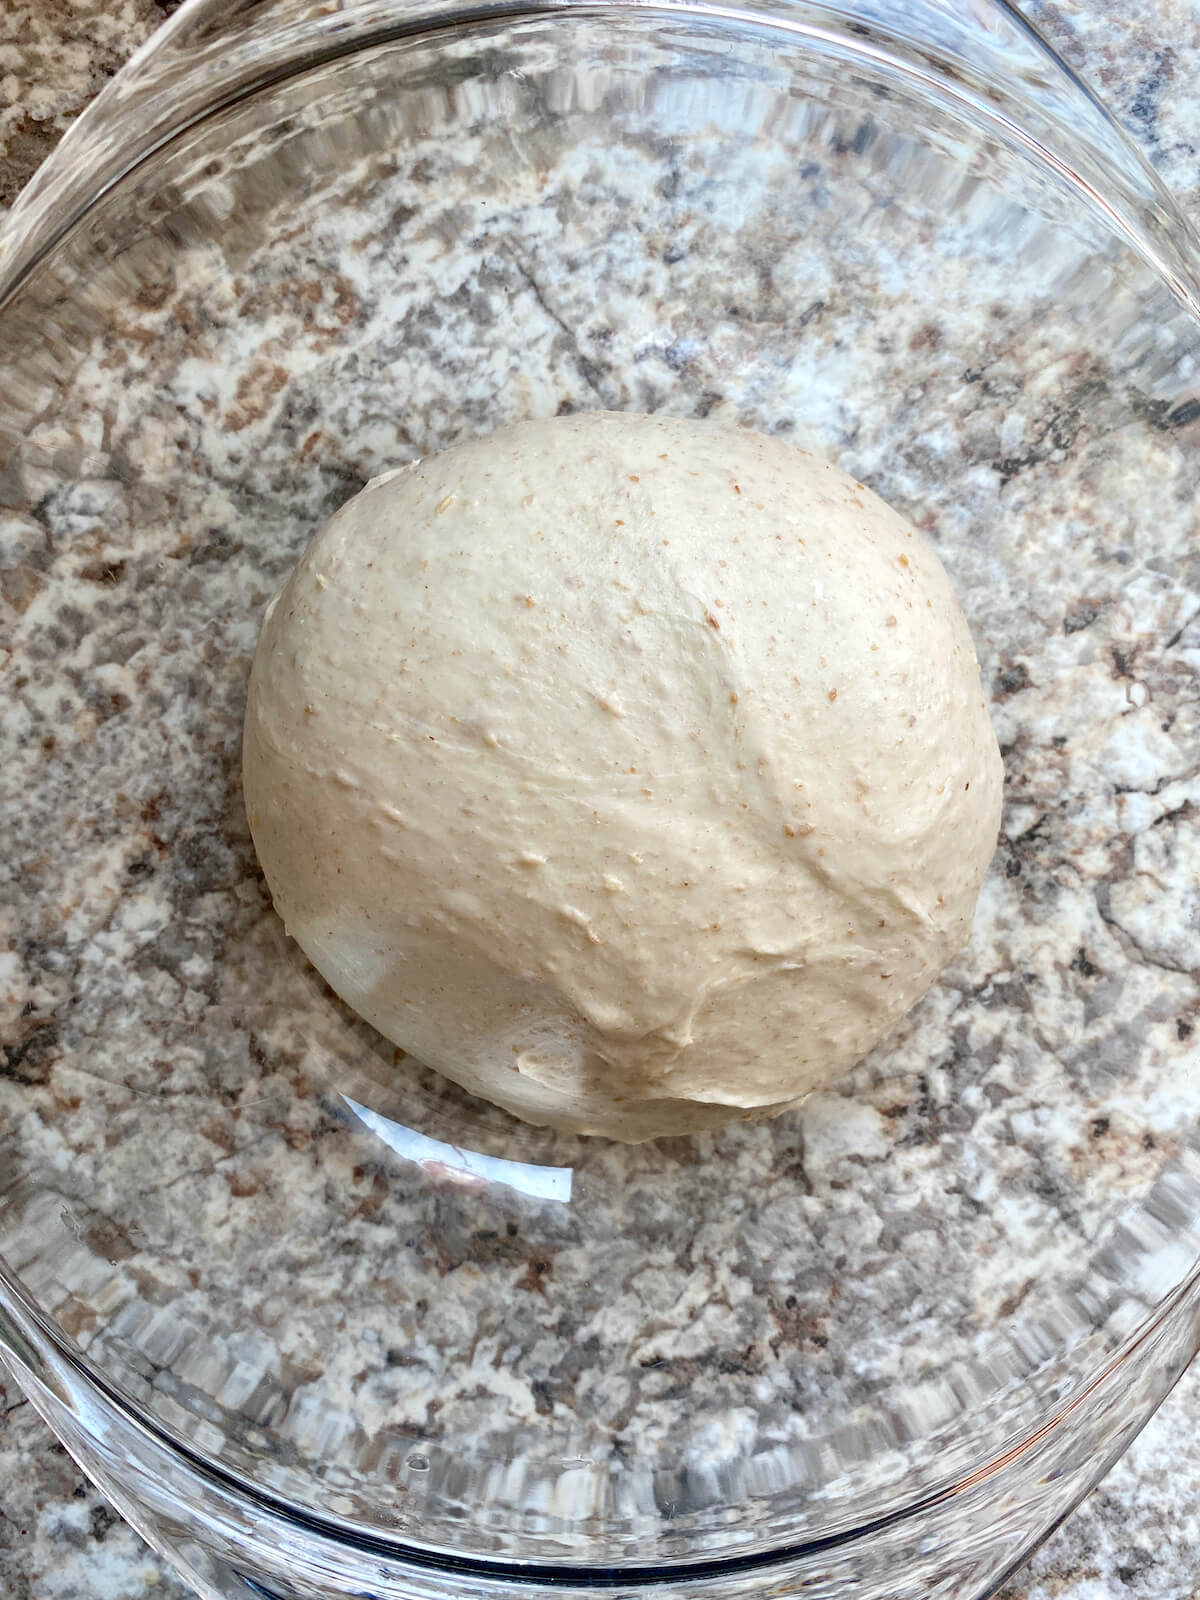
Step 4: Chill the dough. For the best flavor and texture, cover the dough and refrigerate for at least 1 hour (or up to 48 hours). If you’re short on time, you can bake the dough immediately as long as it’s not overly soft.
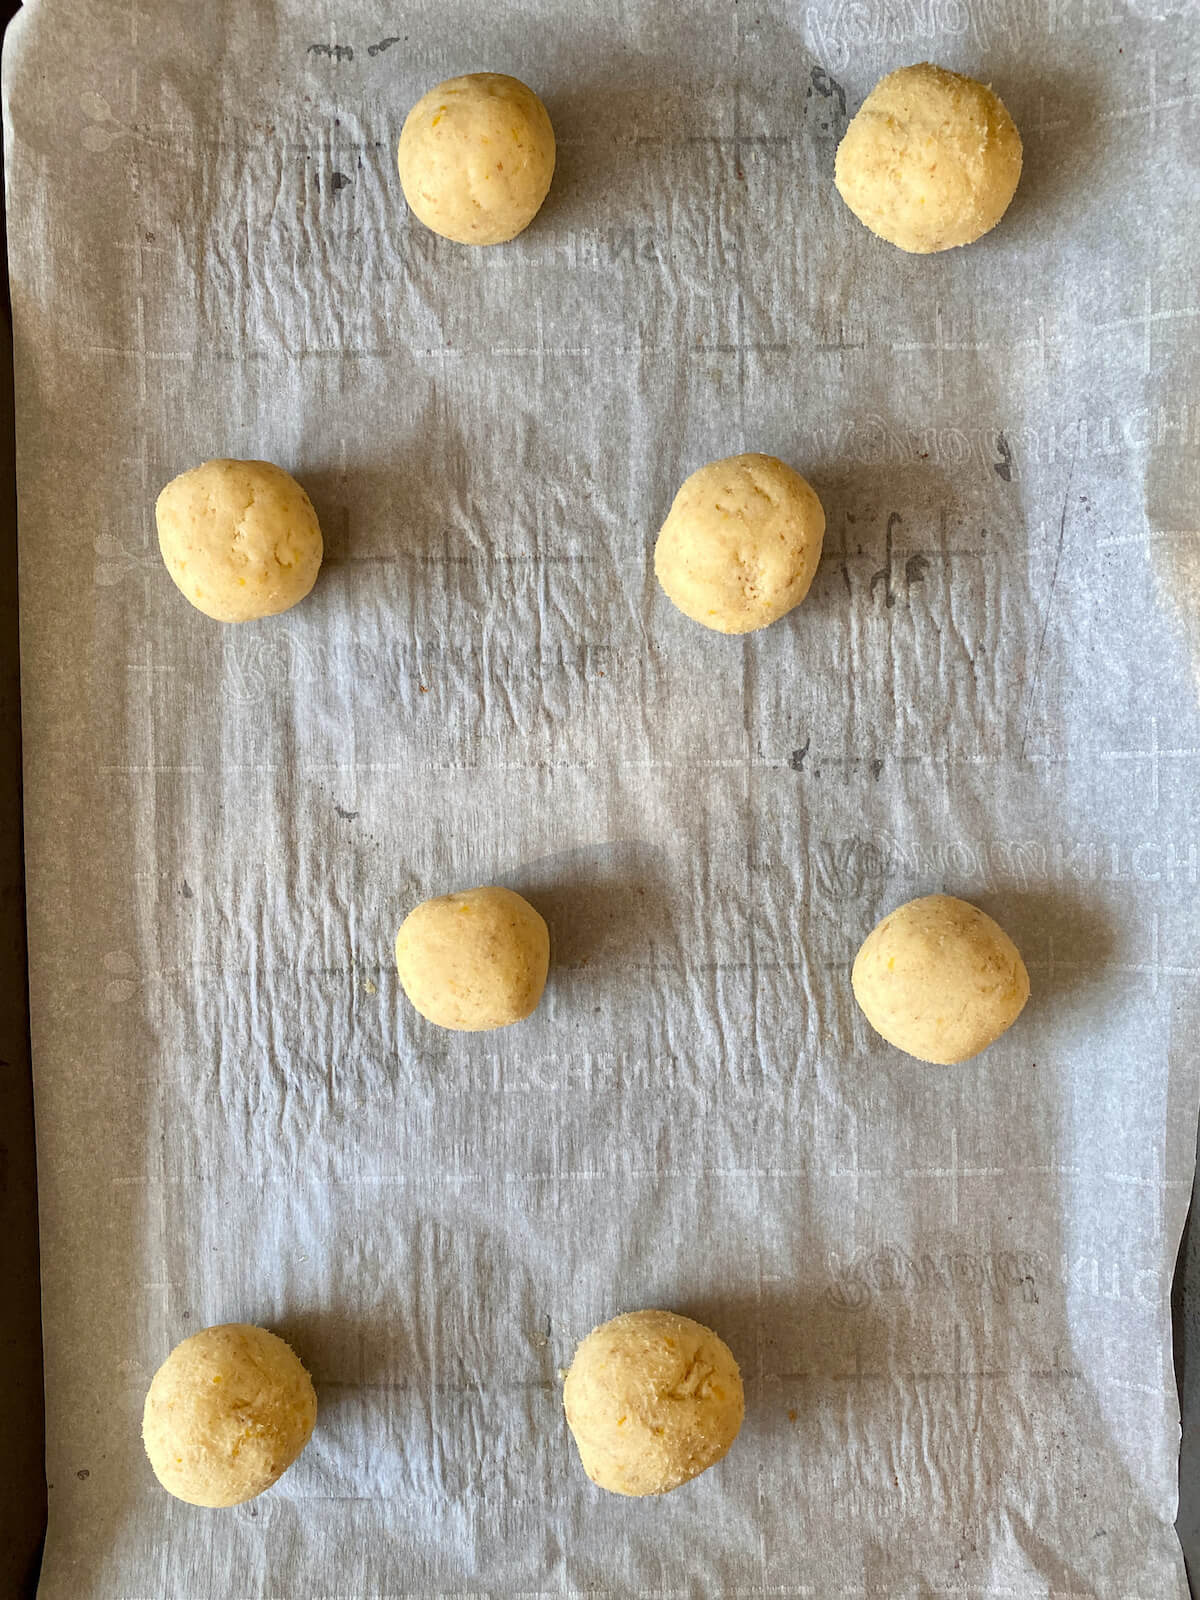
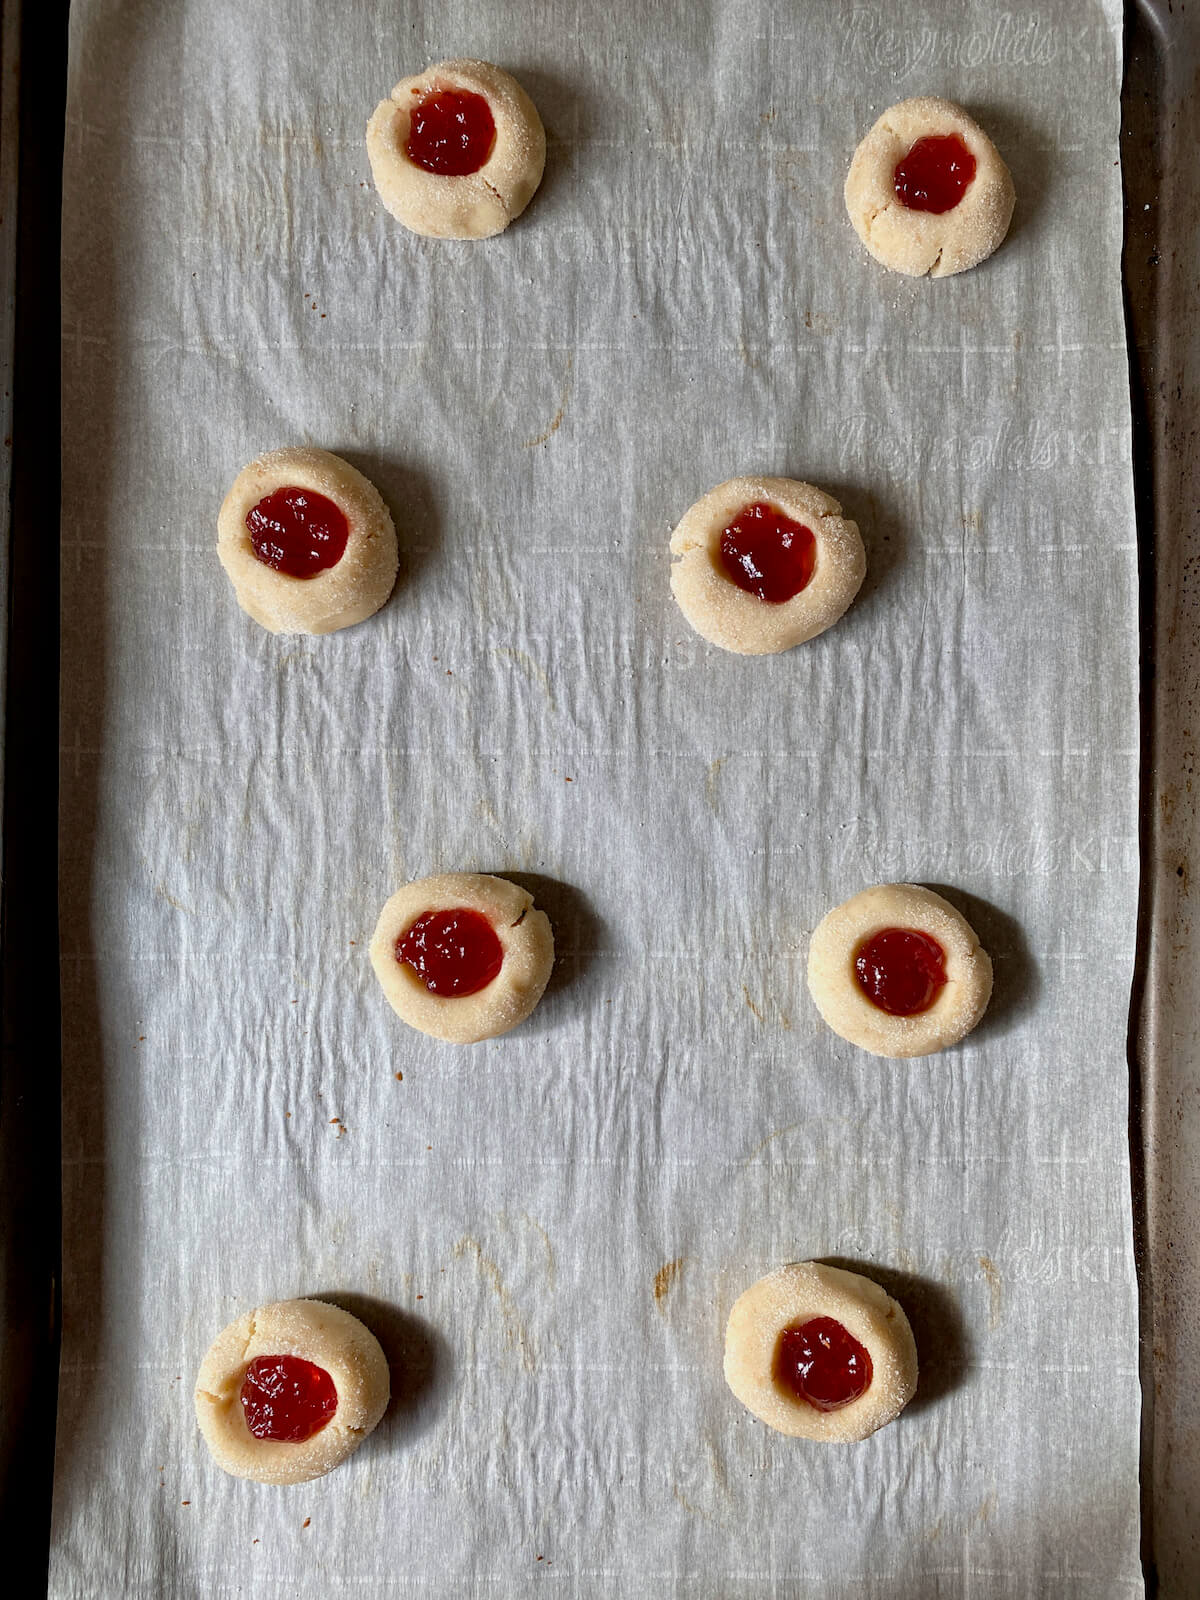
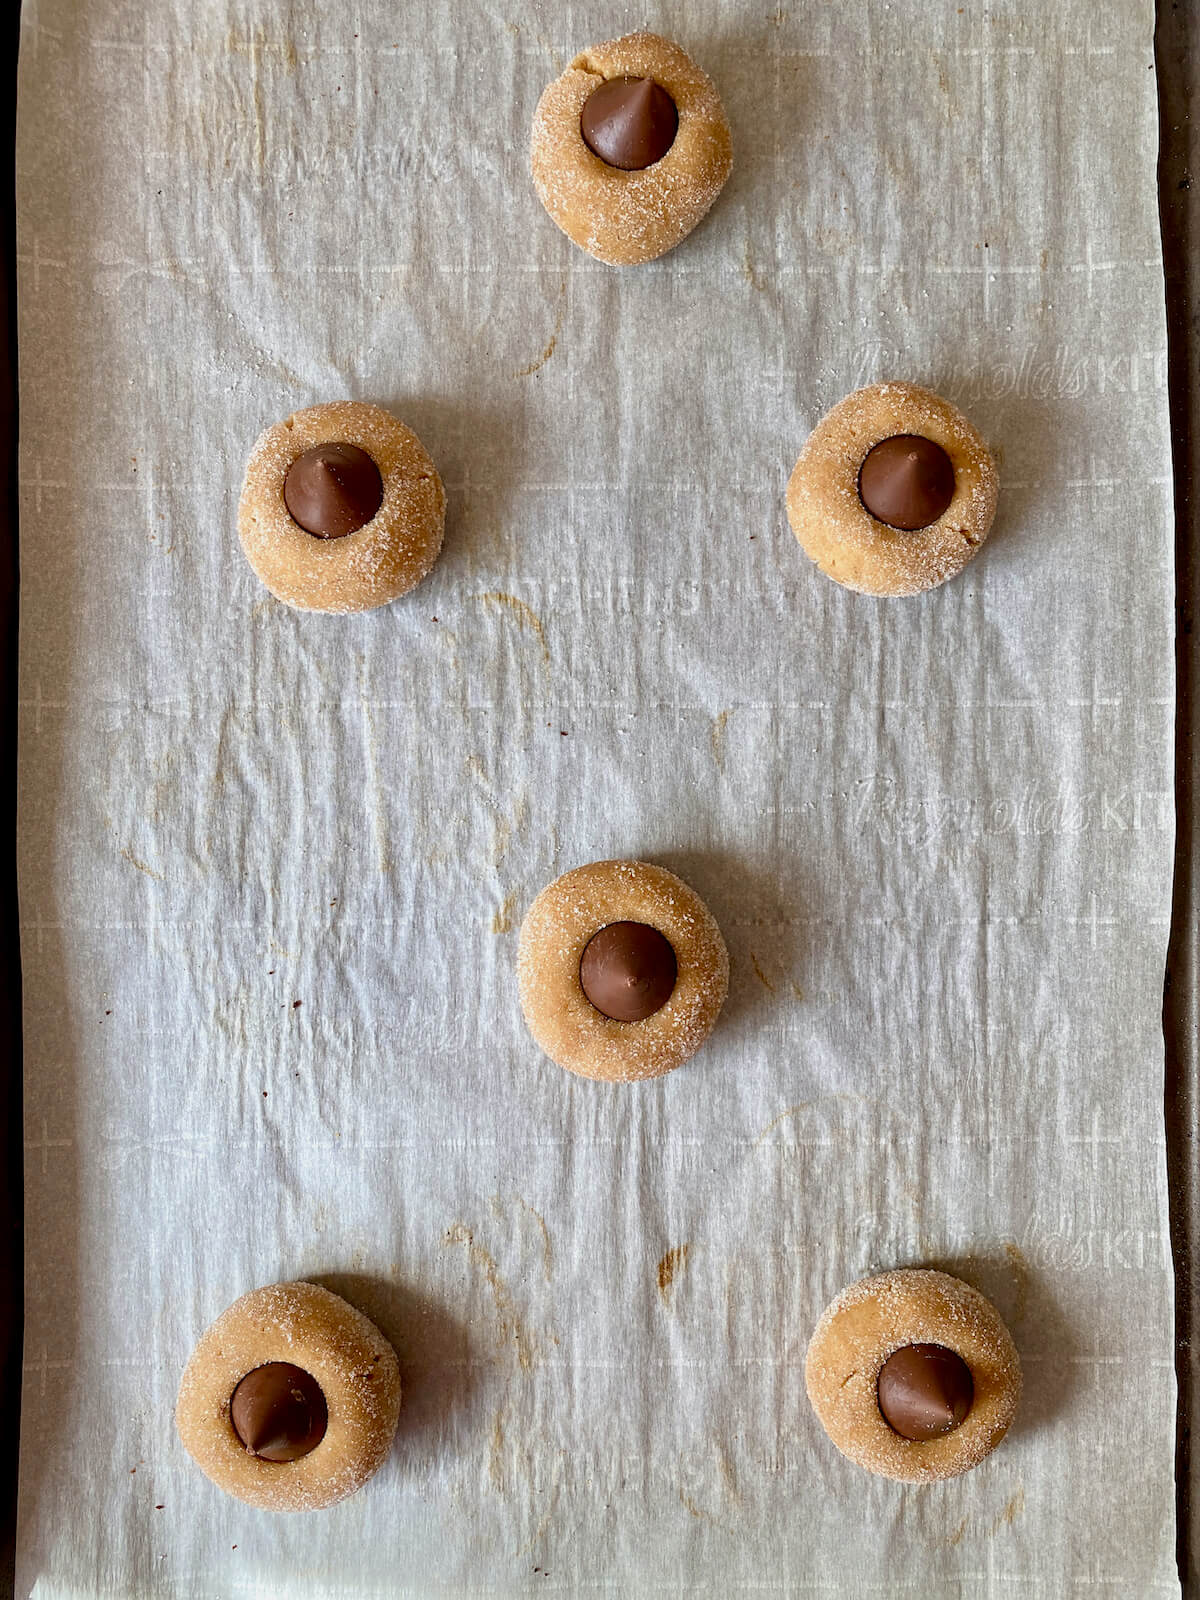
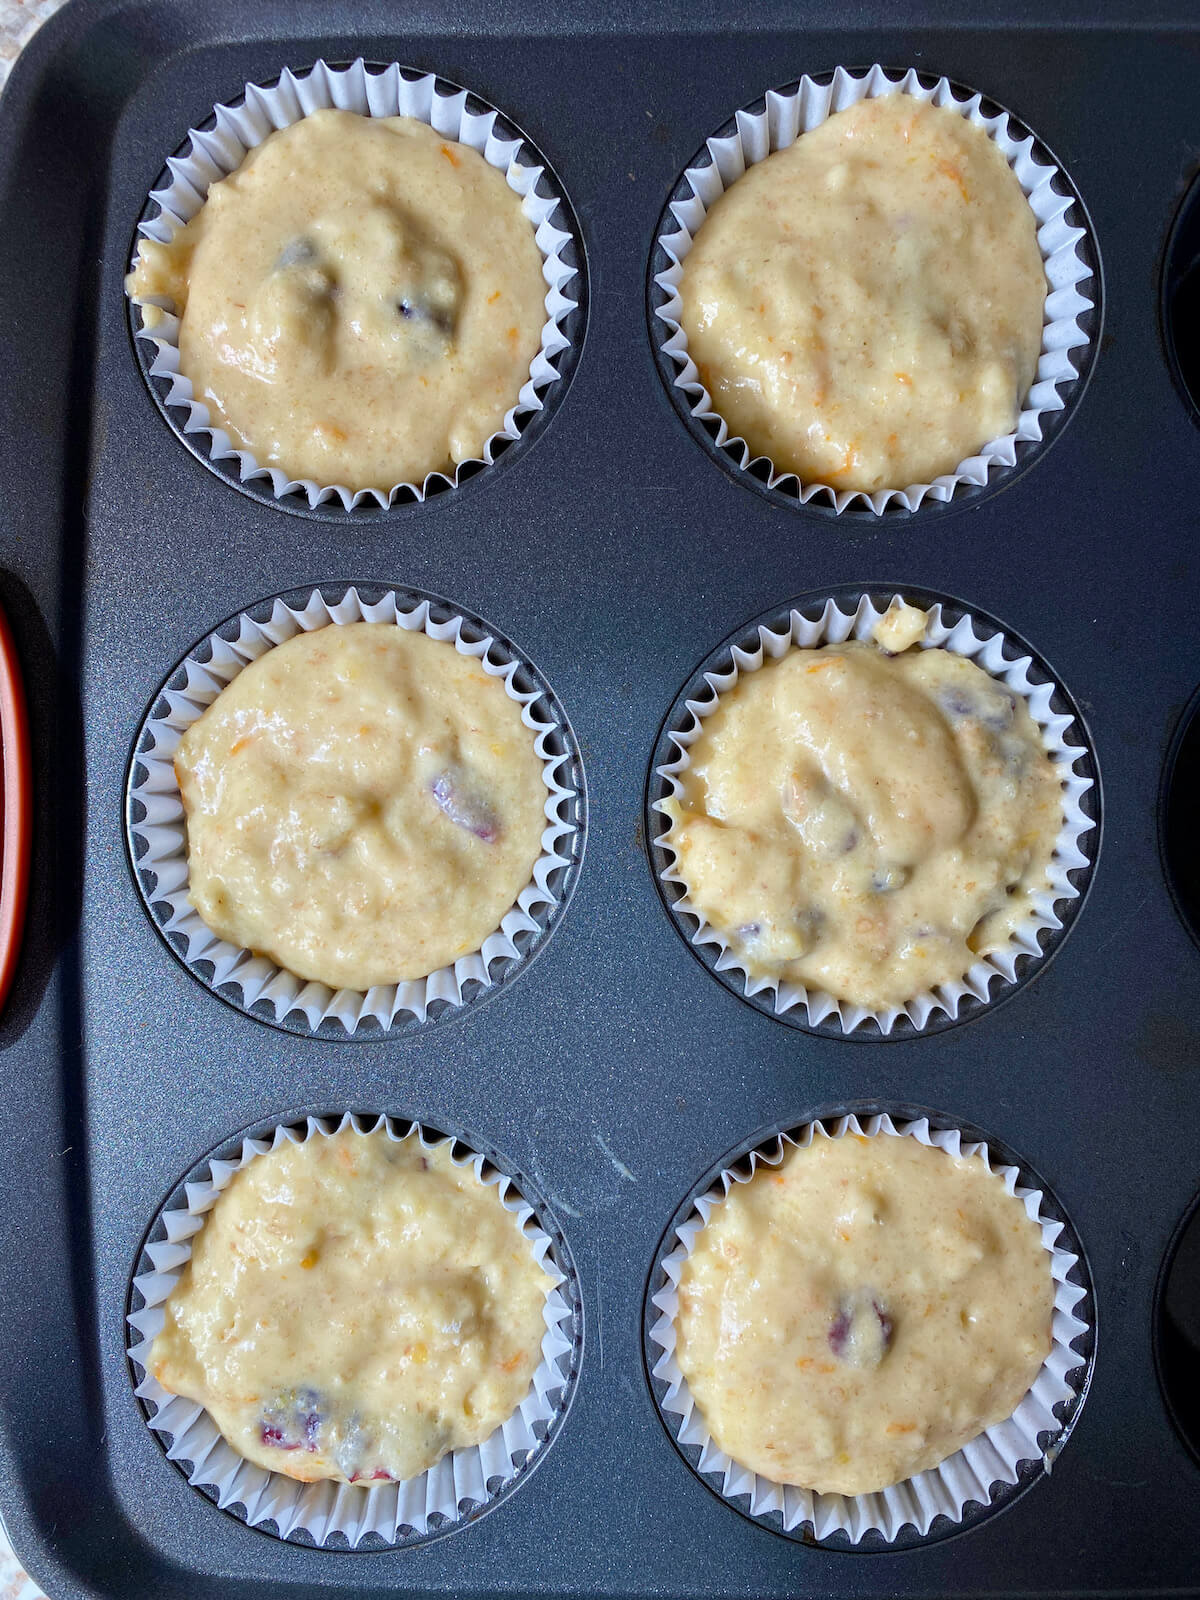
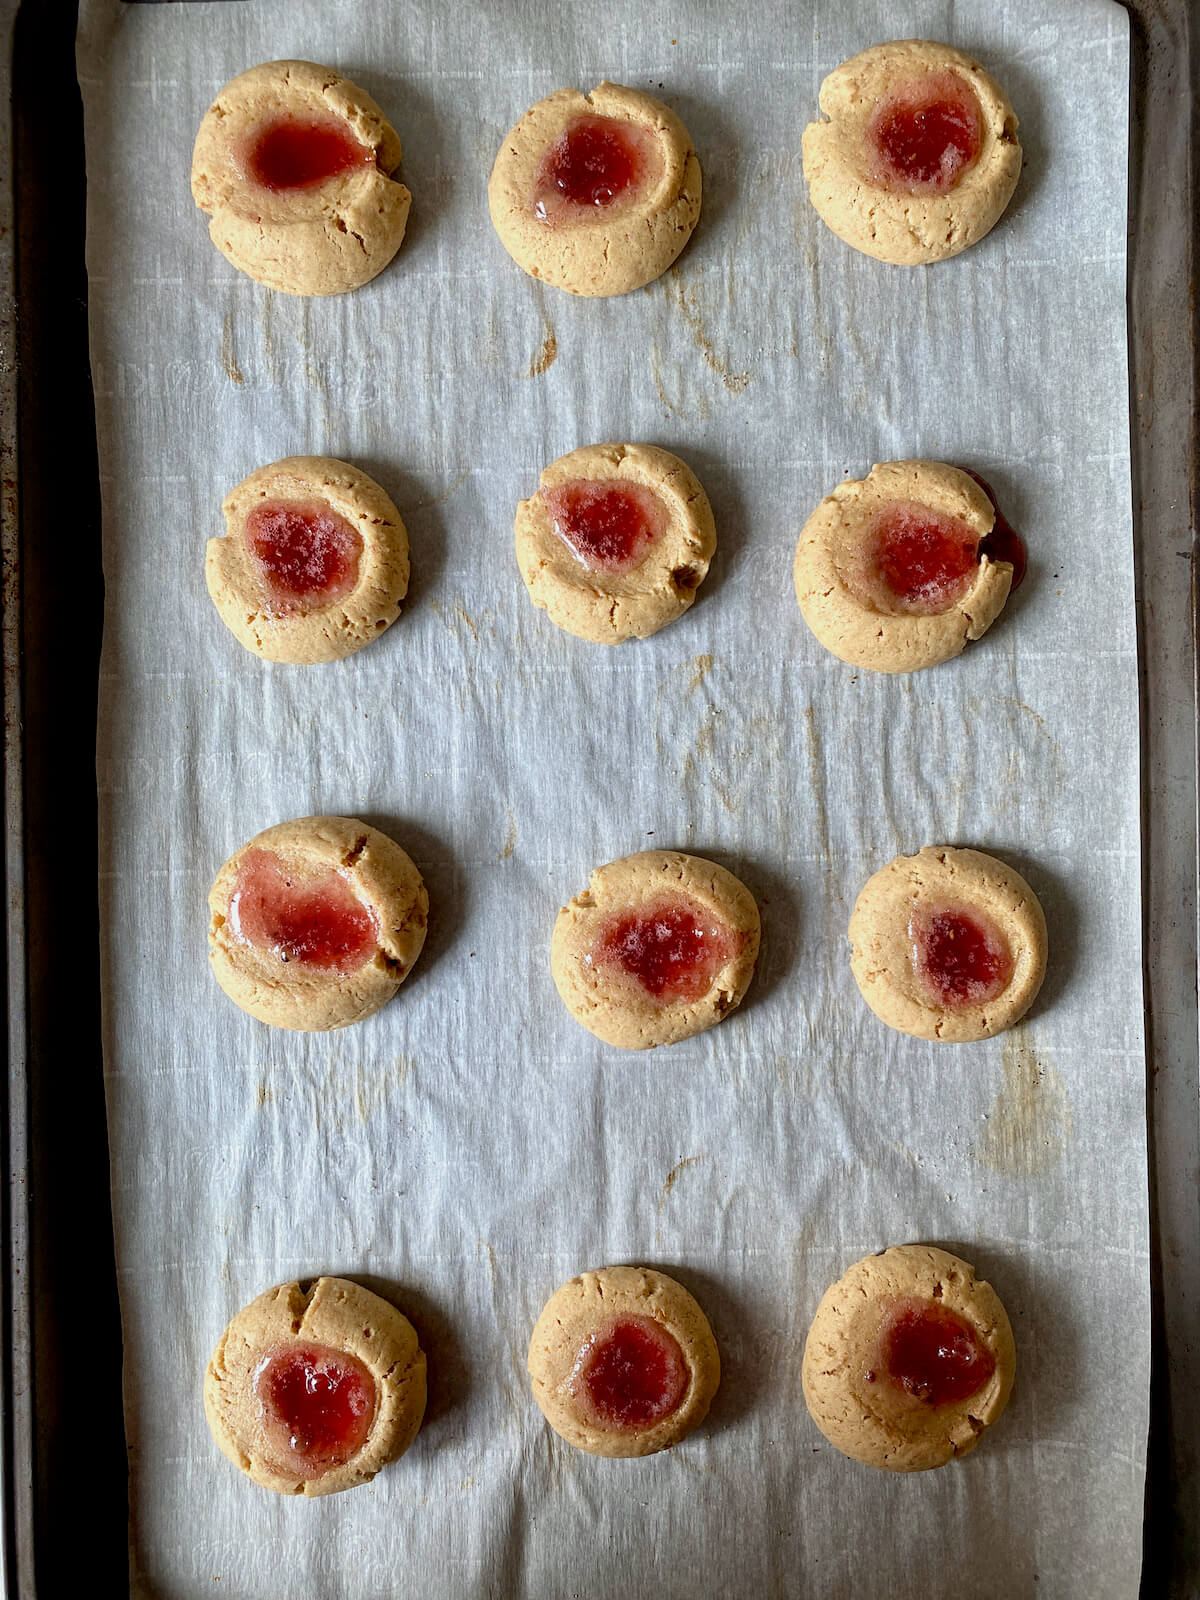
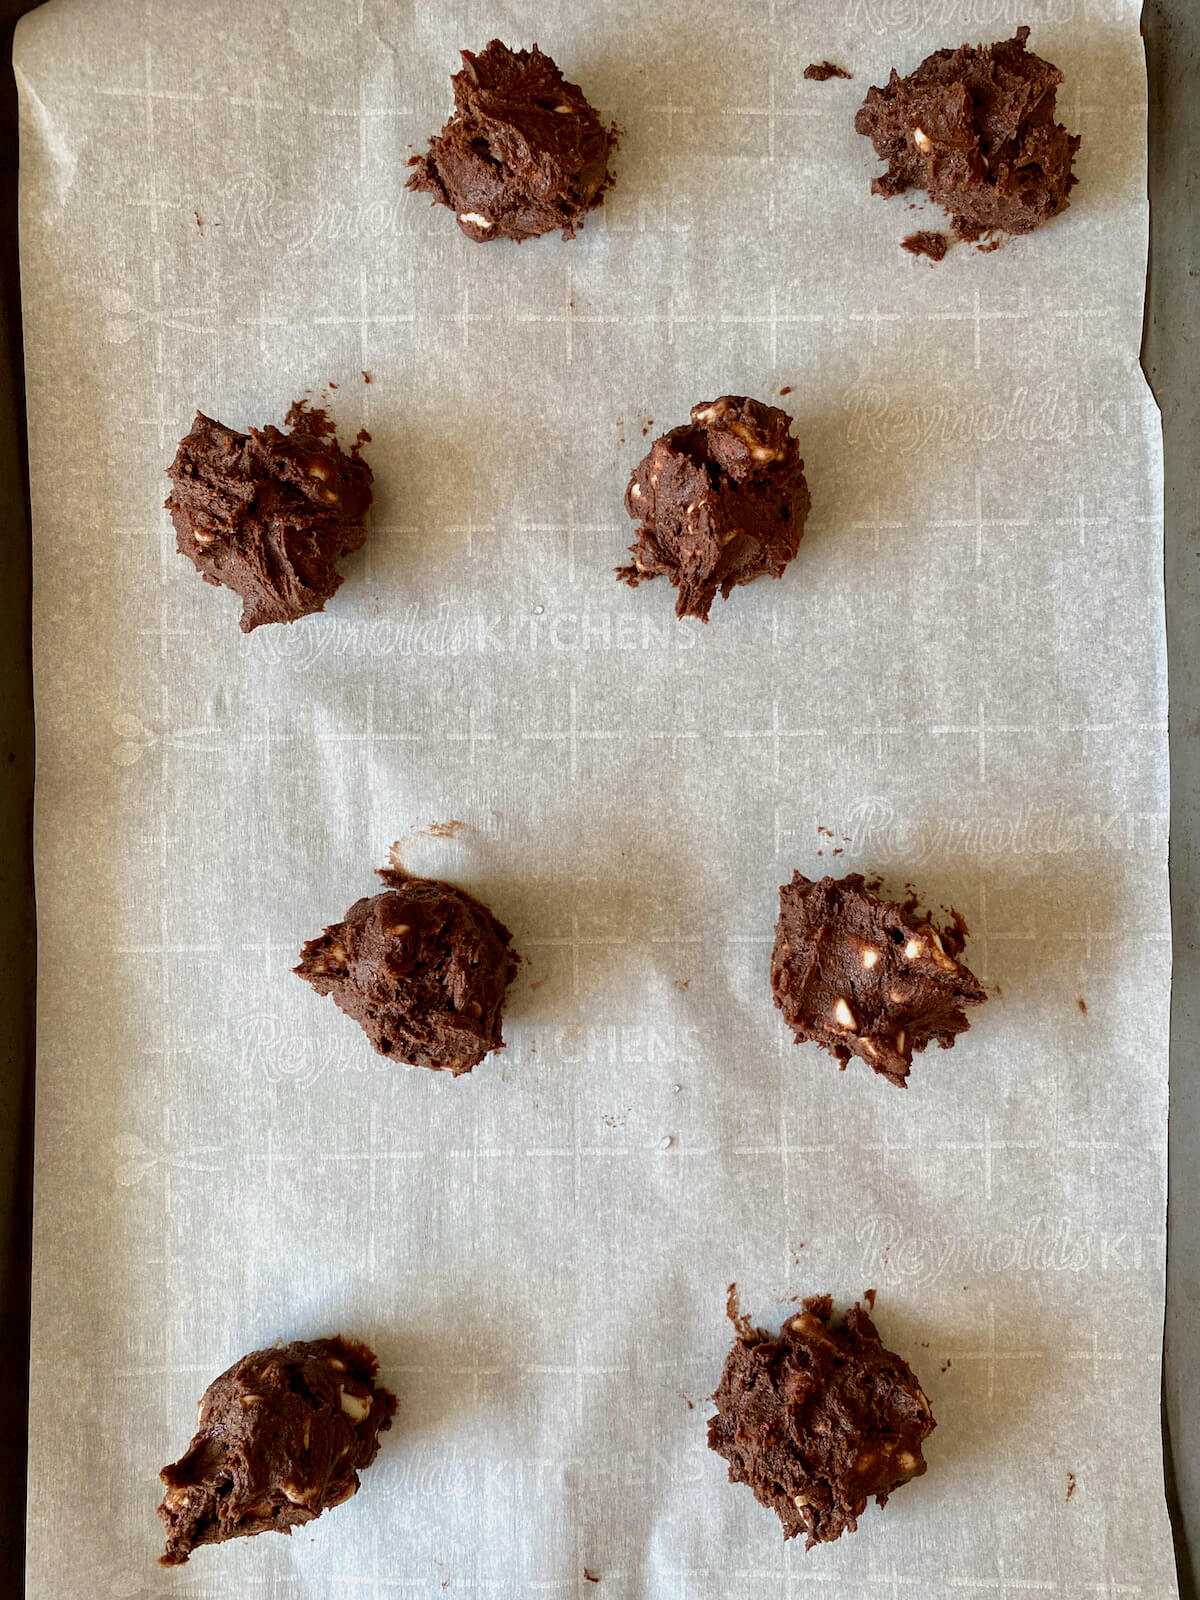
Step 5: Portion cookie dough. When ready to bake, preheat your oven to 350°F and line a baking sheet with parchment paper. Use a tablespoon or small cookie scoop to drop heaping tablespoons of dough onto the prepared baking sheet, spacing them about 2 inches apart.
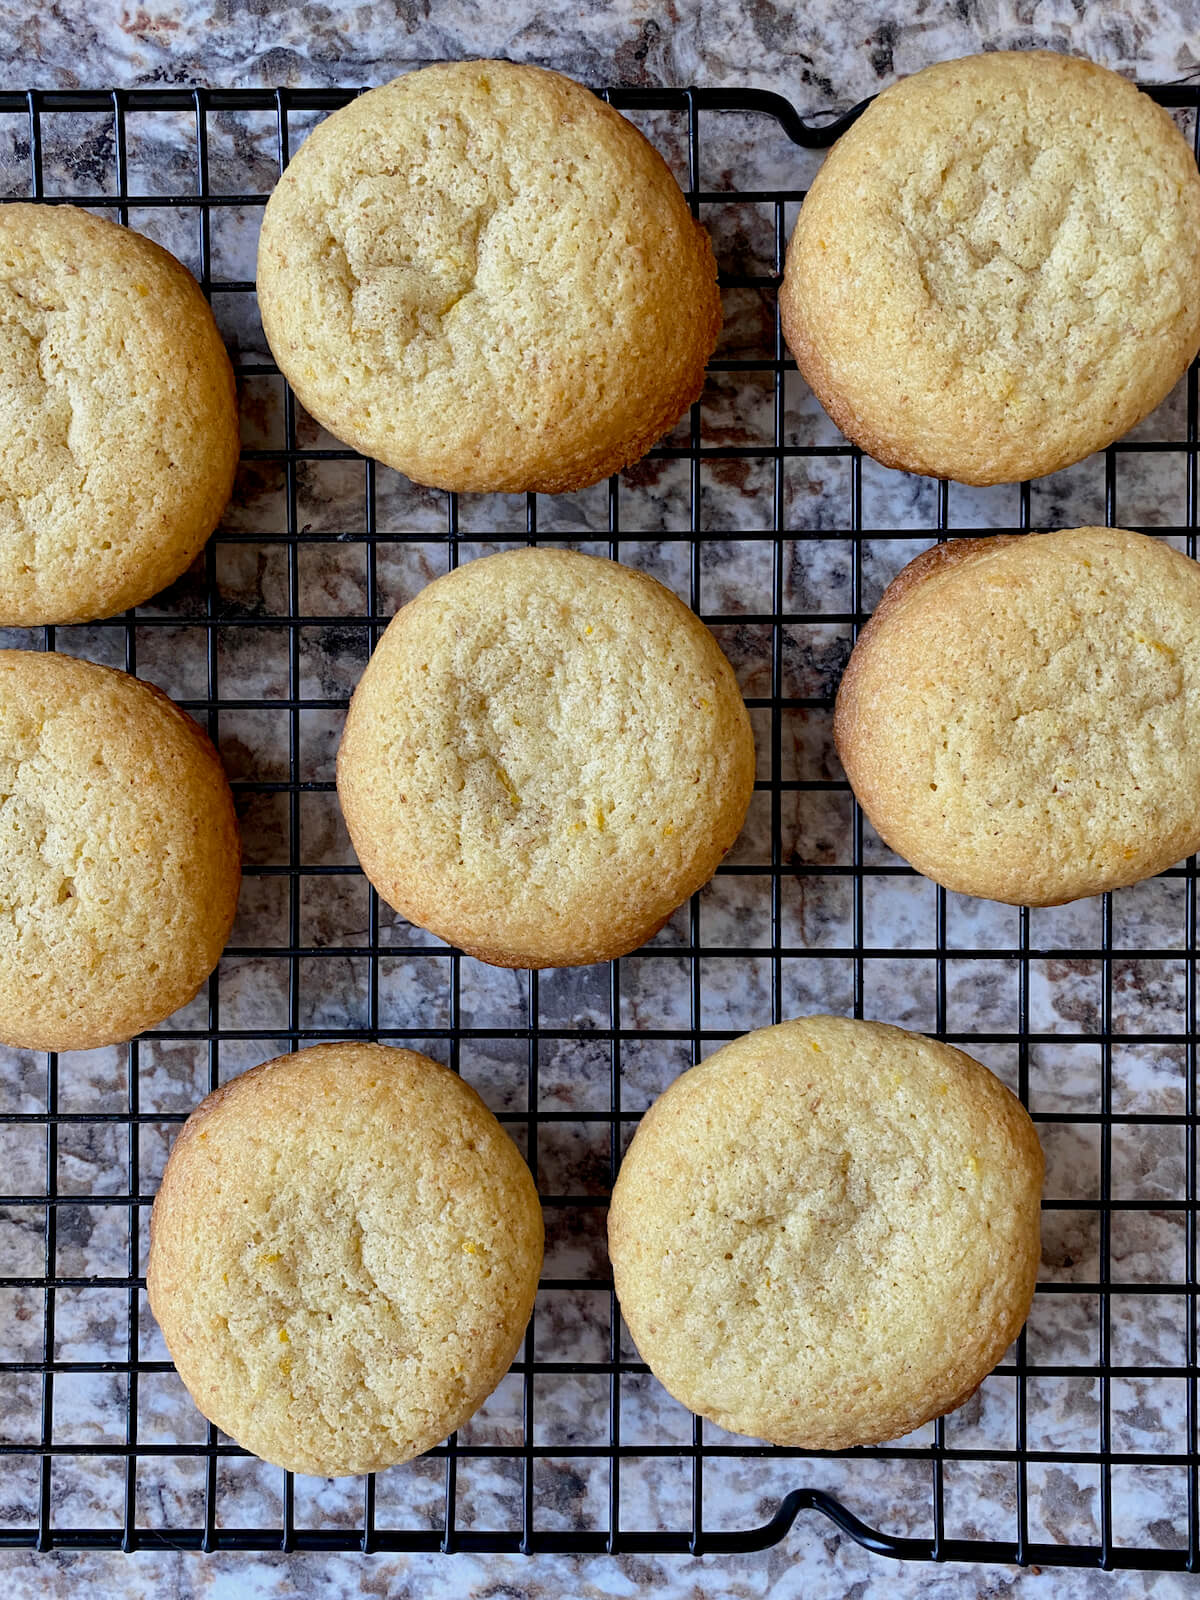
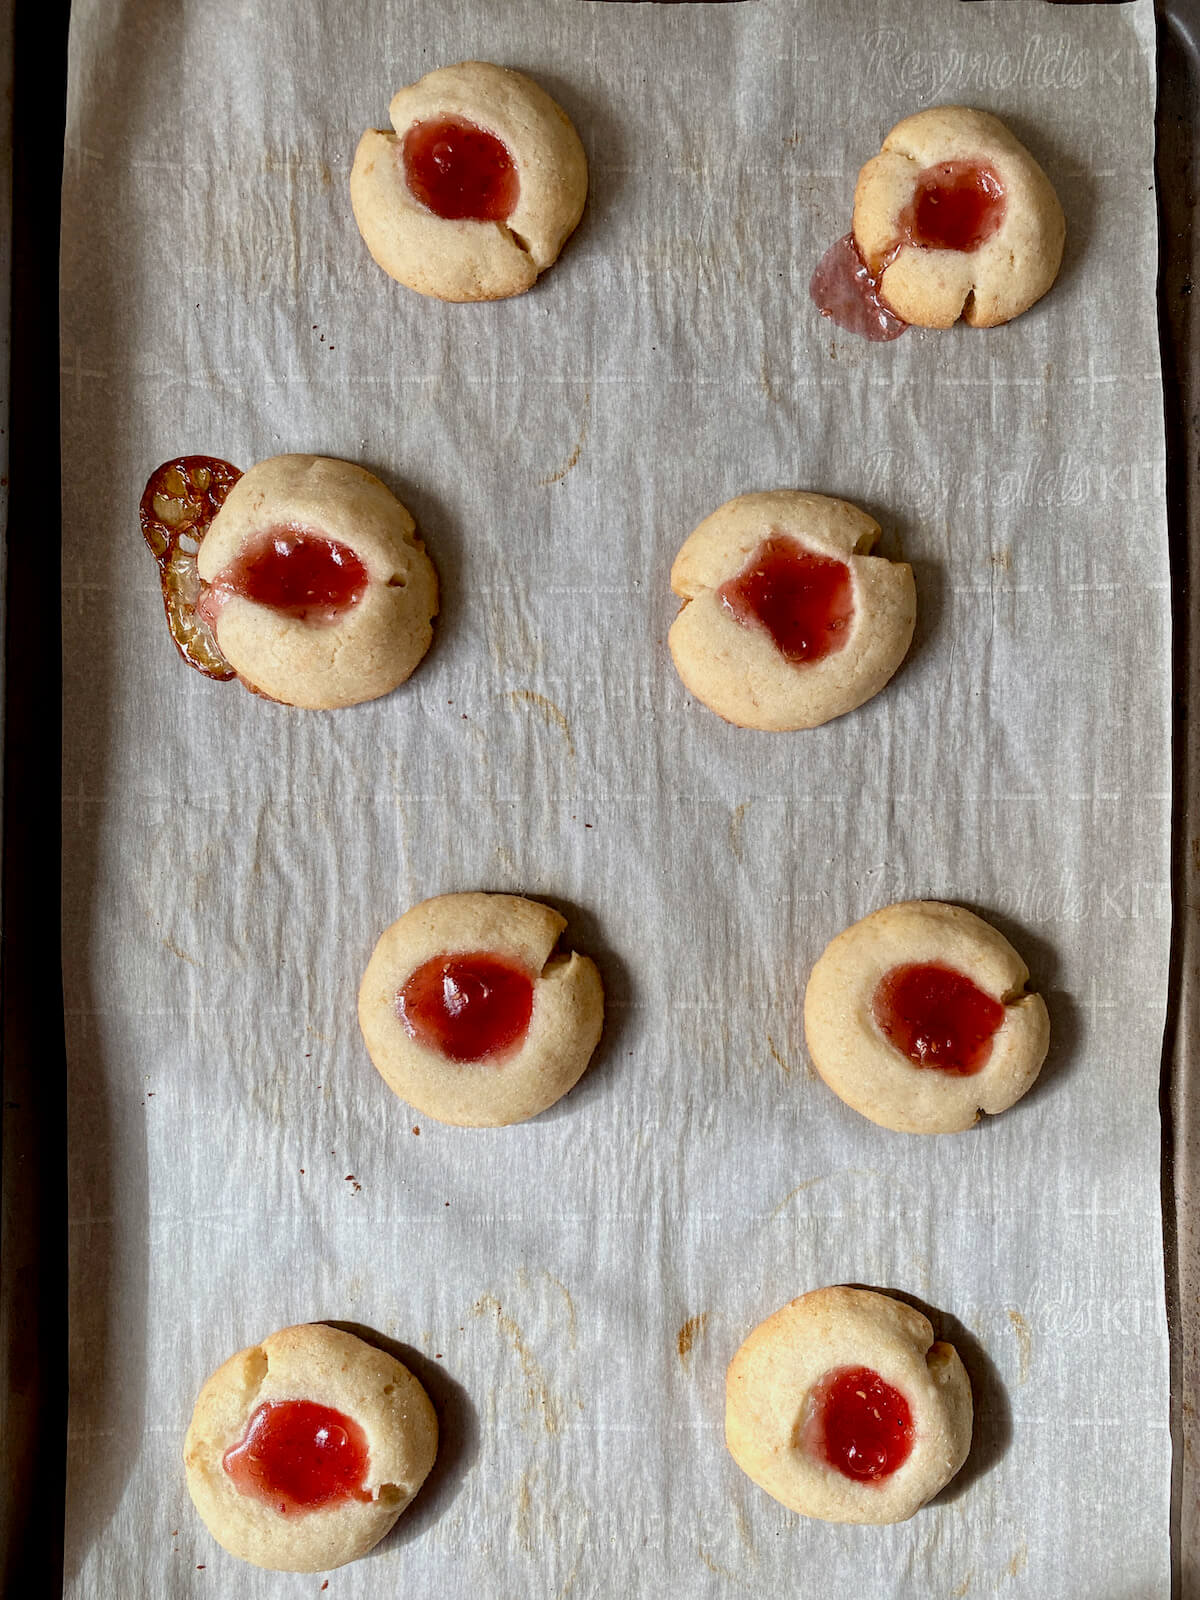
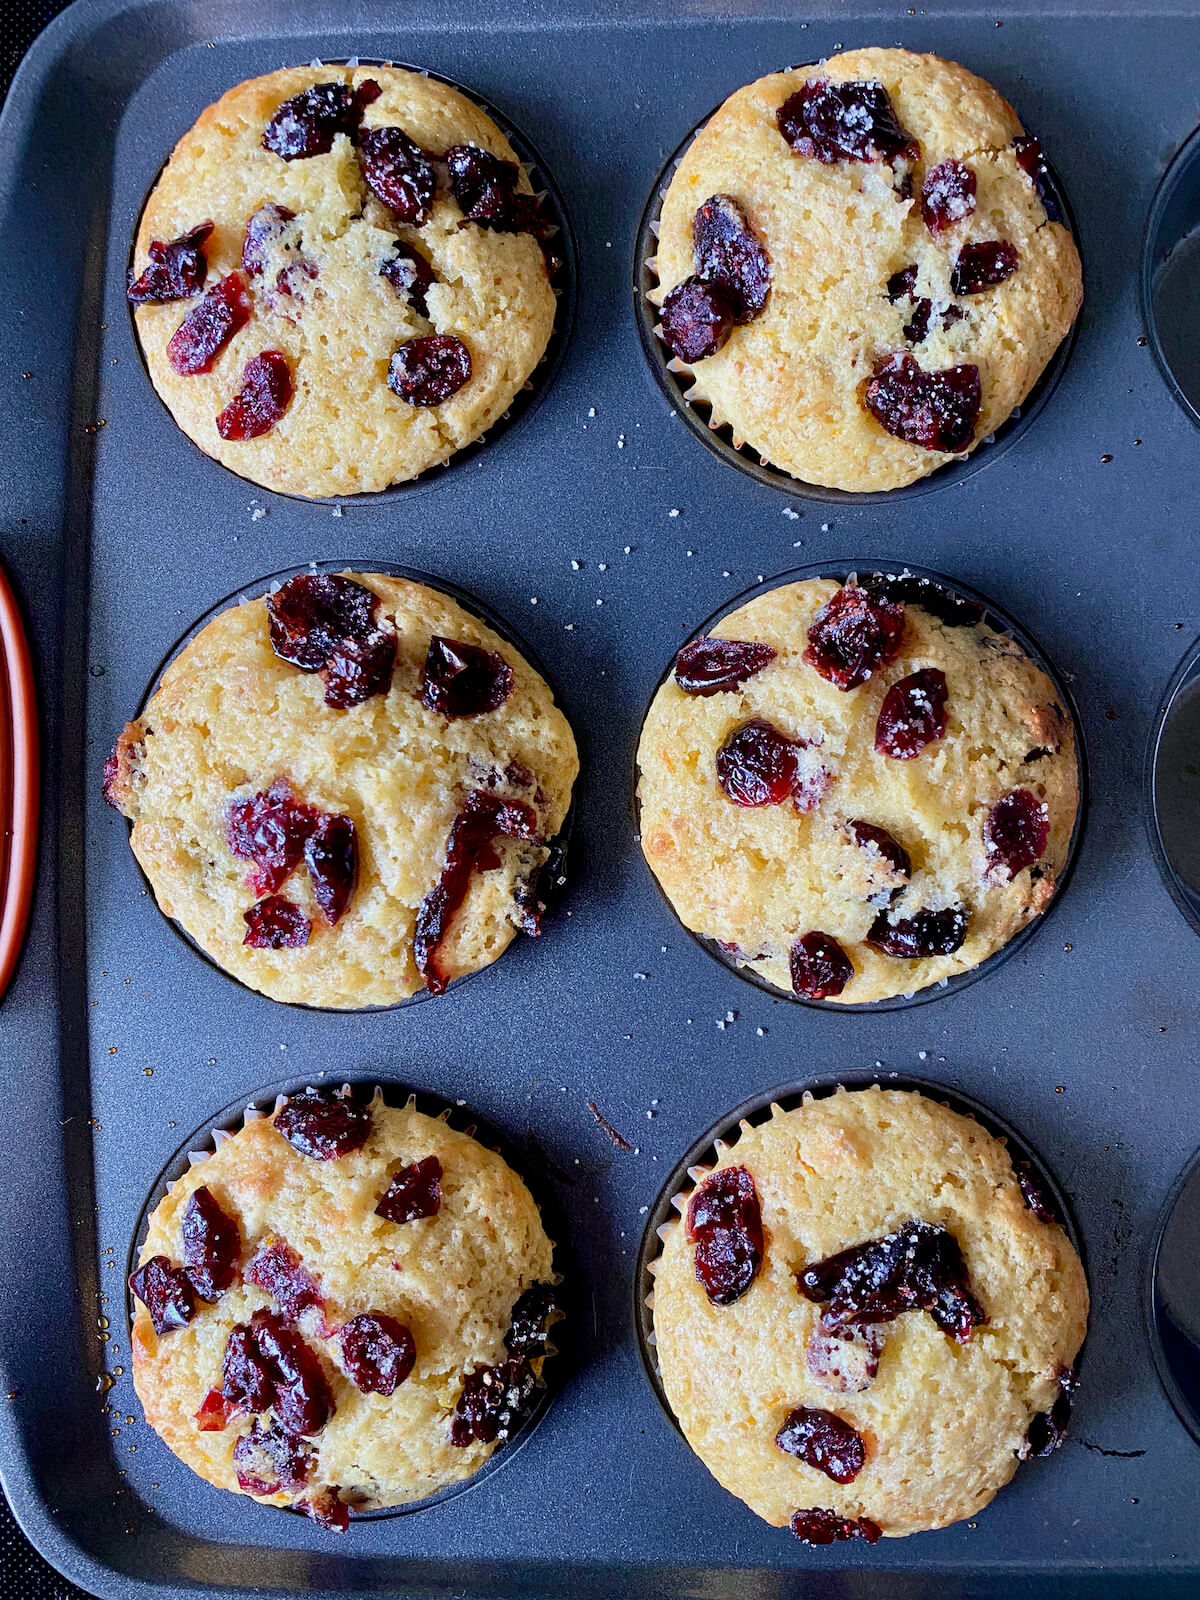
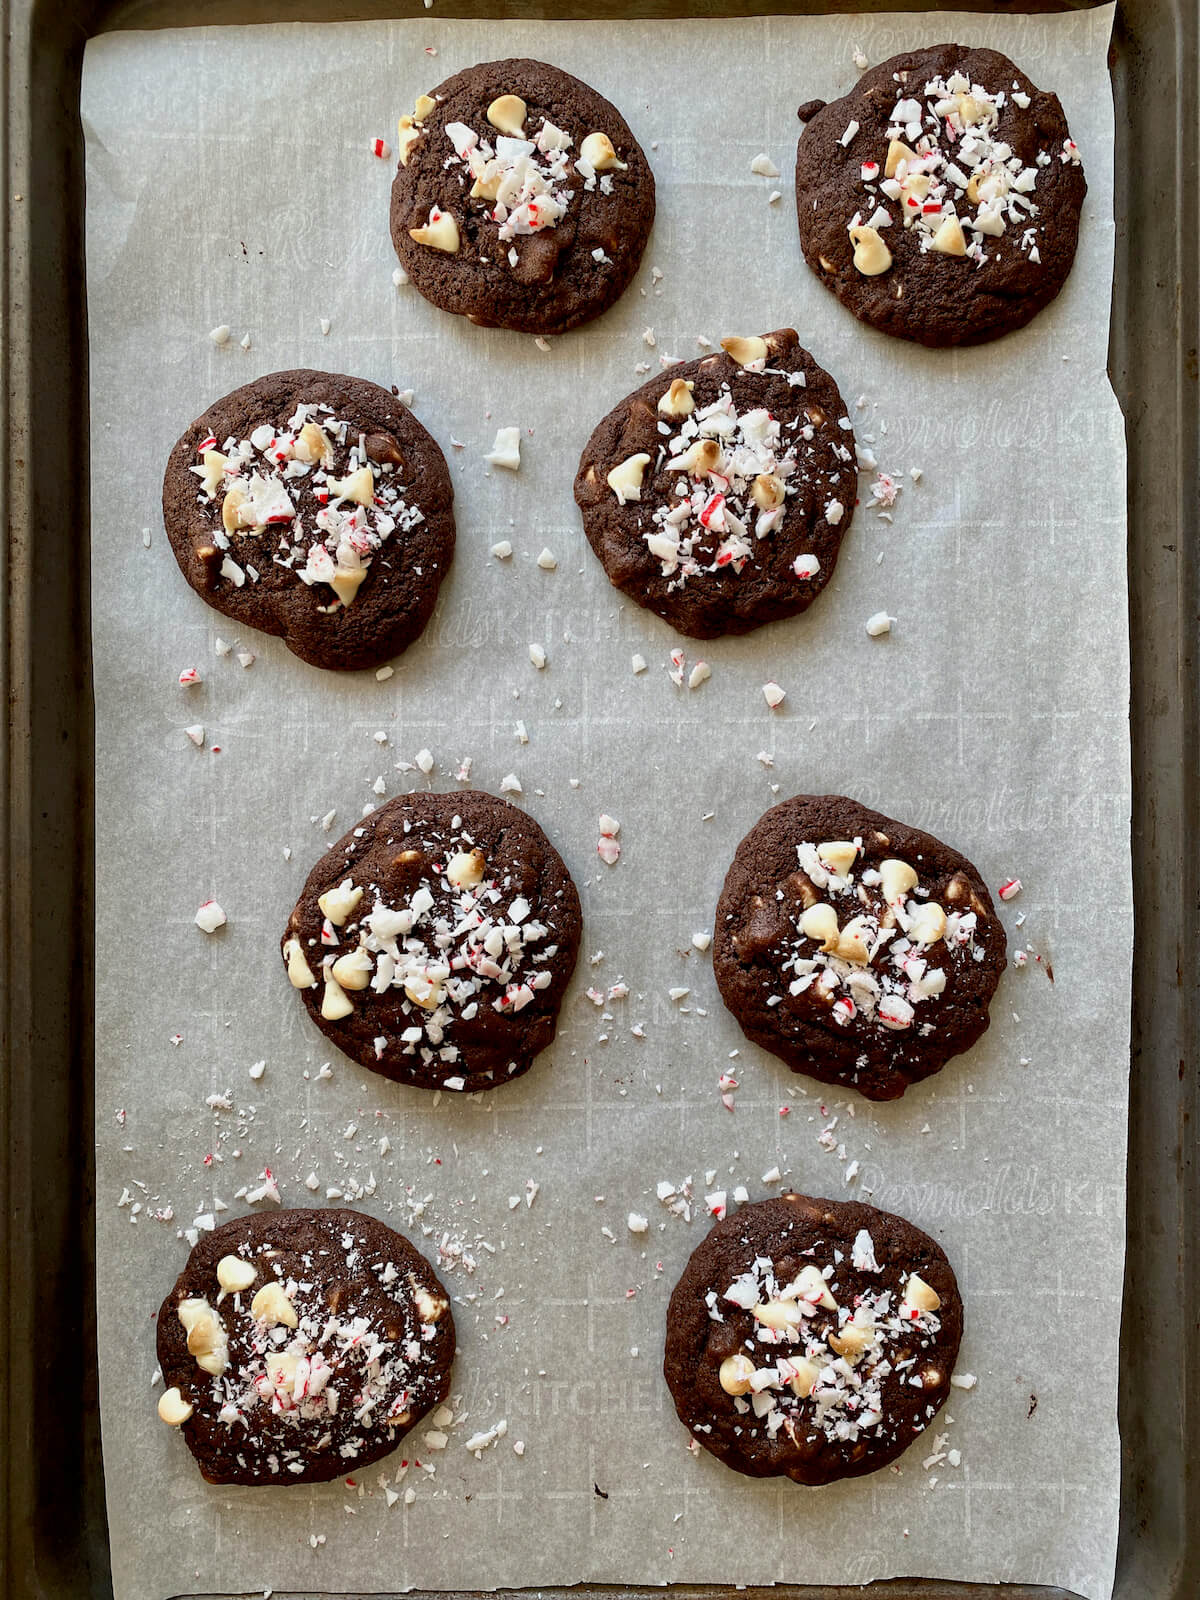
Step 6: Bake the cookies. Bake the cookies for 9-11 minutes or until the centers are just set. While the cookies are still hot, sprinkle them with crushed peppermint candy so it sticks.
Step 7: Cool. Allow the cookies to cool on the baking sheet for 5 minutes before transferring them to a wire rack to cool completely.
How to Store
Store sourdough white chocolate peppermint cookies in an airtight container at room temperature for up to one week. For longer storage, freeze the cookies for up to 6 months. Thaw at room temperature before serving.
If you want to make the dough ahead, you can keep it in the fridge for up to 2 days or freeze it for up to 2 months. For easy baking later, I suggest freezing the dough in pre-portioned balls.


Are you tired of watching your sourdough discard go to waste?
It’s time to turn excess discard into something delicious with my new ebook - Everyday Sourdough!
Inside, you’ll find 27 tried-and-true sourdough discard recipes that will transform your leftover starter into mouthwatering creations your family and friends will love.
No more guilt about wasting your discard - with Everyday Sourdough, you have endless options to quickly make something amazing anytime.
Let's Connect!
Be sure to leave a comment below if you have any questions. You can also connect with me on Instagram, Facebook, Pinterest, or via email at [email protected].


📖 Recipe

White Chocolate Peppermint Sourdough Cookies
Equipment
- Hand mixer or stand mixer
Ingredients
- 2 ¼ cups (270 grams) all-purpose flour
- ¼ cup (60 grams) Dutch-processed cocoa
- 1 teaspoon (5 grams) baking soda
- 1 teaspoon (3 grams) Diamond Crystal Kosher Salt
- 1 cup (226 grams, 2 sticks) unsalted butter softened
- ¾ cup (150 grams) brown sugar
- ¾ cup (150 grams) granulated sugar
- 2 large (100 grams) eggs
- ⅓ cup (75 grams) sourdough starter discard
- 1 teaspoon vanilla extract
- 1 teaspoon peppermint extract
- 2 cups (448 grams) white chocolate chips
- ½ cup crushed candy cane or peppermint starlight candies
Instructions
- In a small bowl, whisk together the flour, cocoa powder, baking soda, and kosher salt. Set aside.2 ¼ cups (270 grams) all-purpose flour, ¼ cup (60 grams) Dutch-processed cocoa, 1 teaspoon (5 grams) baking soda, 1 teaspoon (3 grams) Diamond Crystal Kosher Salt
- In a large mixing bowl, use a hand mixer (or stand mixer) to cream together the softened butter, brown sugar, and granulated sugar until well combined. Add the eggs, beating well until light and fluffy. Mix in the sourdough discard, vanilla extract, and peppermint extract until smooth.1 cup (226 grams, 2 sticks) unsalted butter, ¾ cup (150 grams) brown sugar, ¾ cup (150 grams) granulated sugar, 2 large (100 grams) eggs, 1 teaspoon vanilla extract, 1 teaspoon peppermint extract, ⅓ cup (75 grams) sourdough starter discard
- Gradually add the dry ingredient mixture to the wet ingredients, mixing on low speed until a thick dough forms and no dry flour remains visible. Gently fold in the white chocolate chips until evenly distributed throughout the dough.2 cups (448 grams) white chocolate chips
- For the best flavor and texture, cover the dough and refrigerate for at least 1 hour (or up to 48 hours). If you’re short on time, you can bake the dough immediately as long as it’s not overly soft.
- When ready to bake, preheat your oven to 350°F and line a baking sheet with parchment paper. Use a tablespoon or small cookie scoop to drop heaping tablespoons of dough onto the prepared baking sheet, spacing them about 2 inches apart.
- Bake the cookies for 9-11 minutes or until the centers are just set. While the cookies are still hot, sprinkle them with crushed peppermint candy so it sticks.½ cup crushed candy cane or peppermint starlight candies
- Allow the cookies to cool on the baking sheet for 5 minutes before transferring them to a wire rack to cool completely.
Notes
- Storage: Store cookies in an airtight container at room temperature for up to 1 week or freeze for up to 6 months.
- Make Ahead: Prepare cookie dough and store it in the refrigerator for up to 2 days or freeze for up to 2 months.