
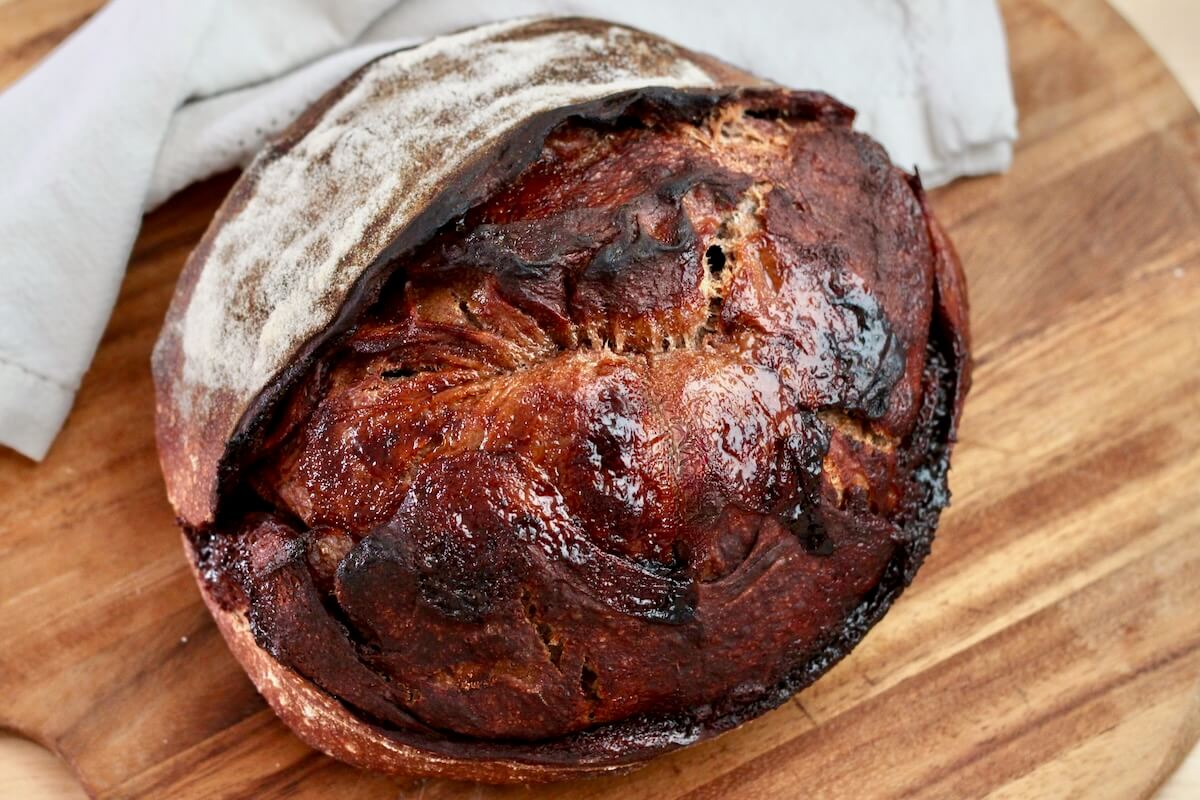
This Hot Cocoa Sourdough Bread is made with hot cocoa mix and mini marshmallows folded right into the dough for a sweet, chocolatey loaf with a hint of marshmallow flavor. It's a fun and easy sourdough inclusion to bake during the holidays!
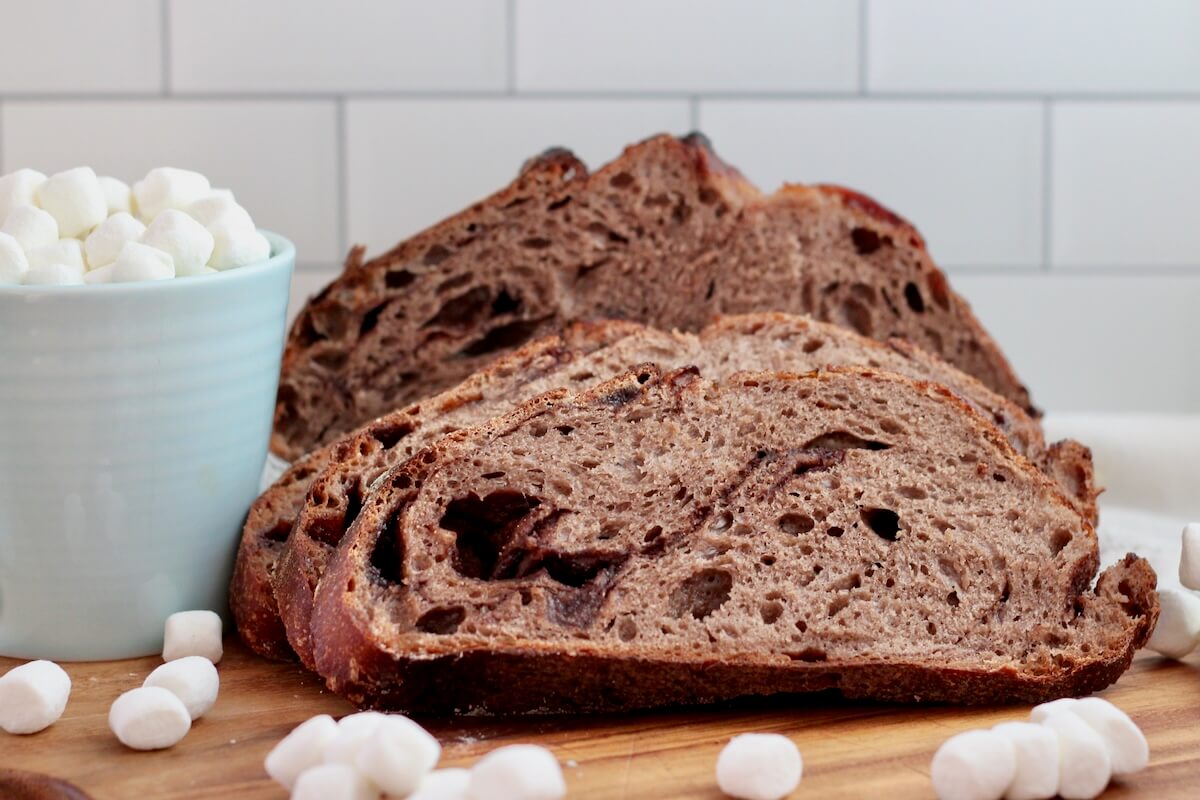
If you're a chocolate lover like I am and enjoy a good sweet sourdough inclusion loaf, this is the holiday bread for you!
This year, I've been having a ton of fun swapping out the water in my sourdough bread for all kinds of liquids, from French onion soup and tomato soup to root beer and more. So with the holiday season approaching, I thought it would be fun to try hot cocoa.
When I first tested this recipe, I only mixed hot cocoa mix into the dough. It tasted good, but I wanted a little more chocolate flavor. So I added a third packet, sprinkling it over the dough along with mini marshmallows during shaping. This creates little ribbons of chocolatey hot cocoa flavor and sweet marshmallow throughout the loaf.
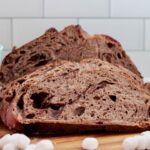
The finished bread is soft and chewy, lightly sweet, and tastes just like a cozy cup of hot cocoa. The mini marshmallows melt as the bread bakes, leaving behind little pockets of sweet marshmallow flavor. It's such a fun loaf to make with kids, serve during the holidays, or wrap up as a homemade gift.
I hope you give it a try and love it as much as I do!
Disclaimer: Some links throughout this post are affiliate links. As an Amazon Associate, I earn from qualifying purchases. You can learn more by visiting my Affiliate Disclosure Page.
Ingredients & Substitutions
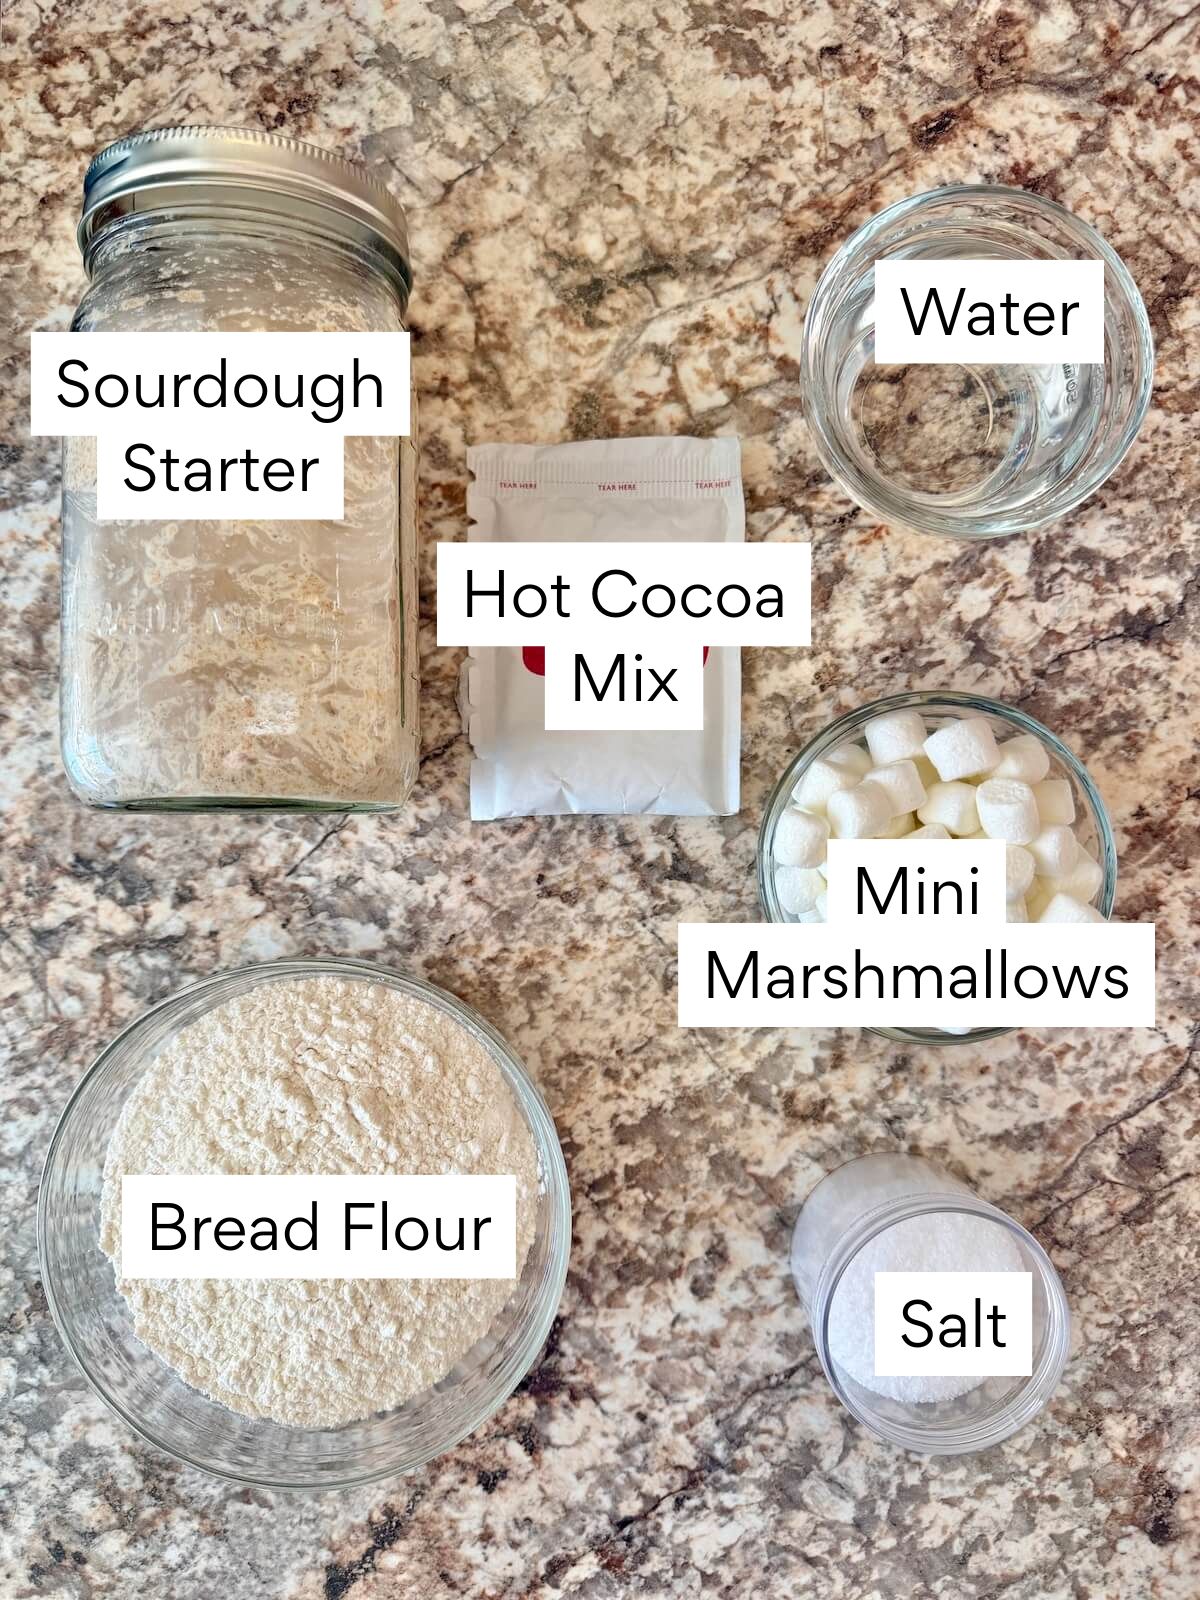
Here are some notes on key ingredients. For a full list of ingredients, check out the recipe card below.
- Active Sourdough Starter- Use a bubbly, recently fed sourdough starter for the best rise.
- Hot Cocoa Mix- I tested this recipe with Swiss Miss. You'll use some in the dough and reserve the rest to layer with the marshmallows during shaping. Other brands should work, but the sweetness and chocolate flavor may vary. Be sure to use sweetened hot cocoa mix, not unsweetened cocoa powder.
- Mini Marshmallows- Add these during shaping to prevent them from melting during bulk fermentation. They'll melt while baking, leaving behind a sweet marshmallow flavor.
- Water- The lower hydration (about 68–70%) makes the dough easier to handle and shape with the inclusions. You can adjust the water slightly to your preference.
- Bread Flour- Gives the loaf a chewy texture and helps it hold its shape. All-purpose flour can also be used, though the loaf may have a slightly softer texture.
- Kosher Salt- Enhances flavor and helps strengthen the dough. I use Diamond Crystal Kosher Salt (2.8 grams per teaspoon). If using Morton’s or table salt, use about half as much by volume or weigh for accuracy.
Tips for Success
- Use active sourdough starter. Make sure your starter is bubbly, active, and at or near its peak before mixing the dough. This helps ensure a good rise and predictable fermentation.
- Weigh the hot cocoa mix. Packet sizes vary by brand, so use 76g in the dough and reserve 38g for the inclusions. You can use a kitchen scale to get the most accurate measurements.
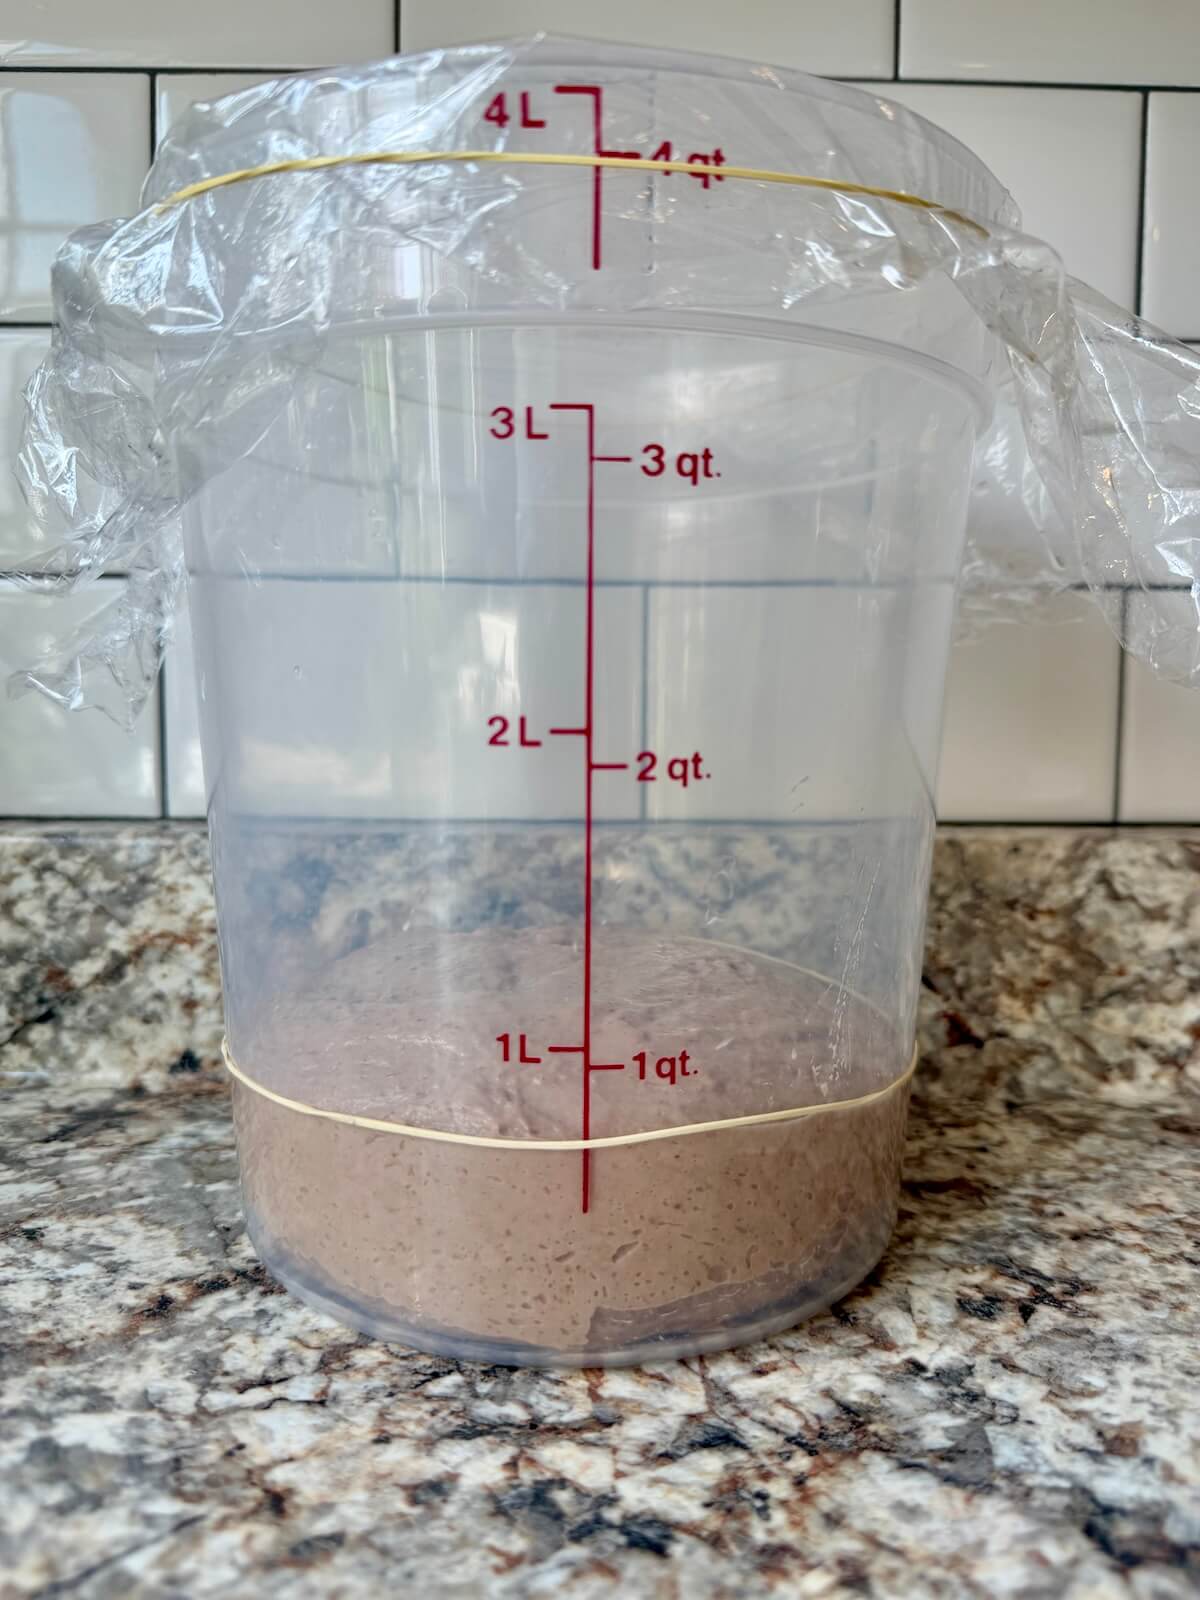
- Don't rush the bulk fermentation. Let the dough rise until nearly doubled, puffy, and bubbly rather than relying on a set amount of time.
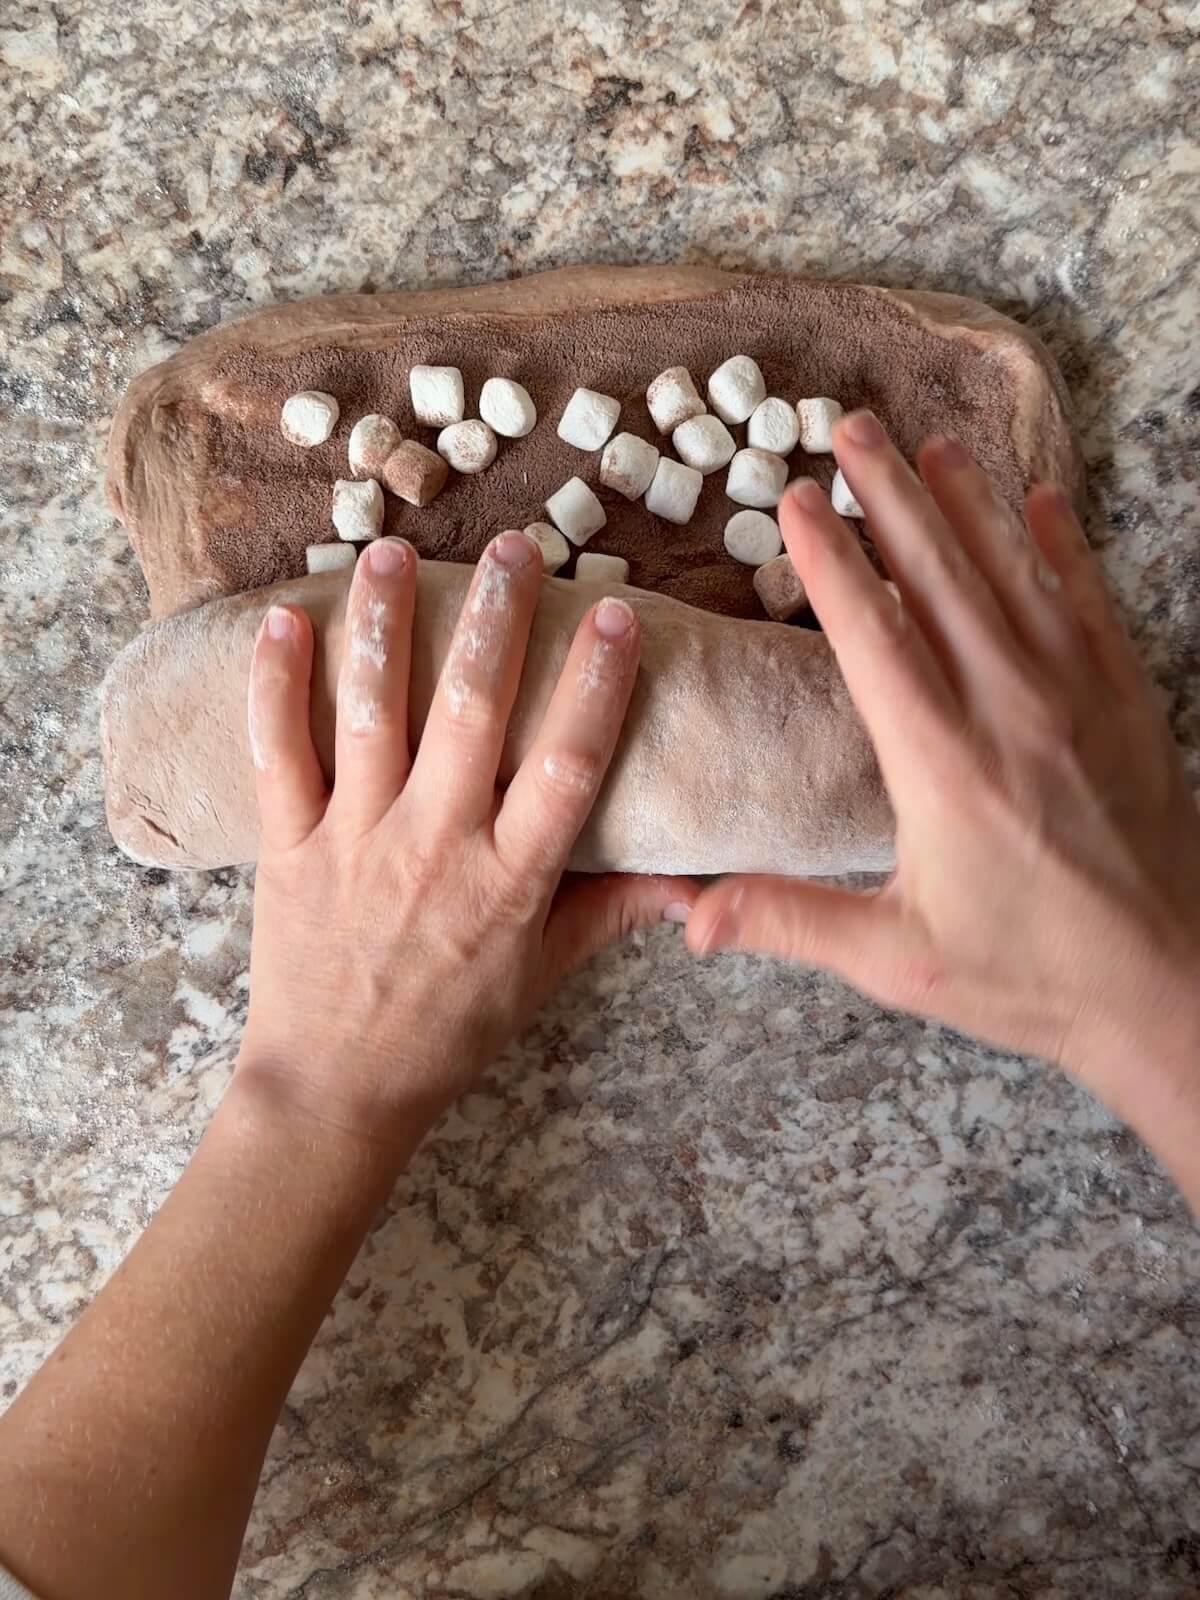
- Keep the marshmallows tucked inside. When shaping, roll the dough up carefully and tuck in any exposed marshmallows. Marshmallows on the outside of the loaf can melt and become sticky or burn during baking.
- Let the bread cool completely. The melted marshmallows and chocolate filling will be sticky while warm. Waiting at least 2 hours before slicing helps the crumb set and makes cleaner slices.
How to Make Hot Cocoa Sourdough Bread
Here's a quick look at how to make hot cocoa sourdough bread with marshmallows. Follow the steps below, and check the recipe card for the full ingredient list and detailed instructions.
Step 1: Feed your starter. Feed your sourdough starter 6–12 hours before baking so it's bubbly and active.

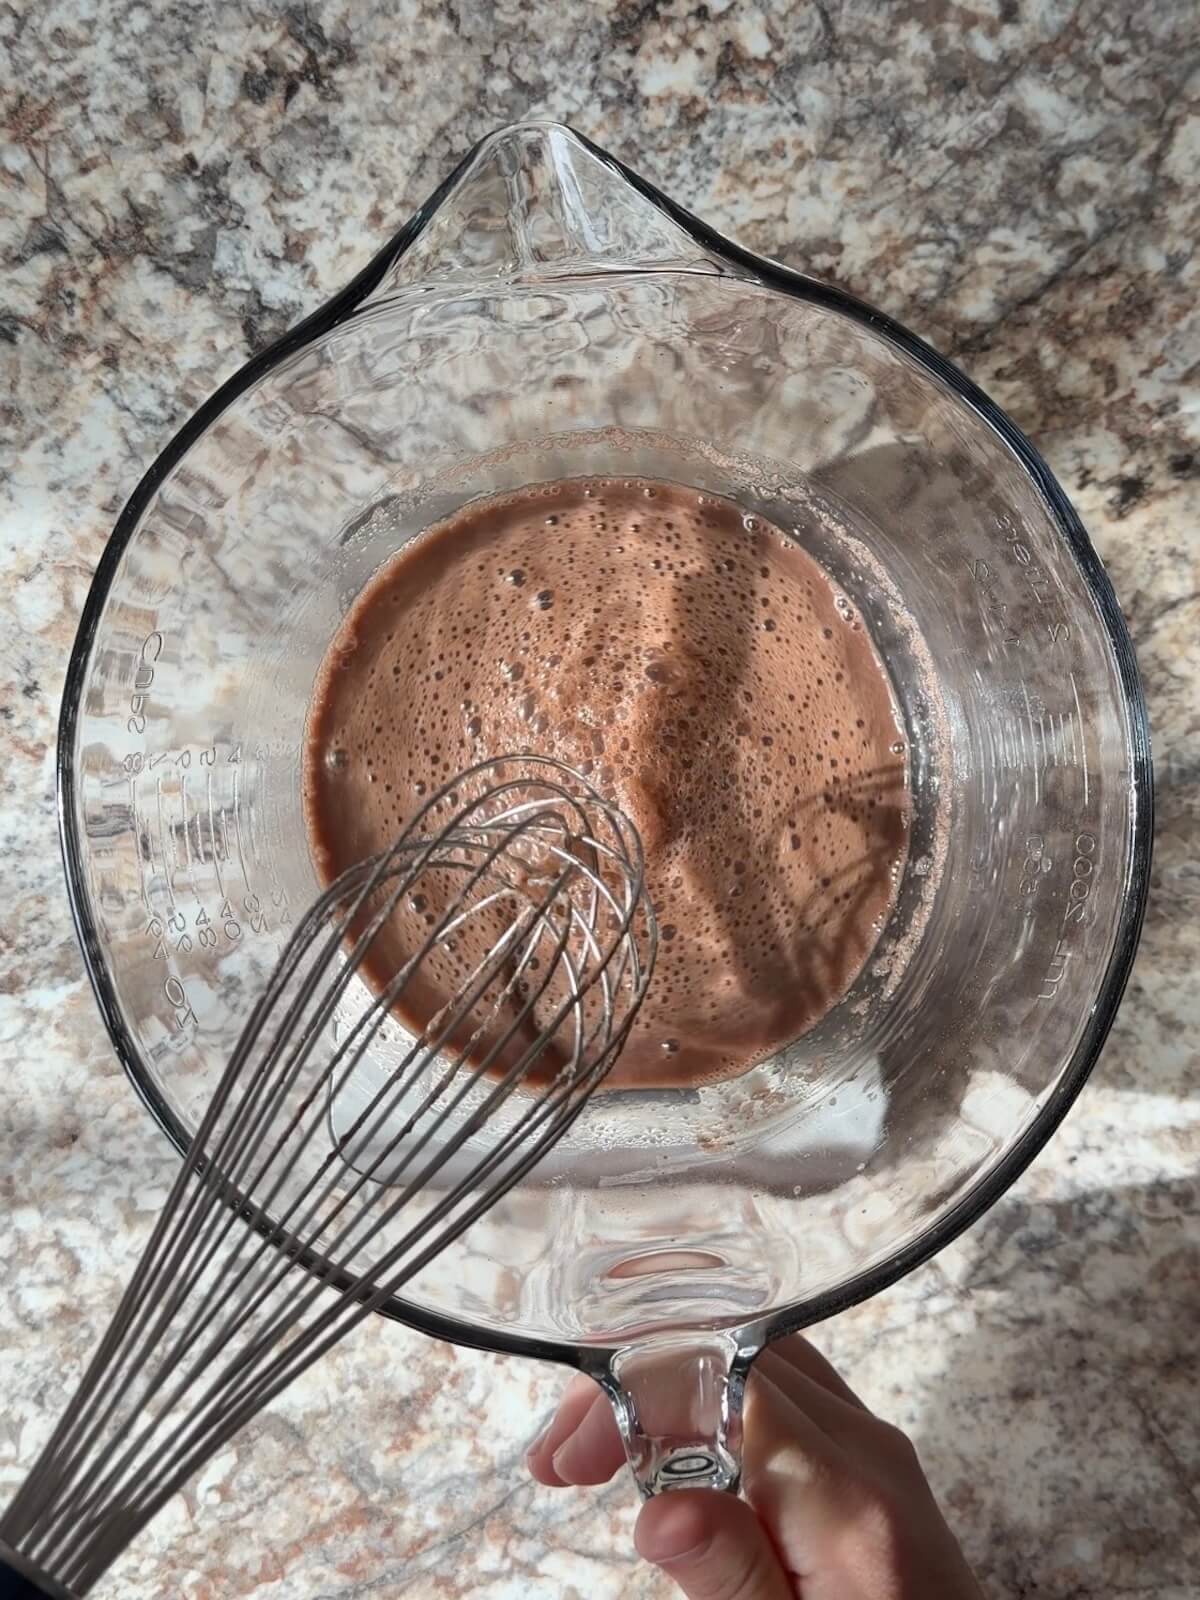
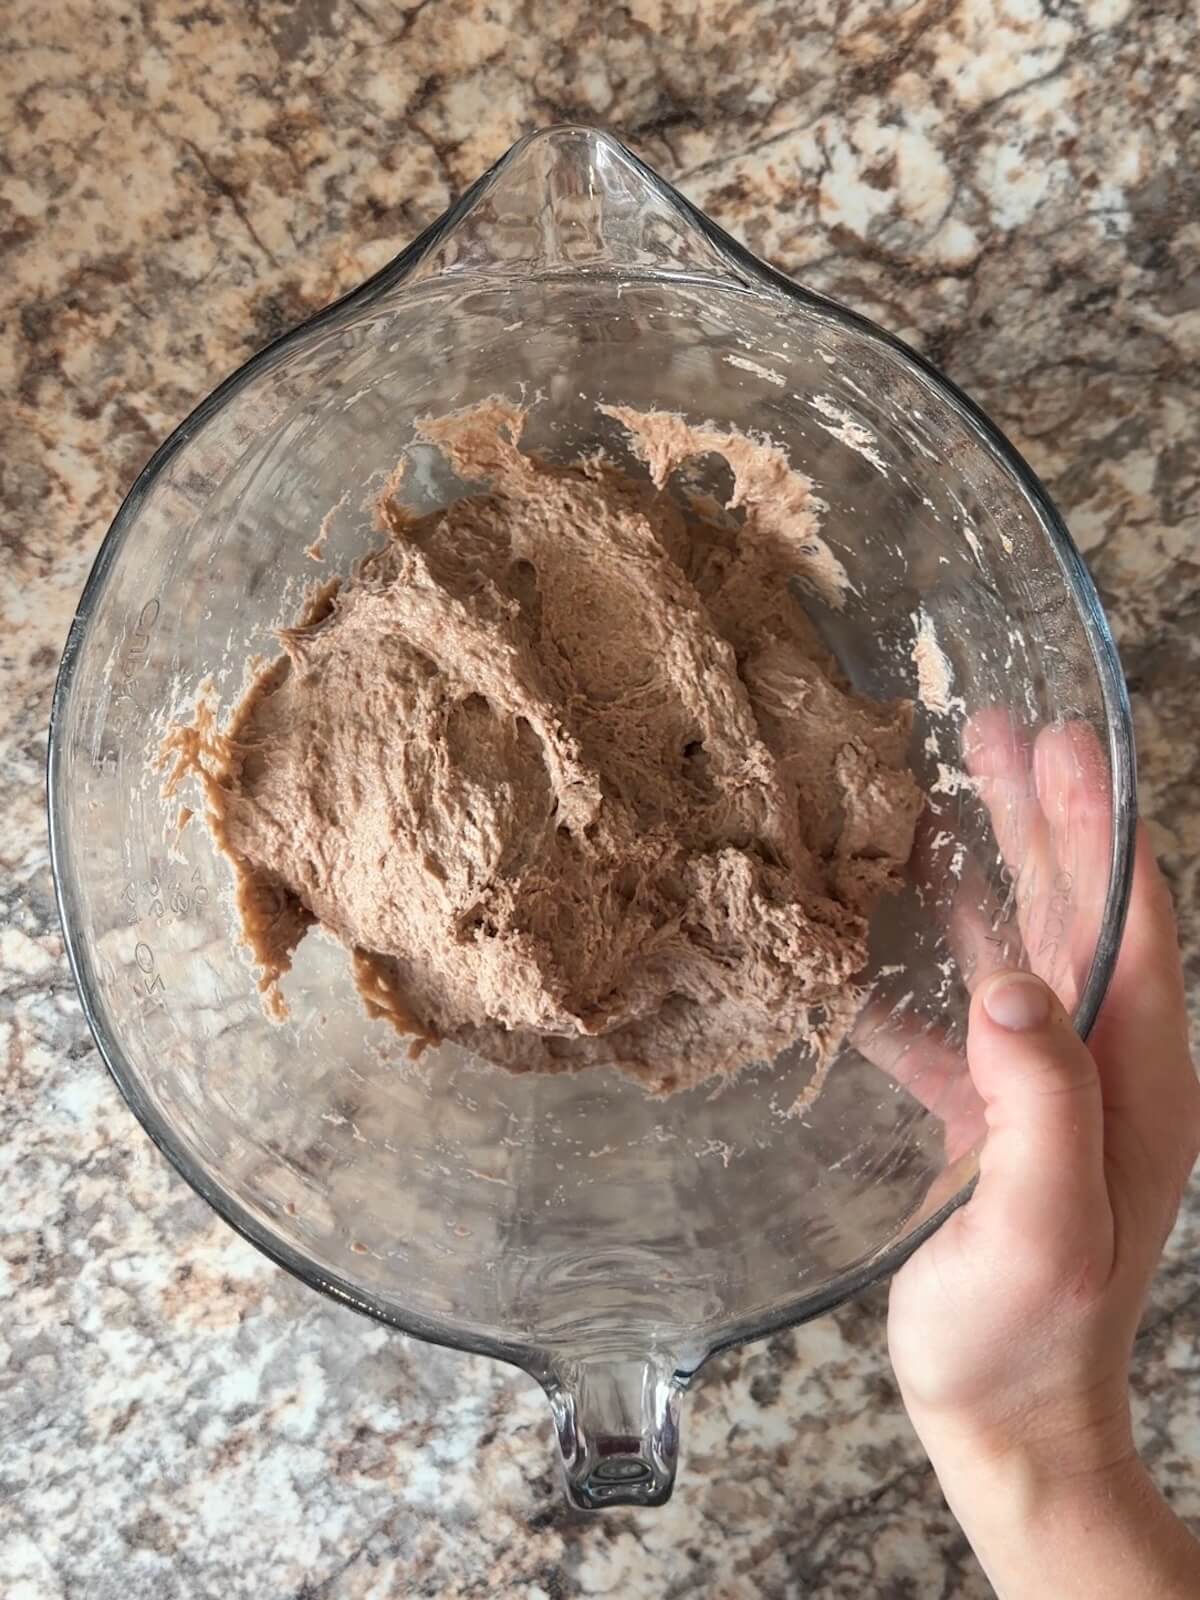
Step 2: Mix the dough. Whisk the hot cocoa mix into the water, then add the sourdough starter, bread flour, and salt. Mix until a sticky dough forms and let it rest for 20 minutes.
Step 3: Stretch and fold. Complete four sets of stretch and folds, resting the dough for 15 minutes between each set.
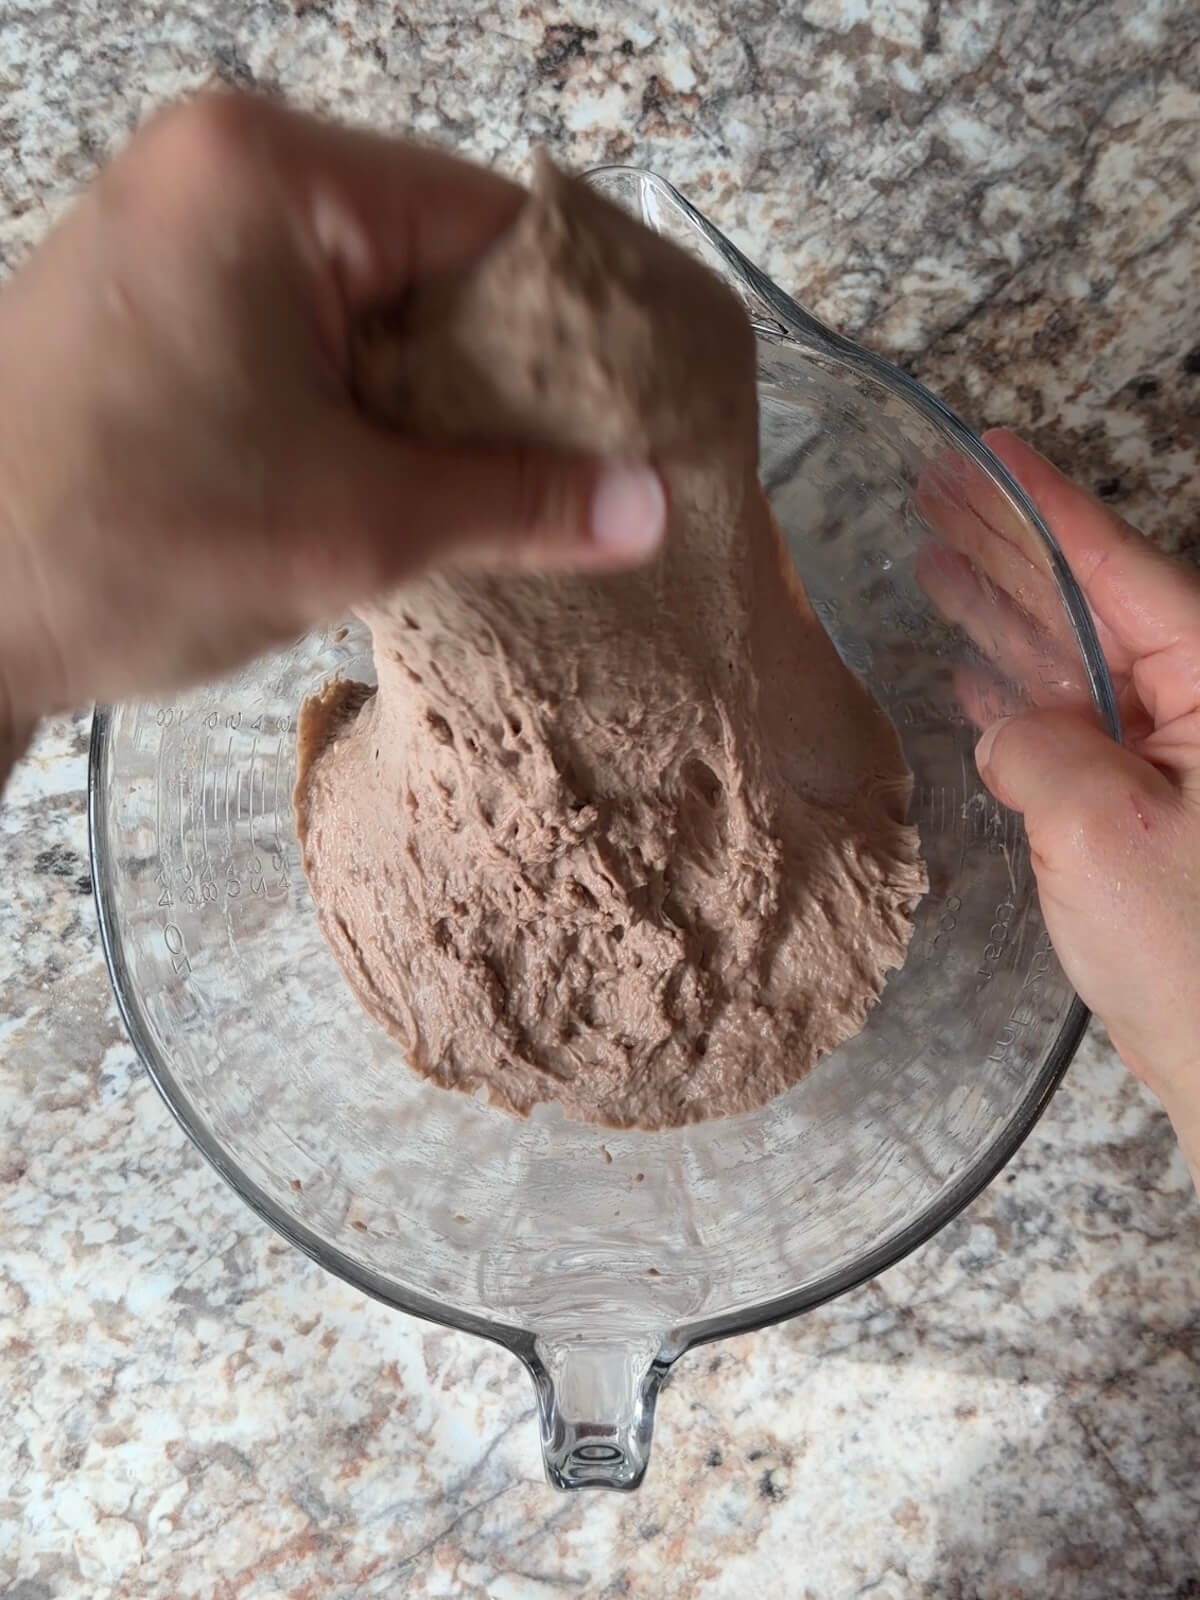
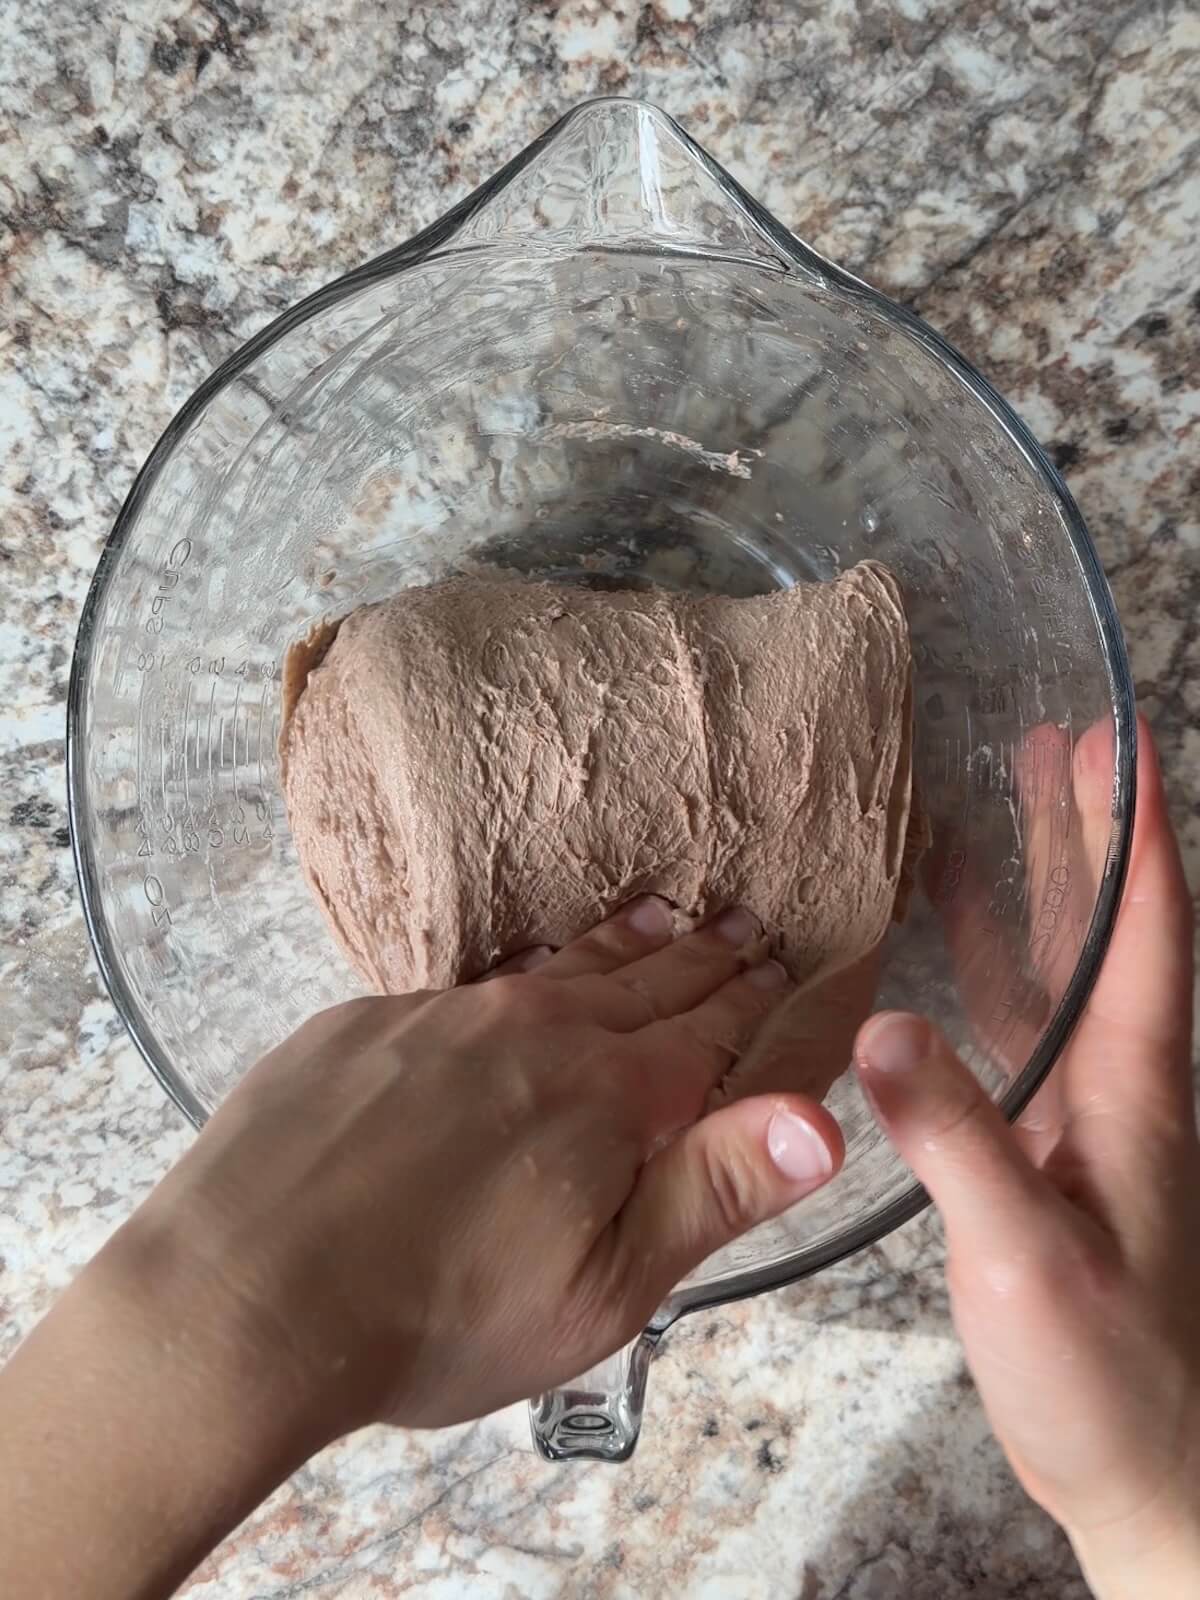
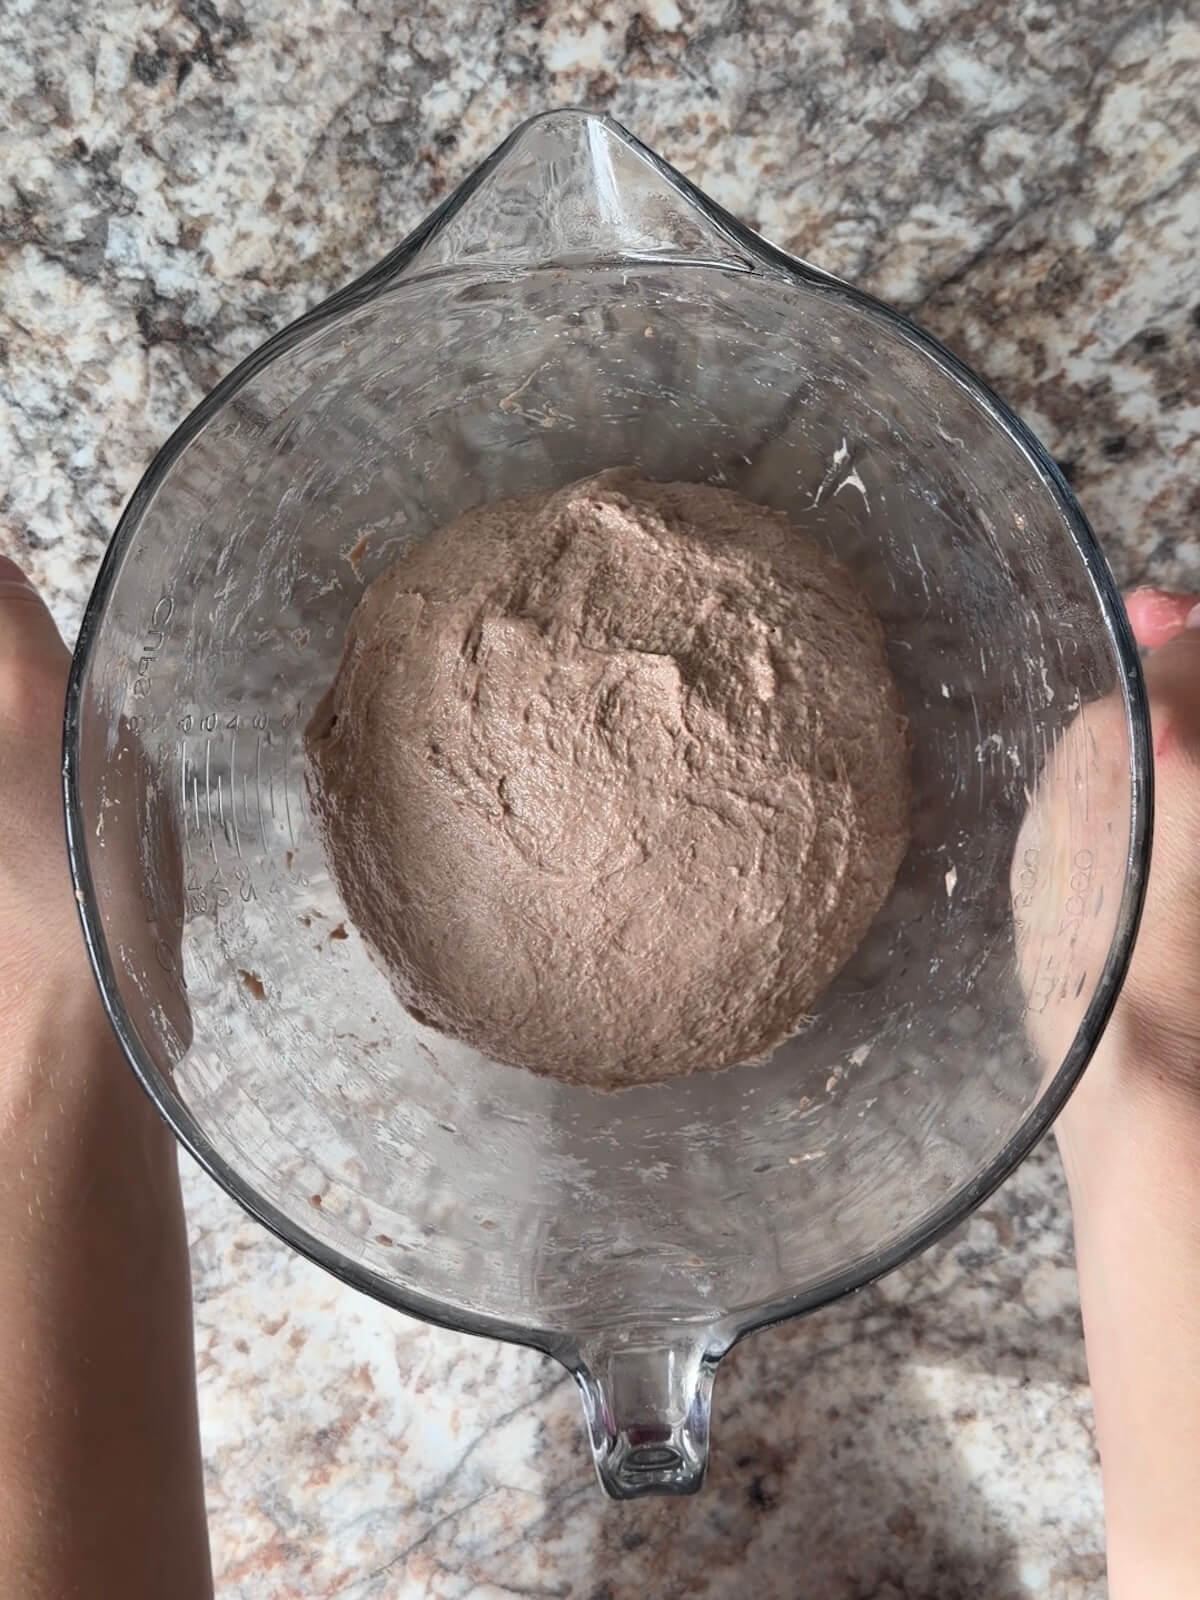
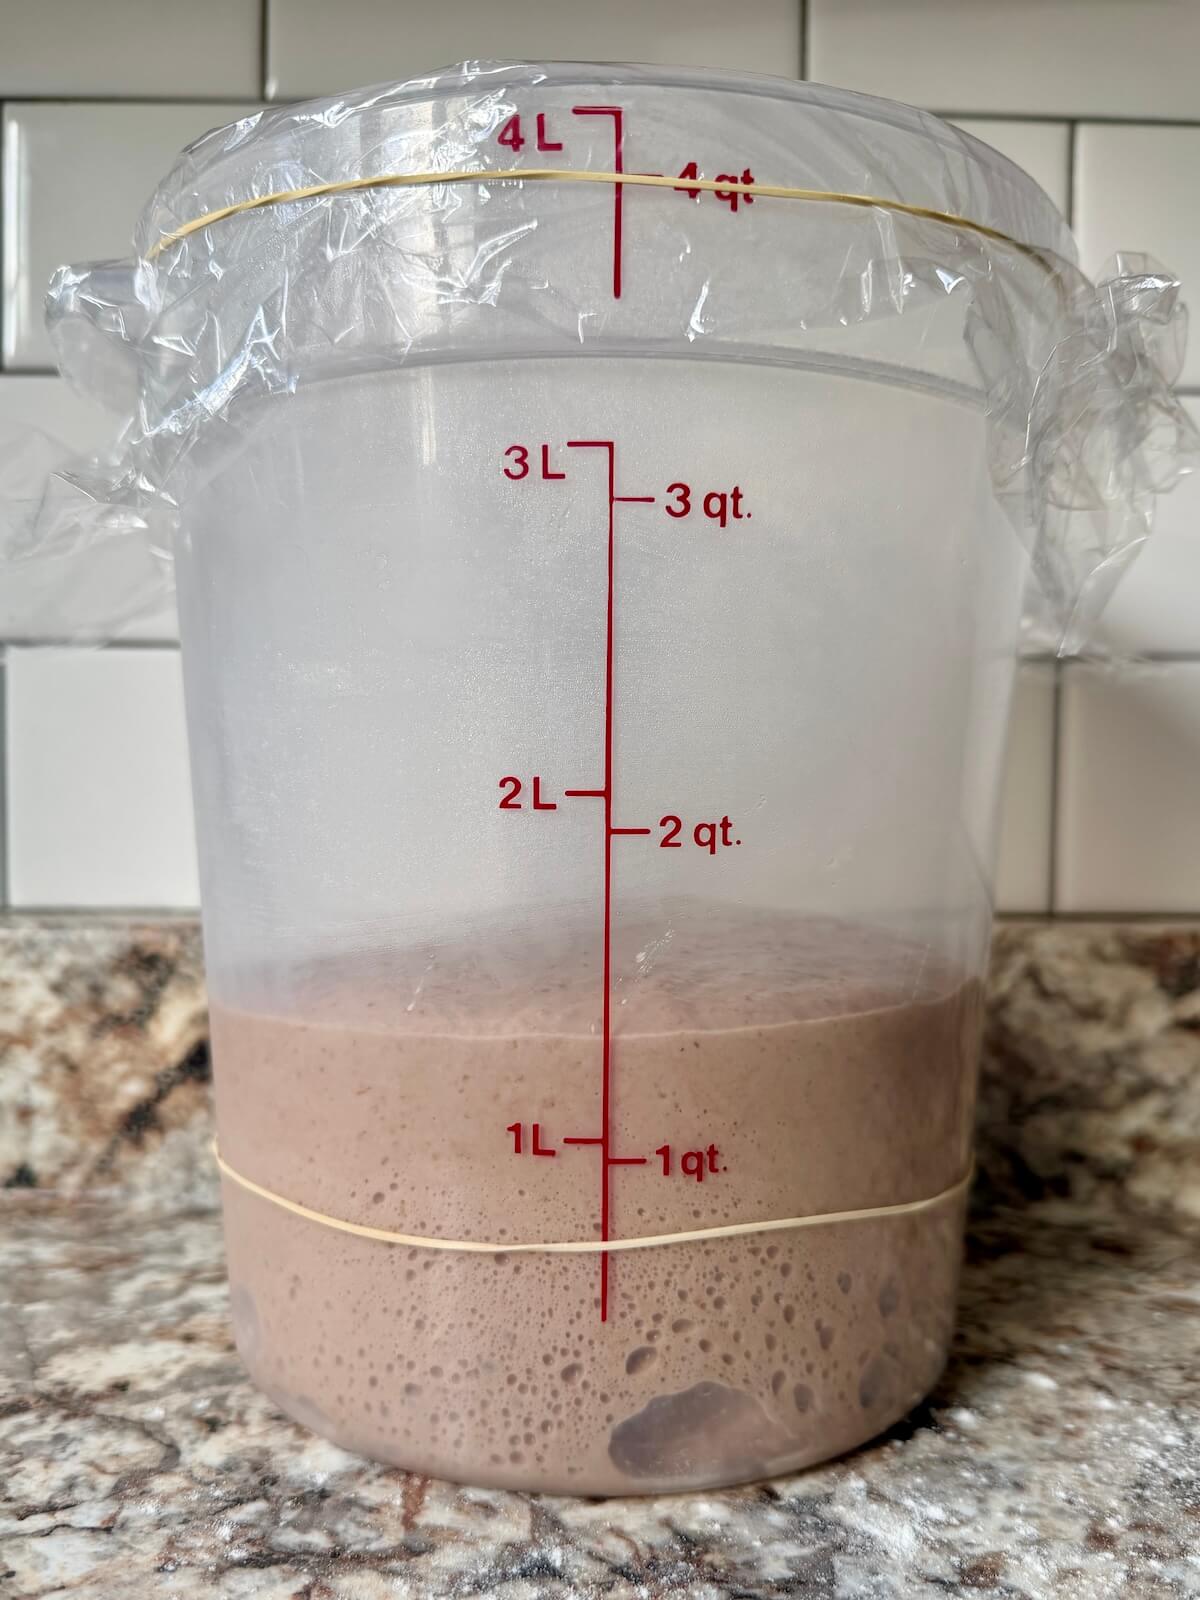
Step 4: Bulk ferment. Cover and let the dough rise at room temperature until nearly doubled in size, puffy, and bubbly.
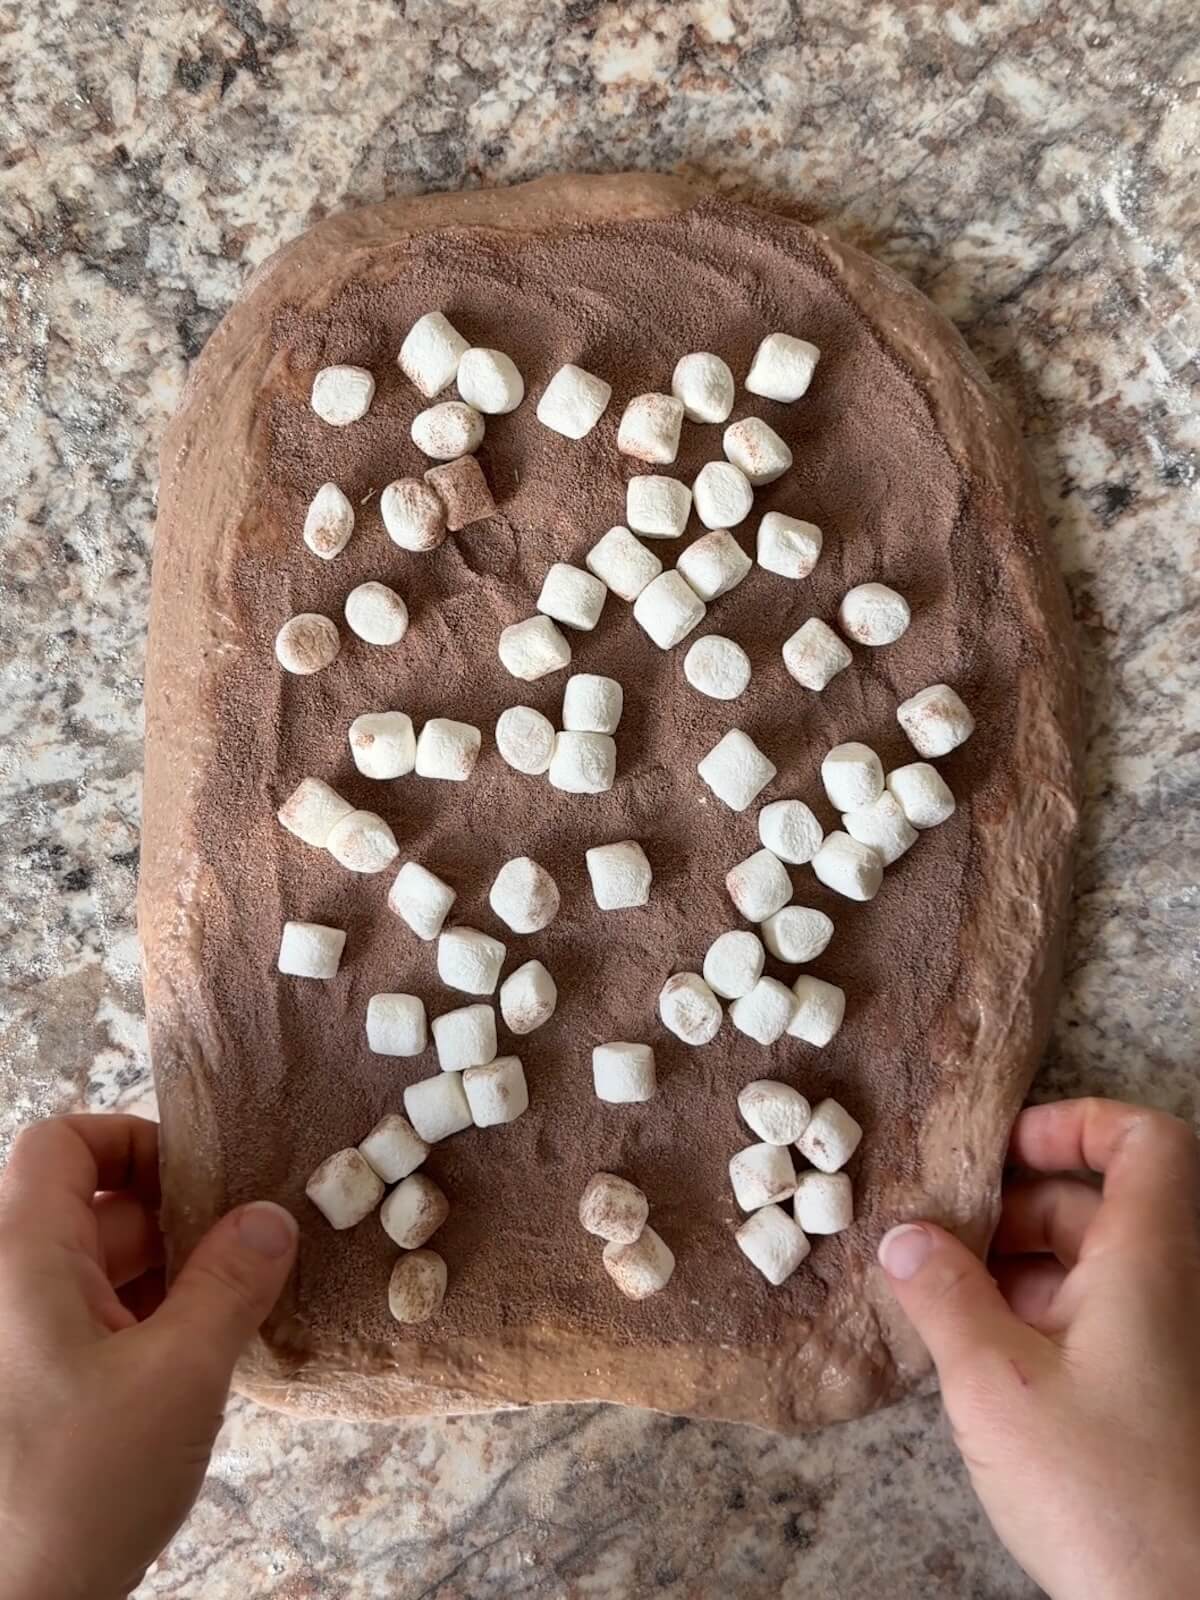
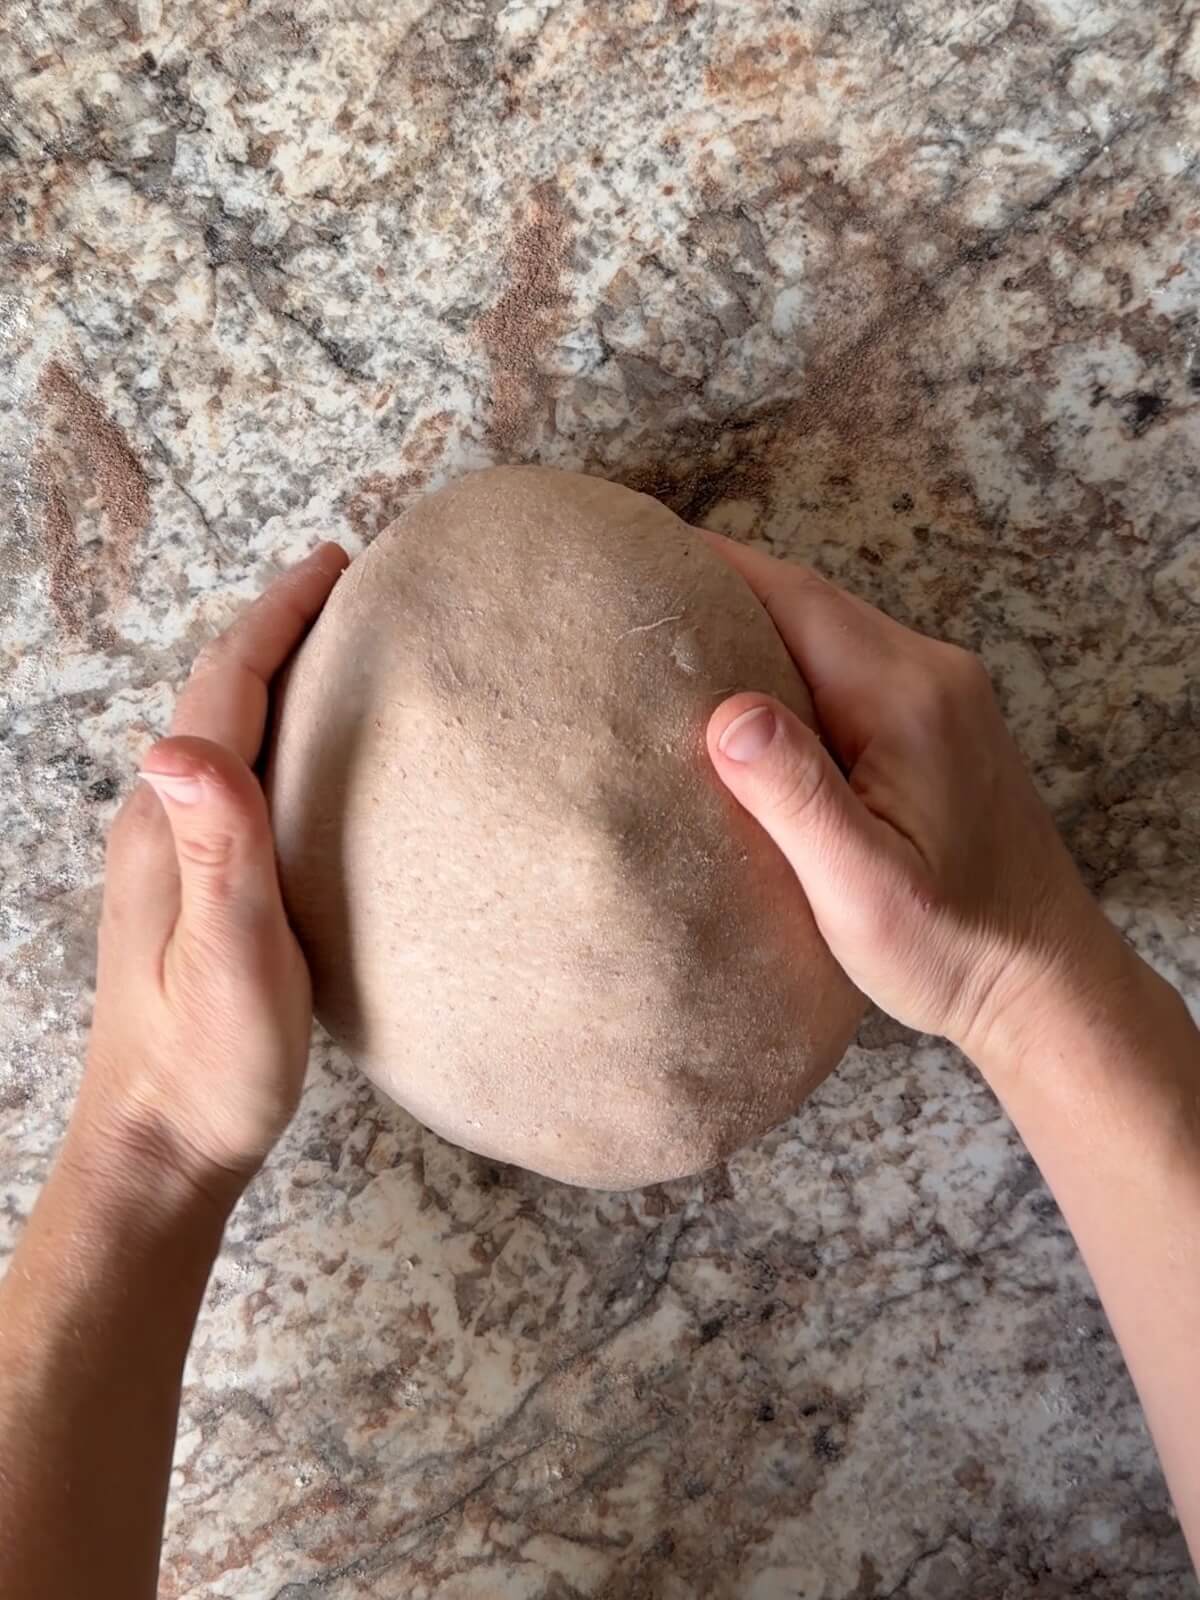
Step 5: Add inclusions and shape. Gently stretch the dough into a rectangle. Sprinkle the remaining hot cocoa mix and mini marshmallows over the surface, then roll the dough into a log, tucking the filling inside. Shape into a tight ball.
Step 6: Cold proof. Place the dough seam-side up in a rice-floured proofing basket, cover, and refrigerate for 12–16 hours.
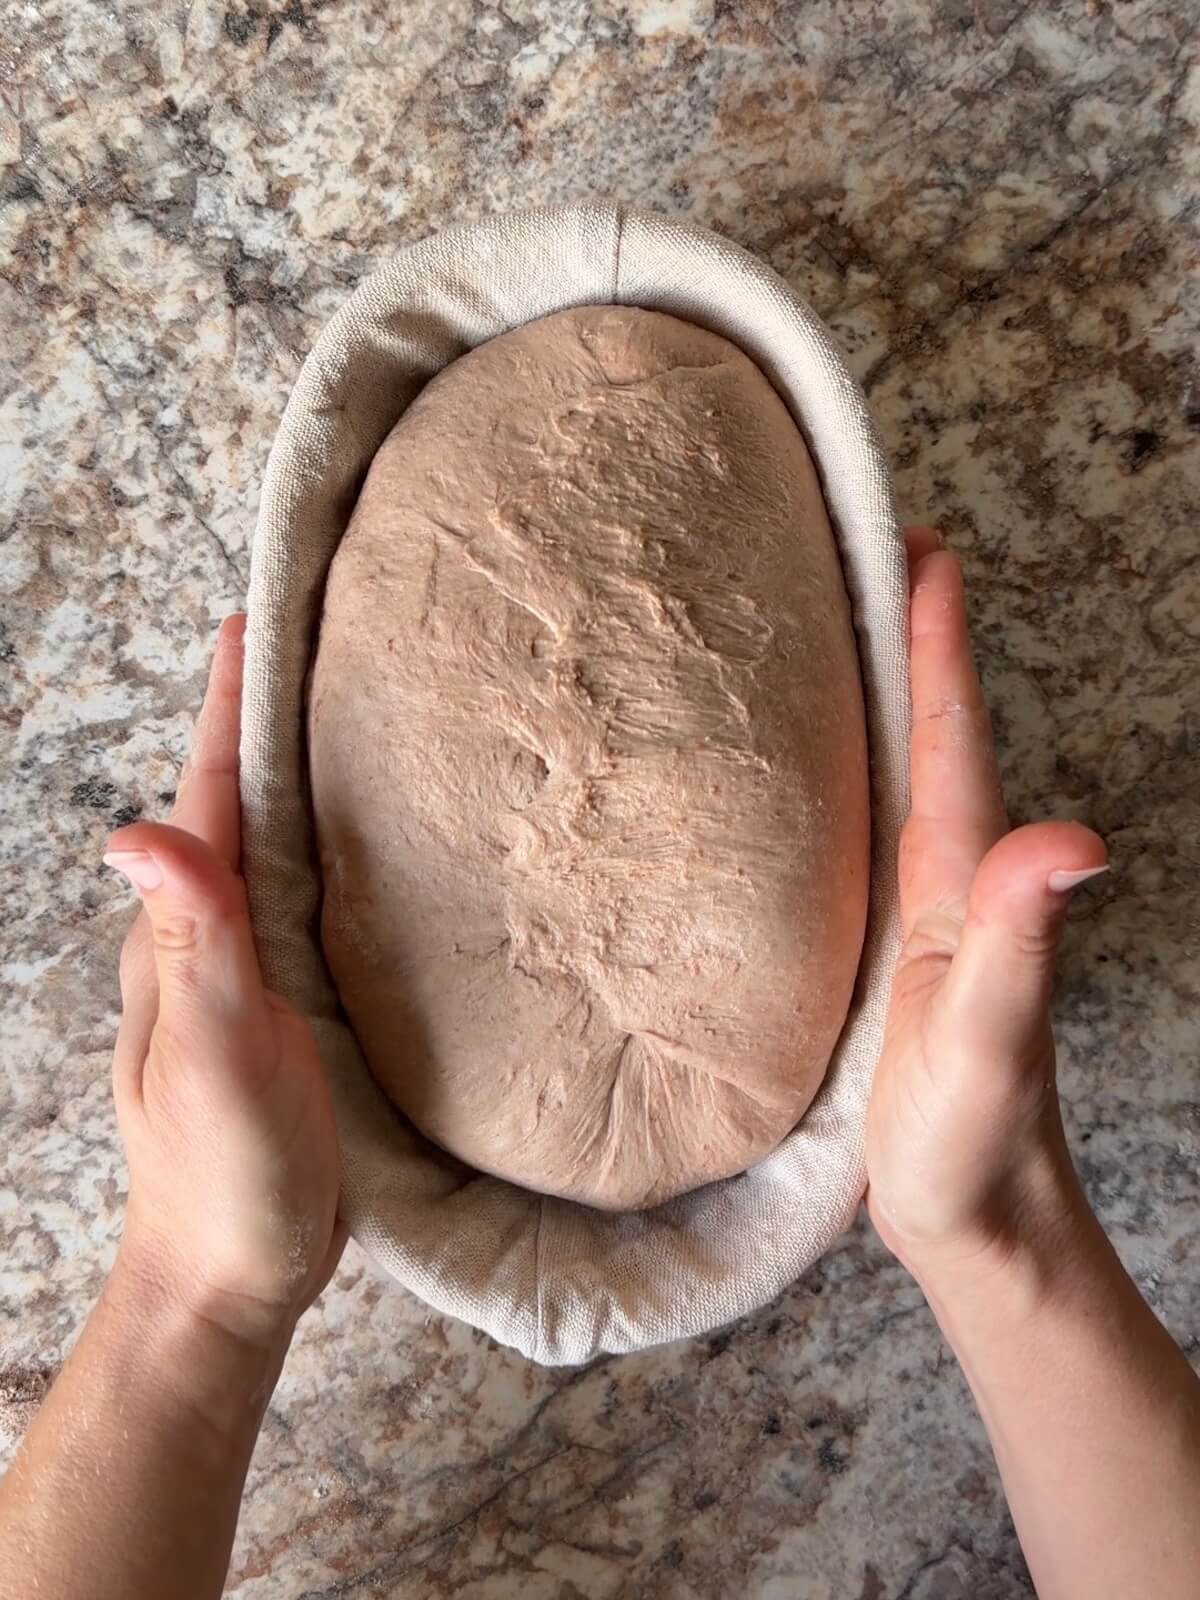
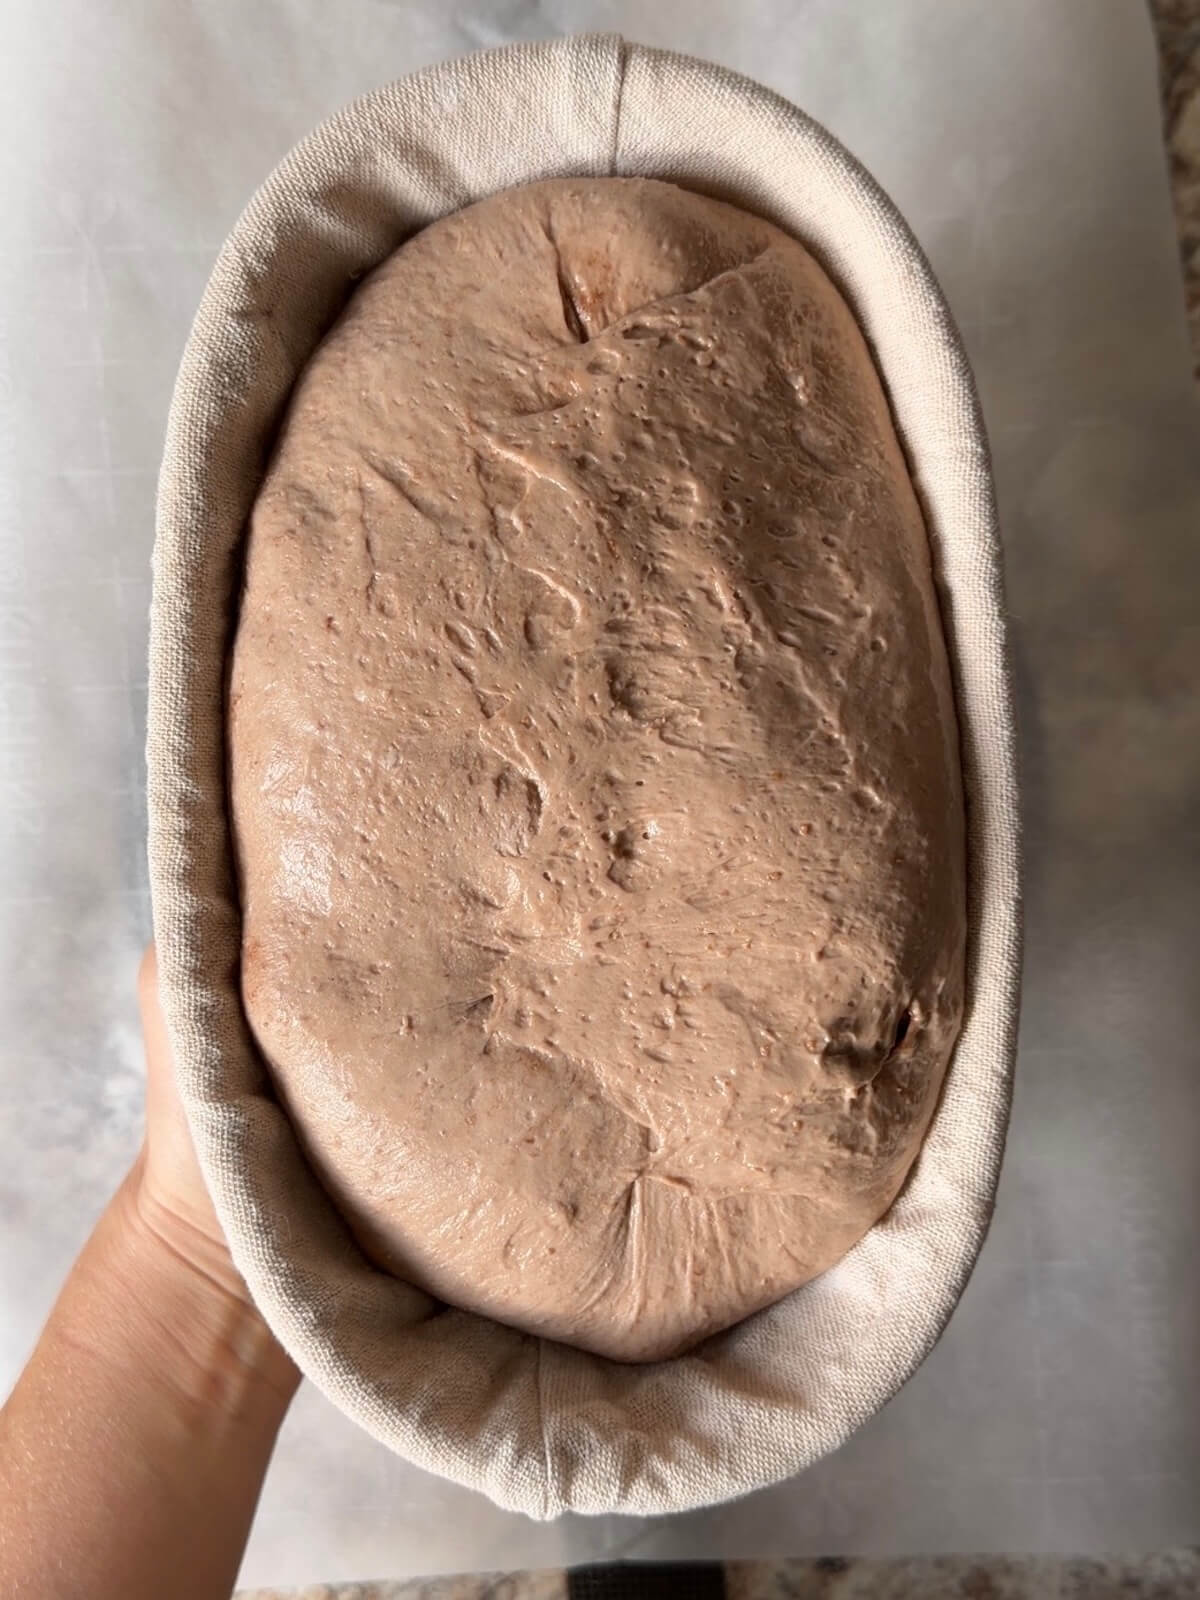
Step 7: Bake. Turn the dough onto parchment, score the top, and carefully transfer it to the preheated Dutch oven. Add the ice cubes for steam, cover, and bake for 40 minutes. Uncover and bake for another 5–10 minutes. Cool for at least 2 hours before slicing.
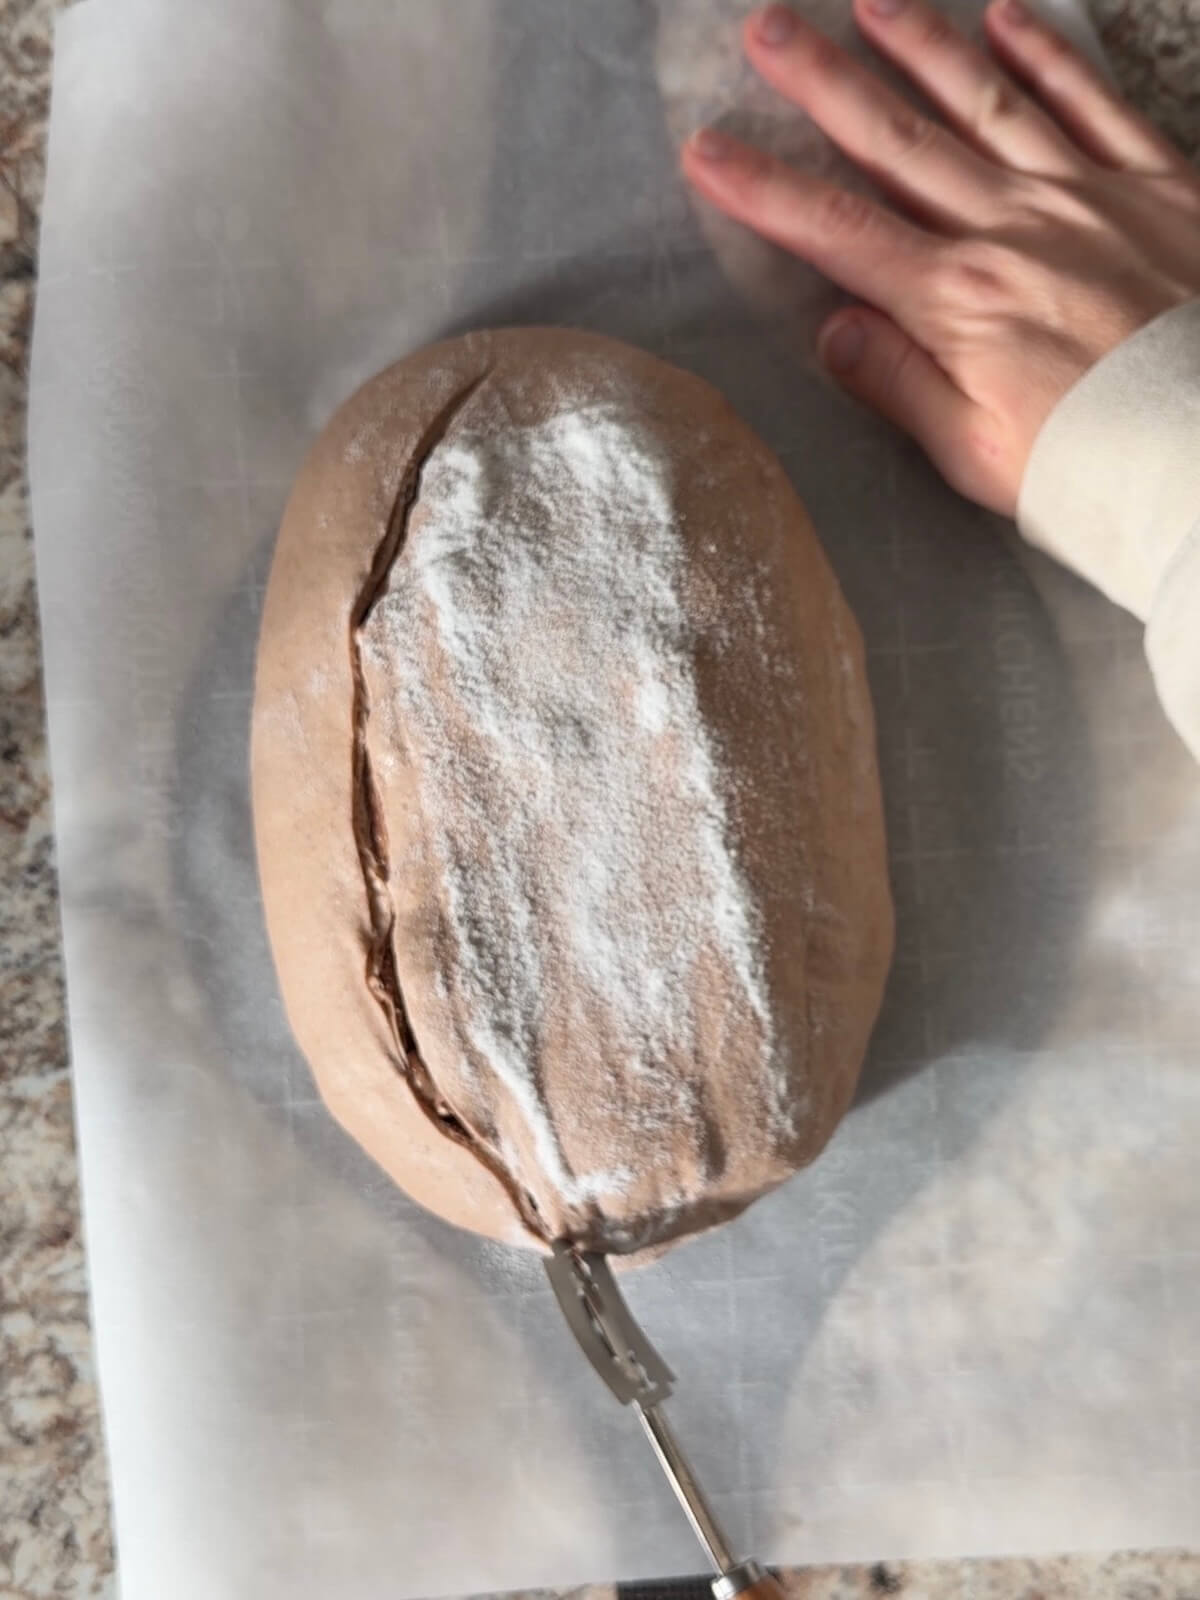
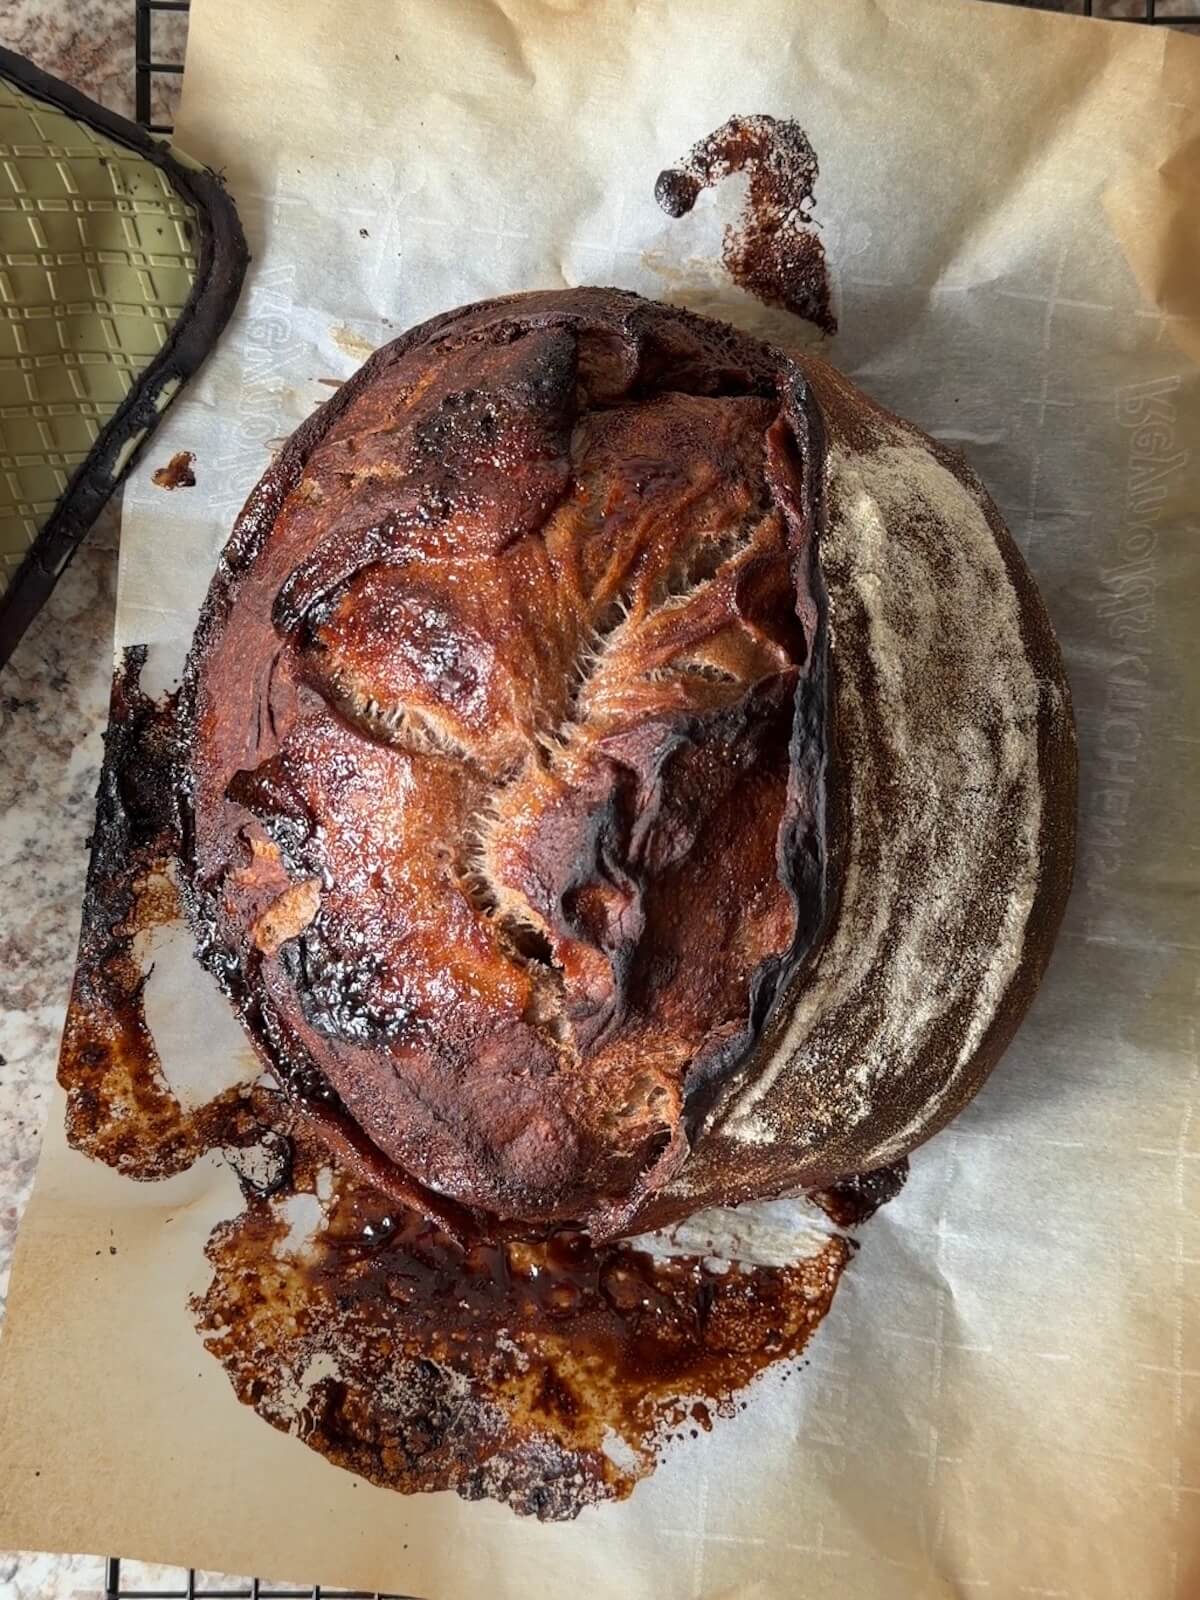
Baker's Timeline
Here’s a sample timeline to help you plan your hot cocoa sourdough bread.
- 8:00 PM (Night Before): Feed your starter.
- 8:00–8:30 AM: Mix dough and let rest for 20 minutes.
- 8:30–9:30 AM: Perform stretch and folds.
- 9:30 AM–4:30 PM (varies): Bulk fermentation (until nearly doubled in size).
- 4:30–5:00 PM: Shape the dough; add hot cocoa mix and marshmallows.
- 5:00 PM–8:00 AM (Next Day): Cold proof overnight.
- 8:00–8:45 PM: Bake at 450°F.
- 8:45–10:45 AM: Cool.
Note: Rise times can vary depending on the strength of your starter and the temperature of your kitchen. Always use visual cues—like a dough that has doubled and looks airy—rather than relying strictly on the clock.
How to Store
Store hot cocoa sourdough bread in an airtight container at room temperature for up to 2 days.
For longer storage, slice the bread and freeze in a freezer-safe bag for up to 3 months. Thaw individual slices at room temperature before serving.

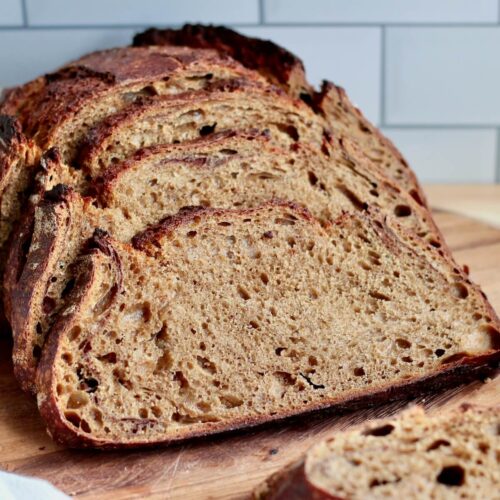
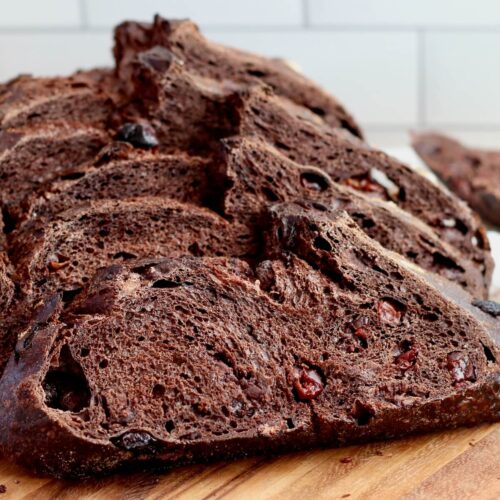
Are you tired of watching your sourdough discard go to waste?
It’s time to turn excess discard into something delicious with my new ebook - Everyday Sourdough!
Inside, you’ll find 27 tried-and-true sourdough discard recipes that will transform your leftover starter into mouthwatering creations your family and friends will love.
No more guilt about wasting your discard - with Everyday Sourdough, you have endless options to quickly make something amazing anytime.
Let's Connect!
Be sure to leave a comment below if you have any questions. You can also connect with me on Instagram, Facebook, Pinterest, or via email at [email protected].

📖 Recipe
Hot Cocoa Sourdough Bread with Marshmallow Swirl
Equipment
- Straight-sided container (optional)
- Proofing basket or bowl lined with tea towel
- Bread sling or parchment paper
- Lame or sharp knife
Ingredients
Hot Cocoa Dough
- 1 ⅓ cups (330 grams) water
- ½ cup (76 grams) hot cocoa mix I used two packets of Swiss Miss Brand
- ½ cup (100 grams) active sourdough starter
- 4 cups (480 grams) bread flour
- 3 ½ teaspoons (10 grams) Diamond Crystal Kosher Salt measure in grams or reduce to 1 ¾ teaspoons if using Morton's brand or table salt
- Rice flour for proofing basket
- 2 ice cubes for steam
Inclusions
- ¼ cup (38 grams) hot cocoa mix I used one packet of Swiss Miss Brand
- 1 cup (45 grams) mini marshmallows
Instructions
- Feed your starter 6–12 hours before mixing the dough. It should be bubbly, active, and at or near its peak when you're ready to use it. In a cooler kitchen (60–65°F), this may take closer to 12 hours, while a warmer kitchen (around 75°F) may take about 6 hours.
- In a large bowl, whisk together the water and hot cocoa mix until mostly dissolved. Add the active sourdough starter and whisk to combine. Add the bread flour and salt, then mix until no dry flour remains and a sticky dough forms. Cover and let the dough rest for 20 minutes.1 ⅓ cups (330 grams) water, ½ cup (76 grams) hot cocoa mix, ½ cup (100 grams) active sourdough starter, 3 ½ teaspoons (10 grams) Diamond Crystal Kosher Salt, 4 cups (480 grams) bread flour
- Lightly wet your hands to prevent sticking. Grab one side of the dough, stretch it upward, and fold it over the center. Rotate the bowl and repeat on the remaining three sides. Gather the dough into a loose ball, place it seam-side down, and cover. Let it rest for 15 minutes. Repeat this process three more times, resting the dough for 15 minutes between each round, for a total of four stretch-and-fold rounds.
- Cover the dough and let it rise at room temperature until it has nearly doubled in size, looks noticeably puffy, and has bubbles throughout. This can take anywhere from 4–12+ hours, depending on your kitchen temperature and the strength of your starter.
- Turn the dough out onto a lightly floured work surface and gently stretch it into a large rectangle. Sprinkle the remaining hot cocoa mix evenly over the dough, then scatter the mini marshmallows on top, leaving a little space around the edges. Starting at one of the short ends, roll the dough into a log, tucking the marshmallows inside as you go. Tuck the ends underneath to enclose the filling. With the seam-side down, gently cup your hands around the dough and rotate it to form a smooth, tight ball.¼ cup (38 grams) hot cocoa mix, 1 cup (45 grams) mini marshmallows
- Lightly dust a proofing basket with rice flour, or line a bowl with a clean tea towel and dust it with rice flour. Place the dough in the basket seam-side up, pinching the seam closed if needed. Cover and refrigerate for 12–16 hours.Rice flour
- Place a lidded Dutch oven in the oven and preheat to 450°F. Once the oven reaches temperature, let the Dutch oven continue heating for another 30 minutes. Place a baking sheet on the rack below the Dutch oven to help buffer the heat and prevent the bottom of the loaf from browning too quickly.
- Turn the dough out onto a piece of parchment paper or a bread sling, keeping the seam-side down. If using a bread sling, I recommend placing a piece of parchment paper on top since this dough can be sticky. Score the top with a lame or sharp knife. Carefully lower the dough into the preheated Dutch oven, cover with the lid, and bake for 40 minutes. Remove the lid and continue baking for another 5–10 minutes, until the crust is deeply golden brown.2 ice cubes
- Carefully transfer the bread to a wire rack and let it cool for at least 2 hours before slicing. The marshmallows and chocolate filling will be sticky while warm, so allowing the loaf to cool completely will make it easier to slice.
Notes
- Storage: Store in an airtight container at room temperature for up to 2 days or slice and freeze in a freezer-safe bag for up to 3 months.


Comments
No Comments